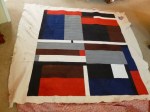
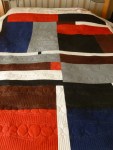
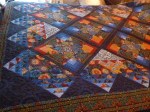
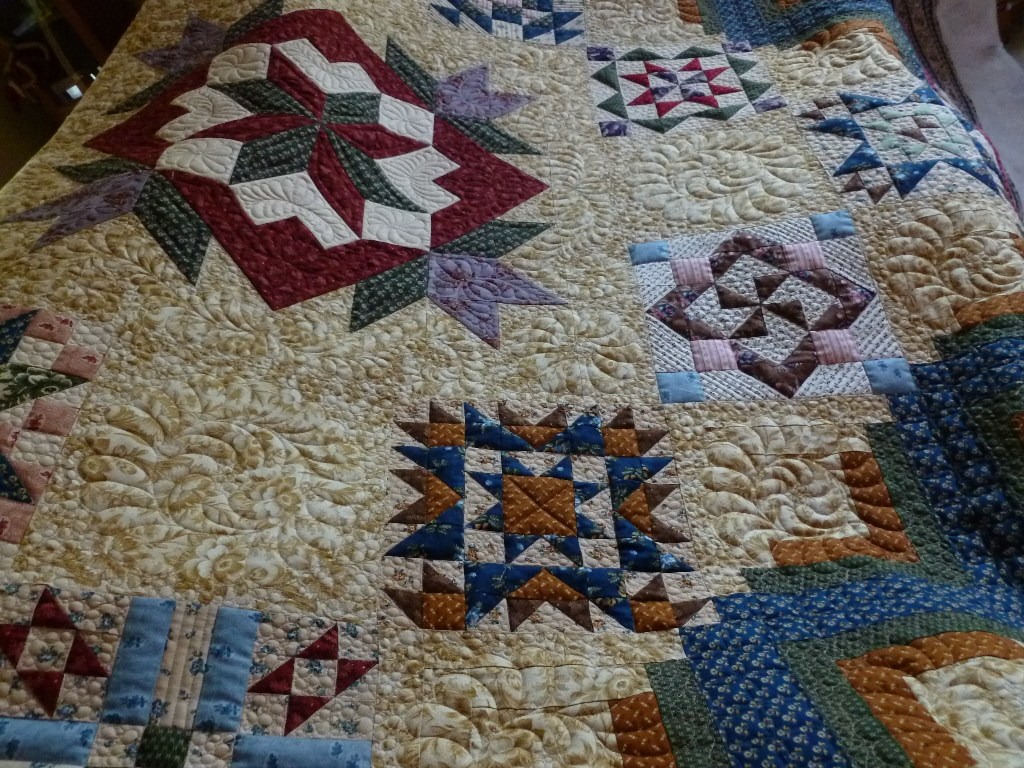
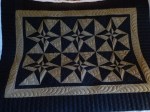
My quilt friend Cheryl brought me 3 Gee’s Bend inspired quilts. The first one on the frame is this Blocks and Stripes quilt done in blues/black/gray/red/white/brown. Of the three, I think I liked this one best. With no more direction than “play with it”, this is what I came up with for this one. 🙂 I hope she likes it. I couldn’t wait to get it off the frame to look at it. It definitely is not your usual quilt design, but Gee’s Bends quilts were not your usual quilts either. If you aren’t familiar with Gee’s Bends quilts, check out this website: http://www.auburn.edu/academic/other/geesbend/home.html
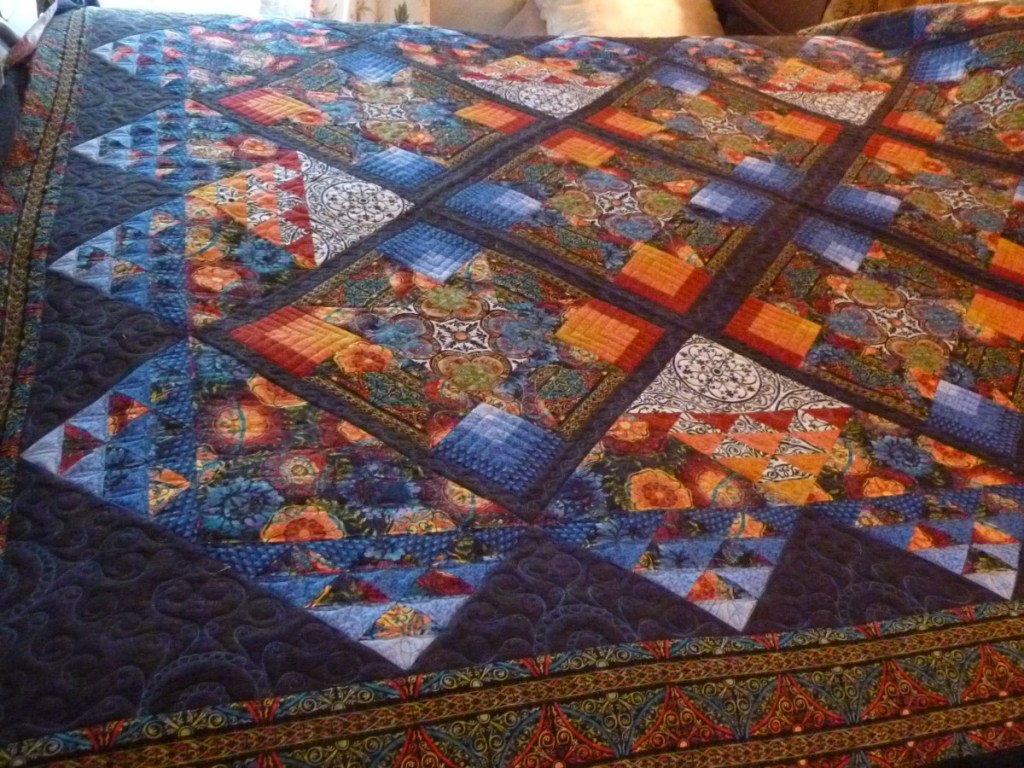
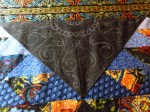
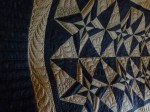
I took this striking quilt off my frame last night. I knew when I first looked at it that I wanted to do some motif in the large black setting triangles. I doodled around for a while and came up with something that I thought echoed some of the designs in the prints. I also knew I wanted to try blue thread in the black triangles. The piecer of this top – Cheryl – is so great. She just tells me to play with her quilts. I’m so thankful she trusts me with her cool quilts.
So, what did I do and why did I do it? I already talked about the black triangles with blue thread. Why blue? I pulled the blue from the blocks just adjacent to the black material. I actually thought about going back and doing a second pass of orange along with the blue, but I eventually dismissed that as a bit too much. I think it helps bring everything together.
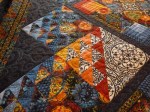
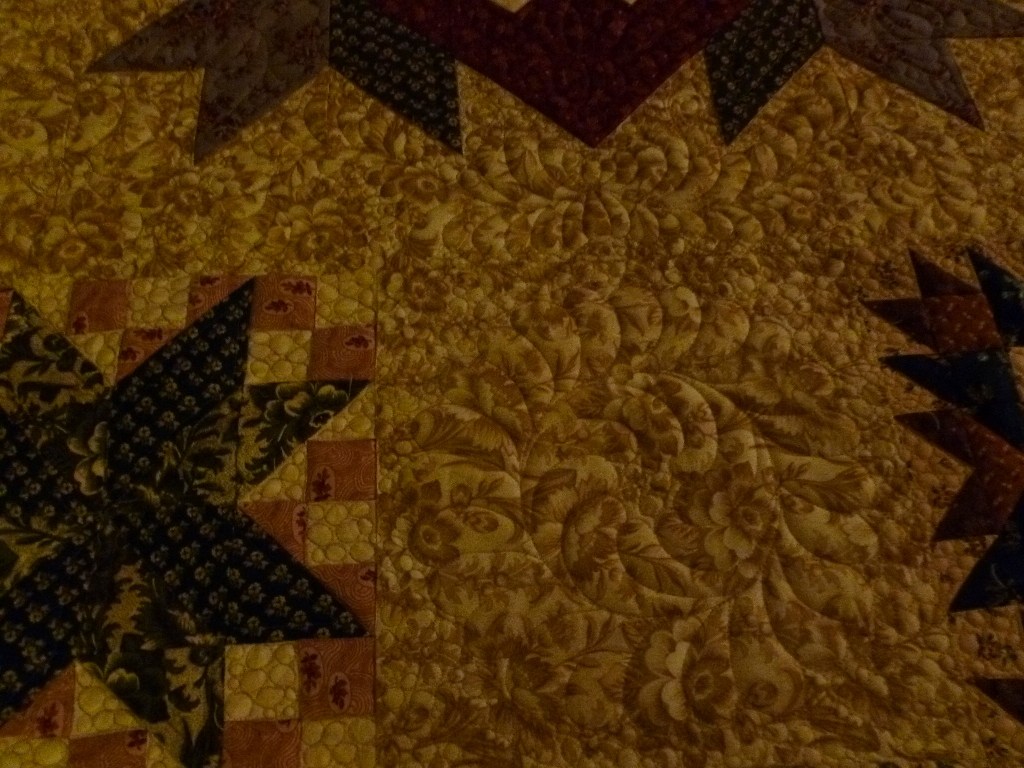
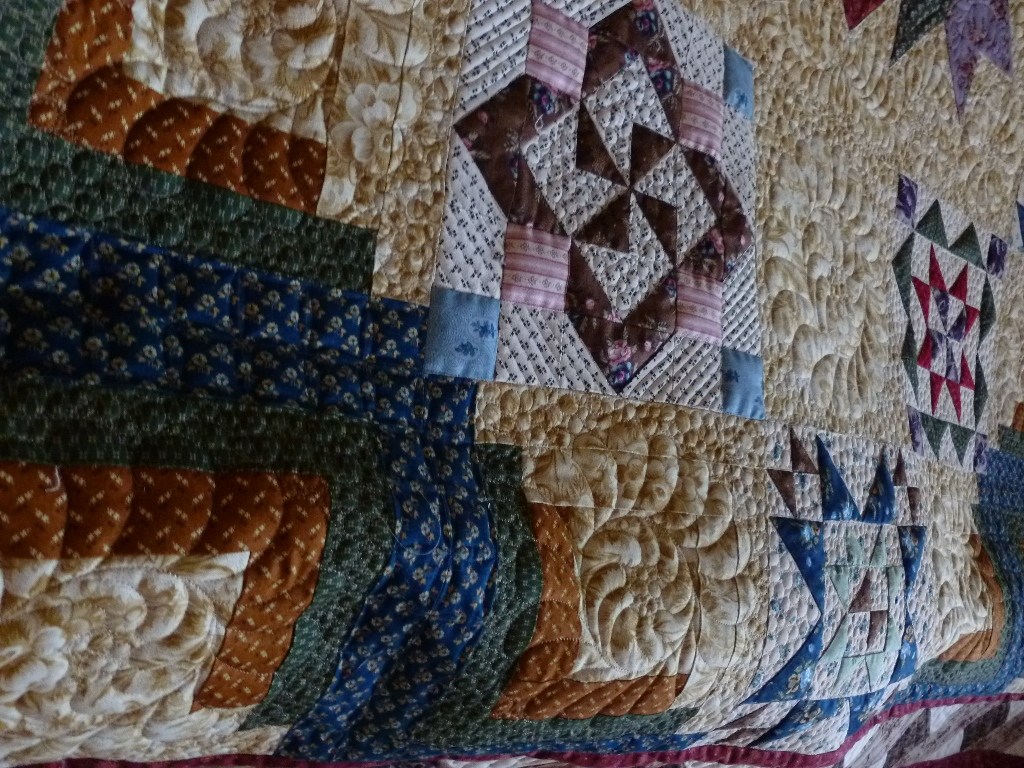
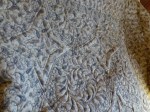
The outer border kind of gave me pause. I wound up following the stripe in the border and did a double opposing wavy line. In between those stripes I did a swirl vine that was a larger version of the same swirl vine I used in the black sashing. The outer border was done in green thread (thanks Margaret for the tip on that) and I also used green in the “star” blocks. I used gray Sulky in the orange half-square triangles adjacent to the white and black print. In those blocks I outlined the motif in the black/white print and did the same swirl pattern emanating from the motif into the orange 1/2 sq triangles. In the blue blocks surrounding the inner edge of the black triangles, I did pumpkin seeds – treating the 1/2 square triangles and the large print fabric next to it as one block. The star blocks were quilted with the same swirl design in the middle and 1/2″ straight lines in the background blocks in an effort to emphasize the stars as much as I could.
I know that a lot of the quilting won’t show, but a big portion of it will show up in the right light, and I think it suits the quilt. I seriously considered an all over pattern for the middle of the quilt, but decided to go this route to try to play up the star blocks. Thanks again Cheryl for letting me play! Next up is a small Gees Bend type quilt. I get to play on it also!!
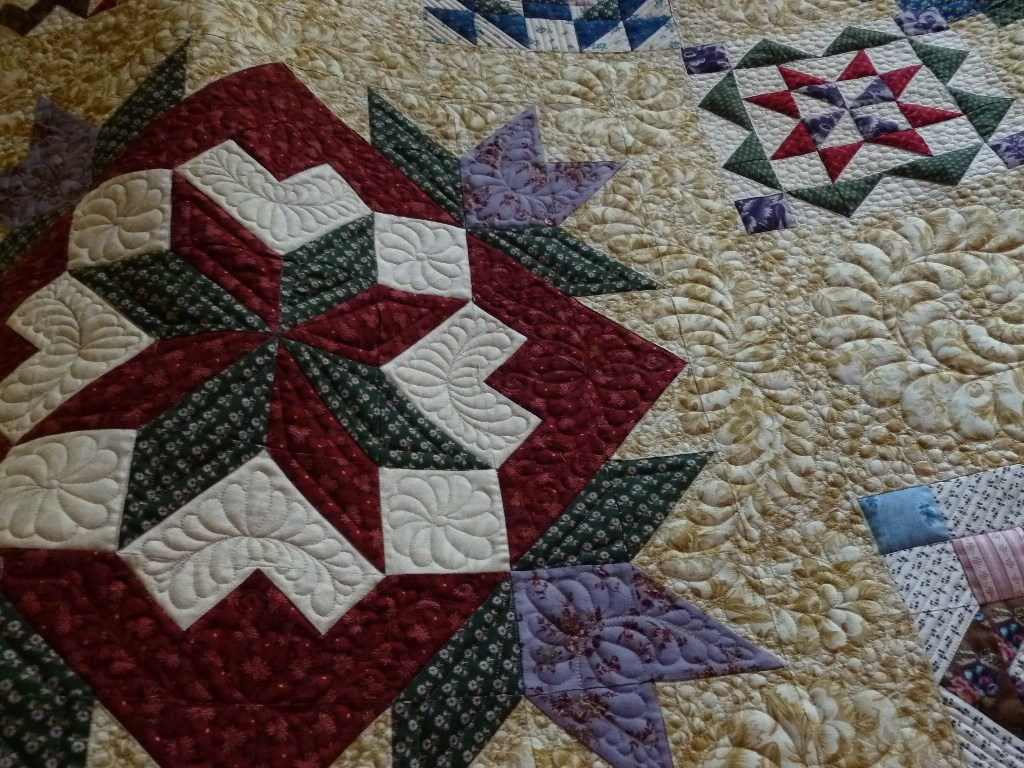
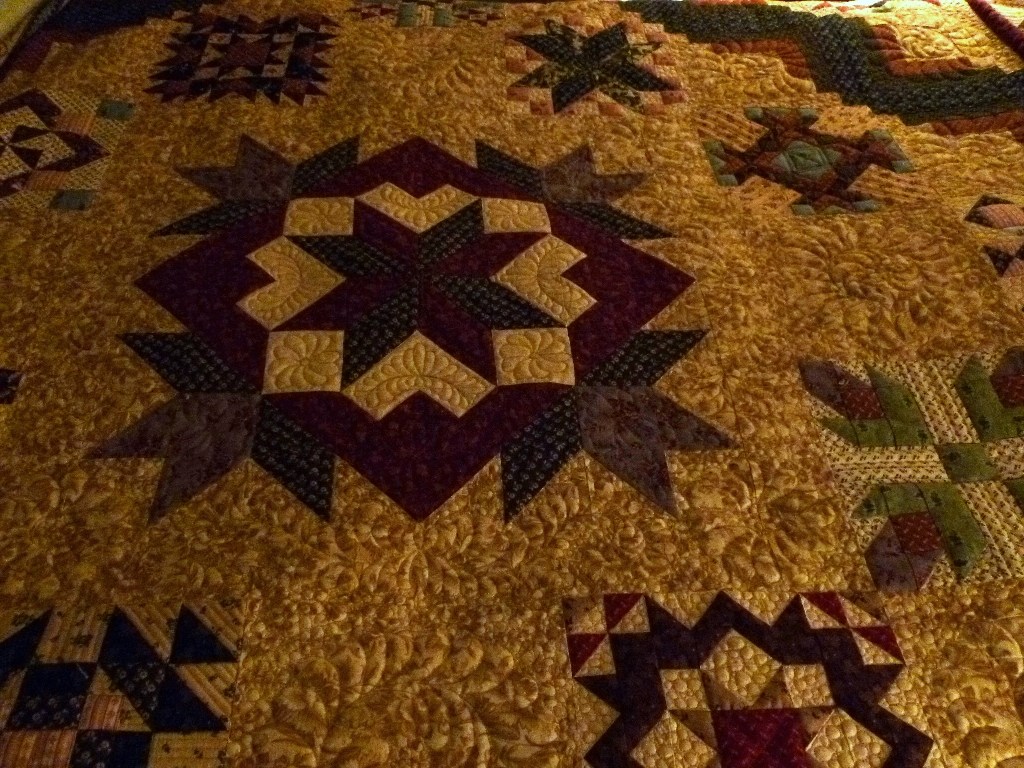
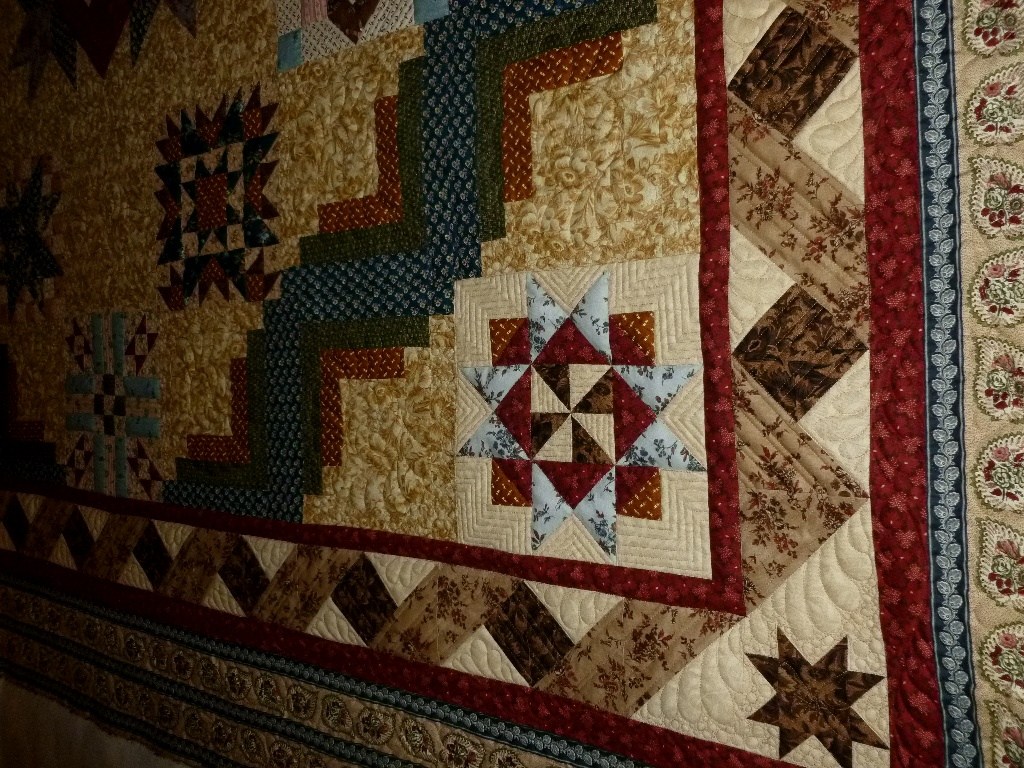
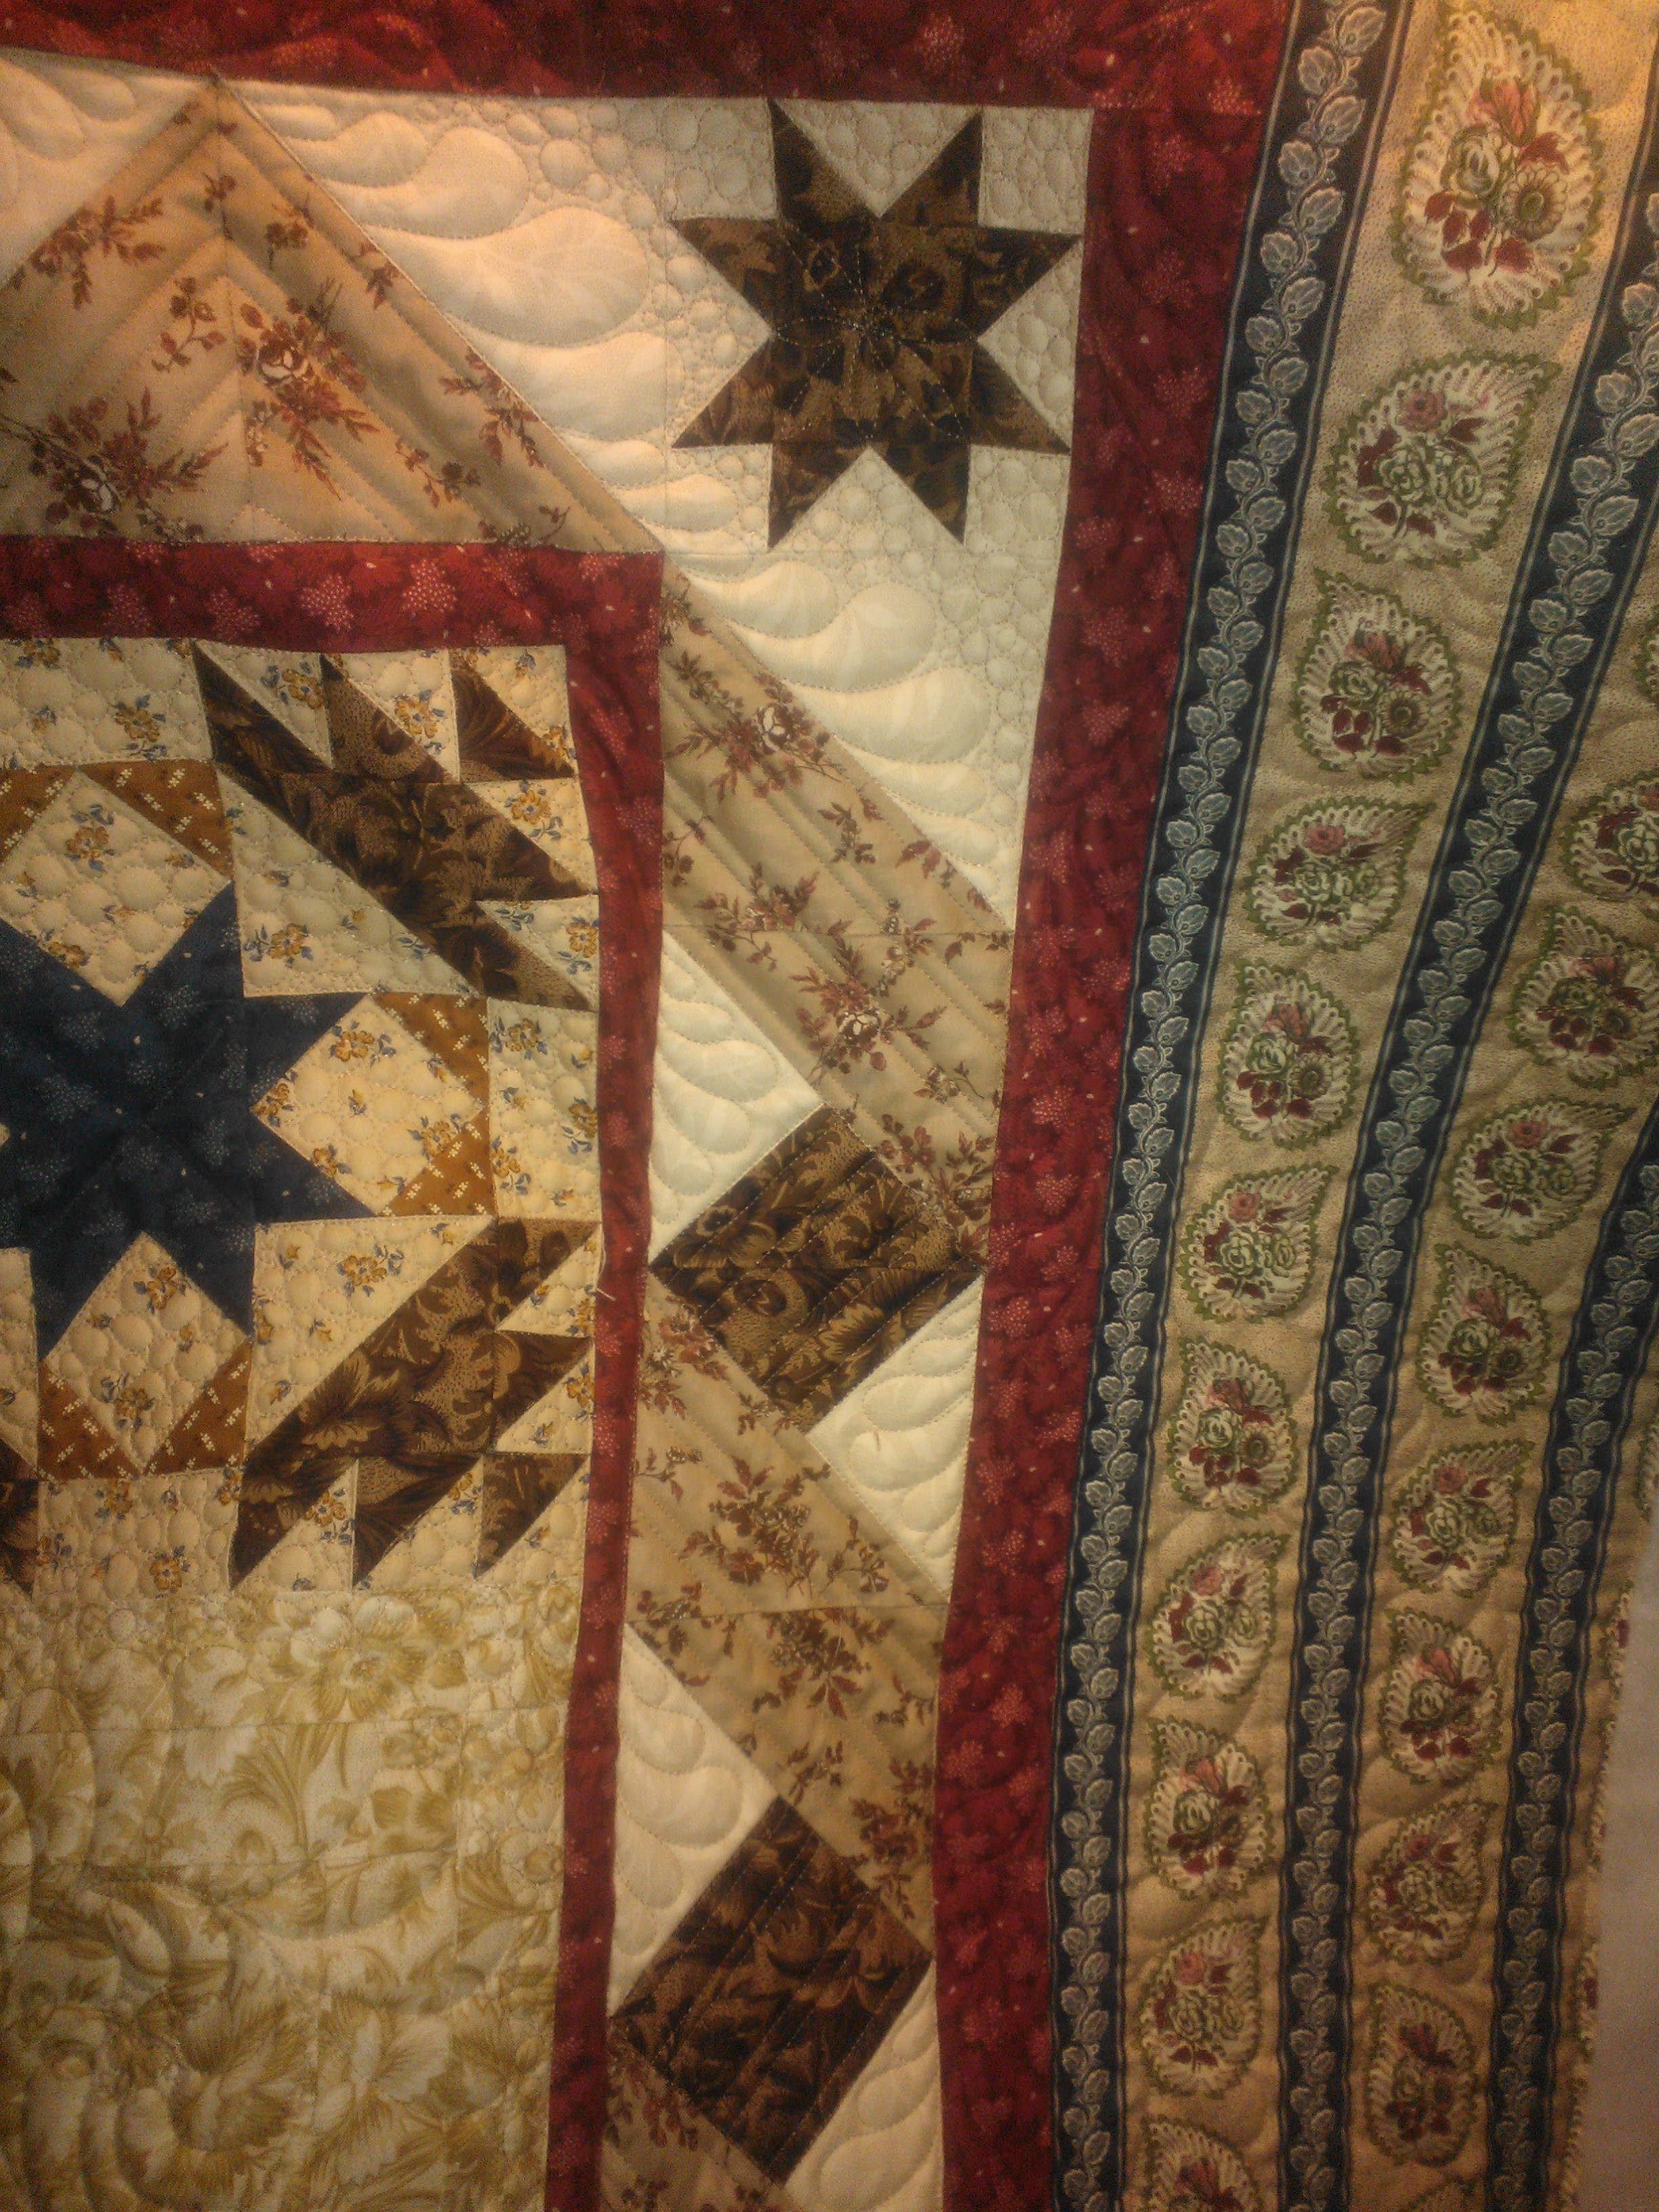
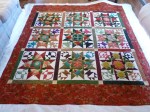
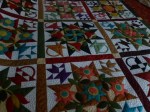
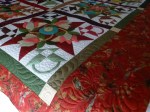
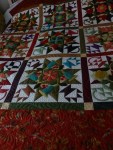
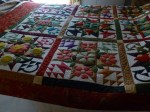
This was a large quilt and I was glad to get it off the frame. I wanted her piecing to be the star, but she also wanted it for a show quilt. So, I used two colors of thin thread (blue and brown Sulky 60 weight) and red So Fine in the top and mostly Bottom Line with some Sulky (blue) in the bobbin. I used Quilters Dream wool for batting. The back was pretty busy and I switched colors in the bobbin from blue to red to cream. The top was also pretty busy, but I went ahead with some custom quilting as that was what the customer wanted. I ended up doing more than I had planned and wound up SID all the blocks. I followed the blue strip in the border with a “pebbles on a curvy vine” – something I made up but kind of works good in this case. You can’t see it unless you have your nose up to it, but it helped define those stripes. In between the blue stripes in the border fabric as well as in the red border, I did a feather vine. The ribbon was straight lines with feathers in the light fabric. The minute I decided to pebble around those feathers in the borders, put me on a course of pebbling around all the feathers in the rest of the quilt as well in the negative space of the blocks. (dang)
While you can’t see most of the quilting in bright light, it does show enough to draw you in where you find all sorts of surprises. I tried getting a good pic, but the lighting wasn’t very good when I had time to take pics. This was a monster 97″ square and I’m glad to get it off the frame and move on to the next one (bright blues, oranges, black quilt coming up!). I’ve had my time distracted by an unplanned kitchen remodel due to a leaking dishwasher and a couple of funerals, but I’m back in the swing of things for now.
I’ve been neglecting my blog lately. So, let me give you a sneak peek at the latest quilt I just took off the frame. I’ll have details on it tomorrow. I also now have my kitchen back to better than it was before the great dishwasher leak! I’ll also post pics of that soon.
Here is another Day and Night pattern in a table runner and wallhanging. I used Sulky thread in slate gray in the top and a Sulky tan in the bobbin on most of it; and Sulky tan in both top and bobbin on parts of the wallhanging. I used Legacy wool (thinner than Quilters Dream) for both. I had already done a wallhanging for the same customer and these were the leftover blocks from that project.
I’m on vacation this week, so I scheduled half of this week to work on my projects. I’m doing some marking on one top and putting together some orphan blocks that were given to me. Hopefully, I’ll have more pics to show later this weekend.
I LOVE this quilt of Audrey’s. It looks really nice on my bed – I wonder how long I can keep it before she comes to pick it up? 🙂 I used a double batting on this quilt – 80/20 Legacy blend on the bottom with Legacy wool on top. It really helped to give it definition and loft. I used Red So Fine thread on top and a taupe DecoBob in the bobbin for the red border. I quilted a feather vine with a flower in the middle of each border. I then used Madeira invisible thread to do all the stitch in the ditch in the sashing and around all the blocks and applique (LOTS). I then went back and used the same DecoBob thread I was using in the bobbin and used it to quilt pebbles in the background fabric of each block as well as feather plumes in the sashing.
Here are some photos (none of the back, since it was a busy fabric and didn’t show much.
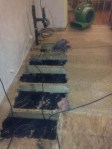
Last weekend didn’t start out as planned. We discovered on Thursday night that our dishwasher pump had been leaking. I knew there was something wrong because the flooring was swelling up in front of the sink area. 😦
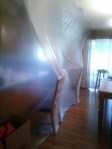
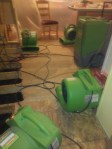
By Friday at noon, we had a crew from ServPro Restoration at our house telling us that the whole row of bottom cabinets would be removed. They were extremely professional and packed up the contents, removed everything, removed the flooring underneath to the joists, and installed fans and a dehumidifier. They come to the house and check the progress each day. On Monday, they hung plastic in an attempt to close off the space from the rest of the house and removed more flooring and drywall. They think they’ll be able to remove their equipment tomorrow. Then our contractor will hopefully be able to start right away repairing everything. I can’t wait to get my kitchen back to normal. Having no water or sink in the kitchen has been a challenge, as has the noise from the dryers.
Here are some pics of my mess. When it’s all been repaired, I will have a new floor and a new dishwasher, both things I’d wanted. Funny how your wishes work out, huh?!
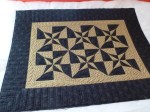
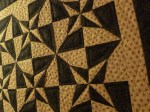
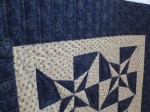
I’ve always loved this pattern and Judy brought this lovely wallhanging to me to quilt. I love her color choices. I chose to do beadboard in the outer border, feather plumes in the second border and quarter inch vertical lines in the small inner border. I stitched in the ditch and did a quarter-inch outline in the star shape and quarter inch vertical lines in the lighter color fabric in the pinwheels. In the spacing in between, I did feather wreaths outlined with pebbles. Overall, I think this looks nice. I hope Judy likes it.
I used So Fine black and Invisifil taupe threads and Quilters Dream wool (my favorite). Next up is a gorgeous wool applique quilt that involves a lot of stitching in the ditch. It’s nice to get two relatively easier quilts done before tackling a bigger project.
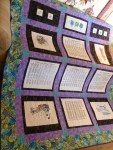
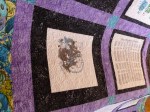
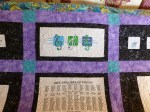
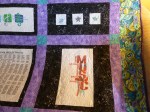
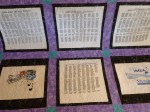
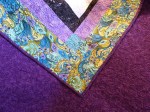
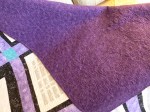
I’ve finished this cute t-shirt quilt. I used knit fusible interfacing to back each of the t-shirt areas. The black musical fabric was used to outline each of the t-shirts and extend them to a 16″ size (the size of 5 of the biggest blocks). The top row of blocks was 9″ by 16″. I used the medium purple print and the teal print for sashing and found a lovely modern flower swirl print that had most of the same colors in it for the border. I used a darker purple flower print for the back and the binding, and I really like how it turned out. I looked for several musical-themed pantos, but just wasn’t happy with any of them. I couldn’t do a custom treatment to this as it wasn’t in the budget. I used this daisy swirl overall meander and I LOVE it. I’m definitely using this treatment again. It was easy to do and it went fast. I finished the entire quilt in one day. It turned out to be 79×88 (full-size). I used an 80/20 Legacy batting and Sylko gray thread on top and Coats and Clark purple embroidery thread on the bottom. I had no issues with tension, even when going over the sweatshirt material! I LOVE the Sylko gray thread. It looks almost metallic on the black material and it blended with everything!
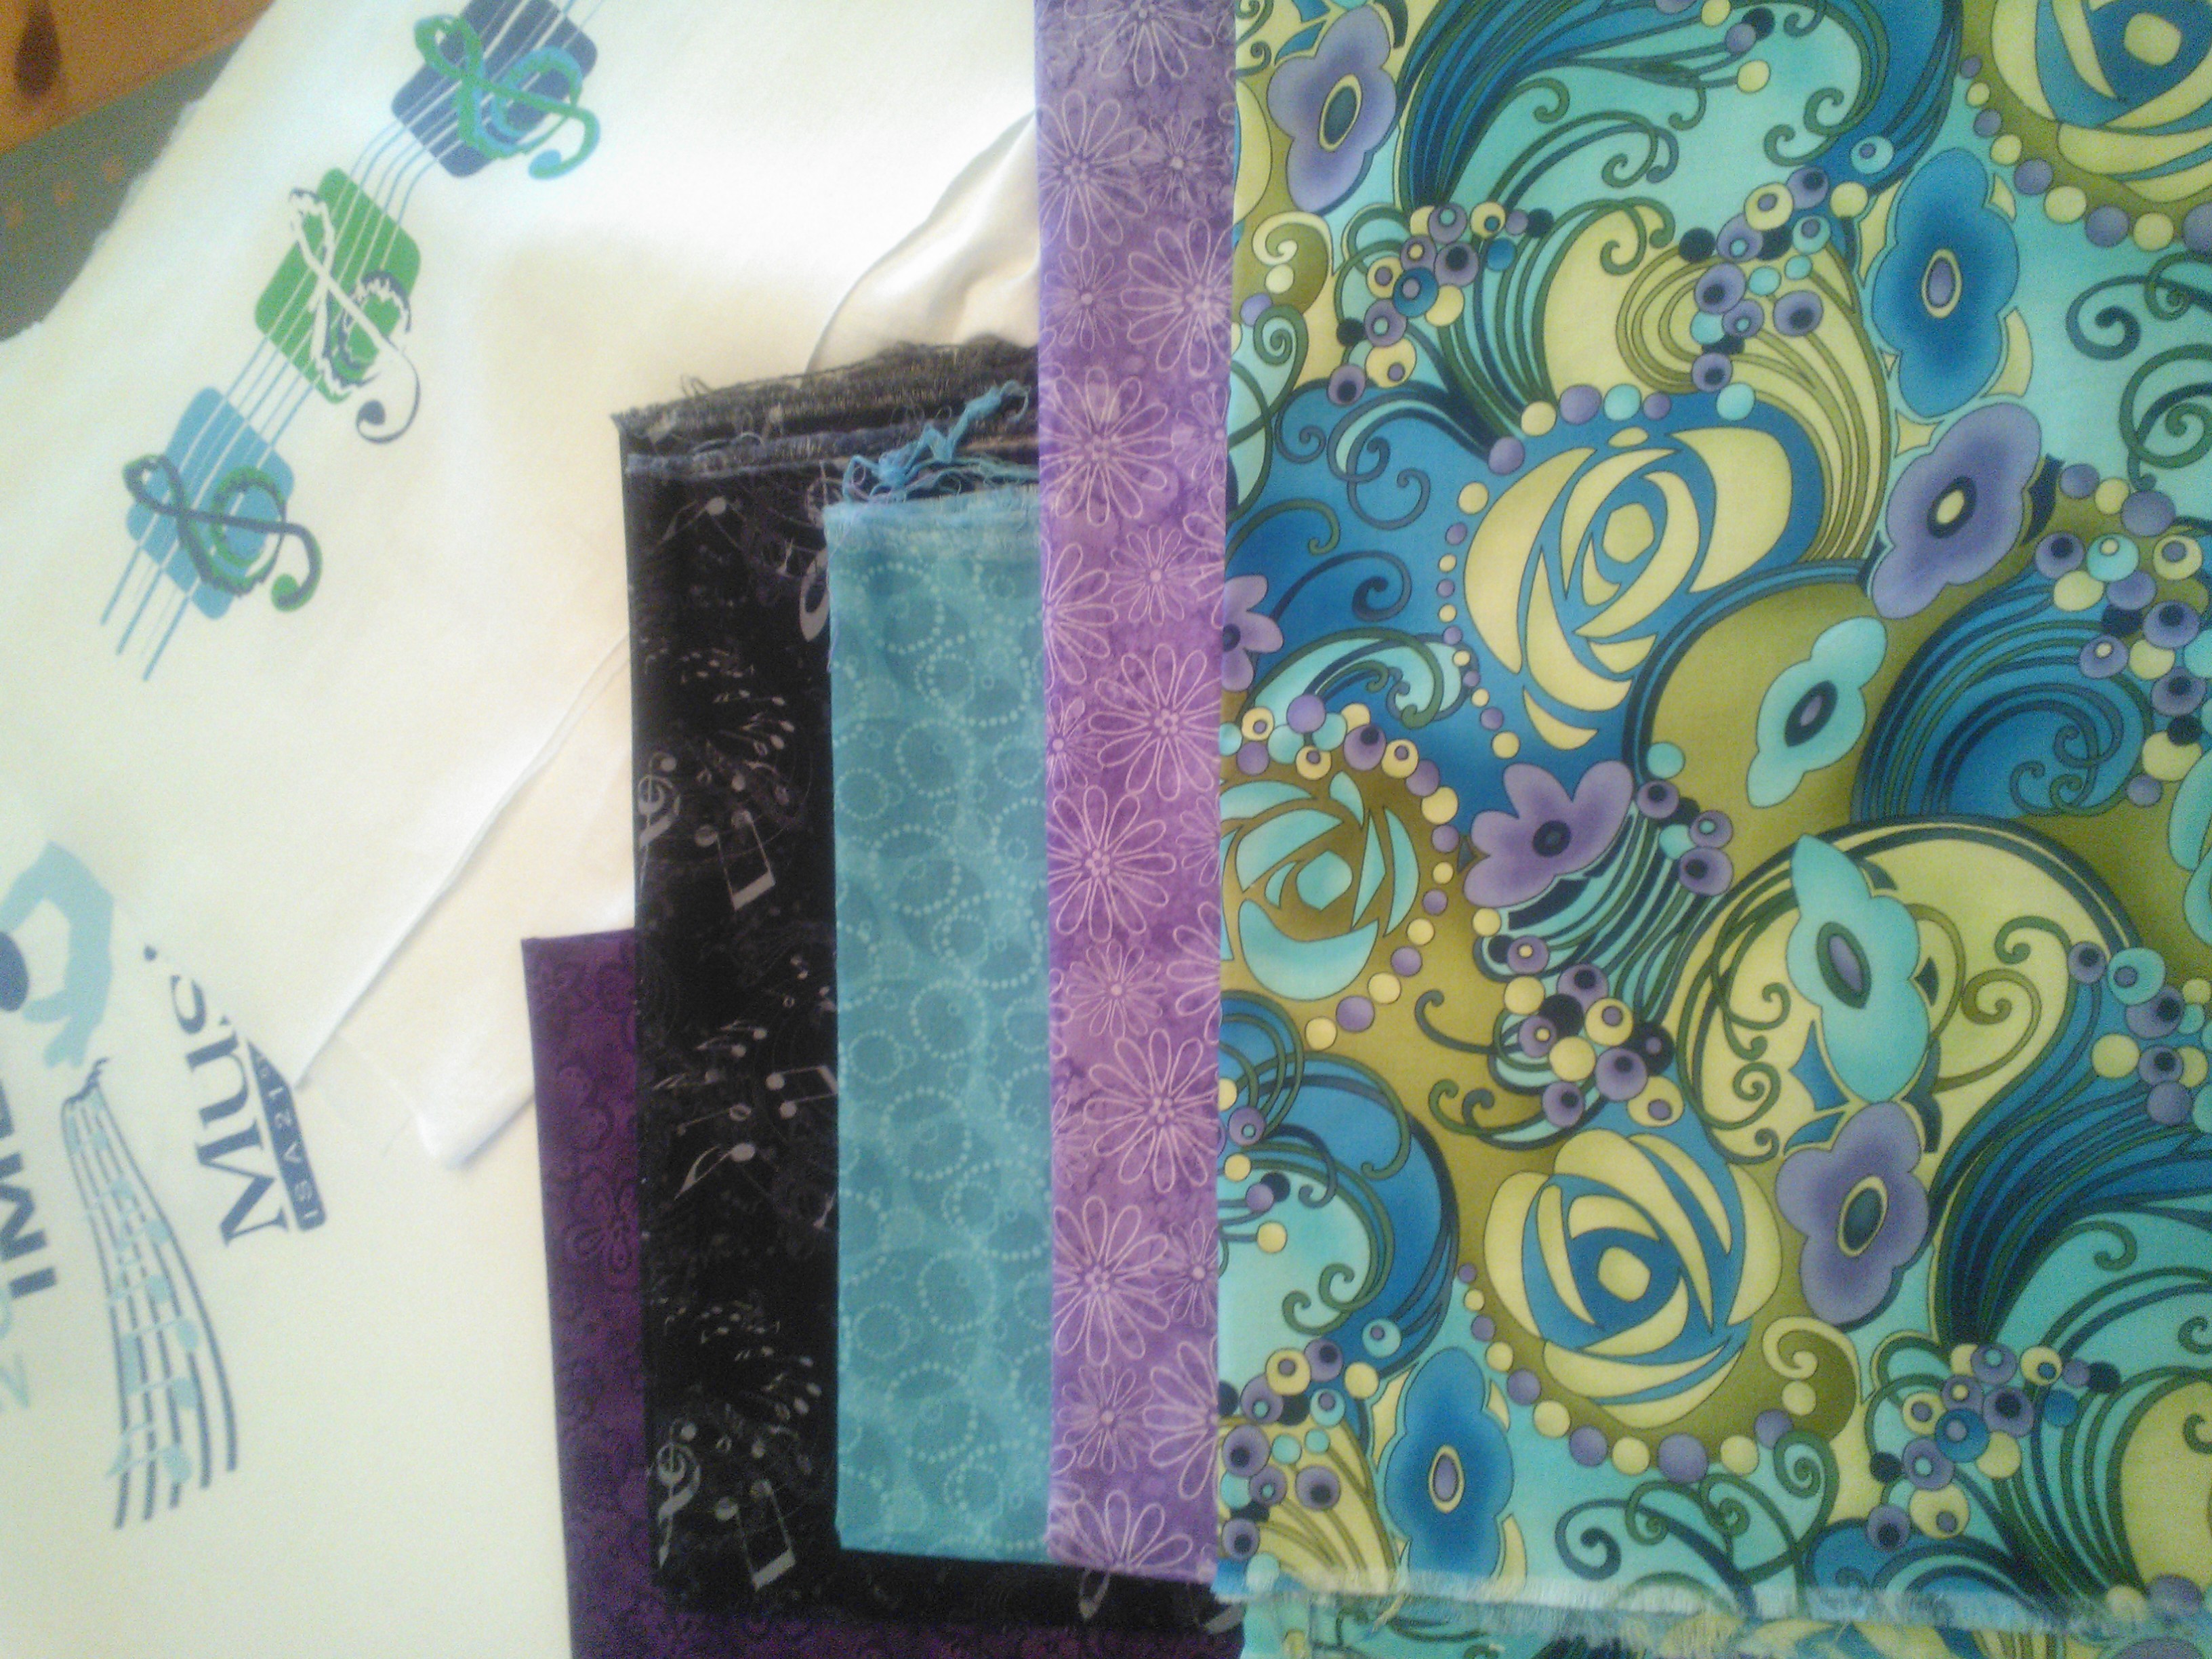
These fabrics are what I’ve chosen to use in this young graduate”s t-shirt quilt. Most of the shirts have teal and black, and her favorite color is purple. I plan to use the black music fabric as a small border around each block. The purple will go in the sashing with teal cornerstones. The multi-color print will be the outer border and the backing will be a darker purple.
I’m traveling to Nashville next week so I’ll not have much progress to share for a while.