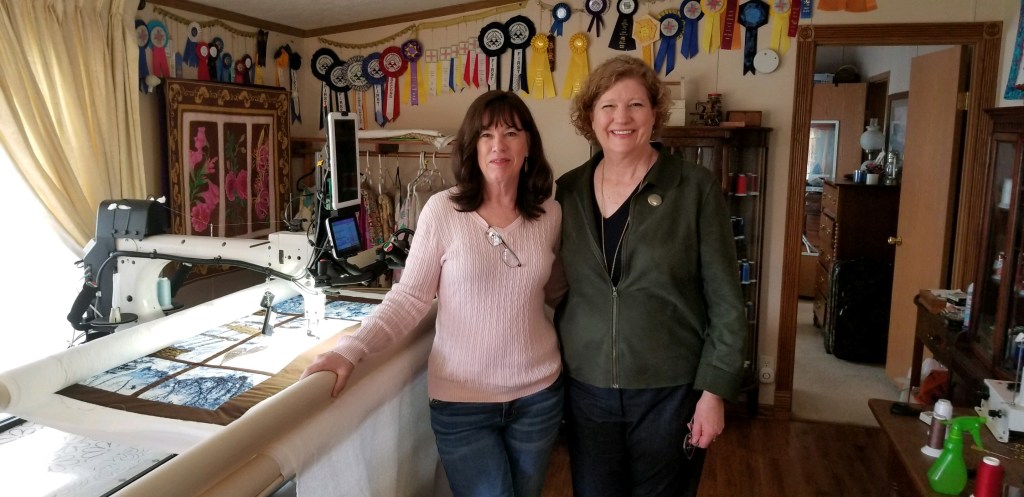
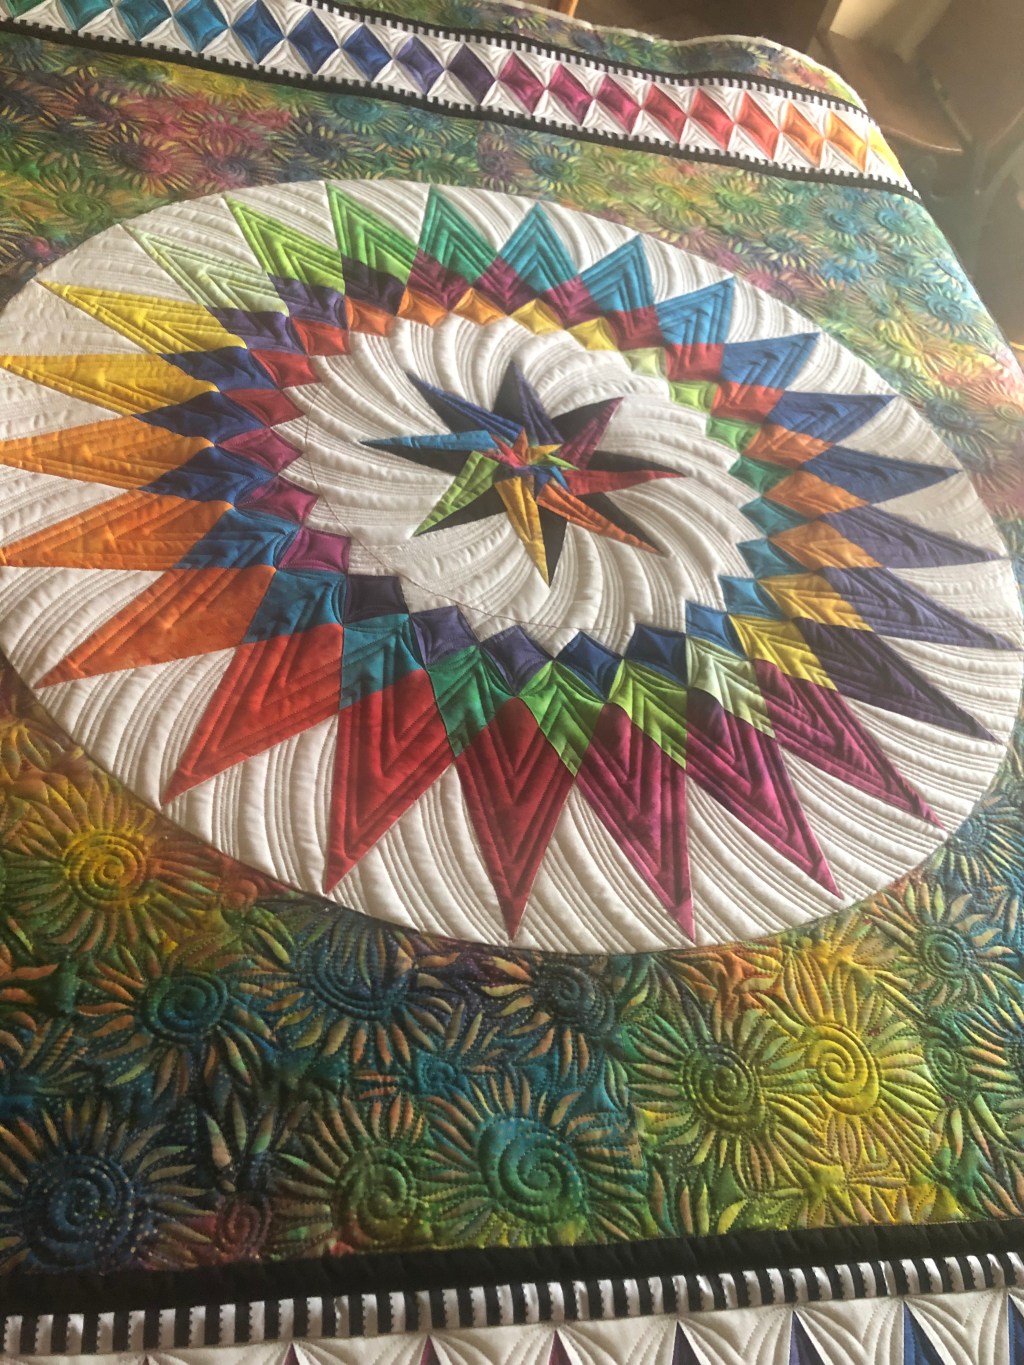
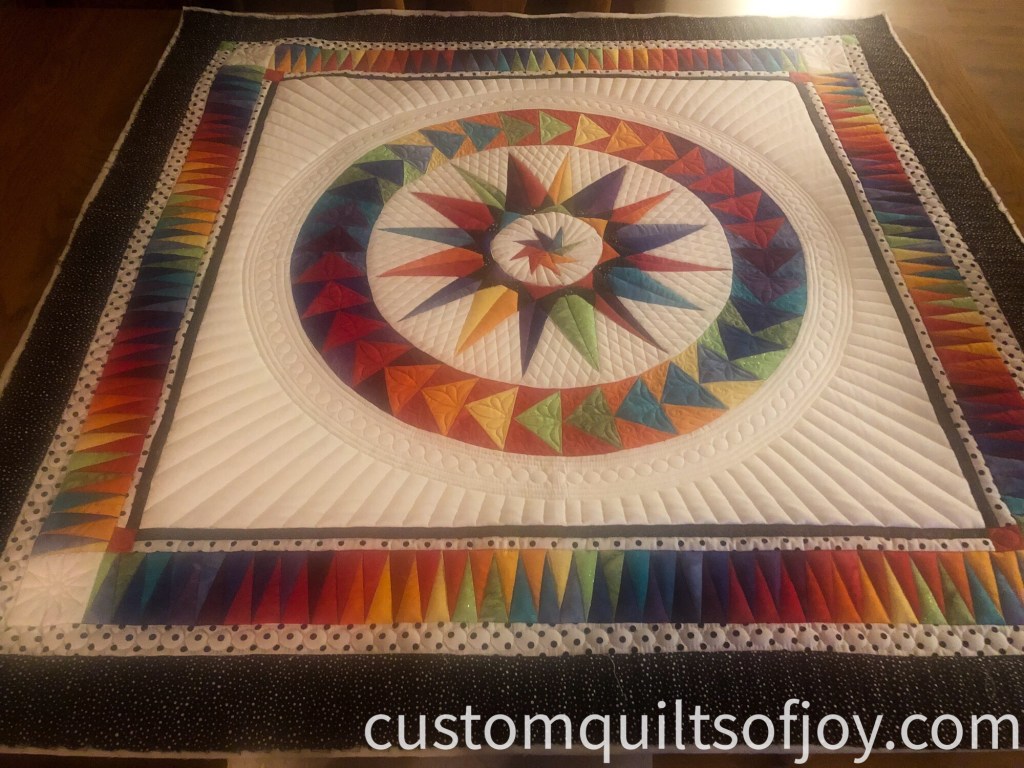
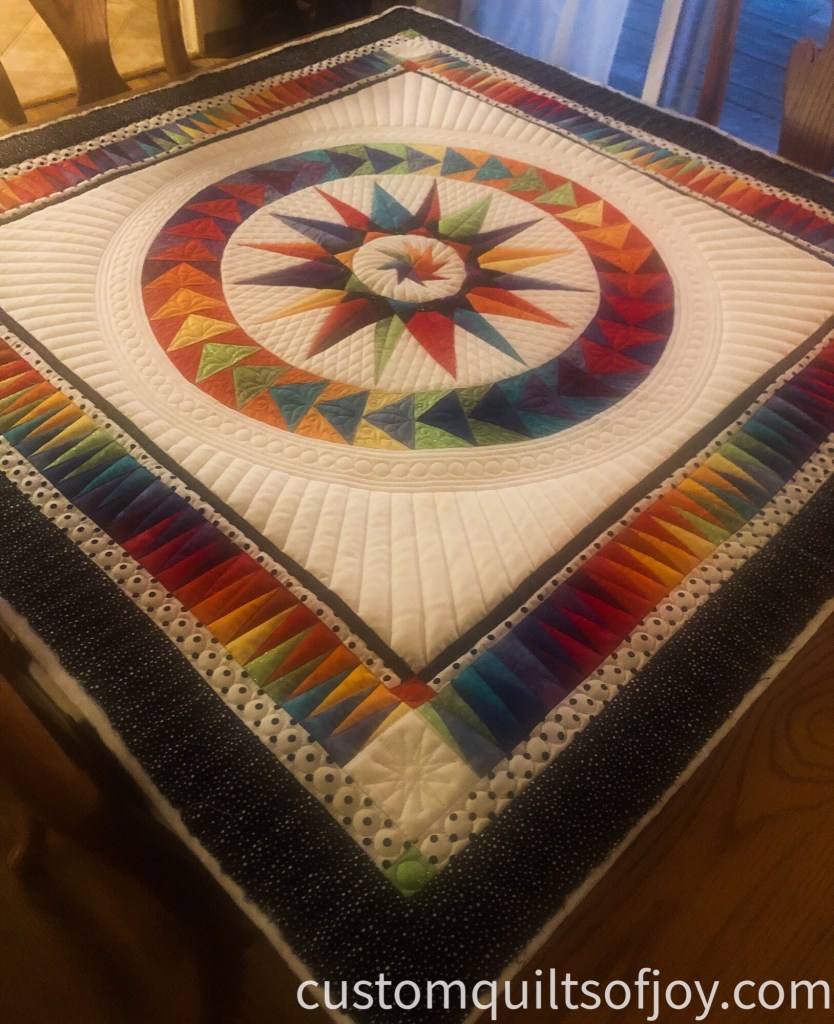
I recently was interviewed by D. Ruth Esry for an article for the PrimeLife Times newspaper. I was thrilled to say the least on being approached by Ruth for an interview. She came to my home for the 2-hour interview, along with two friends who dropped her off while they shopped and explored in Sullivan. We had a great time talking about quilting in general and my personal quilting journey.
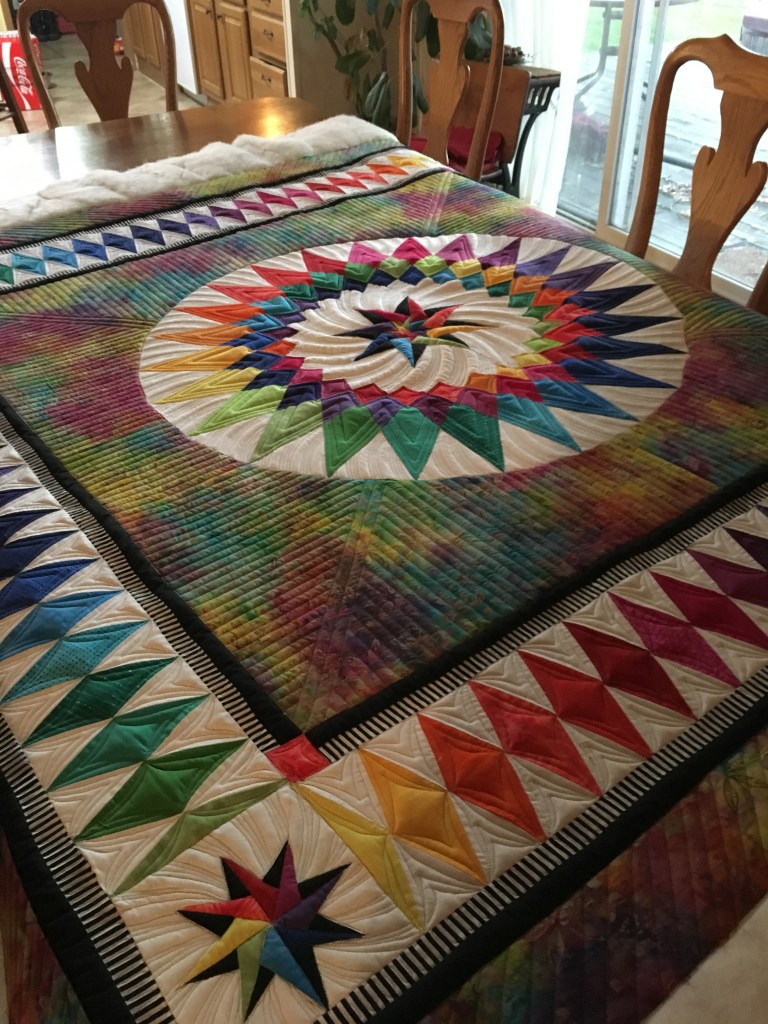
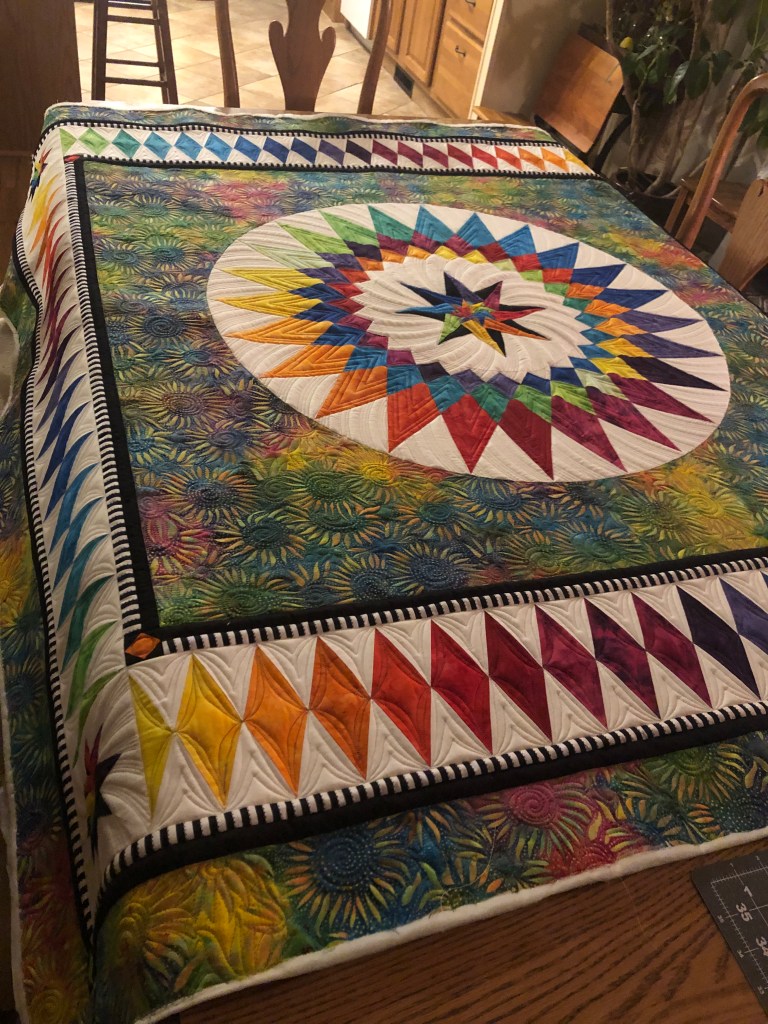
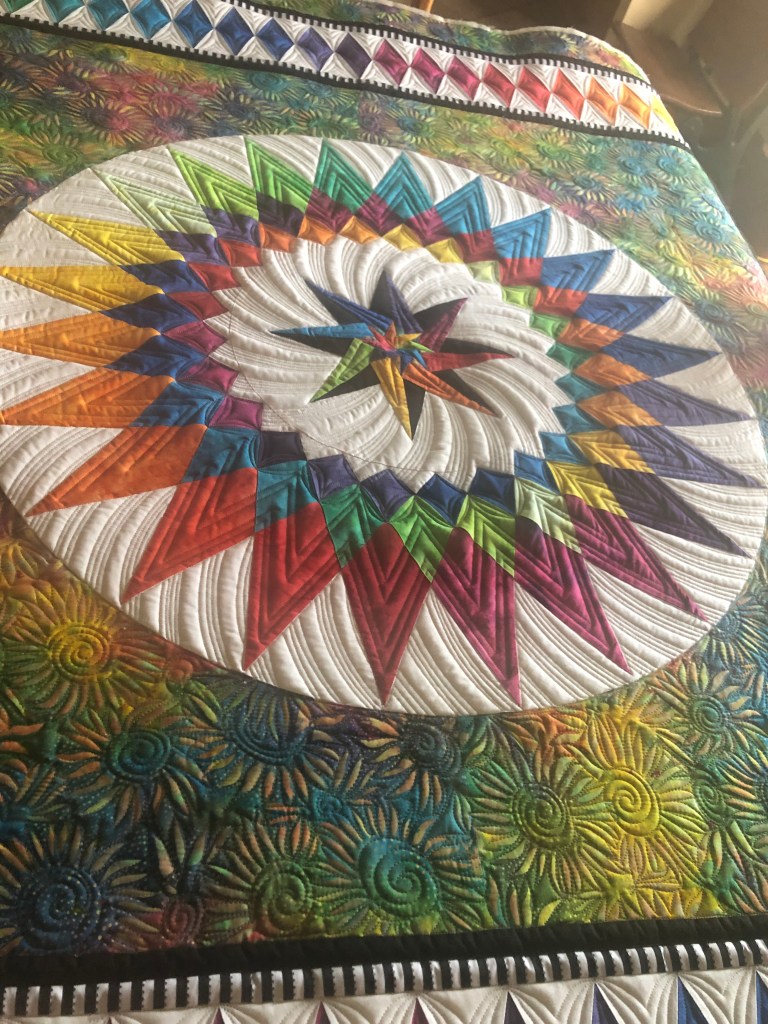
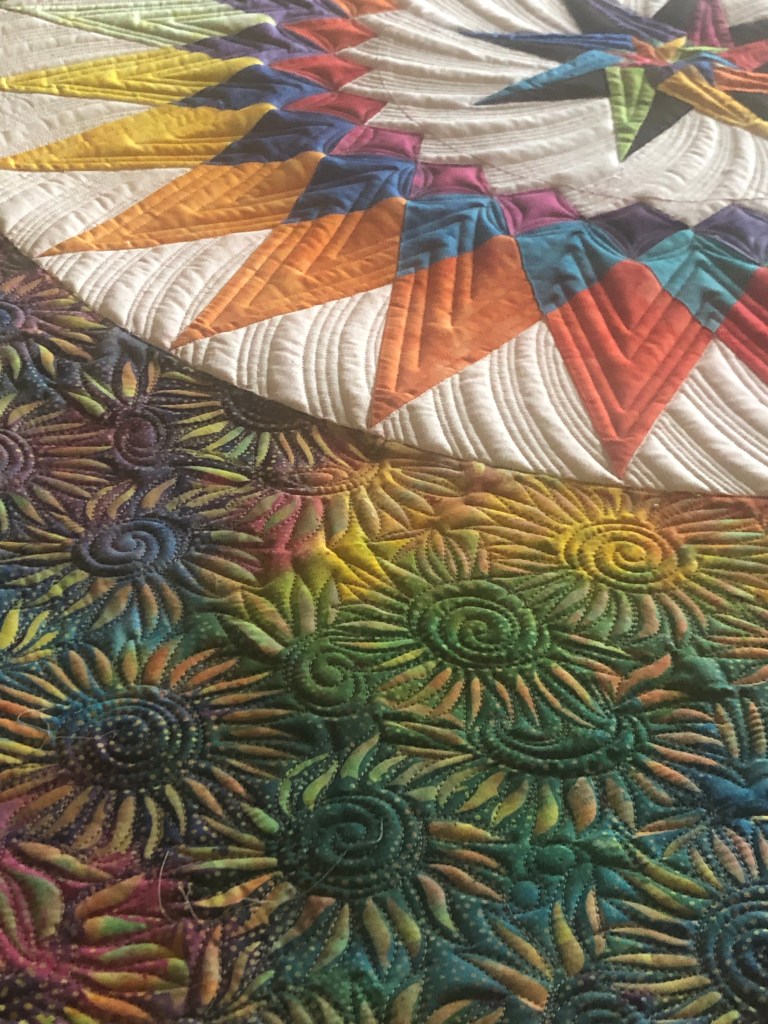
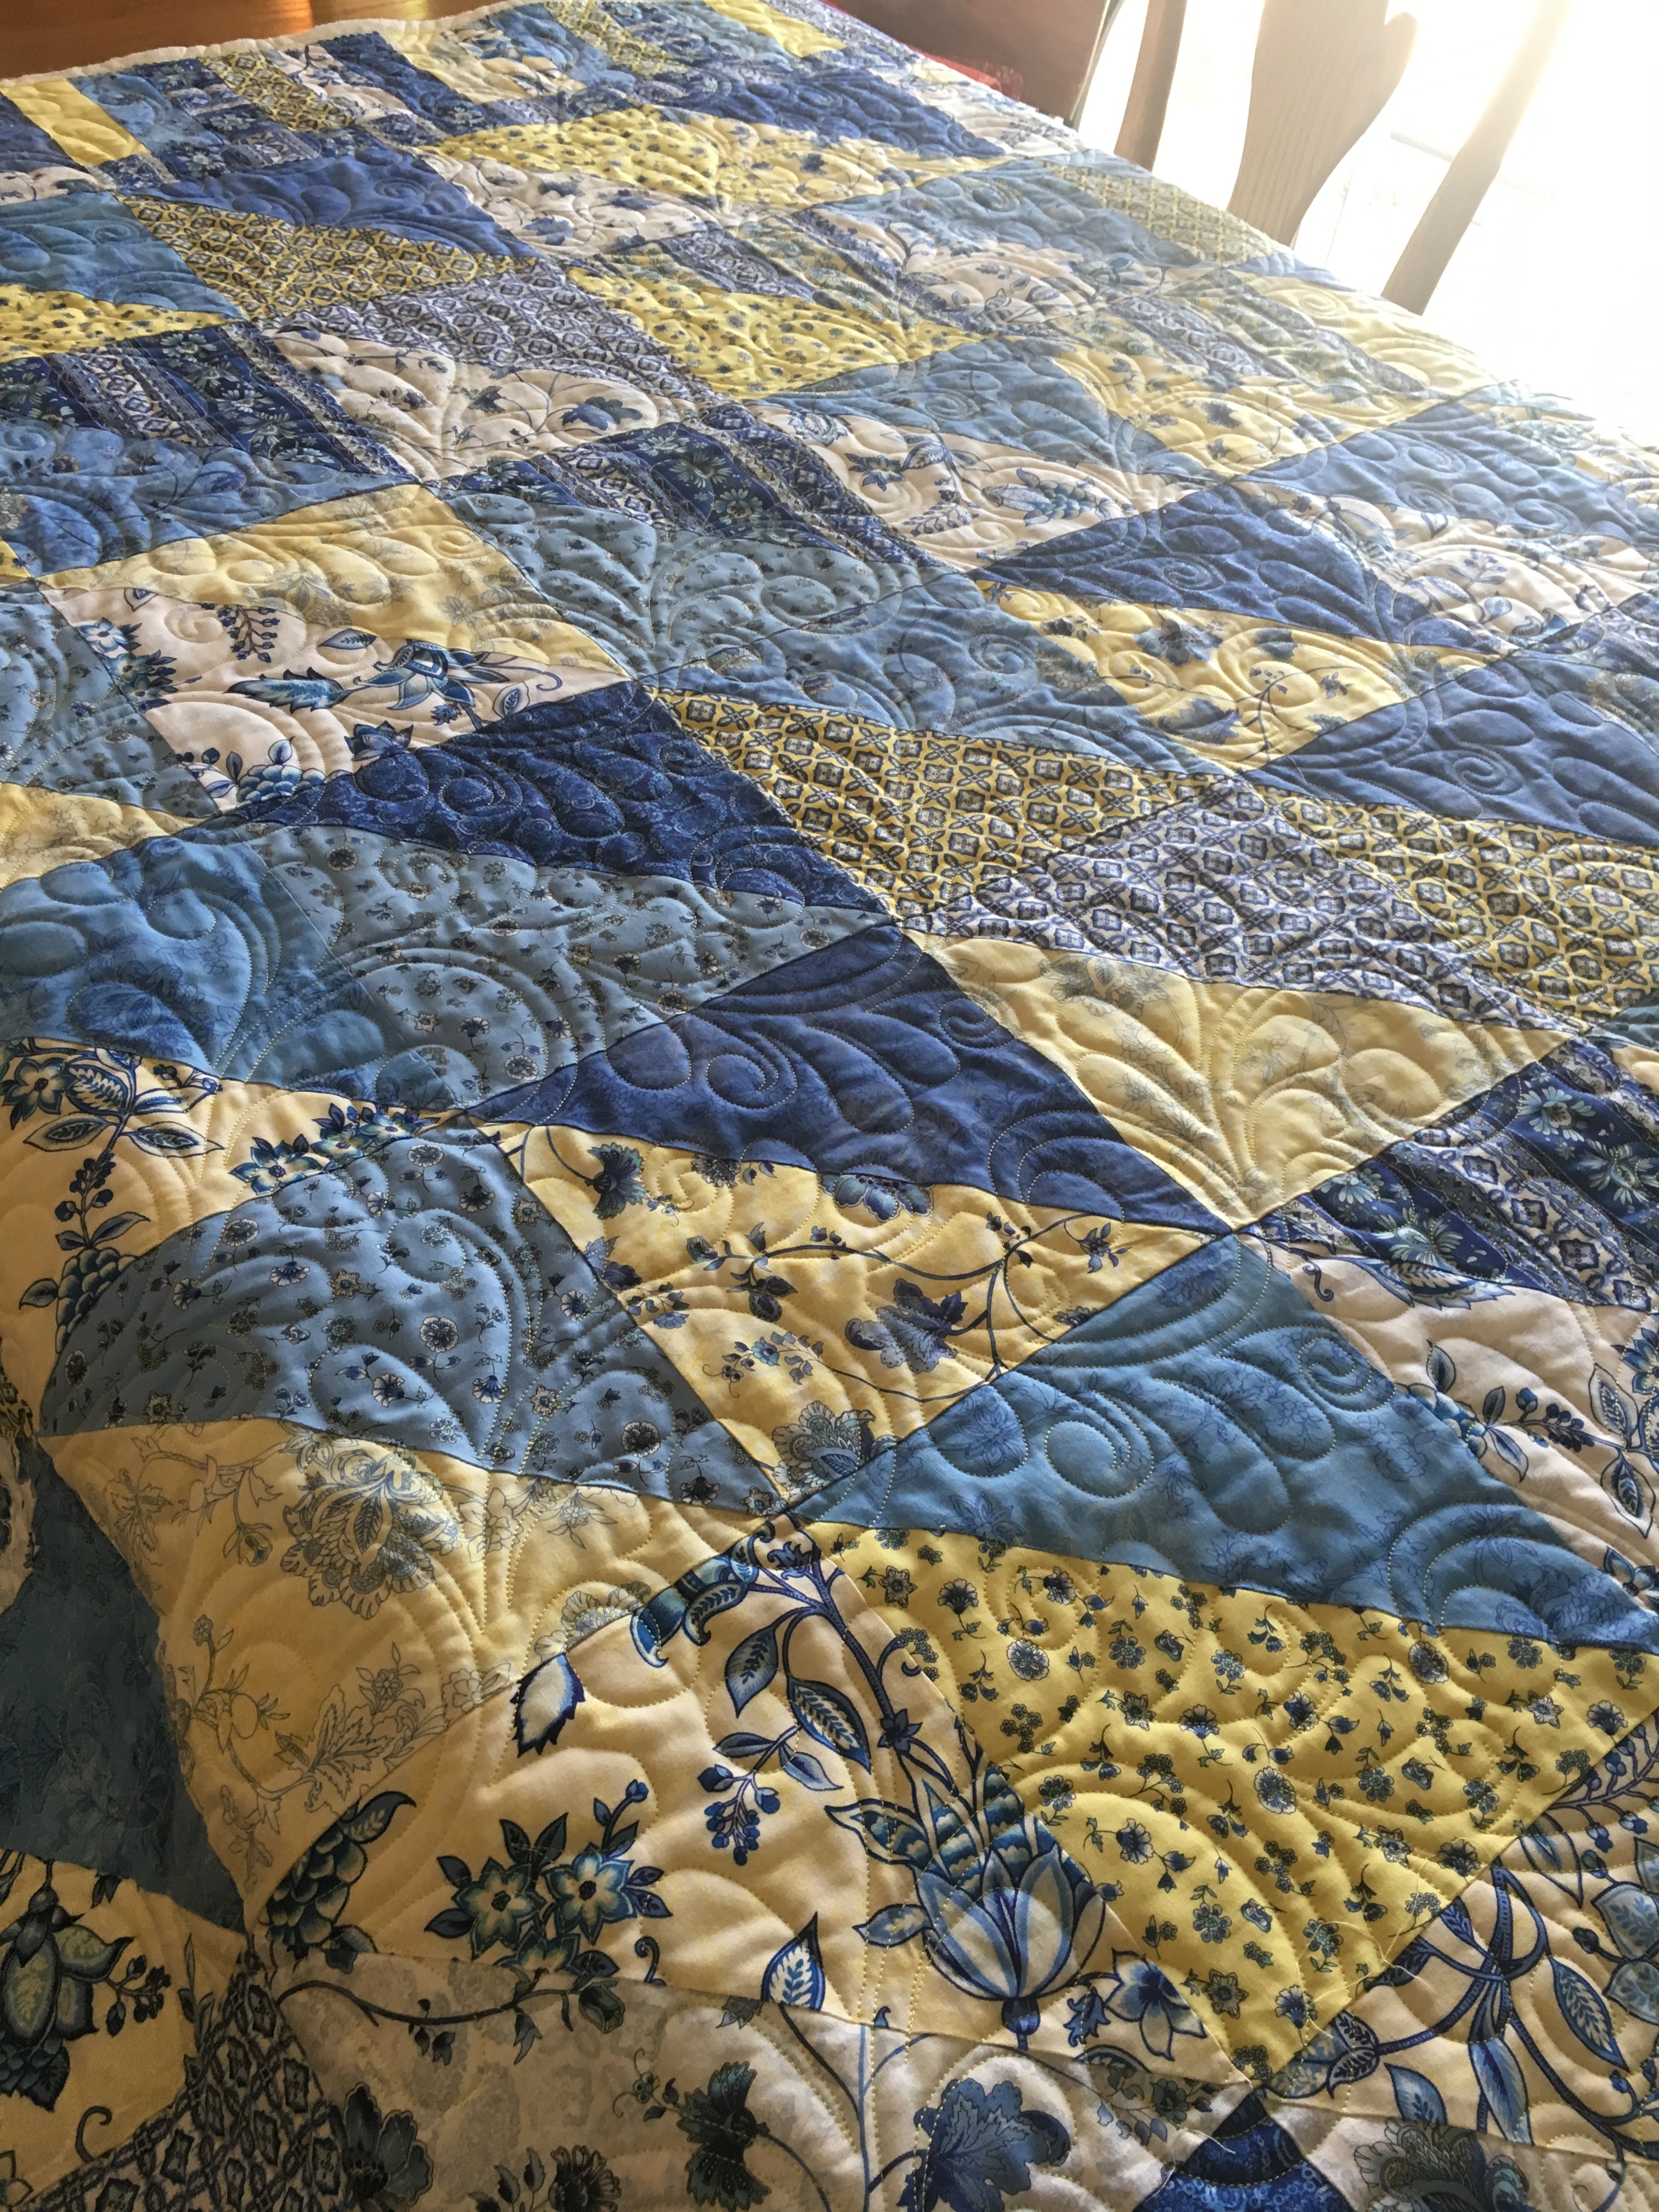
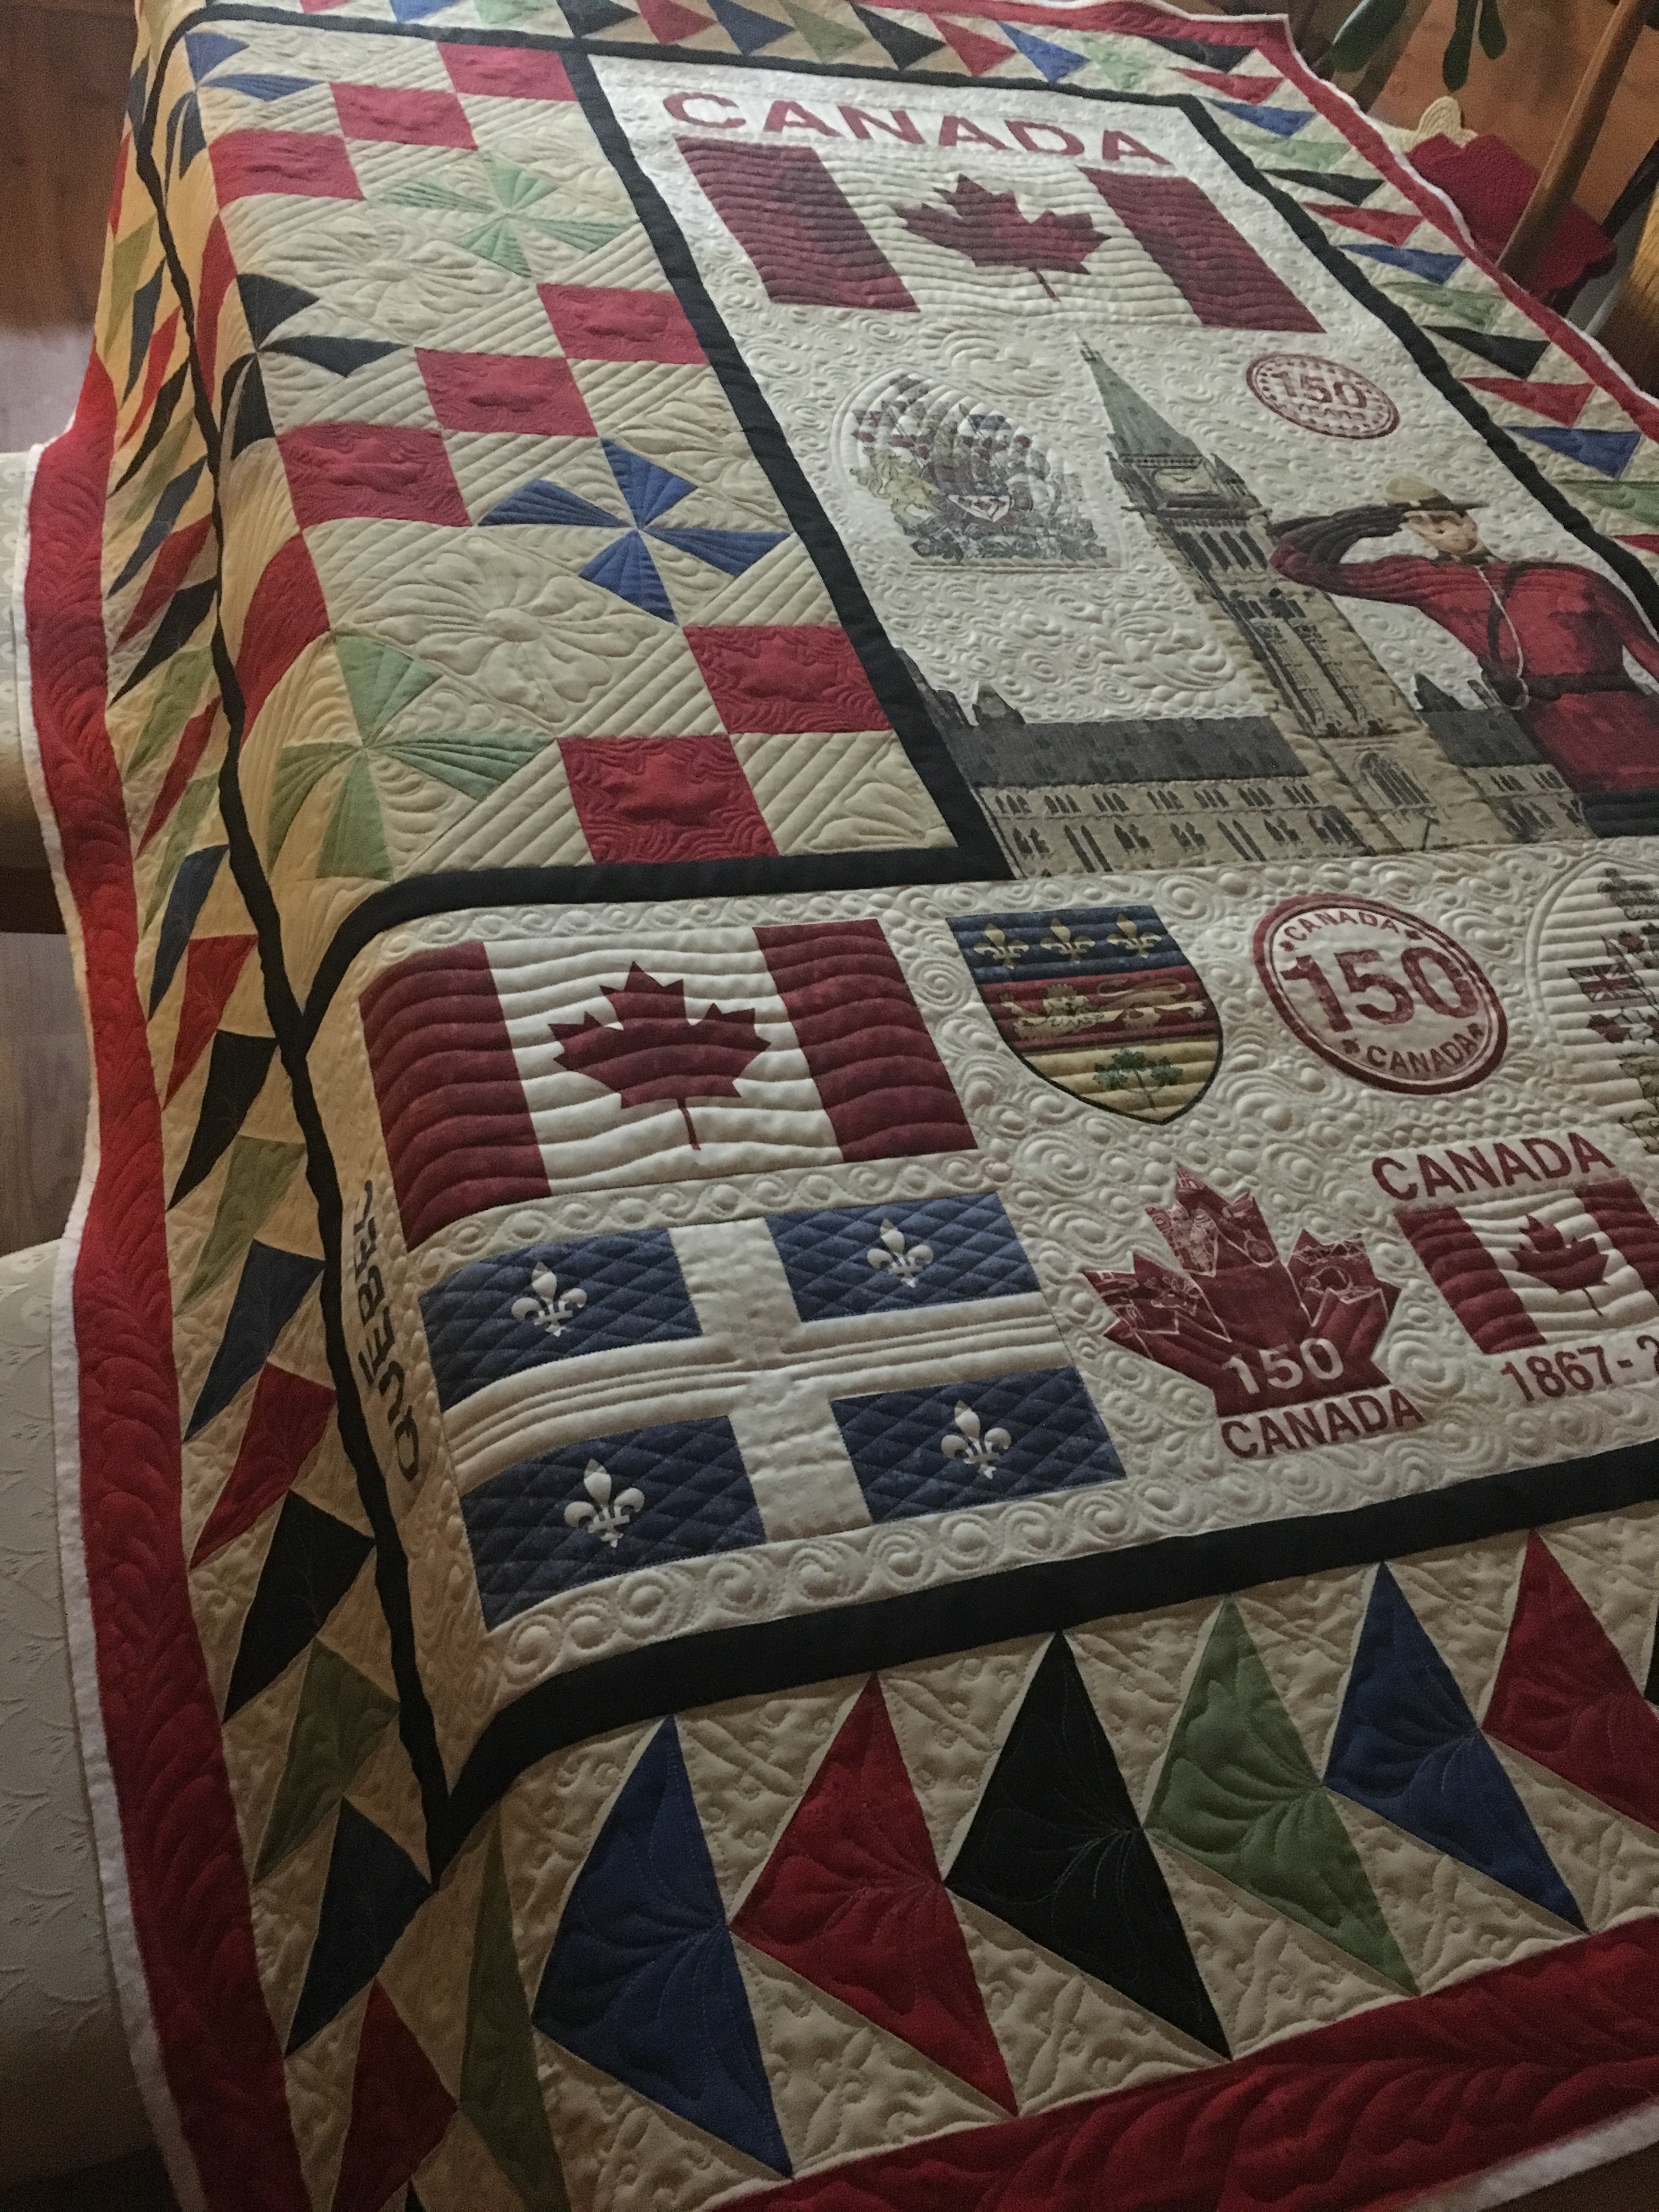
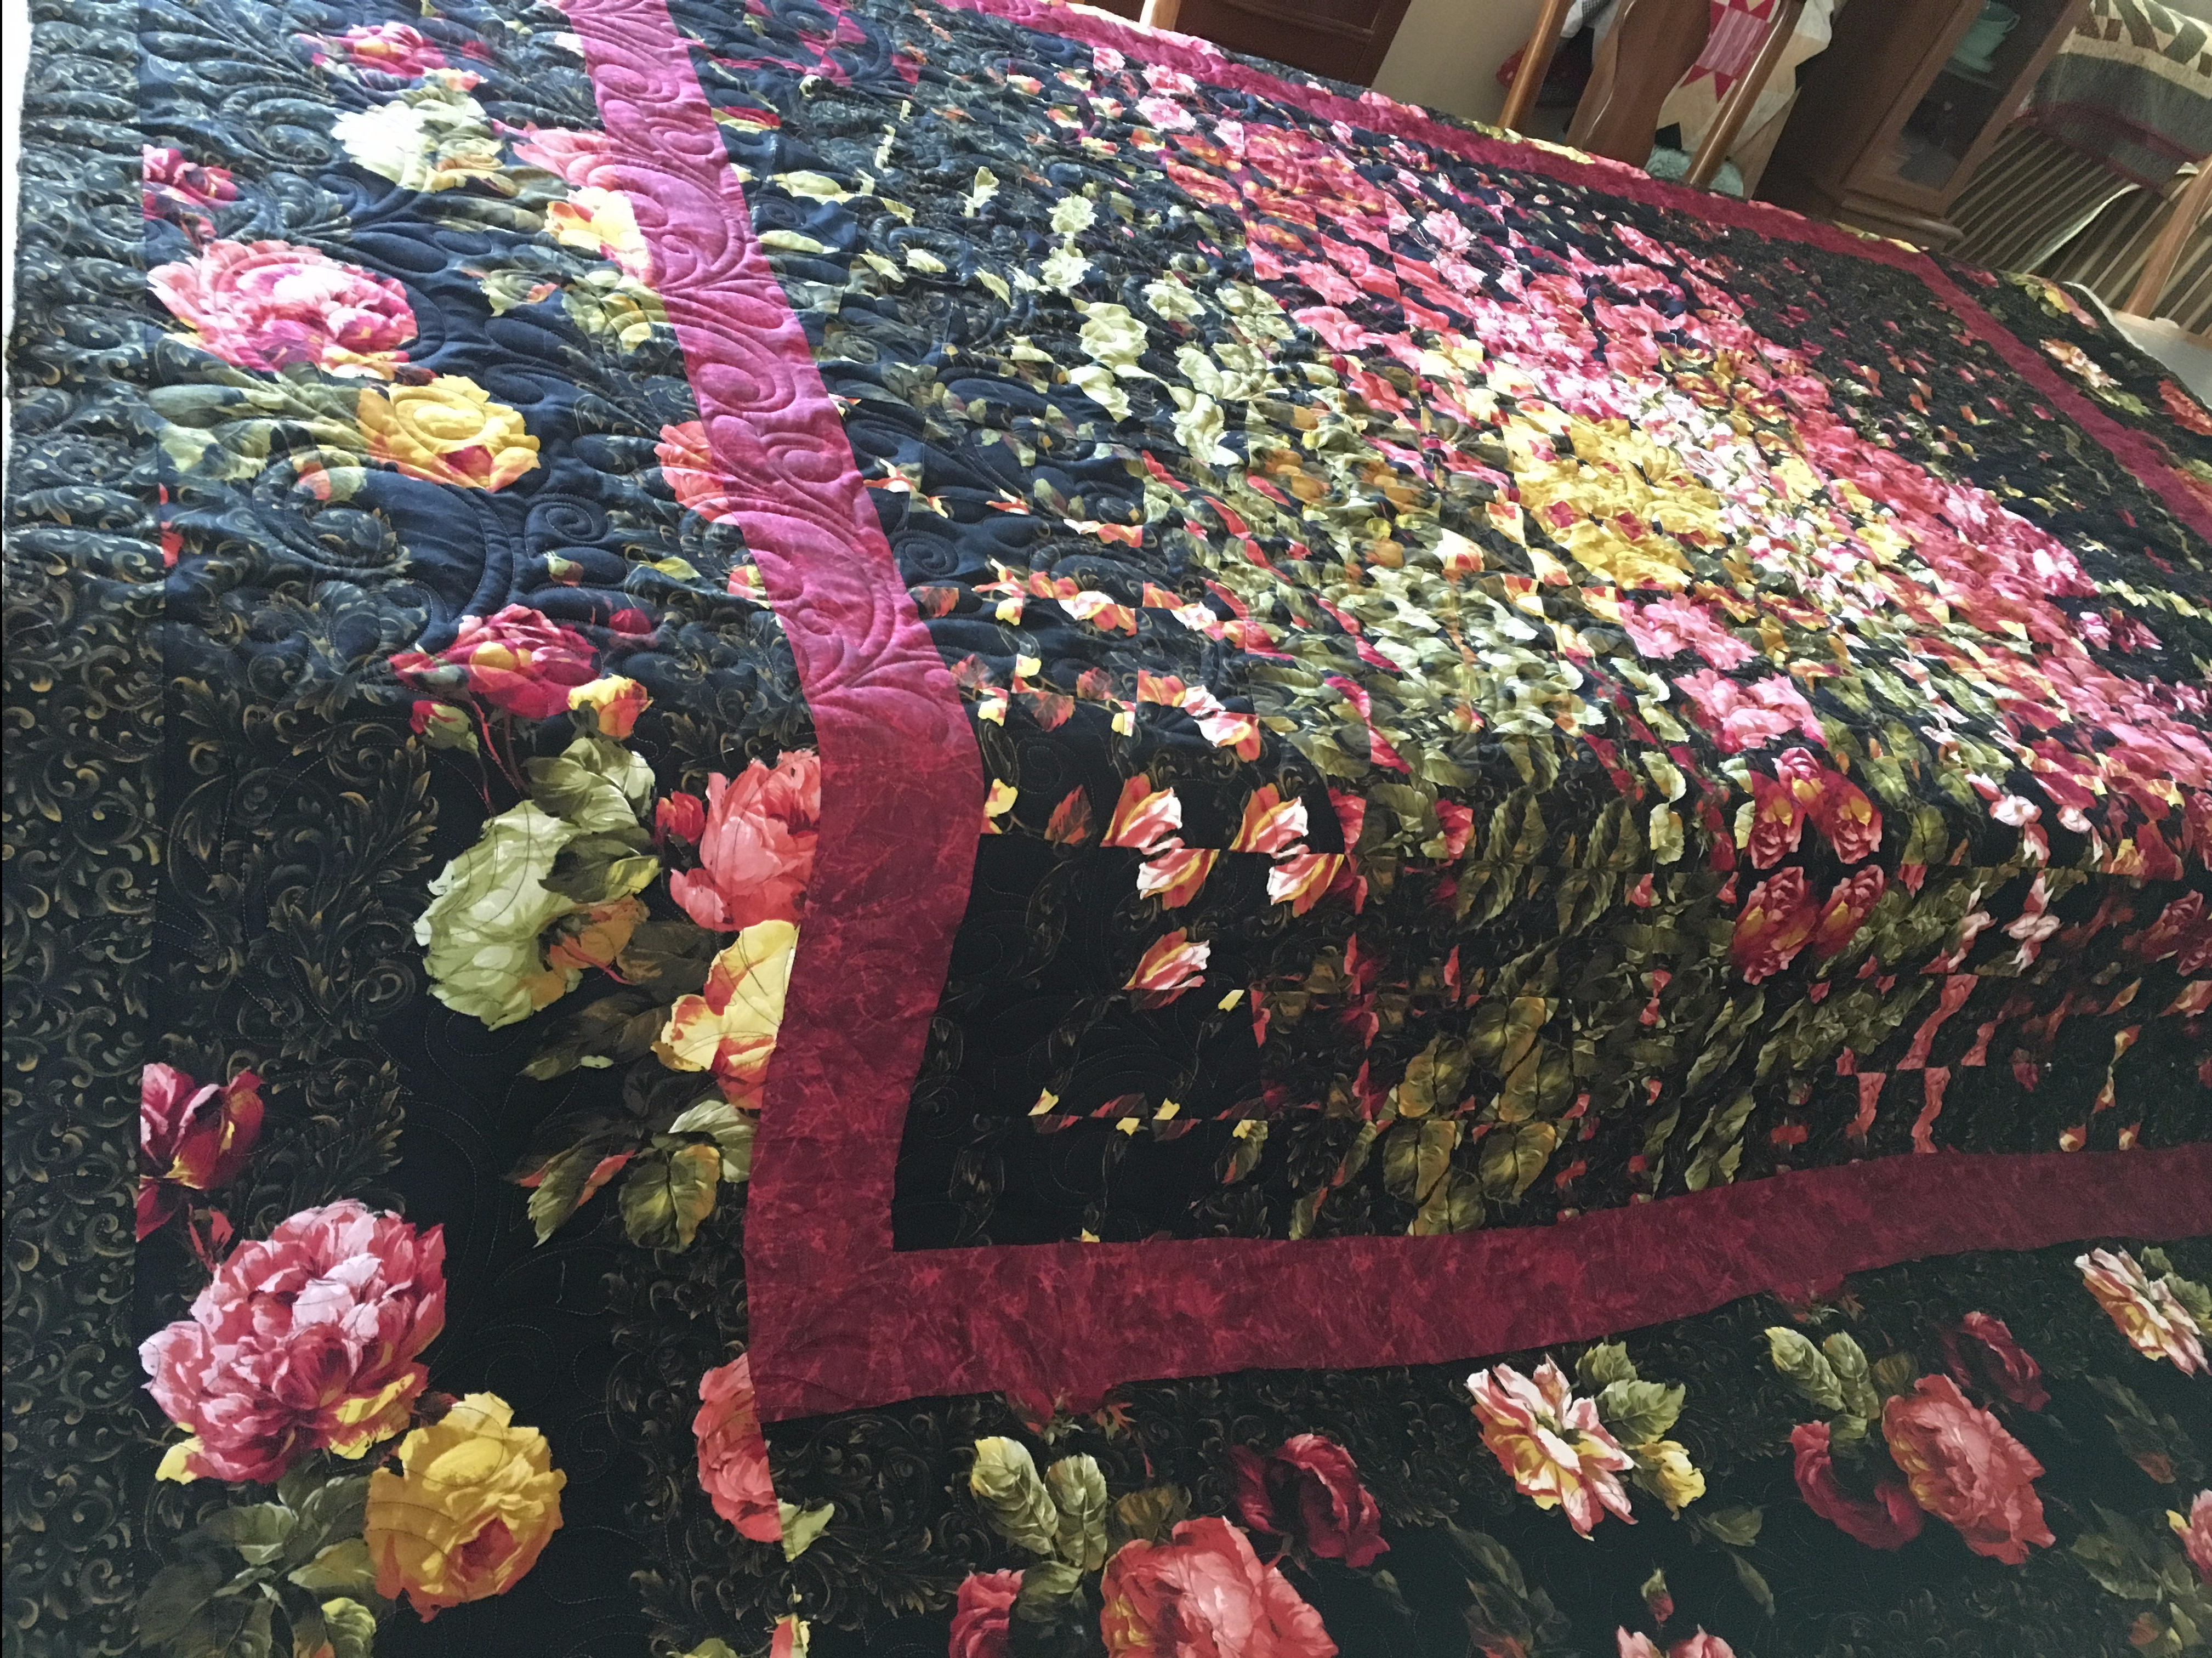
Some of the quilts that were discussed in the article are shown here:
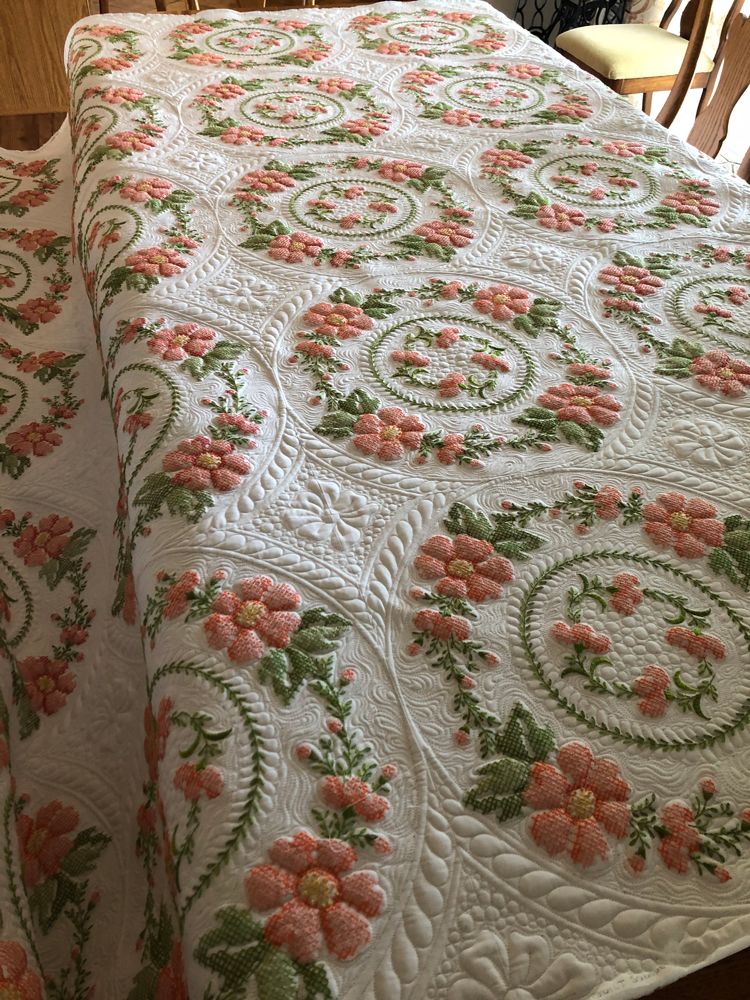
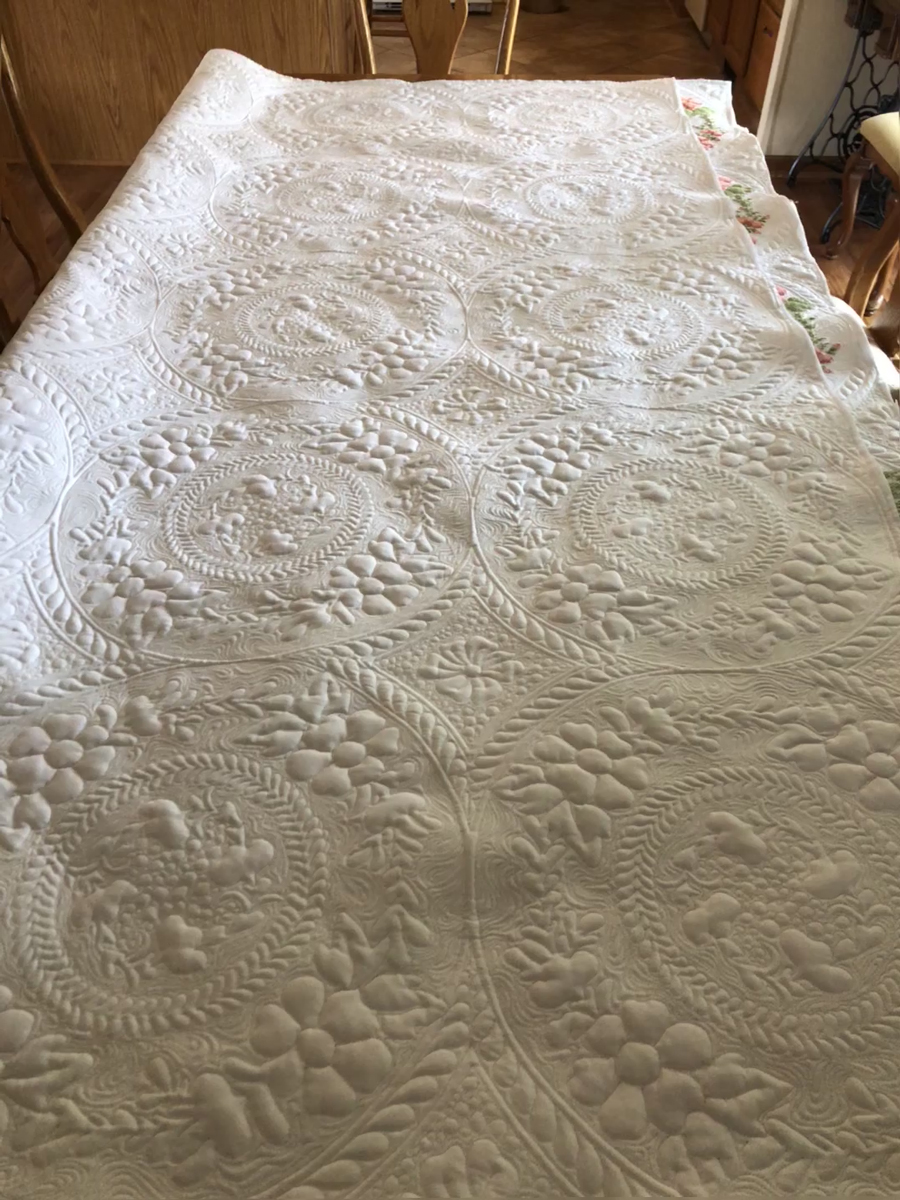
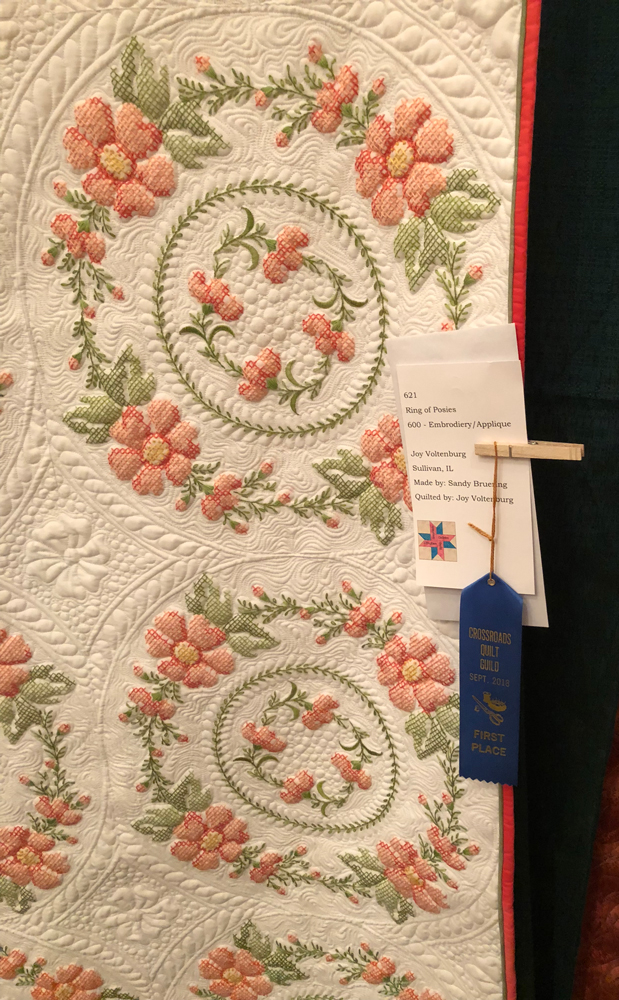
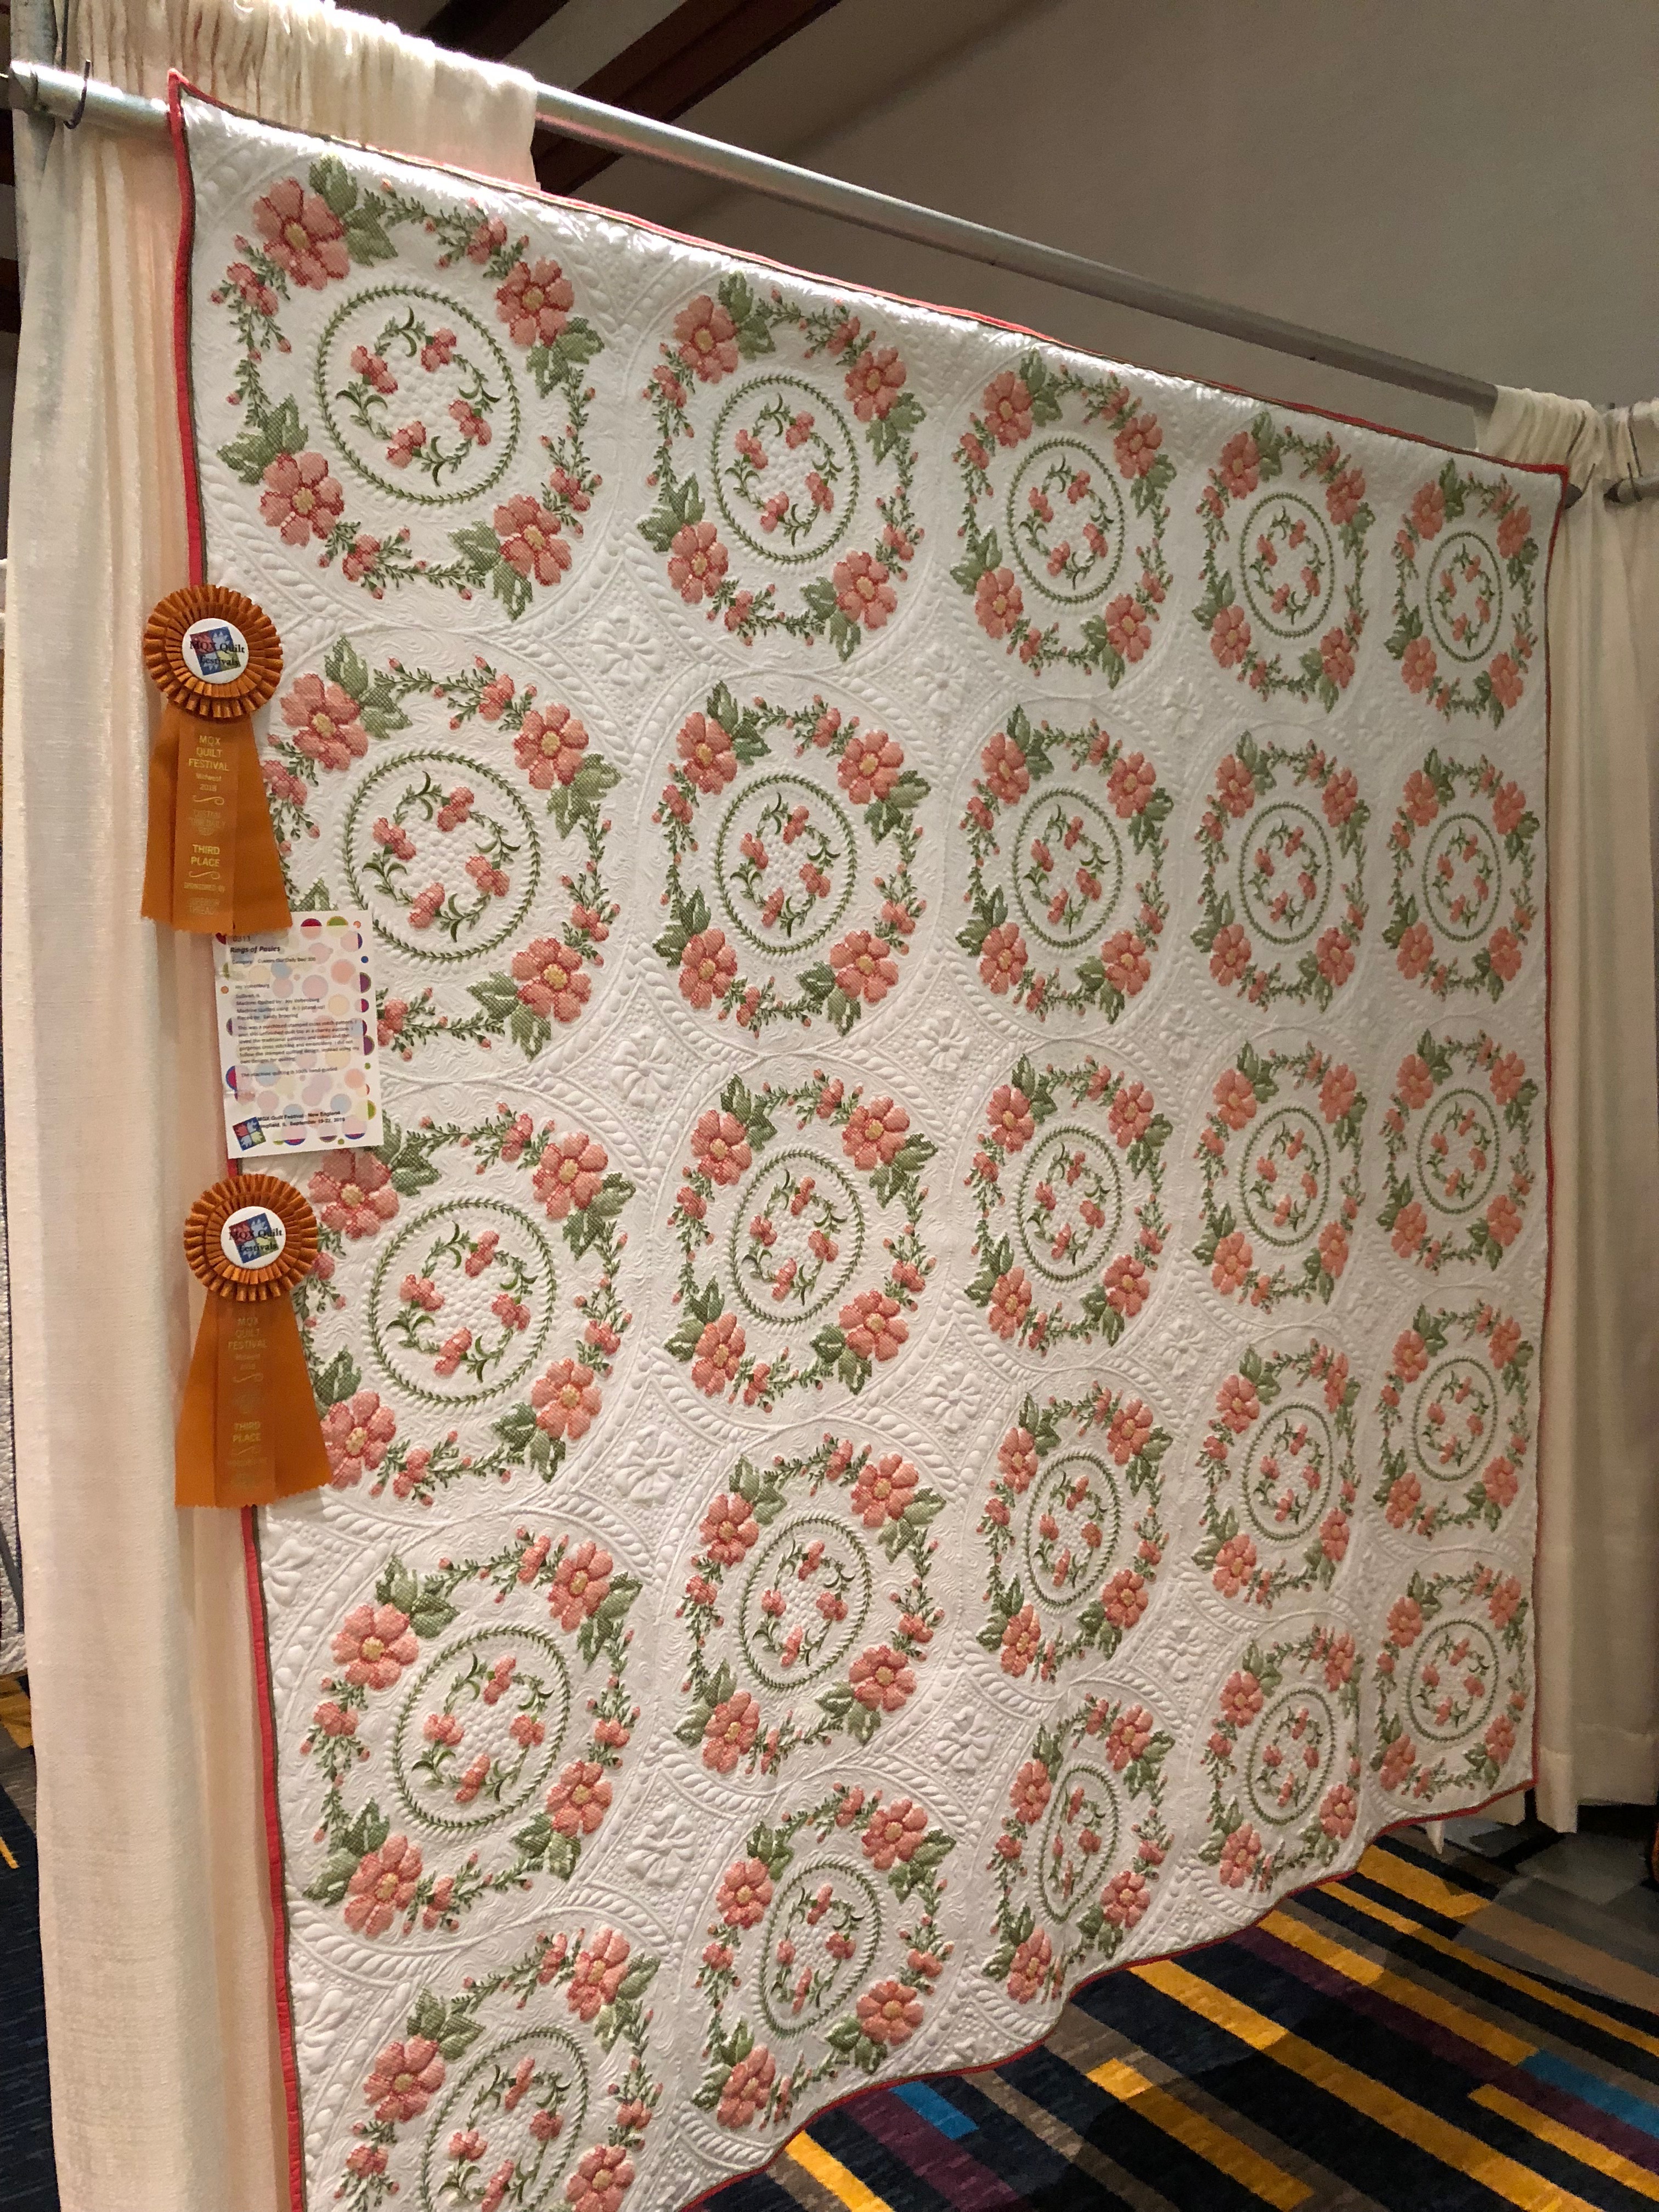
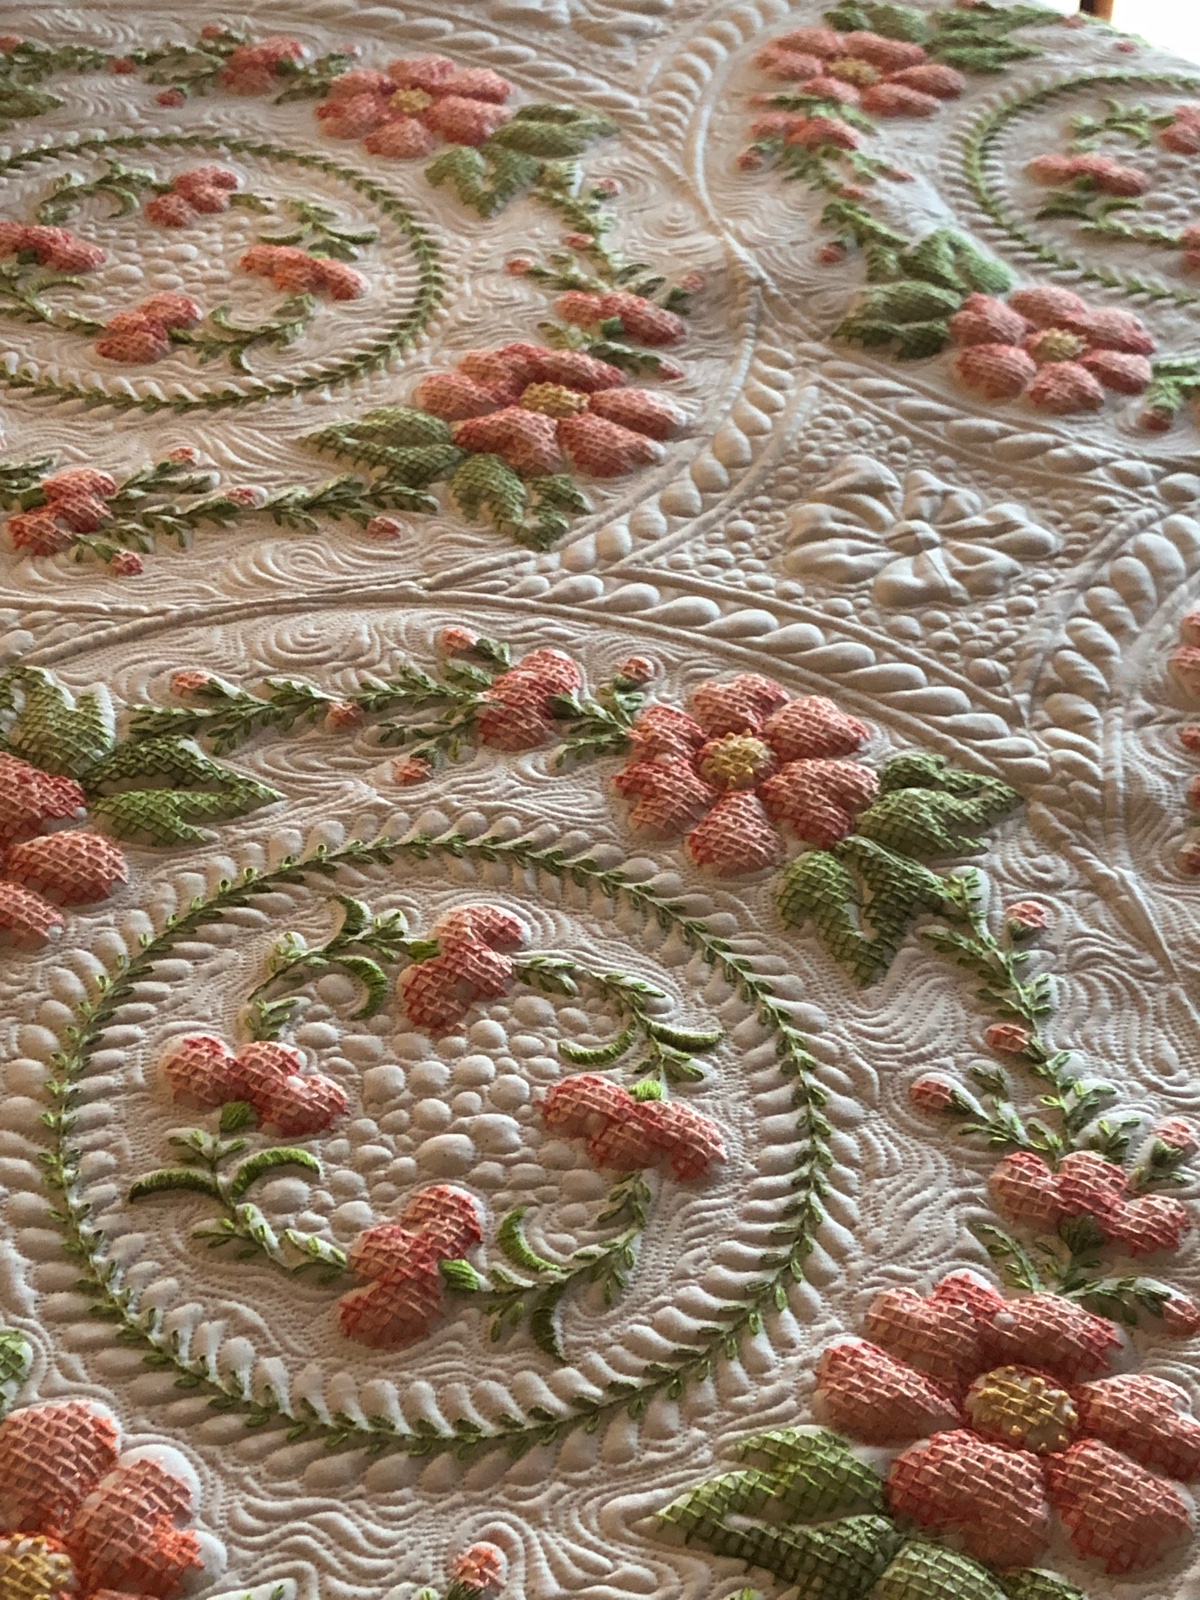
Rings of Posies
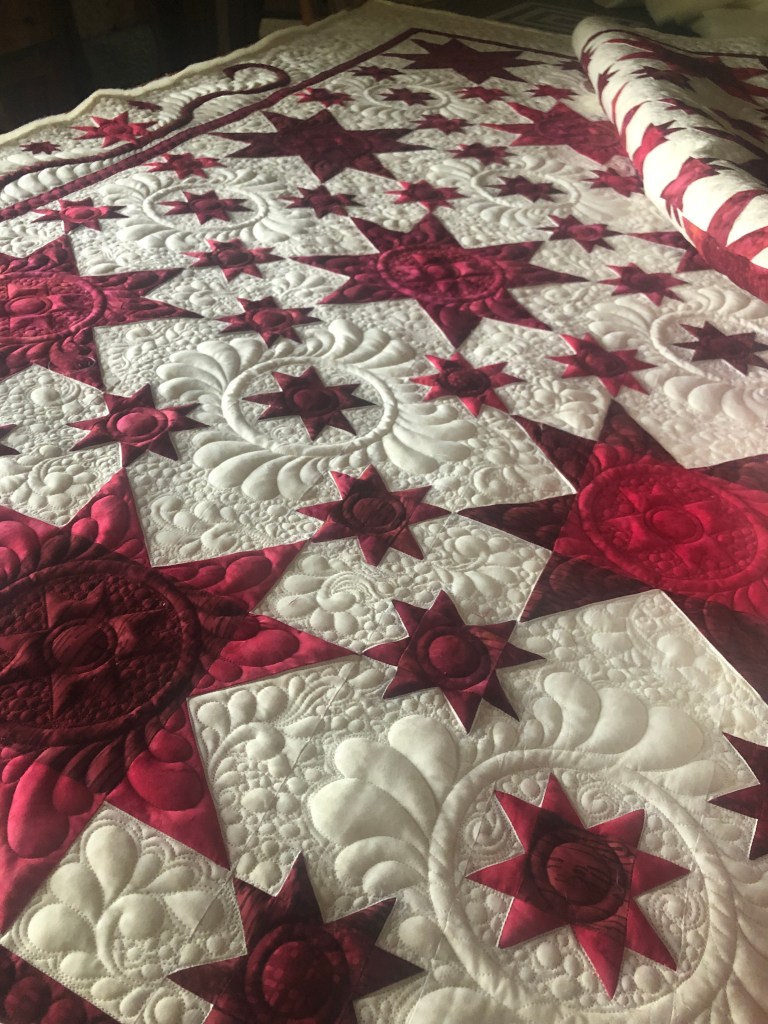
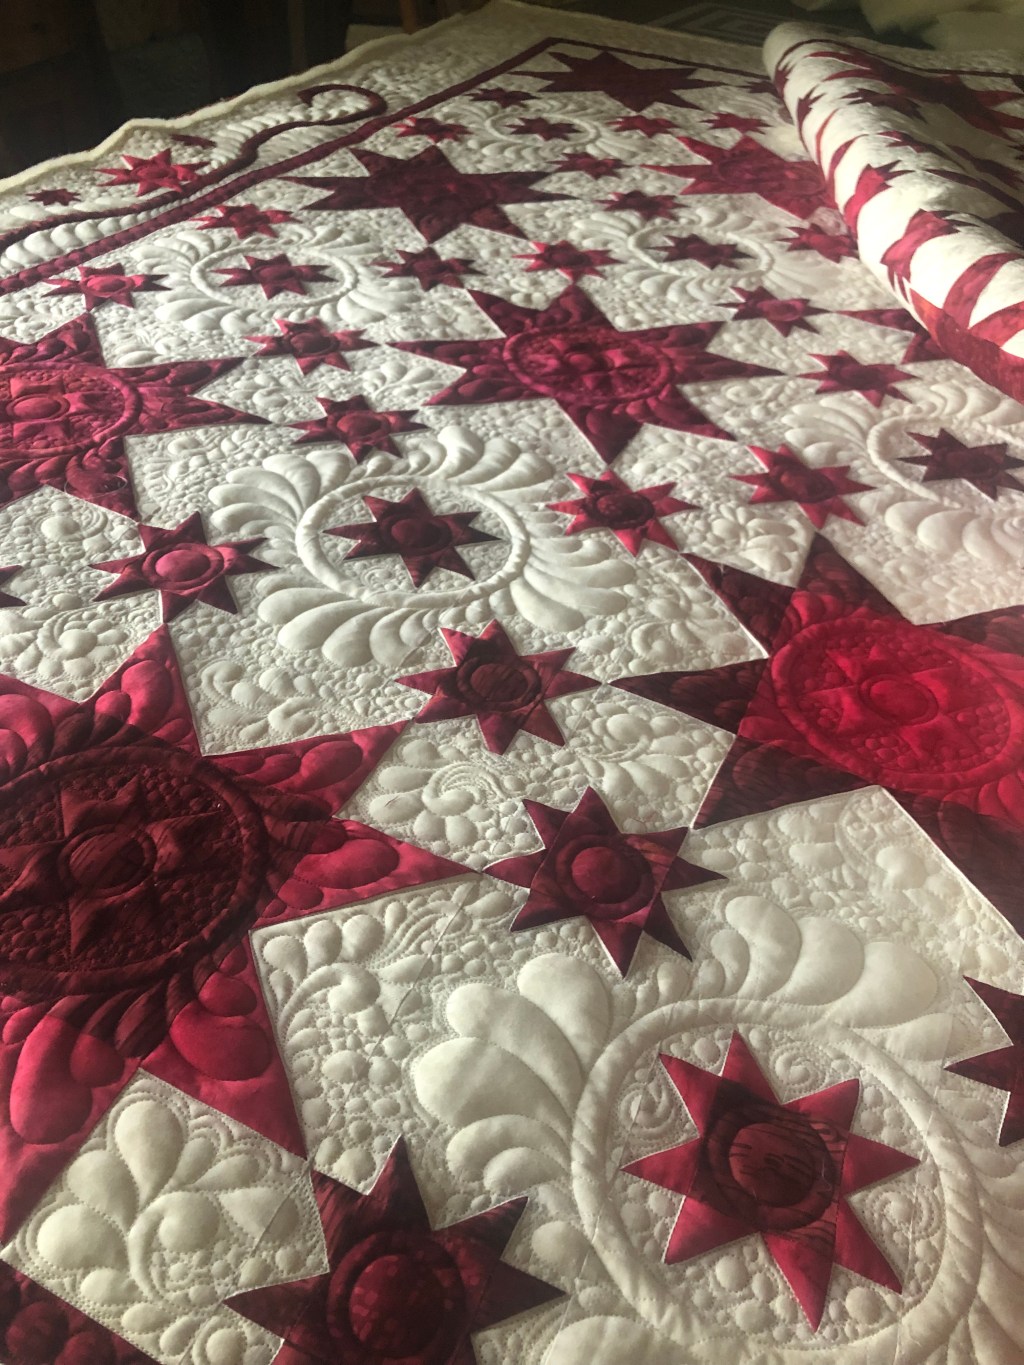
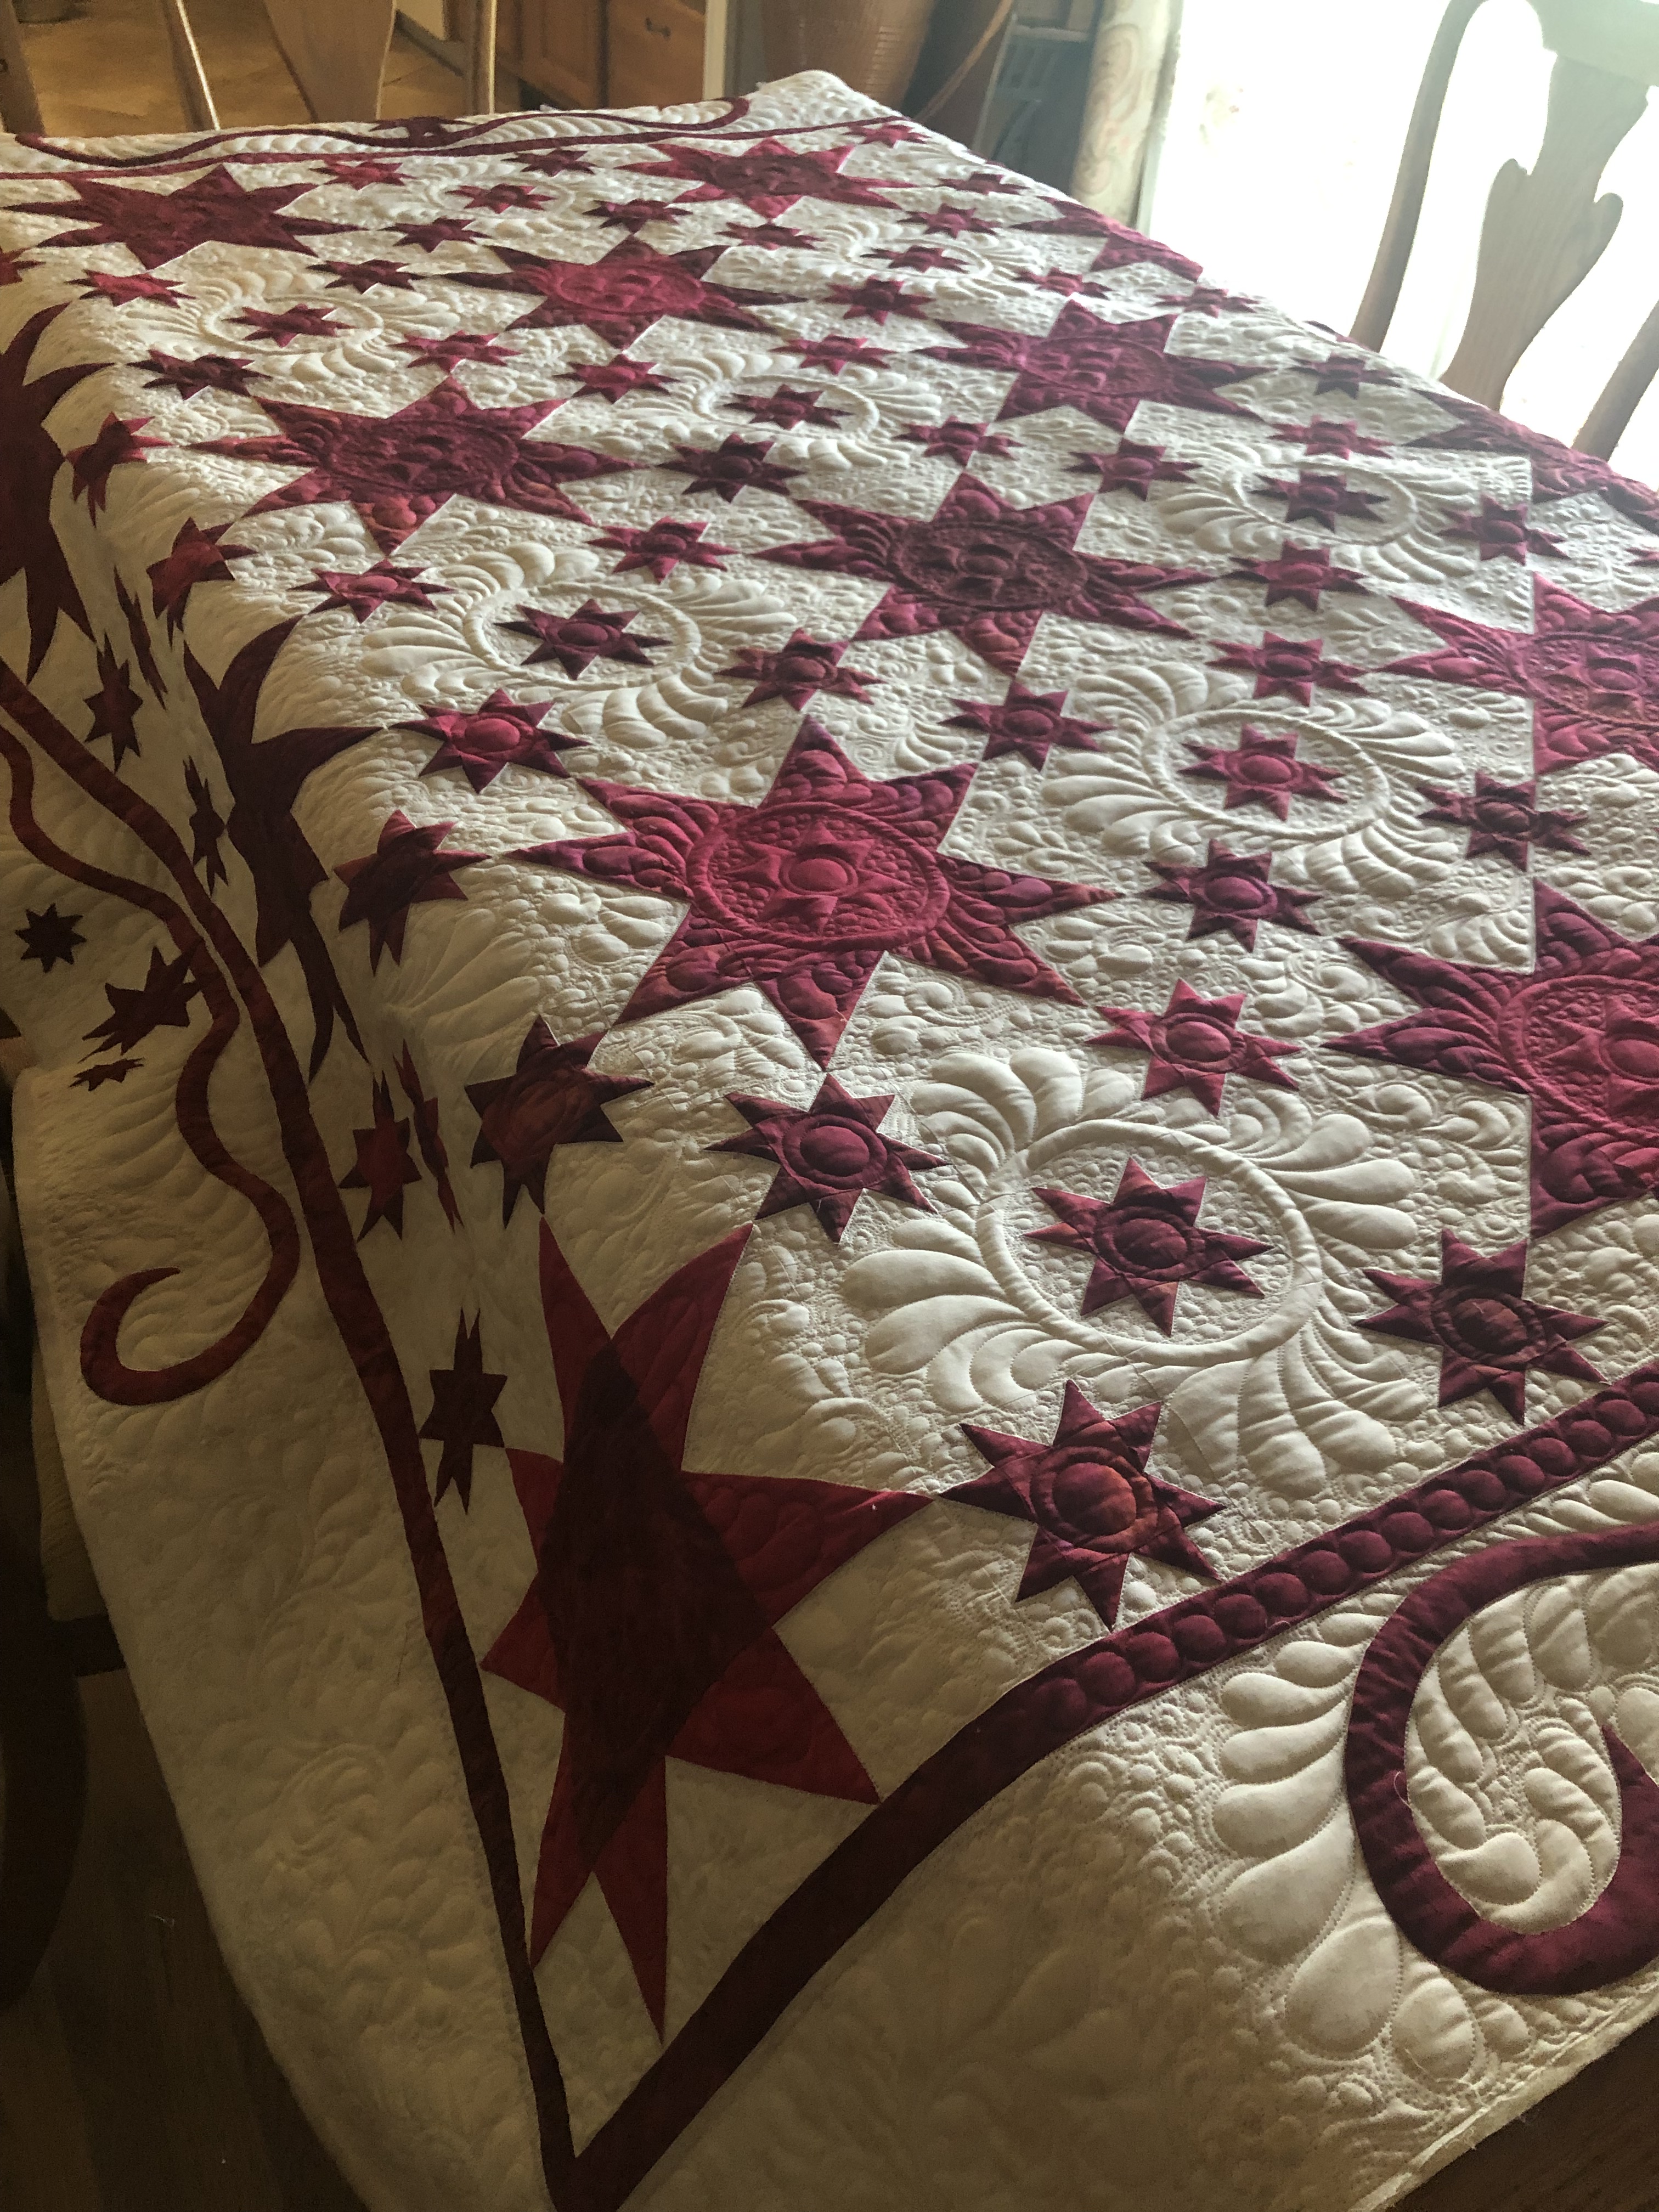
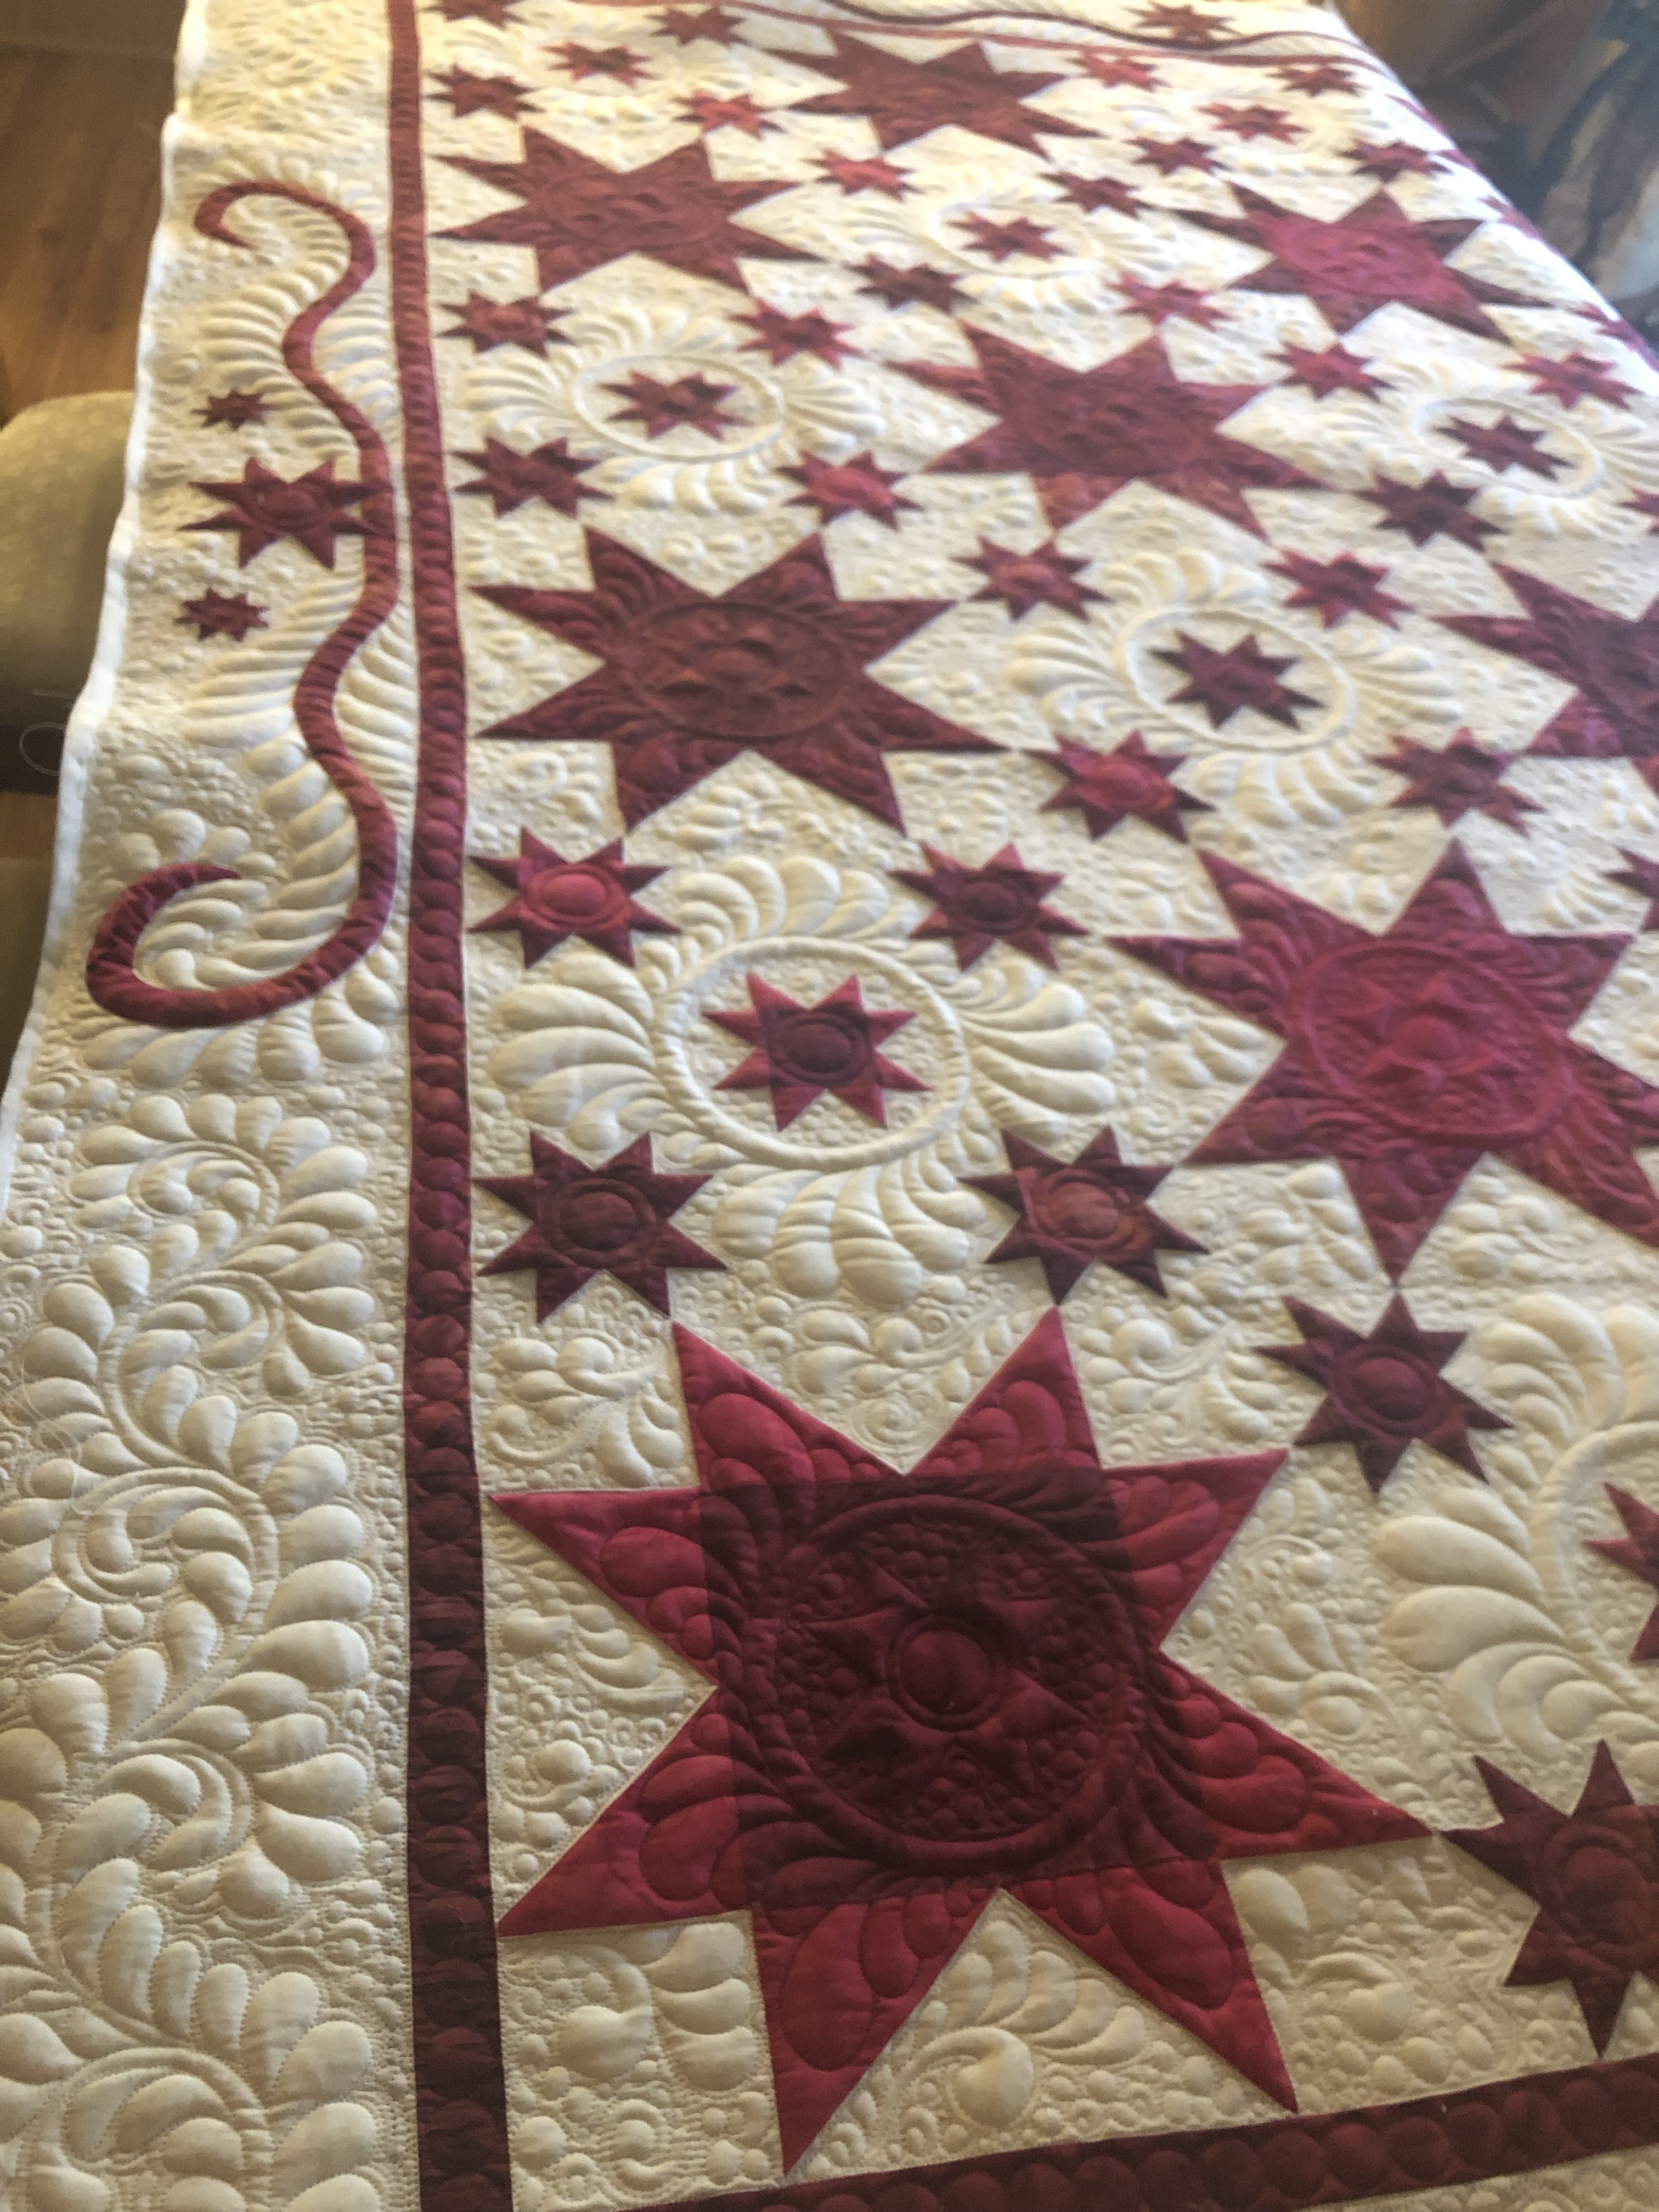
Ruby Celebration – raffle quilt for Decatur QuiltFest
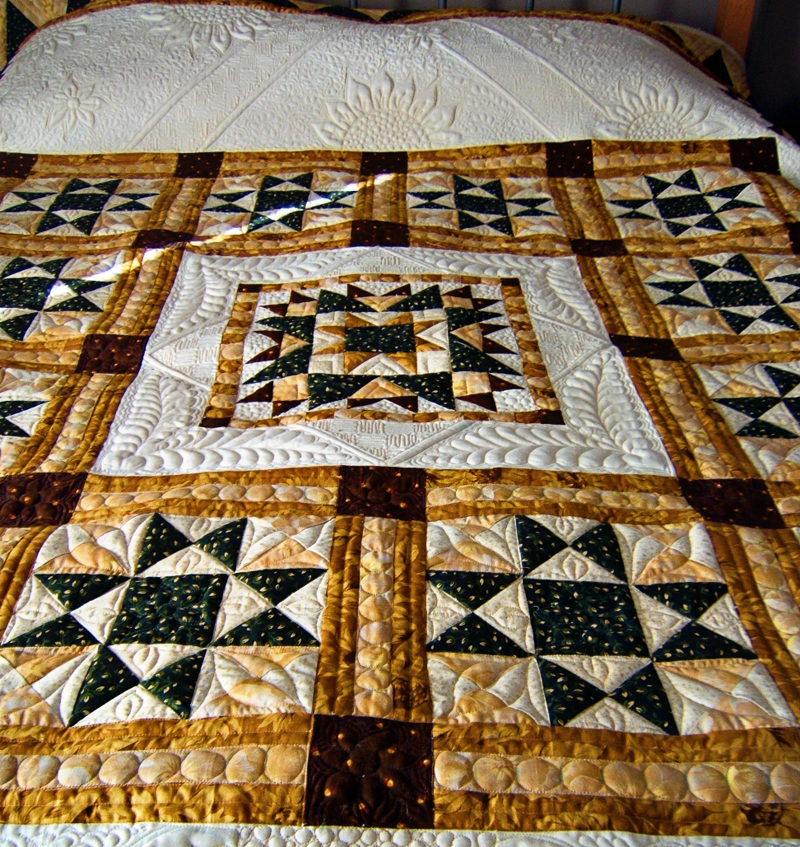
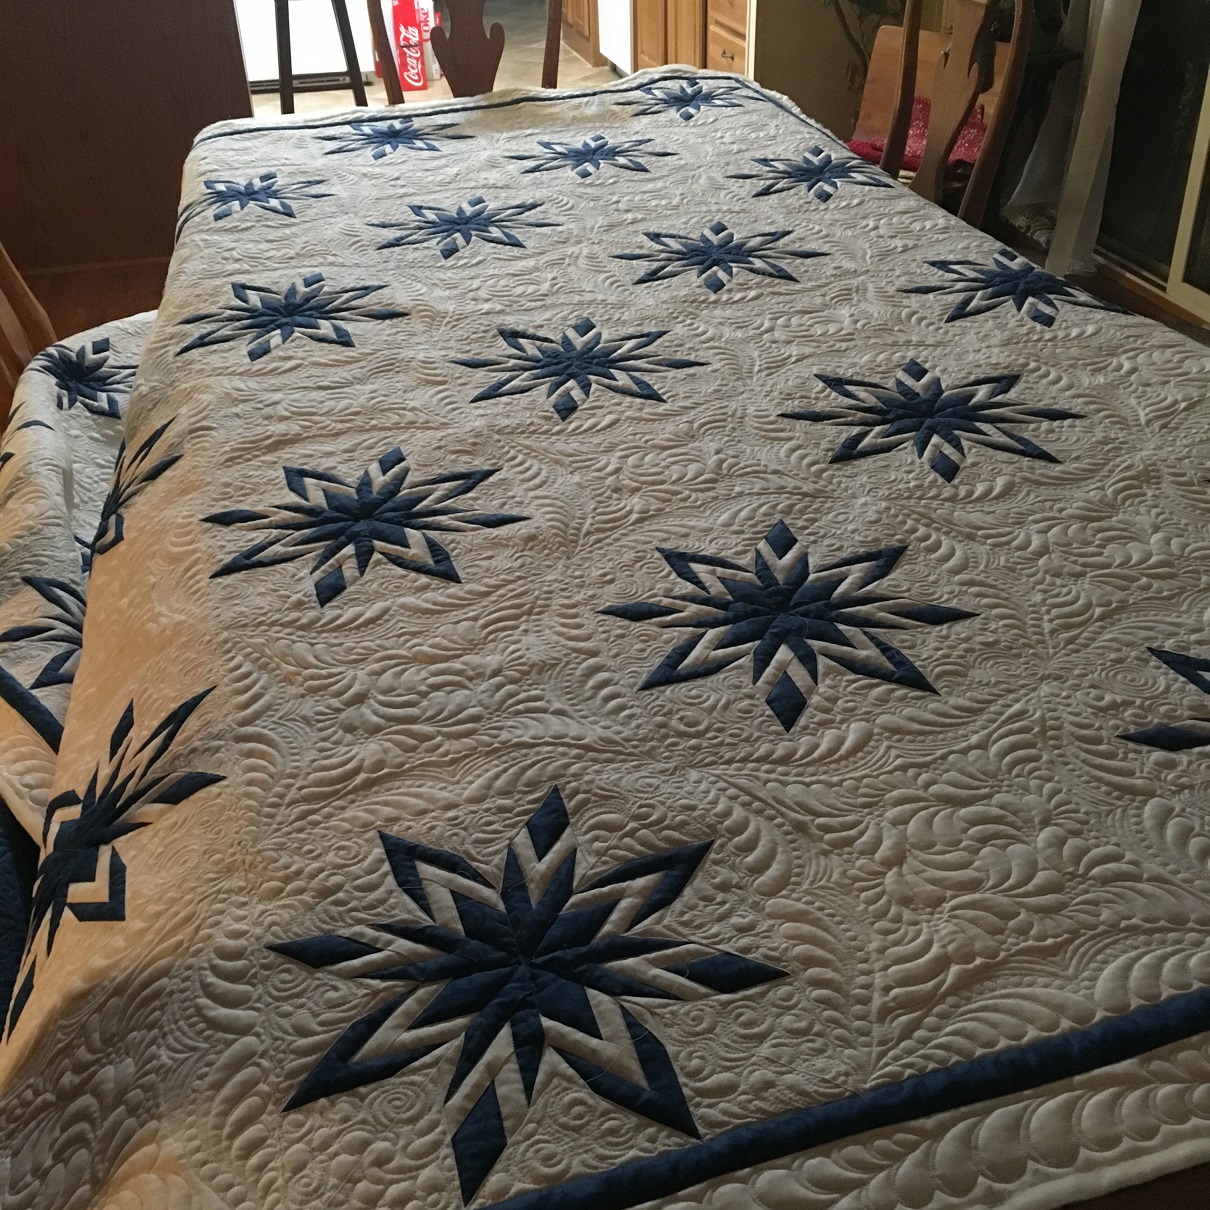
Sunflower Stars – 1st place at Illinois State Fair
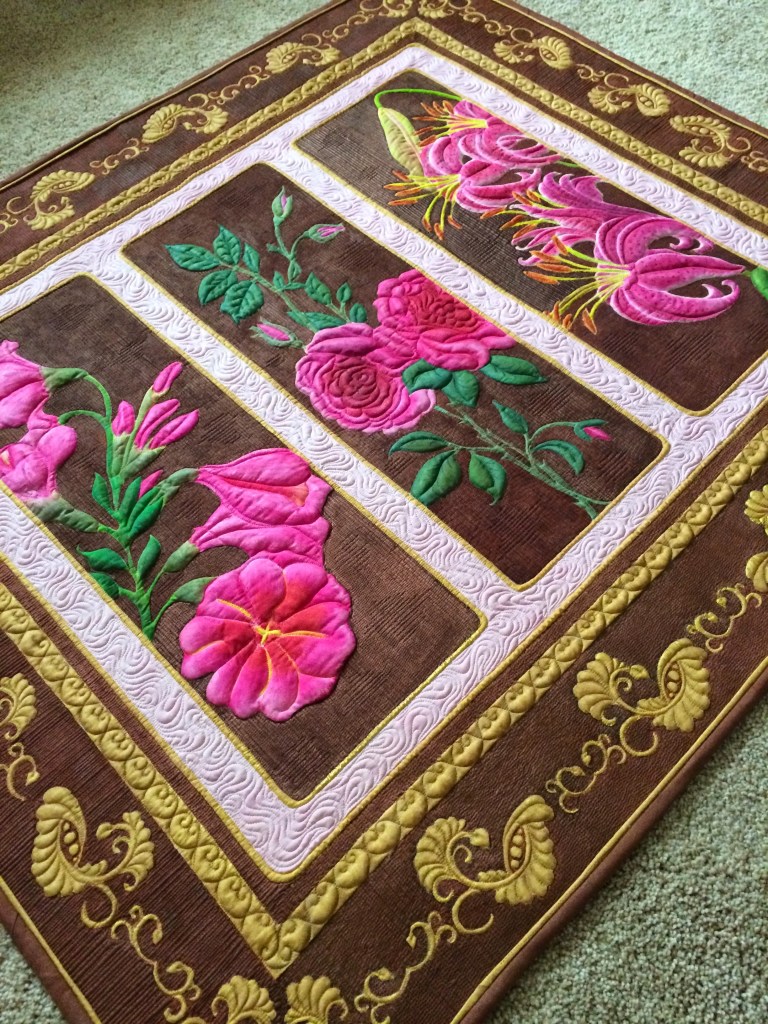
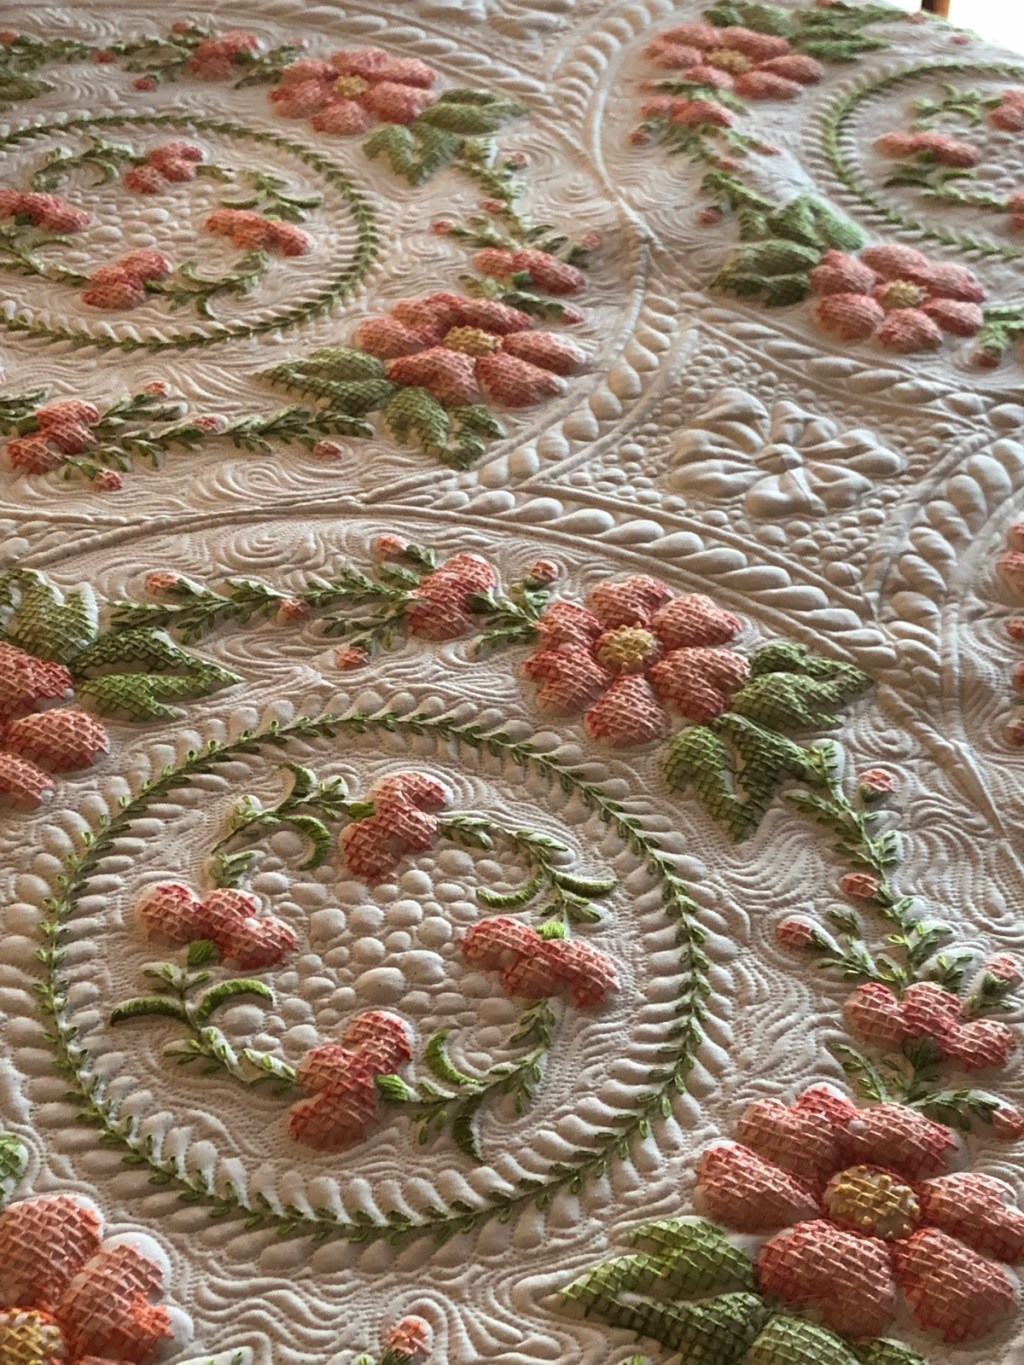
Framed Flowers – white wholecloth, painted with fabric paints, inks and pencils
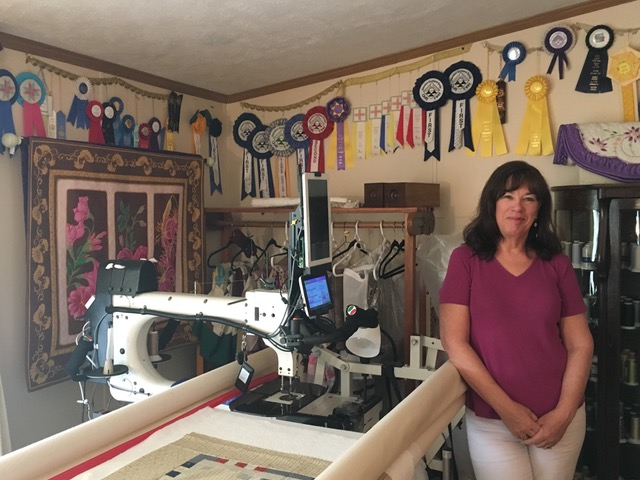
Joy in her studio
You can read the article here. You can also pick up a free copy at several different locations. I picked up mine at Yoder’s Kitchen in Arthur. Check out their distribution list for your free copy or, better yet, subscribe and get yours delivered.
Ruth was interviewed on the air today at WGNN Radio and that interview can be heard at the link below. I thoroughly enjoyed listening to that interview too. It will also broadcast this evening at 7:32 p.m. (WGNN 102.5, 103.9 or 97.1, or WGNJ 89.3)
WGNN Radio Station Director Mark Burns interview of D. Ruth Esry featuring her article about Custom Quilts of Joy!
Thanks have to go out to Kate Freeman, who recommended they do an article about me. Thanks Kate!
Warning: This is not a quilting post and graphic pics are included.
I’ve been going to the dermatologist (Pinnacle Dermatology in Decatur, IL) for an annual skin check for a couple of years now. I’ve had several plaque type spots called actinic keratosis removed by cryotherapy (frozen) in the last two years. These are precancerous lesions and are usually a direct result of sun damage.
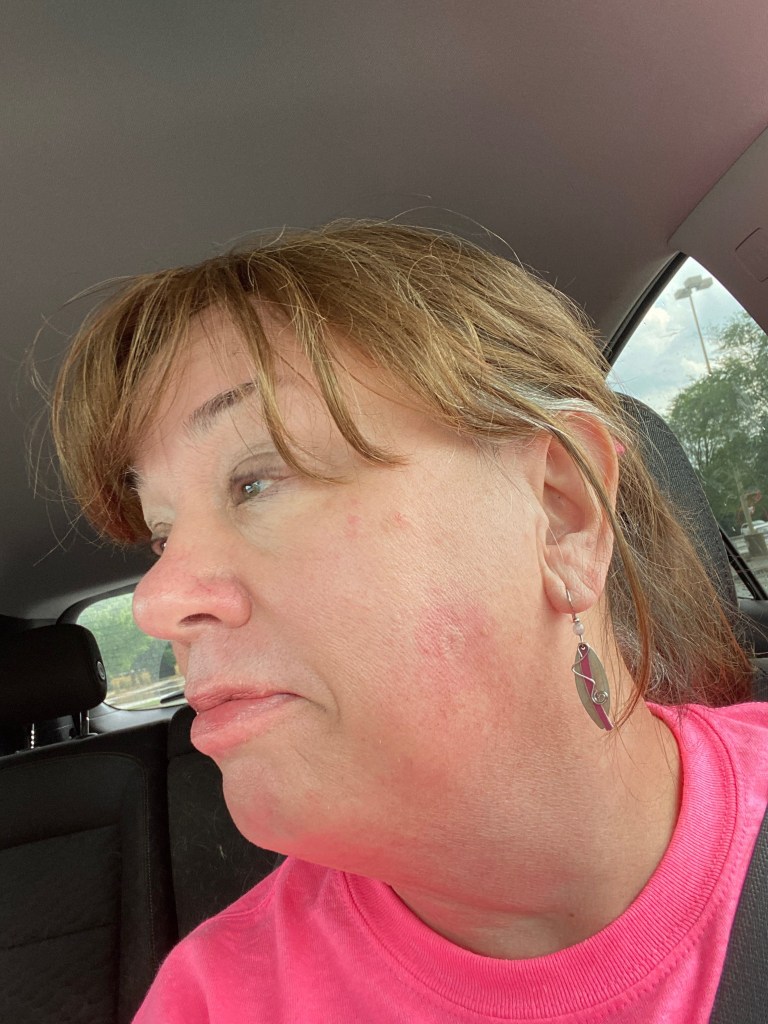
This pic is of one that was removed from my cheek last July. It does leave a spot where the pigmentation is different. I’m hopeful that will fade over time, but it can be masked with makeup.
Taken immediately after leaving the dermatologist office.
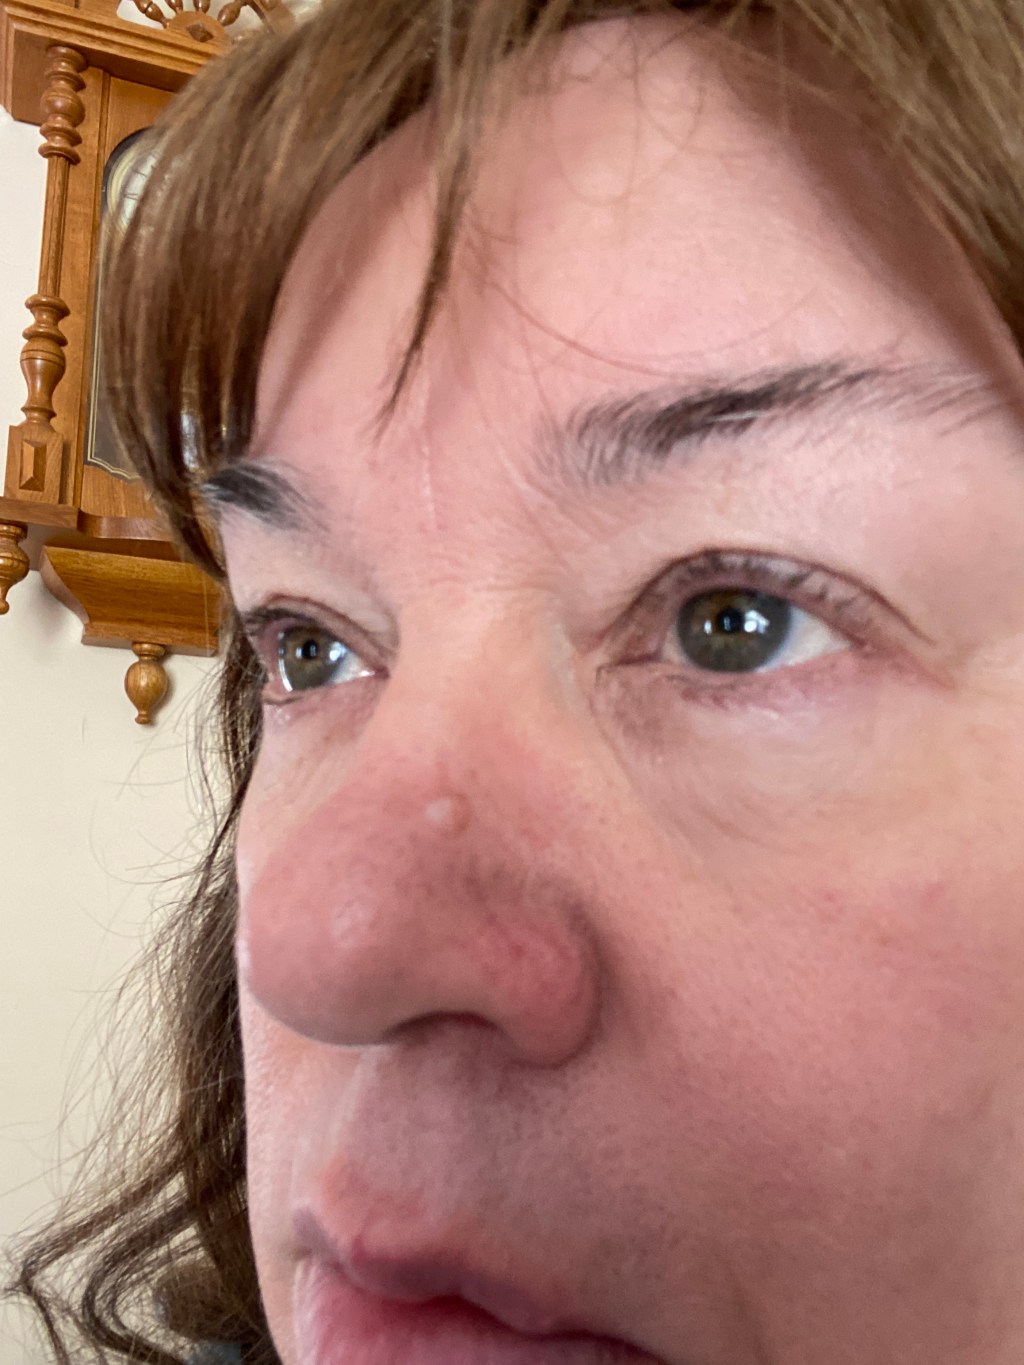
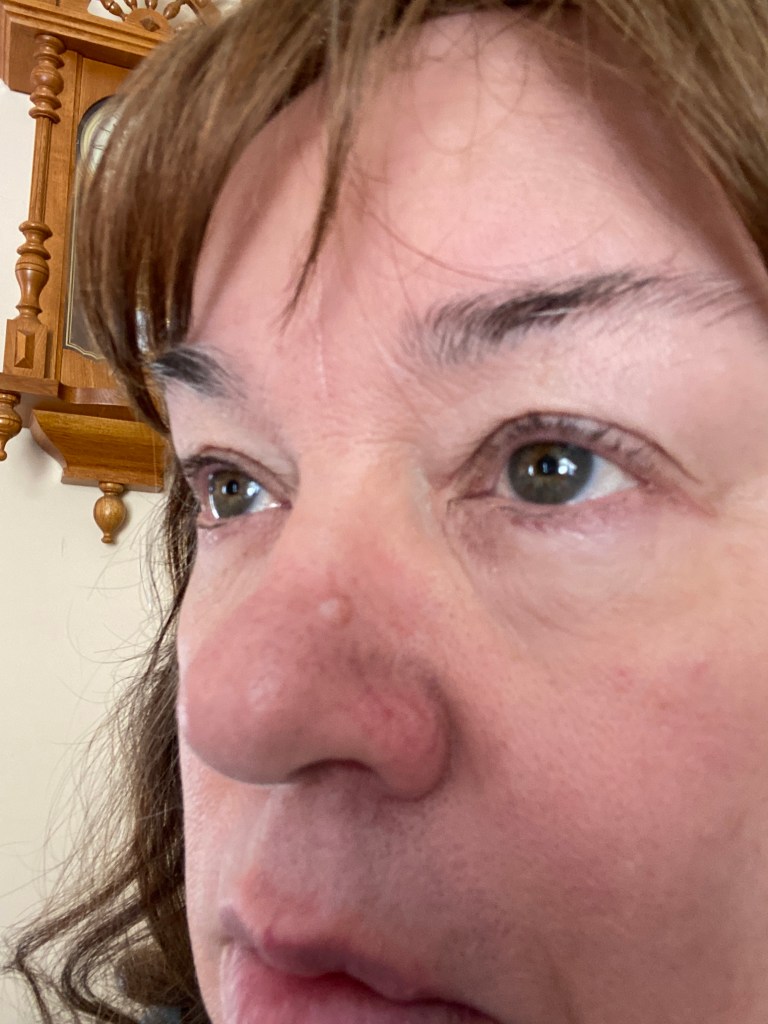
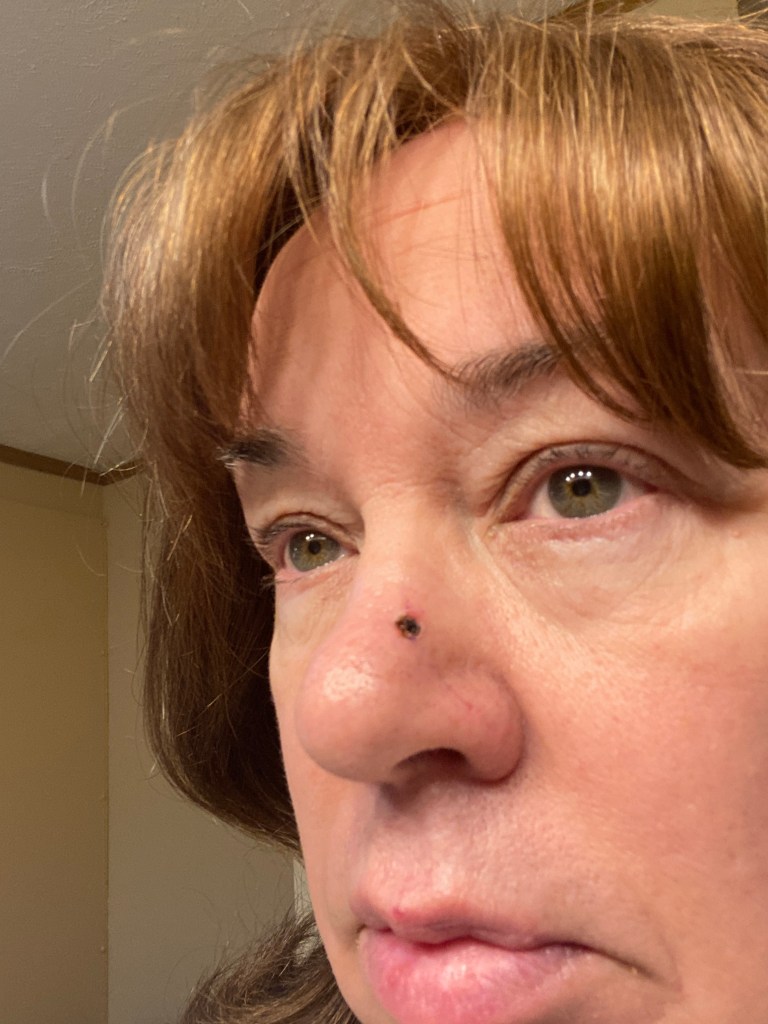
Now, notice my nose in the above pic. At the time this was taken in July, 2019, there was no spot on the side of my nose. Fast forward to September, 2019 and this spot had sprung up on my nose.
I didn’t worry too much about it and thought I’d wait till my next annual checkup to have it checked out.
Over the winter, it slowly grew more noticeable. Enough that my husband said I should have it checked out.
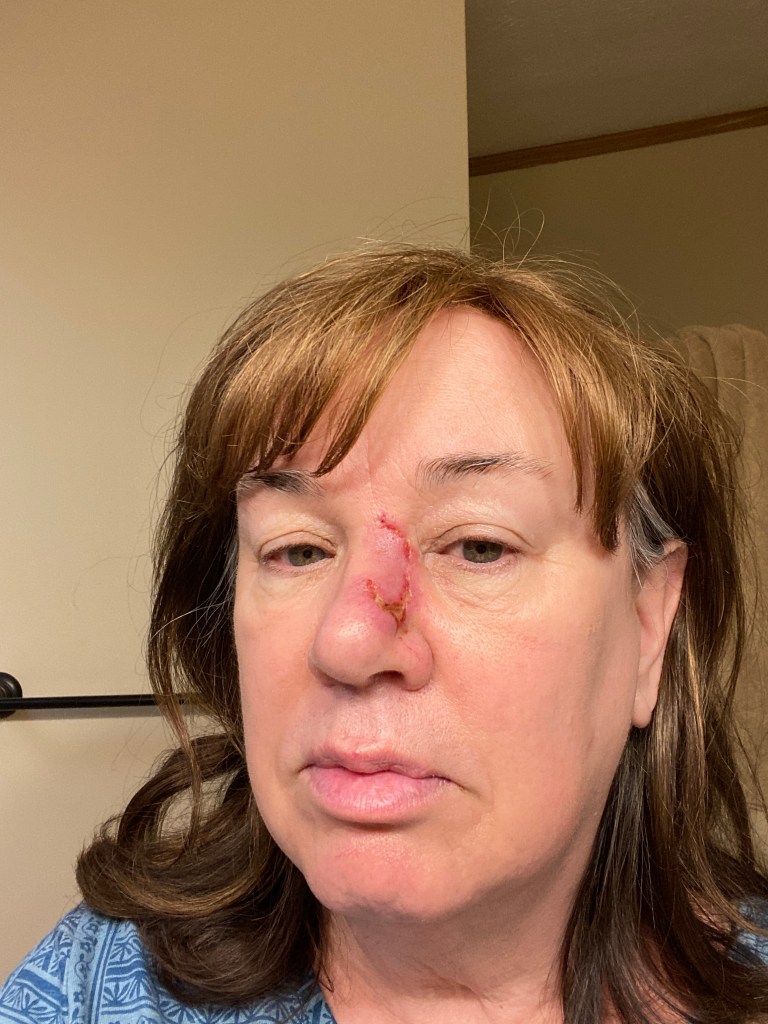
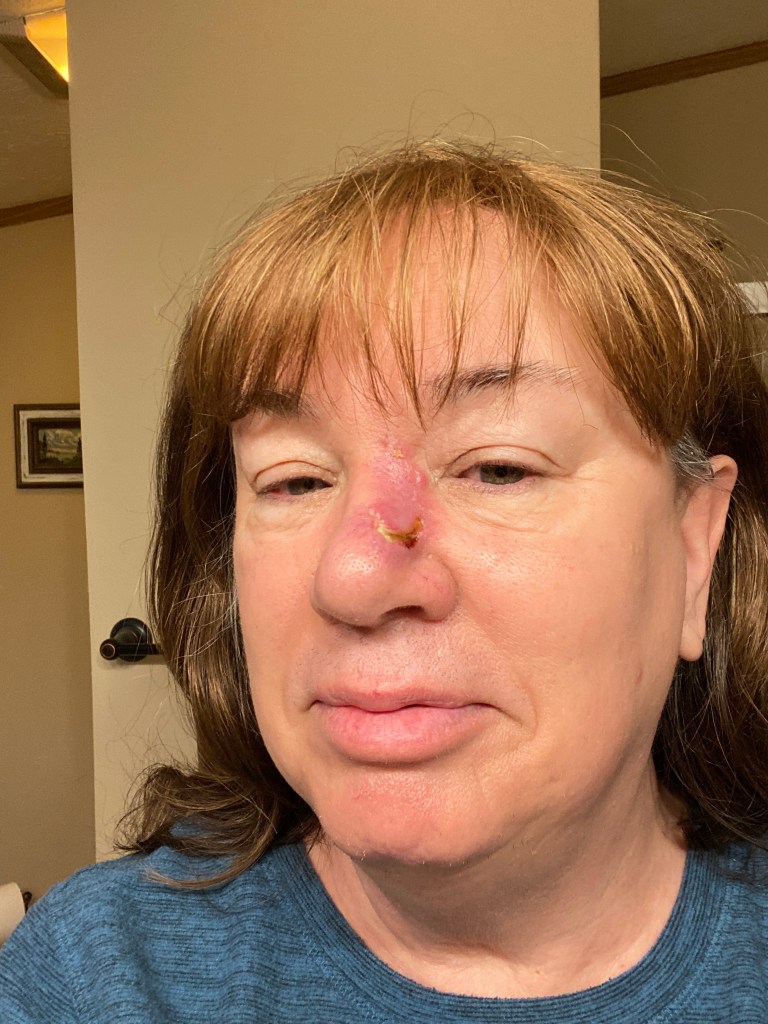
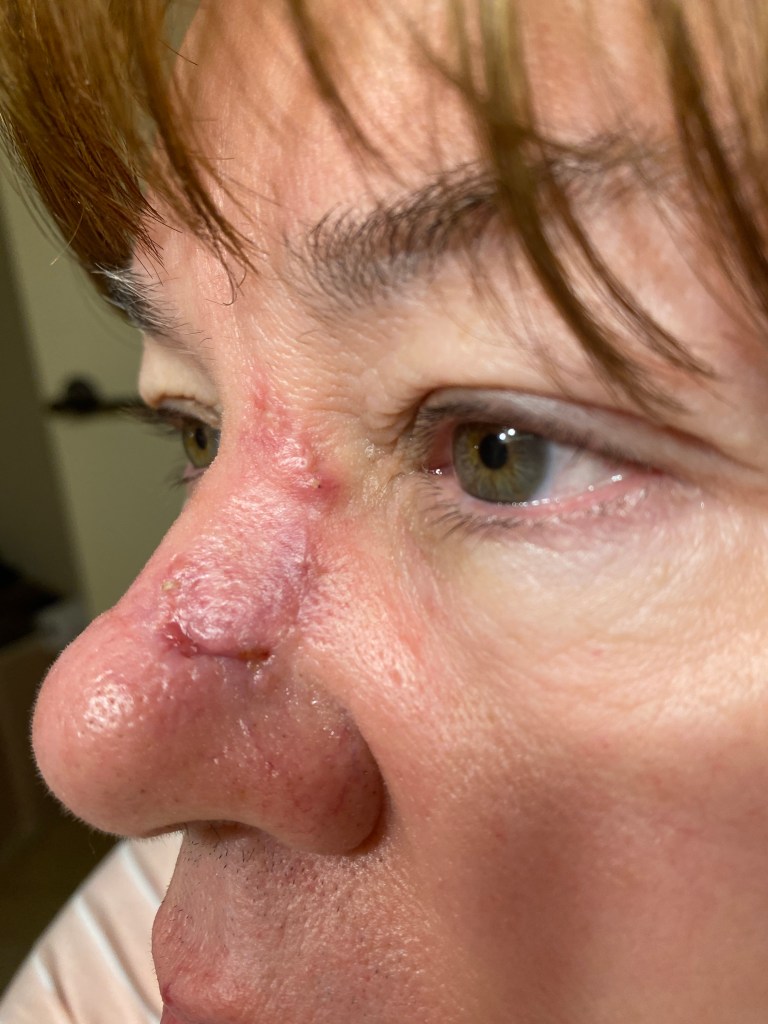
Taken in February, 2021, it had grown to 6mm in diameter.
I made an appointment and the dermatologist took a biopsy of it. This is what it looked like immediately after the biopsy.
The dermatologist said she suspected it was a basal cell carcinoma. That type of skin cancer is common and the least dangerous of all skin cancers as it rarely spreads.
Sure enough, my results came back in a week and they were positive for basal cell carcinoma. I got the call on a Tuesday and on Thursday, February 18 I was scheduled for a procedure called Mohs surgery. This type of surgery is reserved for high risk cancers, such as any found on the face. They take small slices of the lesion, then bandage you up while they check the specimen under a microscope. If they find cancer around the margins, then they take slices only in the quadrant the cancer was present, resulting in less tissue removed.
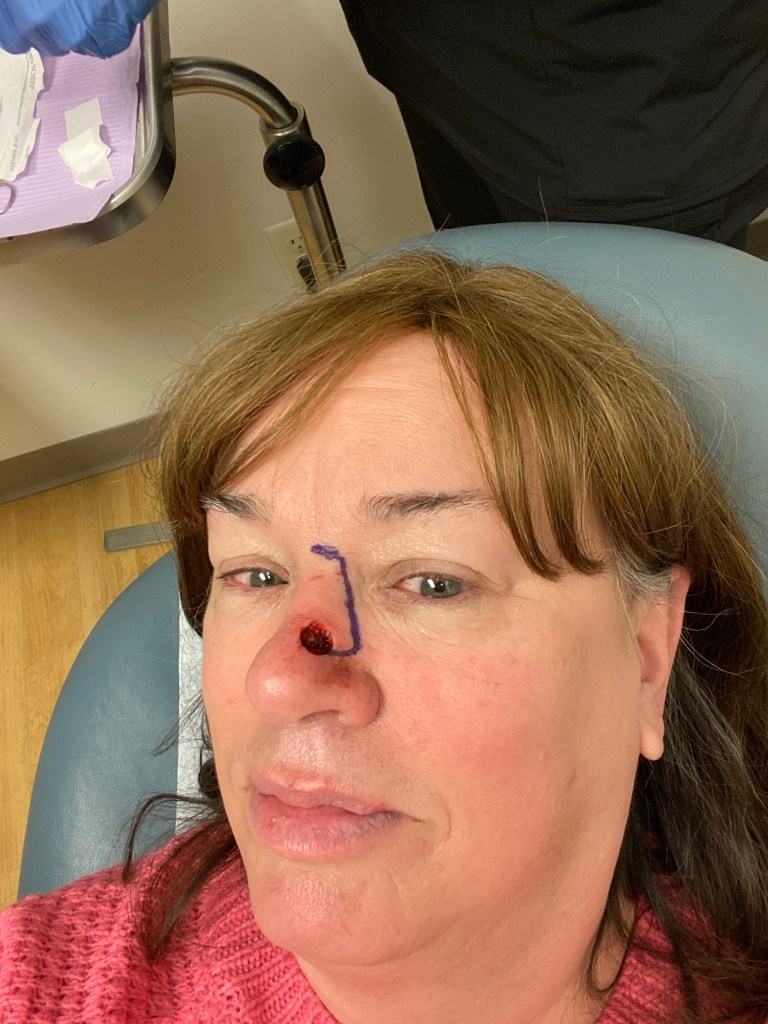
I arrived at 8:15 and a short time later I was numbed on my nose (yes, that hurts ). Then the surgeon circled the area to remove (7mm x 7mm) and sliced off a round piece of tissue. The following pic shows what that looks like. (Warning, not for the faint of stomach.)
Fascinating in a gross way.
They bandaged it up and I then waited for an hour while they examined it for cancer. You don’t have to wait in the waiting room, you can go home or run errands. My husband and I ran an errand. 😆
When I was called back to the room, I was told they’d not need to remove any more. Thank goodness. I was worried about that. So, I immediately met with a plastic surgeon. He gave me three options.
Do nothing and let it heal naturally.
Place a skin graft from an area next to my ear .
A rotational flap
The 1st option wasn’t an option for me. The skin graft would likely result in a mismatch of pigmentation and texture. The rotational flap required him to cut my skin along my nose and was the more complicated option. I chose to do a rotational flap. I felt it would result in the least noticeable scar (evenually).
The following pic shows where he marked the path he would cut along my nose.
Scary anticipation
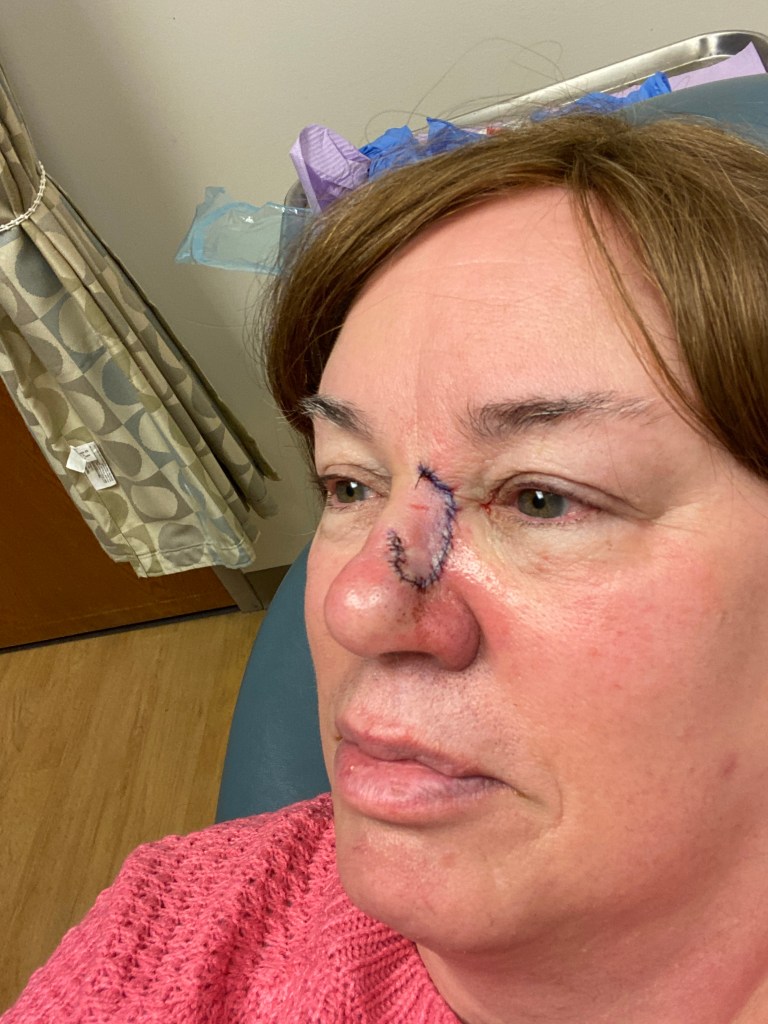
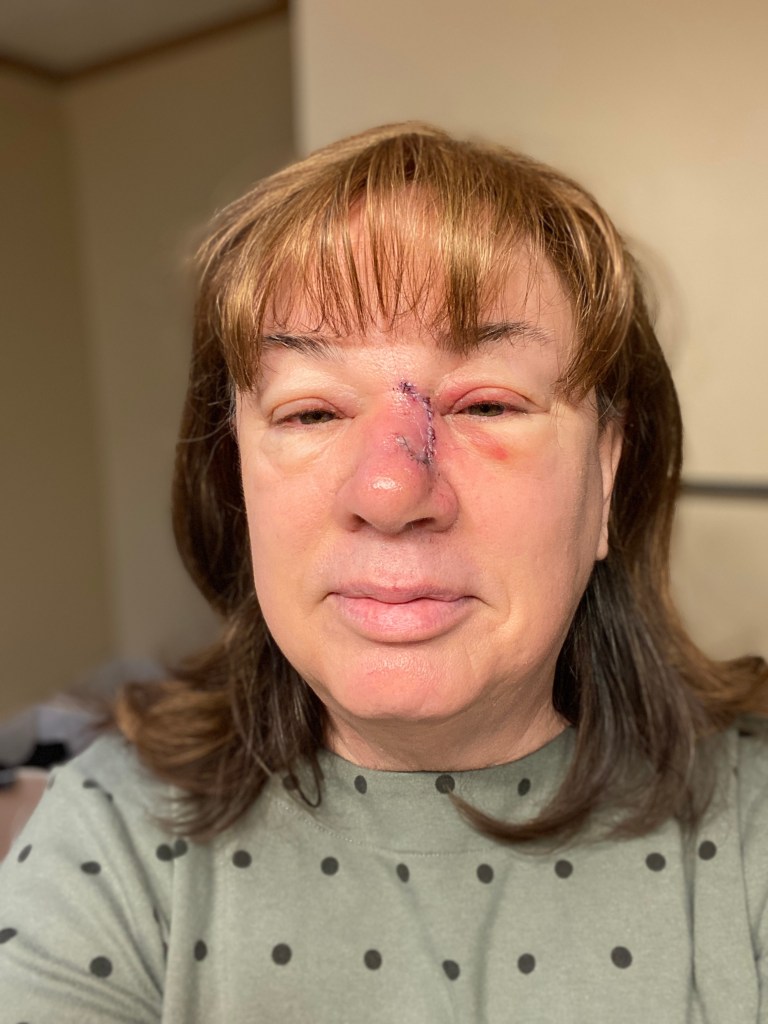
The next picture shows what it looks like once he was done slicing and sewing.
It gets scarier.
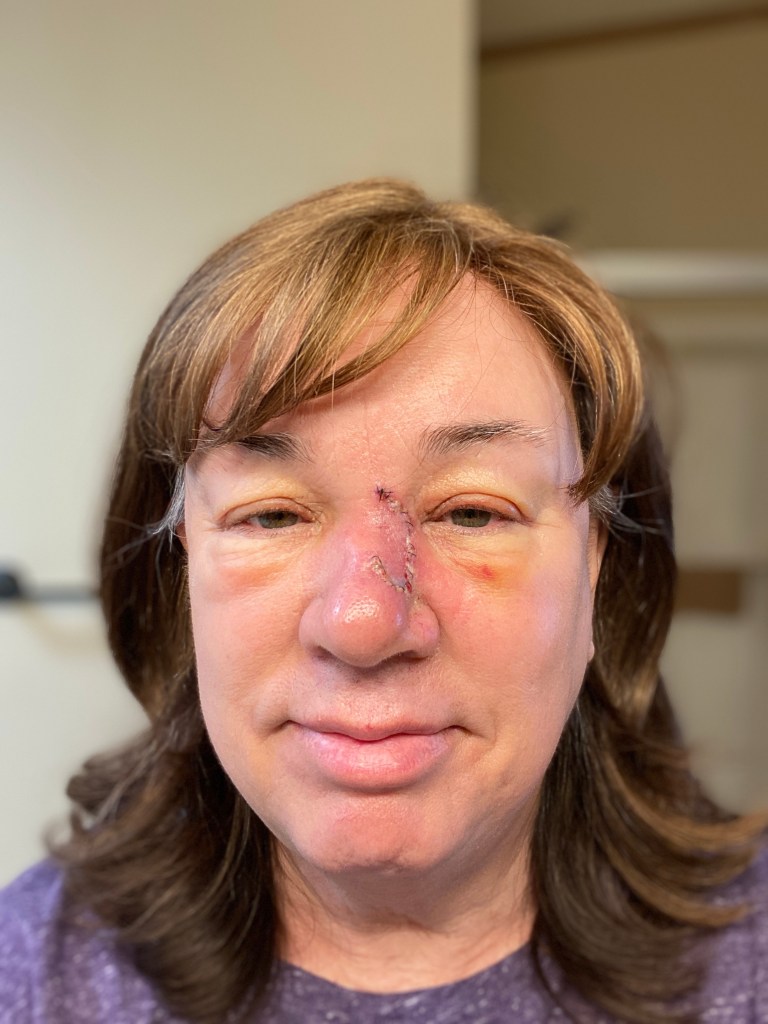
I was warned I’d have a black eye, likely both. And that there would be swelling. The stitches come out March 2. It will take several months for the scar to lessen in appearance.
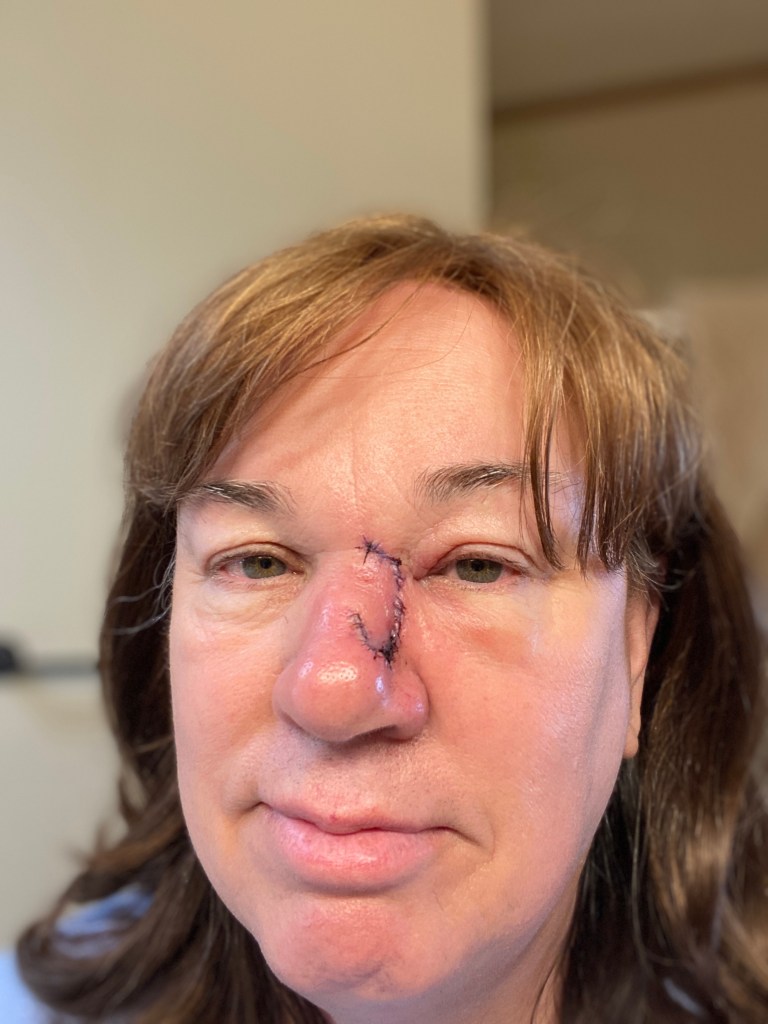
The day after. Some swelling, but pain is much better managed. Two days after. Both eyes and nose is swollen. One starting to turn colors. Pain has lessened, but still alternating Tylenol and ibuprofen. 3rd day after. Swelling is starting to go down. Still some bleeding, and due to the need to wear glasses, I have to bandage it.
I’ll update this along the way.
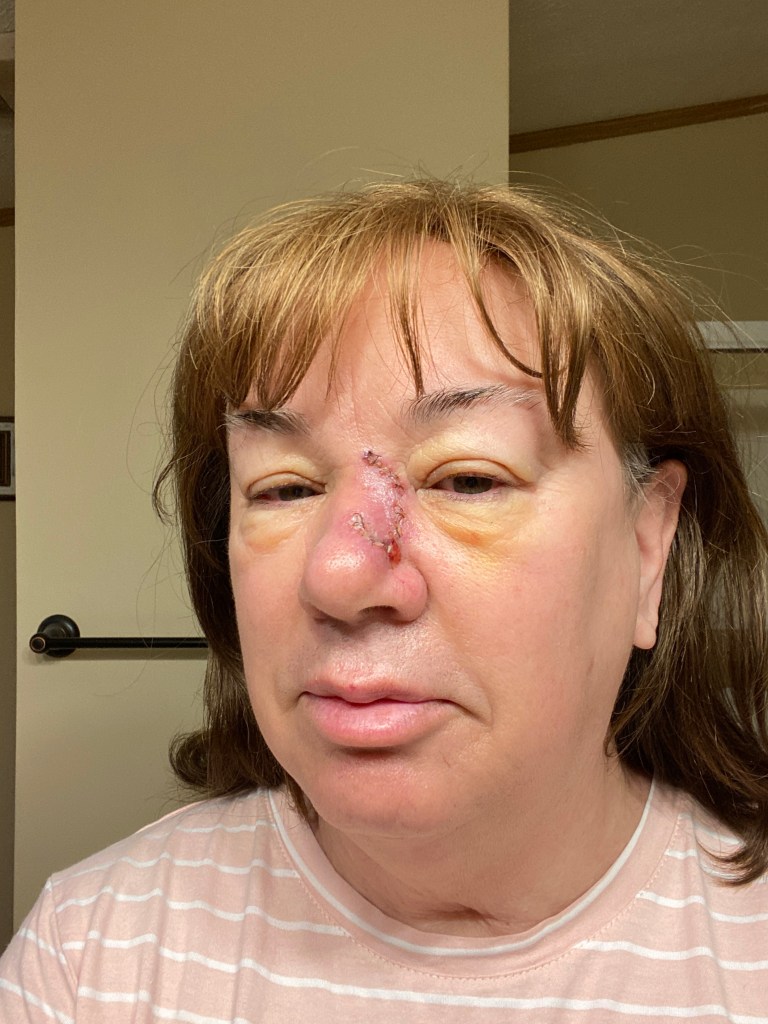
4th day5th day. Take note of the color of the lower part of the scar. 6th day
Stitches came out today (6th day). I called the office because I was still getting drainage and blood from the wound. So, they had me come in early and wound up removing the stitches.
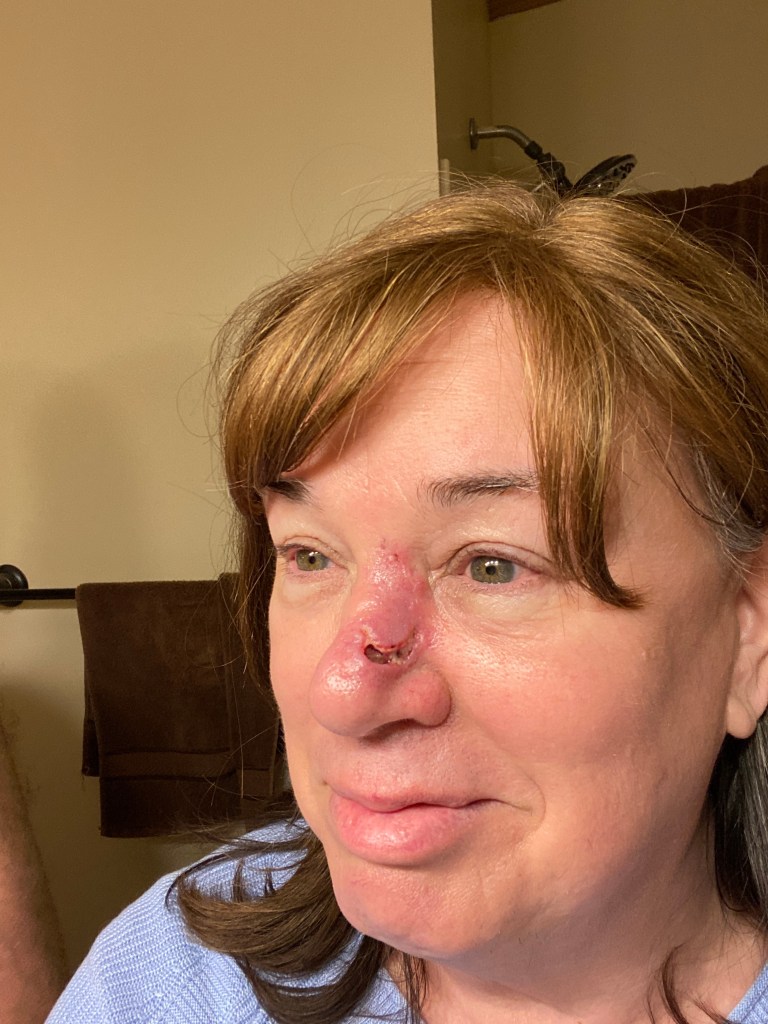
It turns out, I have a complication called dehiscence. That’s where the wound separates from the stitch line. You can see that separation where the wound is yellow. The plastic surgeon, Dino Mendez, wants to see me in his main office in Joliet next Tuesday. He called me personally from his office and discussed what was happening. I believe we will be letting it heal from the inside out. I’ll have to continue to bandage it, along with lots of Vaseline, for a few weeks I think. I’ll know more next week.
7th day. You can really tell where it separated in this pic. The top part is healing nicely though. 11 days post-surgery. Starting to slowly heal on the section that separated from the sutures. The top part of the wound looks great.
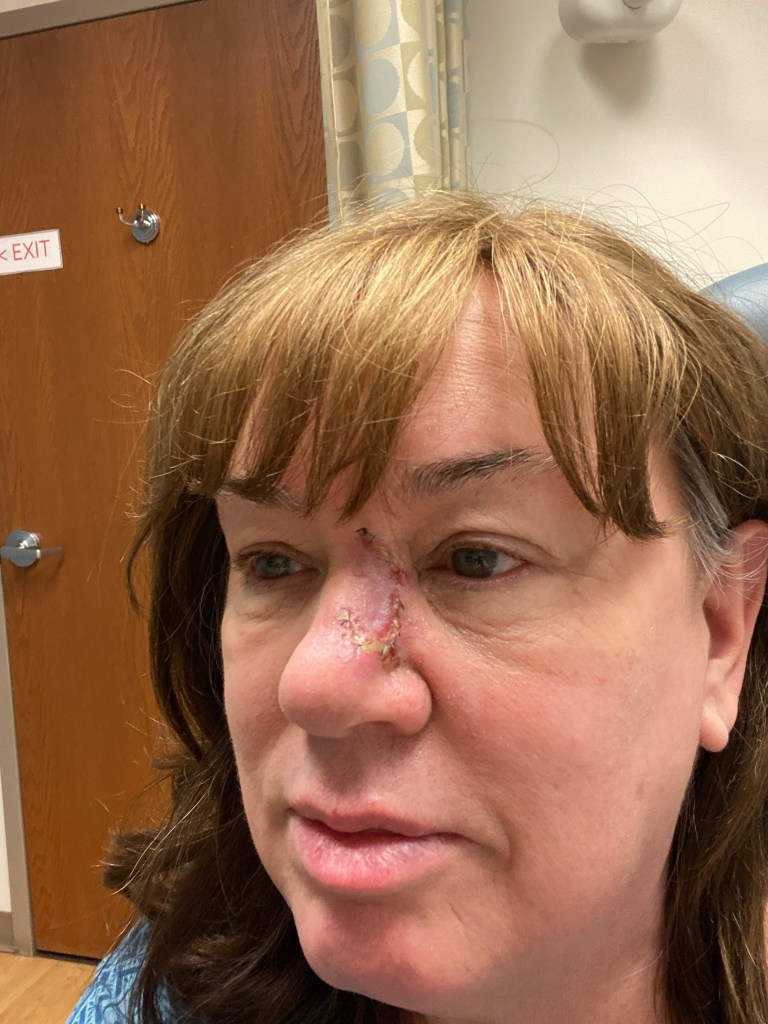
I had an appointment 12 days post-op. I traveled 3 hours to his office in Joliet as he wasn’t going to be in Decatur for another month. It turns out that yellow tissue was all dead tissue. He had to remove all of it. It didn’t hurt because it was dead. 😔
The resulting hole went further than the original wound. He said it went all the way to my nose cartilage. I am to wash it with soapy water each day and change the bandage 3 times a day. And I’m to fill the entire hole with Vaseline. And I think this routine will continue for two months!
Beware. This pic is not pretty.
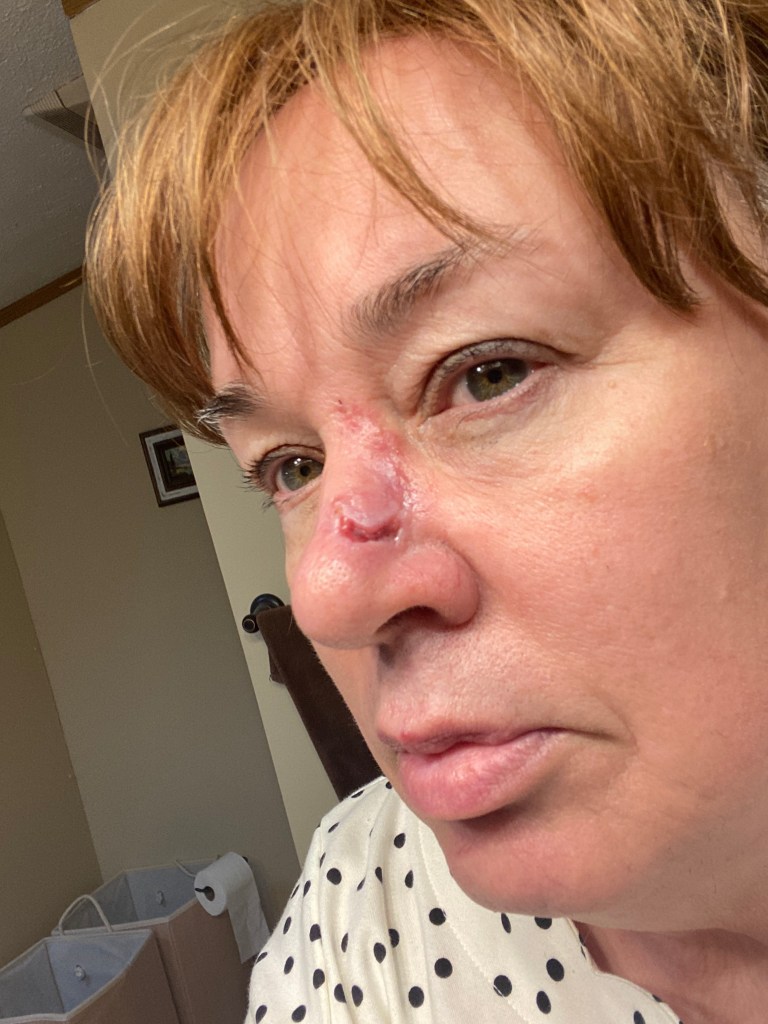
12 days post-op and after dead tissue was removed. 20 days post op ( 8 days after removal of dead tissue). It’s healing and filling in nicely. 3 1/2 weeks post-op and 2 weeks post tissue removal. It’s healing very nicely! It’s really amazing how fast it is healing. 2 more weeks of twice daily bandaging with Vaseline. I’ll see the doctor in person then and hopefully will be able to ditch the bandage. I’ve progressed to a regular bandage instead of gauze and tape. Progress in the bandage area. (Since I work from home now, I seldom put any makeup on.)
Everyone, make sure you get those suspicious spots looked at promptly!
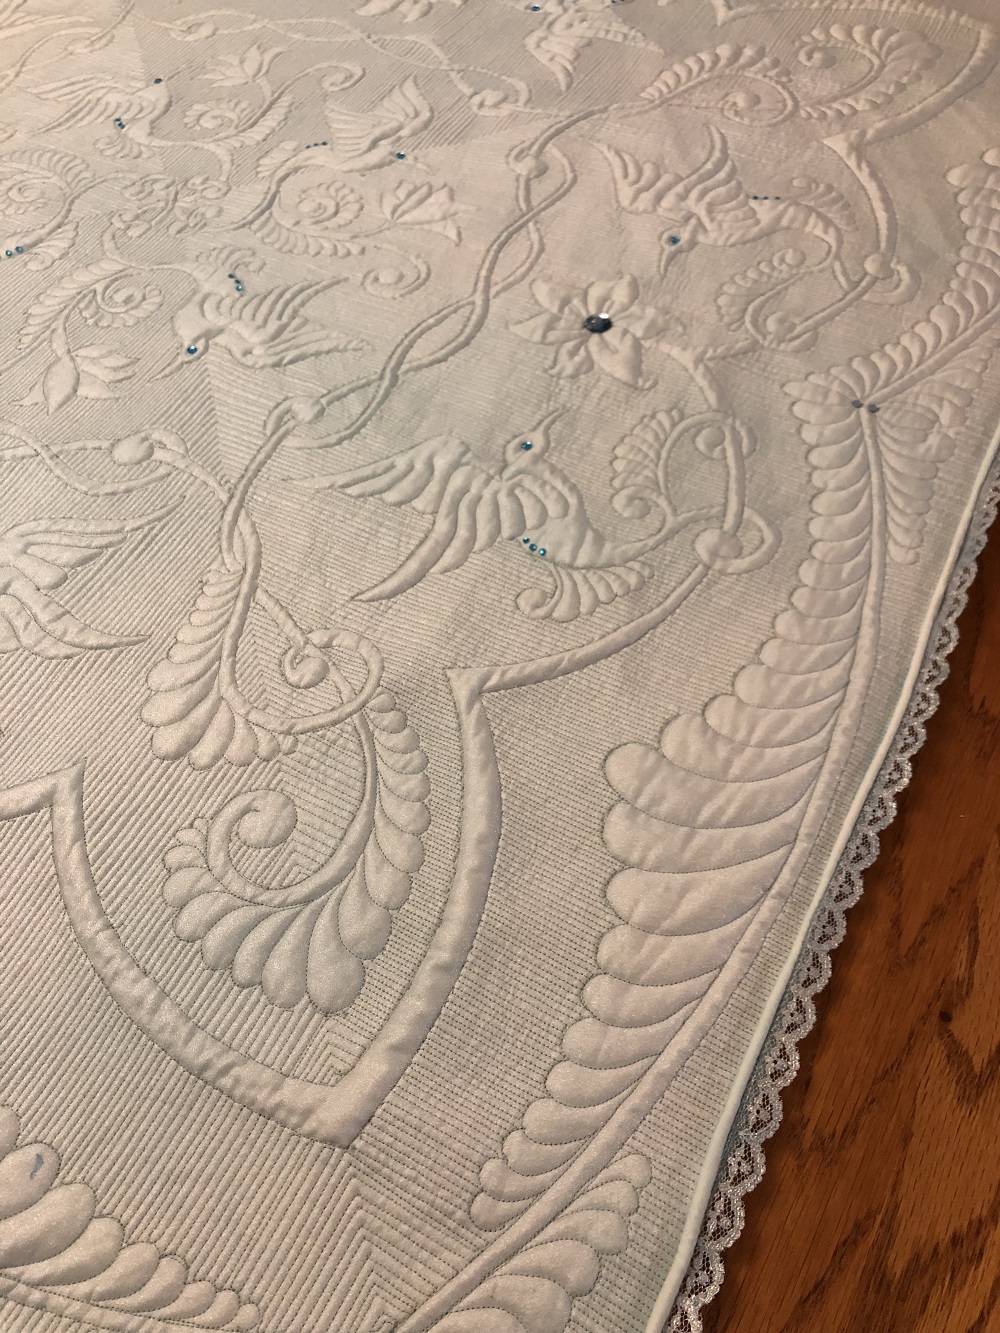
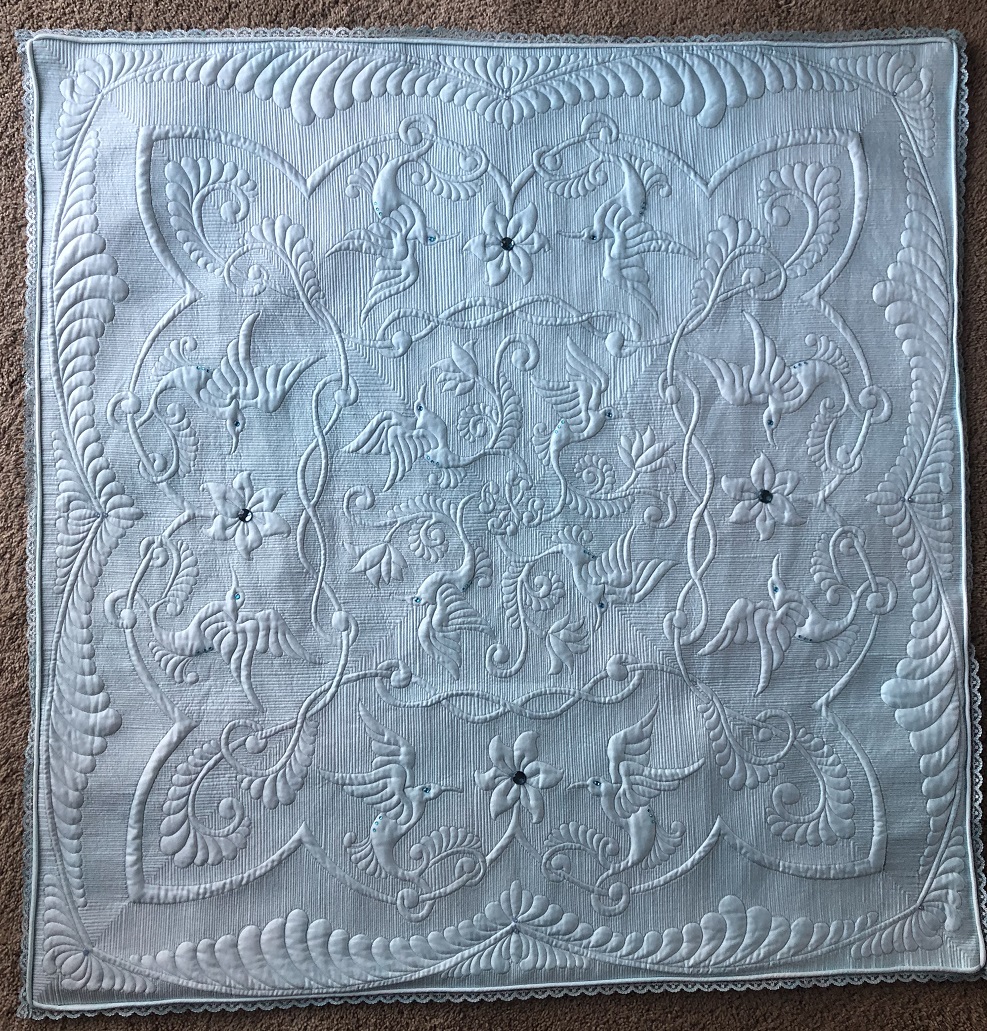
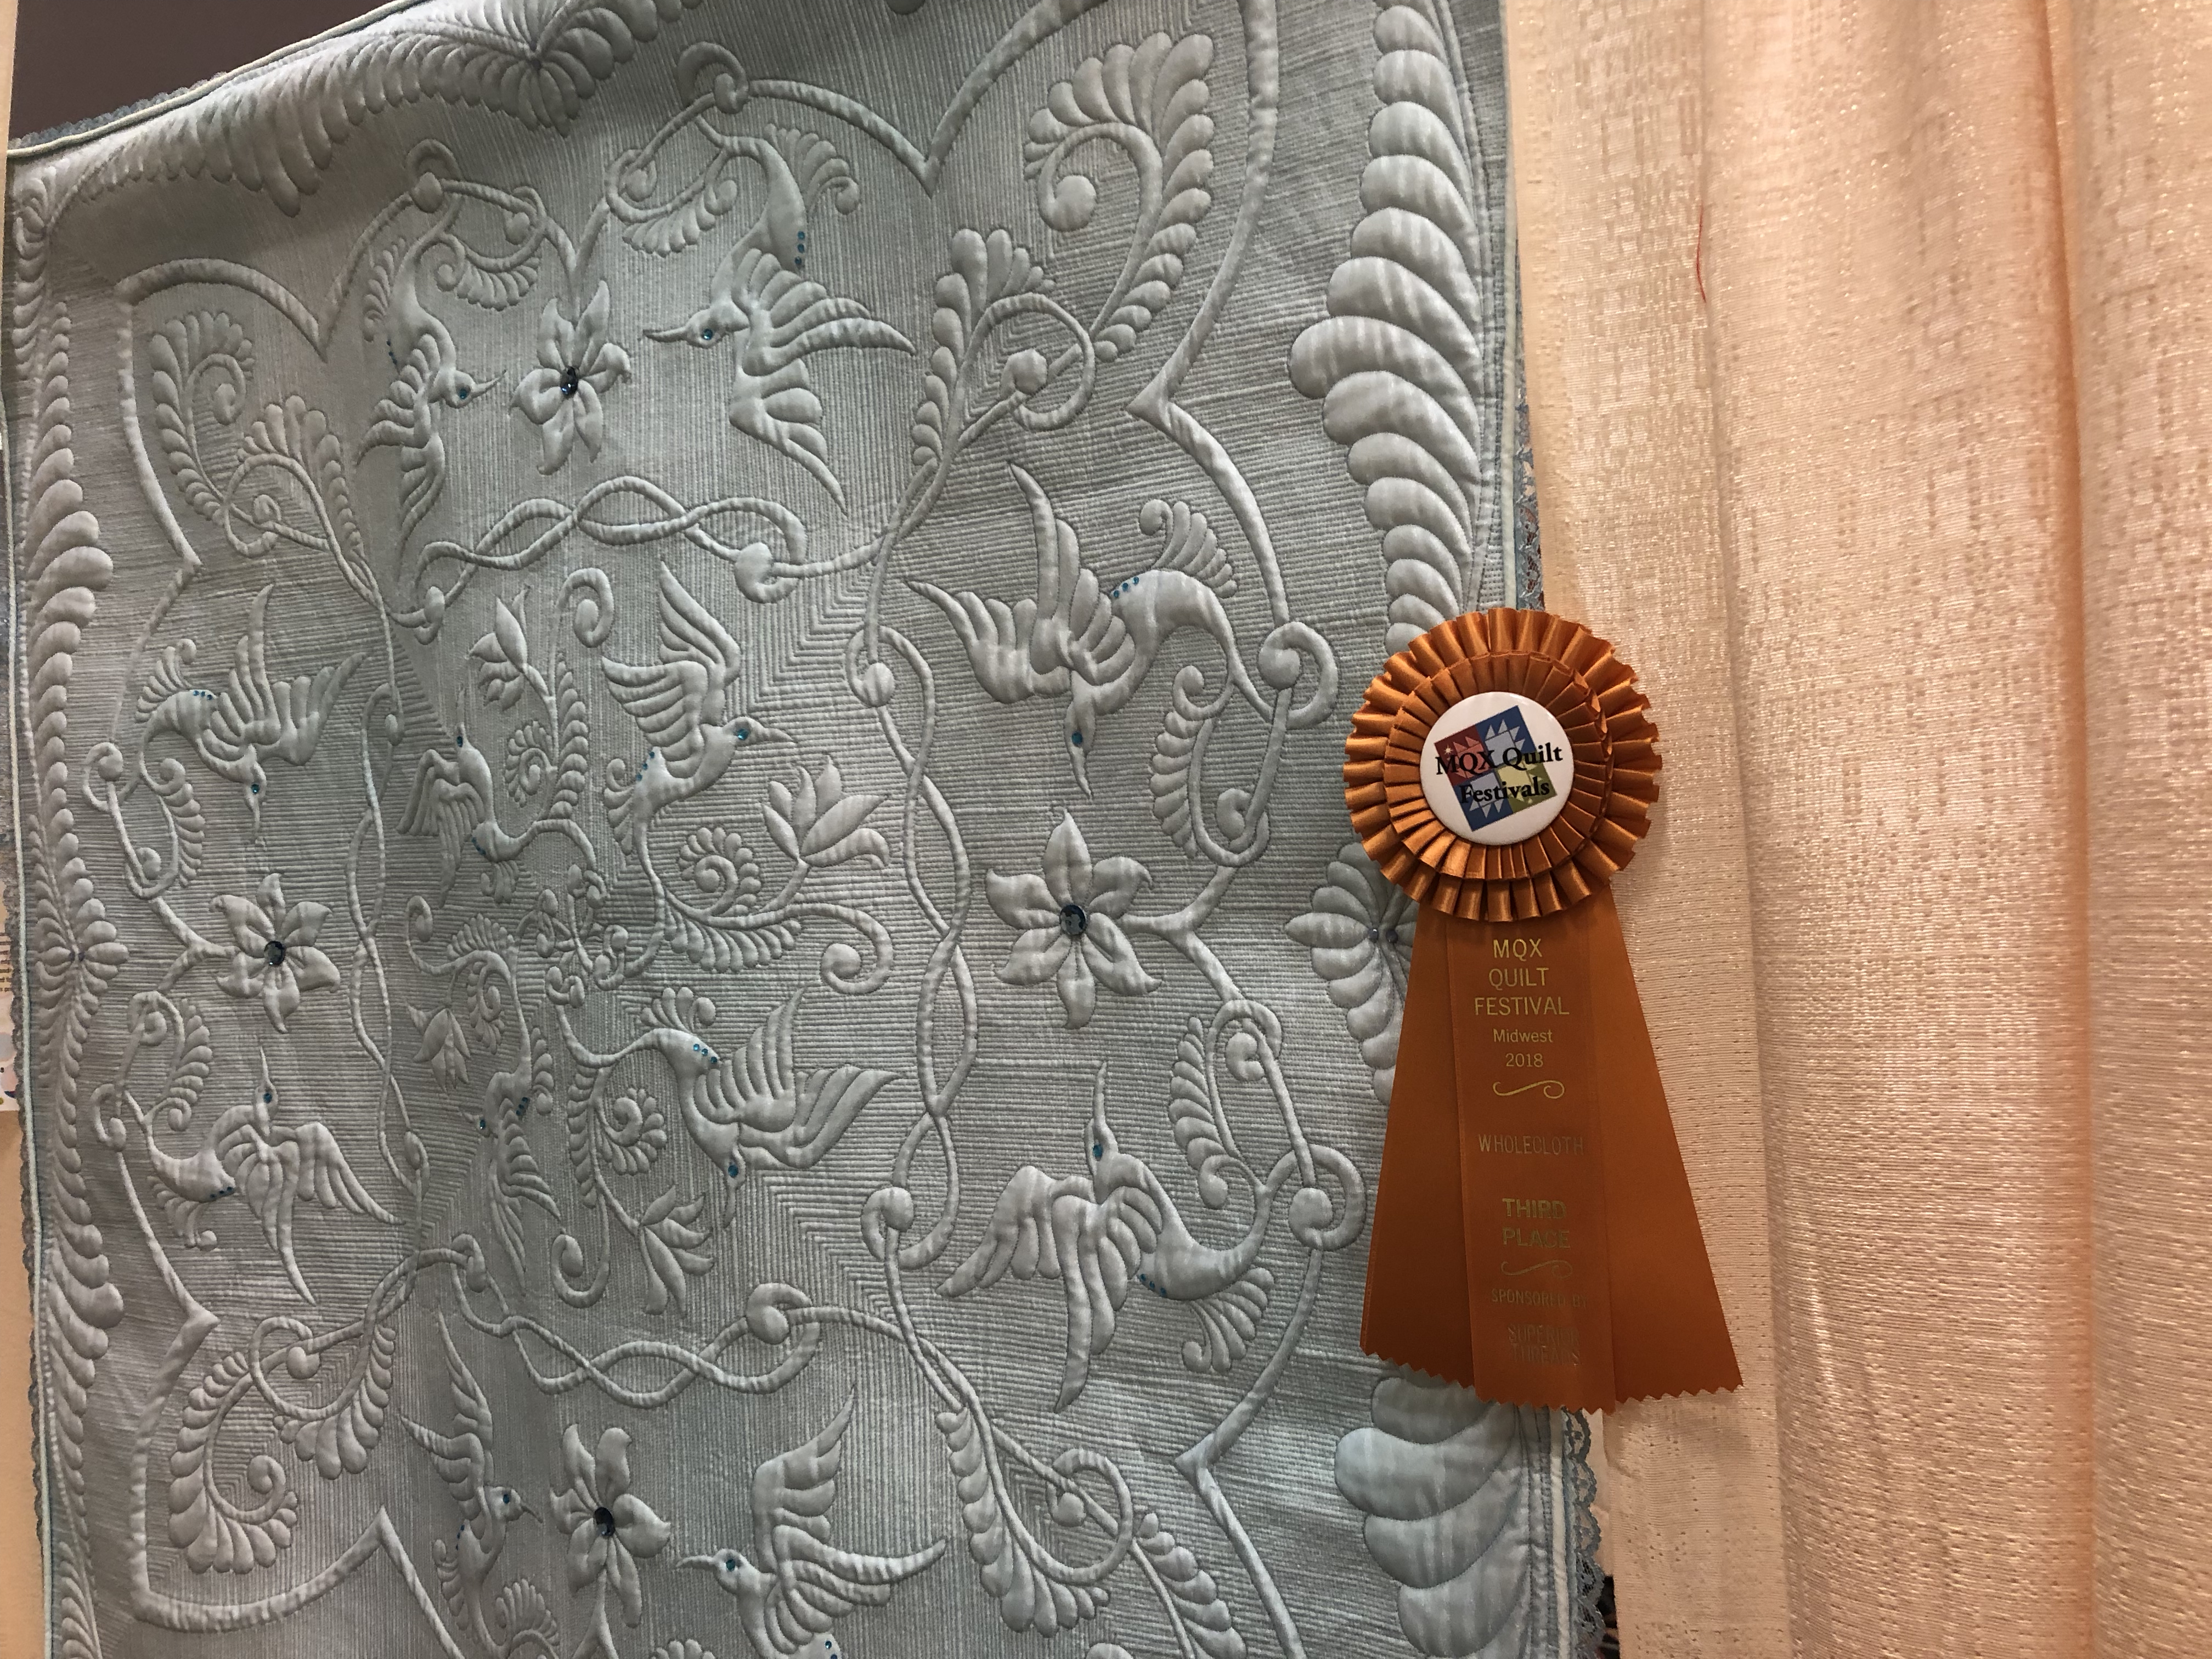
This wholecloth quilt design was a result of a class I took at MQX Midwest with Bethanne Nemesh. We were instructed to bring to class a variety of designs we loved and would use those designs as a starting point for our own individual creations in her class. I cannot say enough good things about Bethanne. Her class was wonderful and I learned so much. I brought several designs, but the one I focused on for this class was one I had used before in a wallhanging. I expanded on that design to create this design. It wound up being 42″ square. I did not finish this in the class, but worked on it for about 8 months (off and on) afterwards. I used a piece of hand dyed cotton sateen as the base material. I transferred the design to this material and then overlaid the entire top with a piece of blue shimmering organza. I’d never quilted anything like that before, but had seen Jamie Wallen use this on one of his quilts. I wanted the shimmering effect as these were stylized hummingbirds and I wanted to mimic the birds feathers.
After I was done with the quilting, I decided to use a faced edging, but wanted to add a piece of piping and lace to it too. I had not done that before and it was extremely hard for me to figure out how to do that by watching a YouTube video. It’s not perfect, but I am glad I tried it. The lace edging started out as off white. I wound up painting it 4 times in order to get the right color. I then added some jewels to the quilt.
A note about judge’s comments at shows. One comment from show said the lace was a distraction. Another show commented that it was a great asset. So, I just really do what I think is best for the quilt at that time and I try to always take those types of comments with a shrug – everyone has their own tastes and mine is the one that really matters.
I purchased at auction, this beautiful unfinished quilt top with lovely cross-stitching and embroidery. I fell in love with it and had to have it. I layered QD wool over Hobbs 80/20 and used Superior So Fine threads.
I had a difficult time with finding just the right color of fabric for the binding, so I used some hand-dyed cotton sateen that I made while at Jamie Wallen’s quilt class I took a couple of years ago with some friends. It came in so handy for this quilt. I love how this turned out. It’s the wedding colors of my stepson’s wedding, so this will eventually live with them in Missouri. In the meantime, it’s won several ribbons (both national and regional shows).
When I prepared to enter it in the shows, I knew I needed the name of the piecer. I contacted the coordinator of the auction to obtain her name and the city/state where she lived. I then googled her and found her phone number. She was 86 or 87 when she finished these stamped embroidery blocks, which her mother had purchased prior to her death in the 80s. So the blocks were old, but the embroidery was just finished the prior year. I hunted down the pattern publisher and obtained written permission to enter it into shows (a requirement for nearly all national/international shows). After winning a 3rd place ribbon at MQX-Midwest, I sent her a letter with her ribbon telling her how our quilt had won it’s first ribbon. It’s gone on to win 1st place and other ribbons and each time I mail her an update. (She doesn’t have internet or a smart phone, so I’m doing this old school. I think that in some ways that makes it even more special.)
It’s currently on it’s way to the Wisconsin Quilt Expo this month.
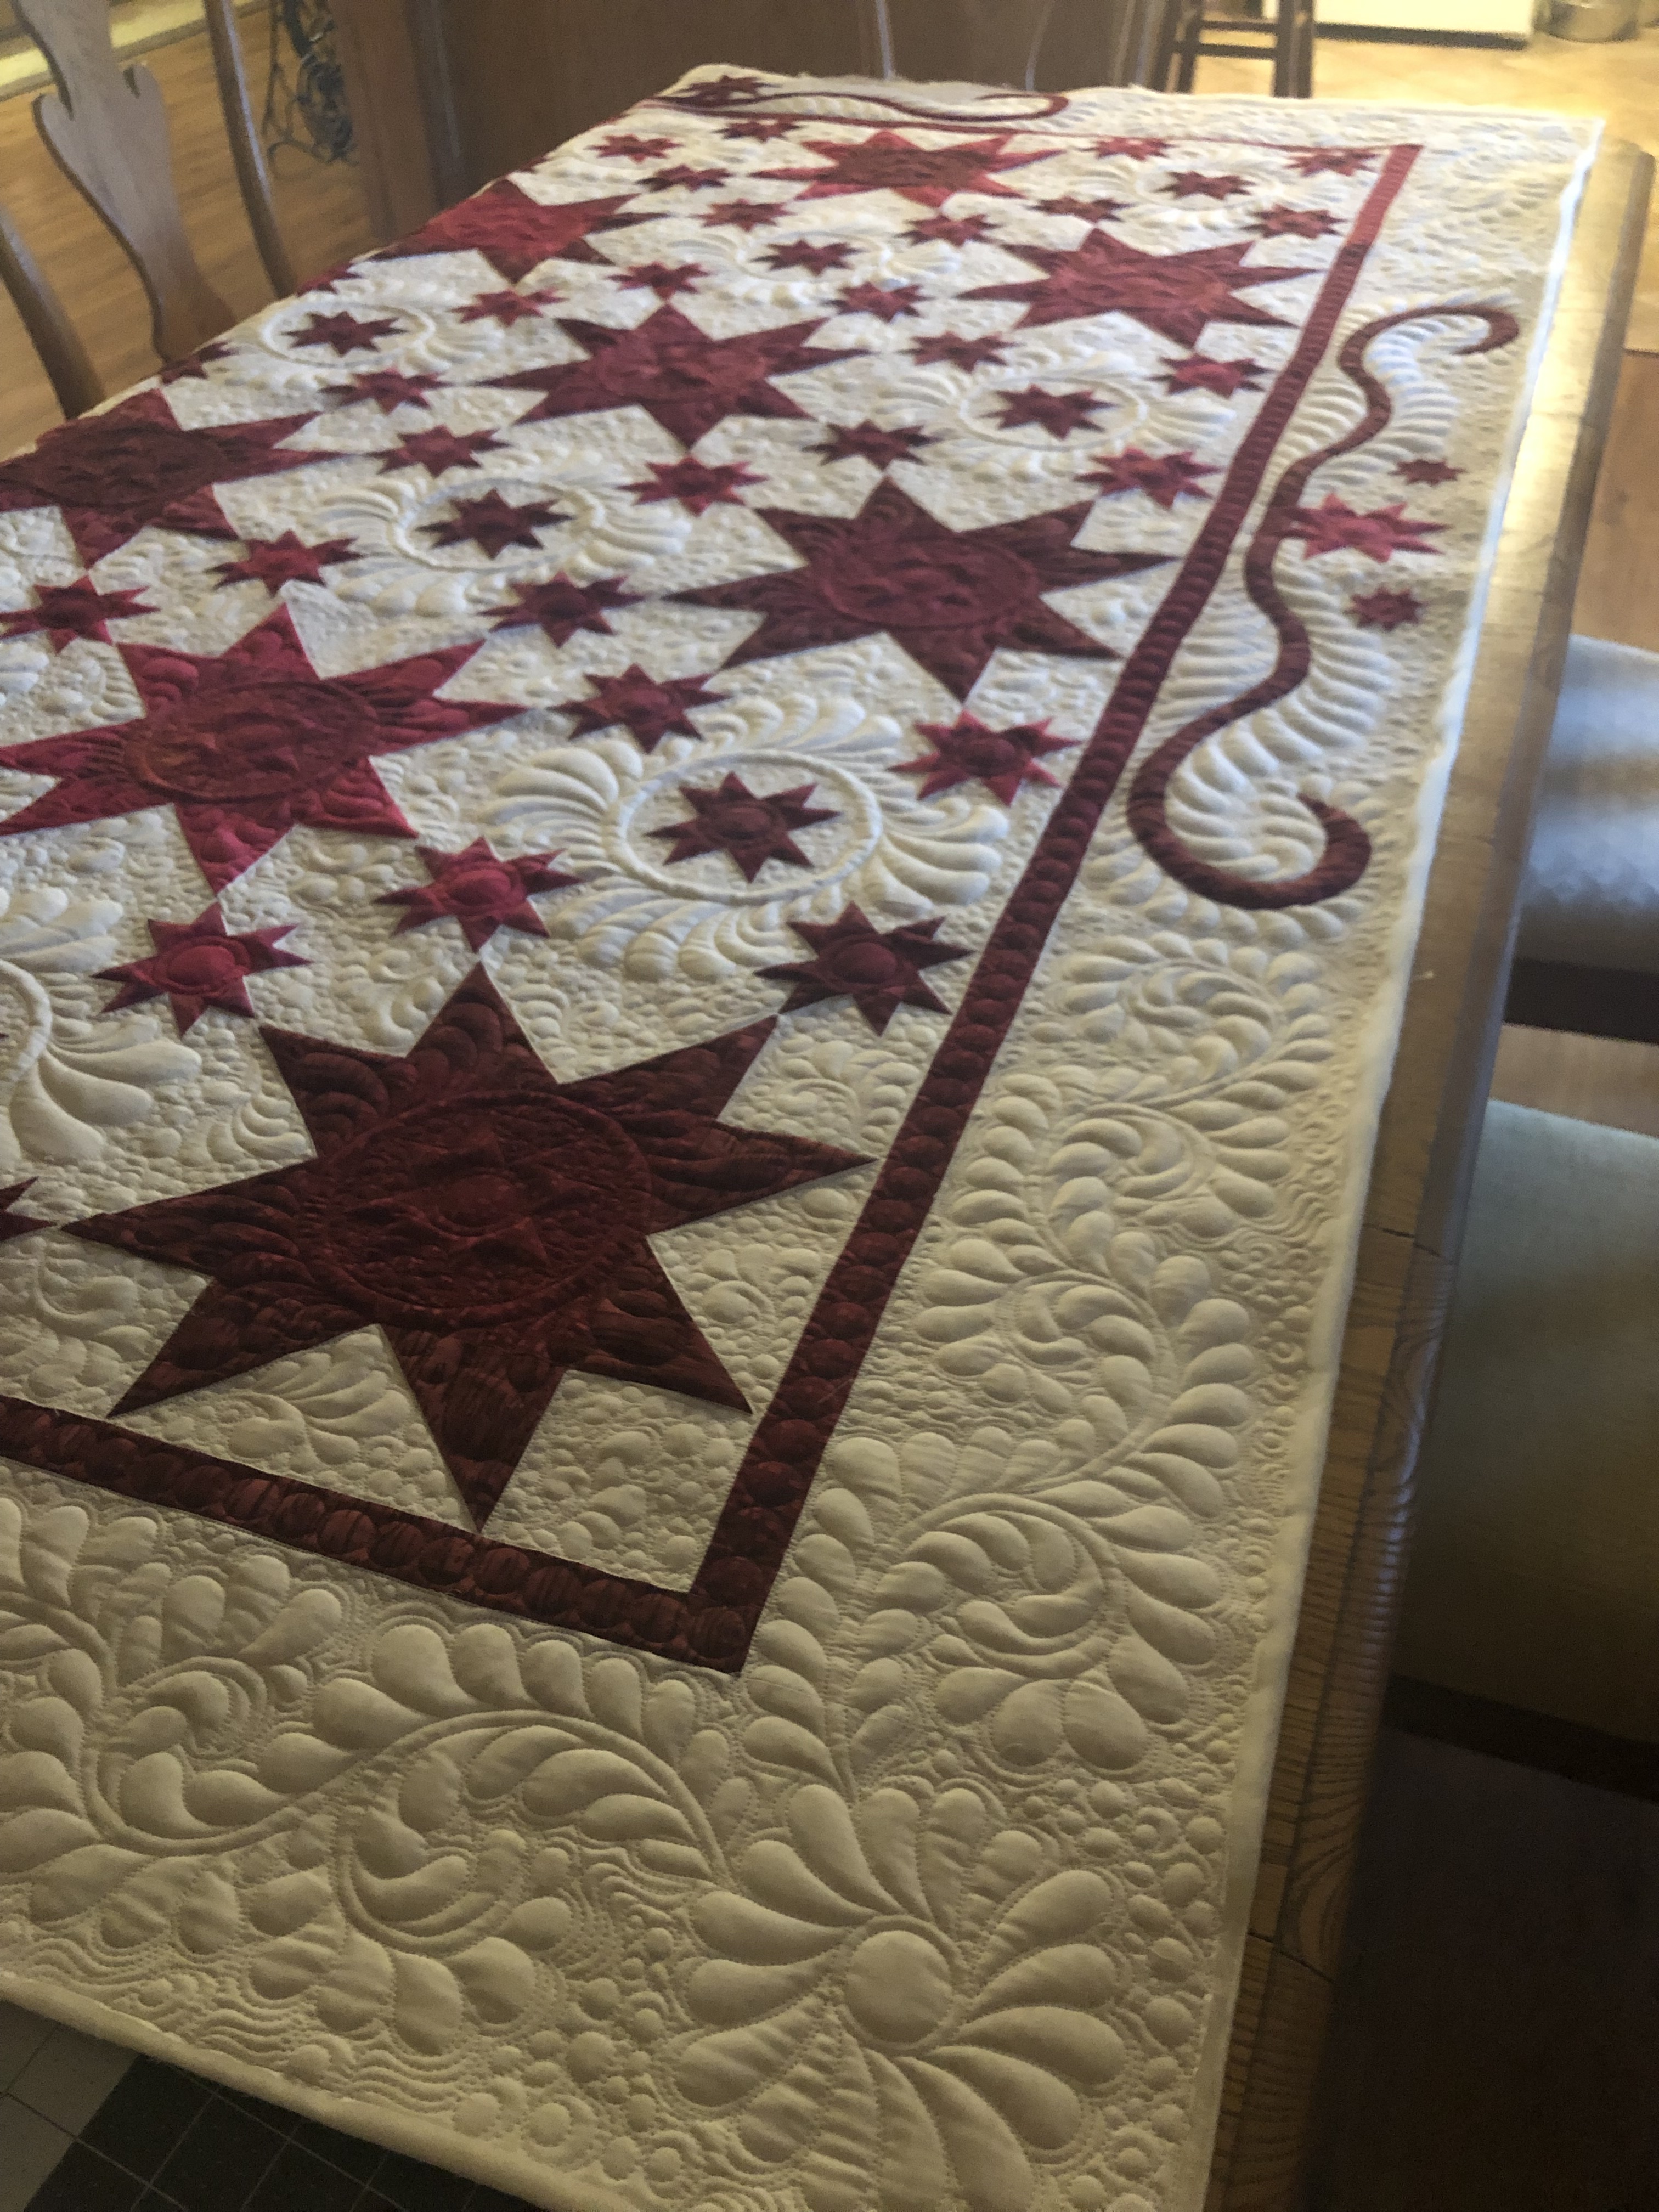
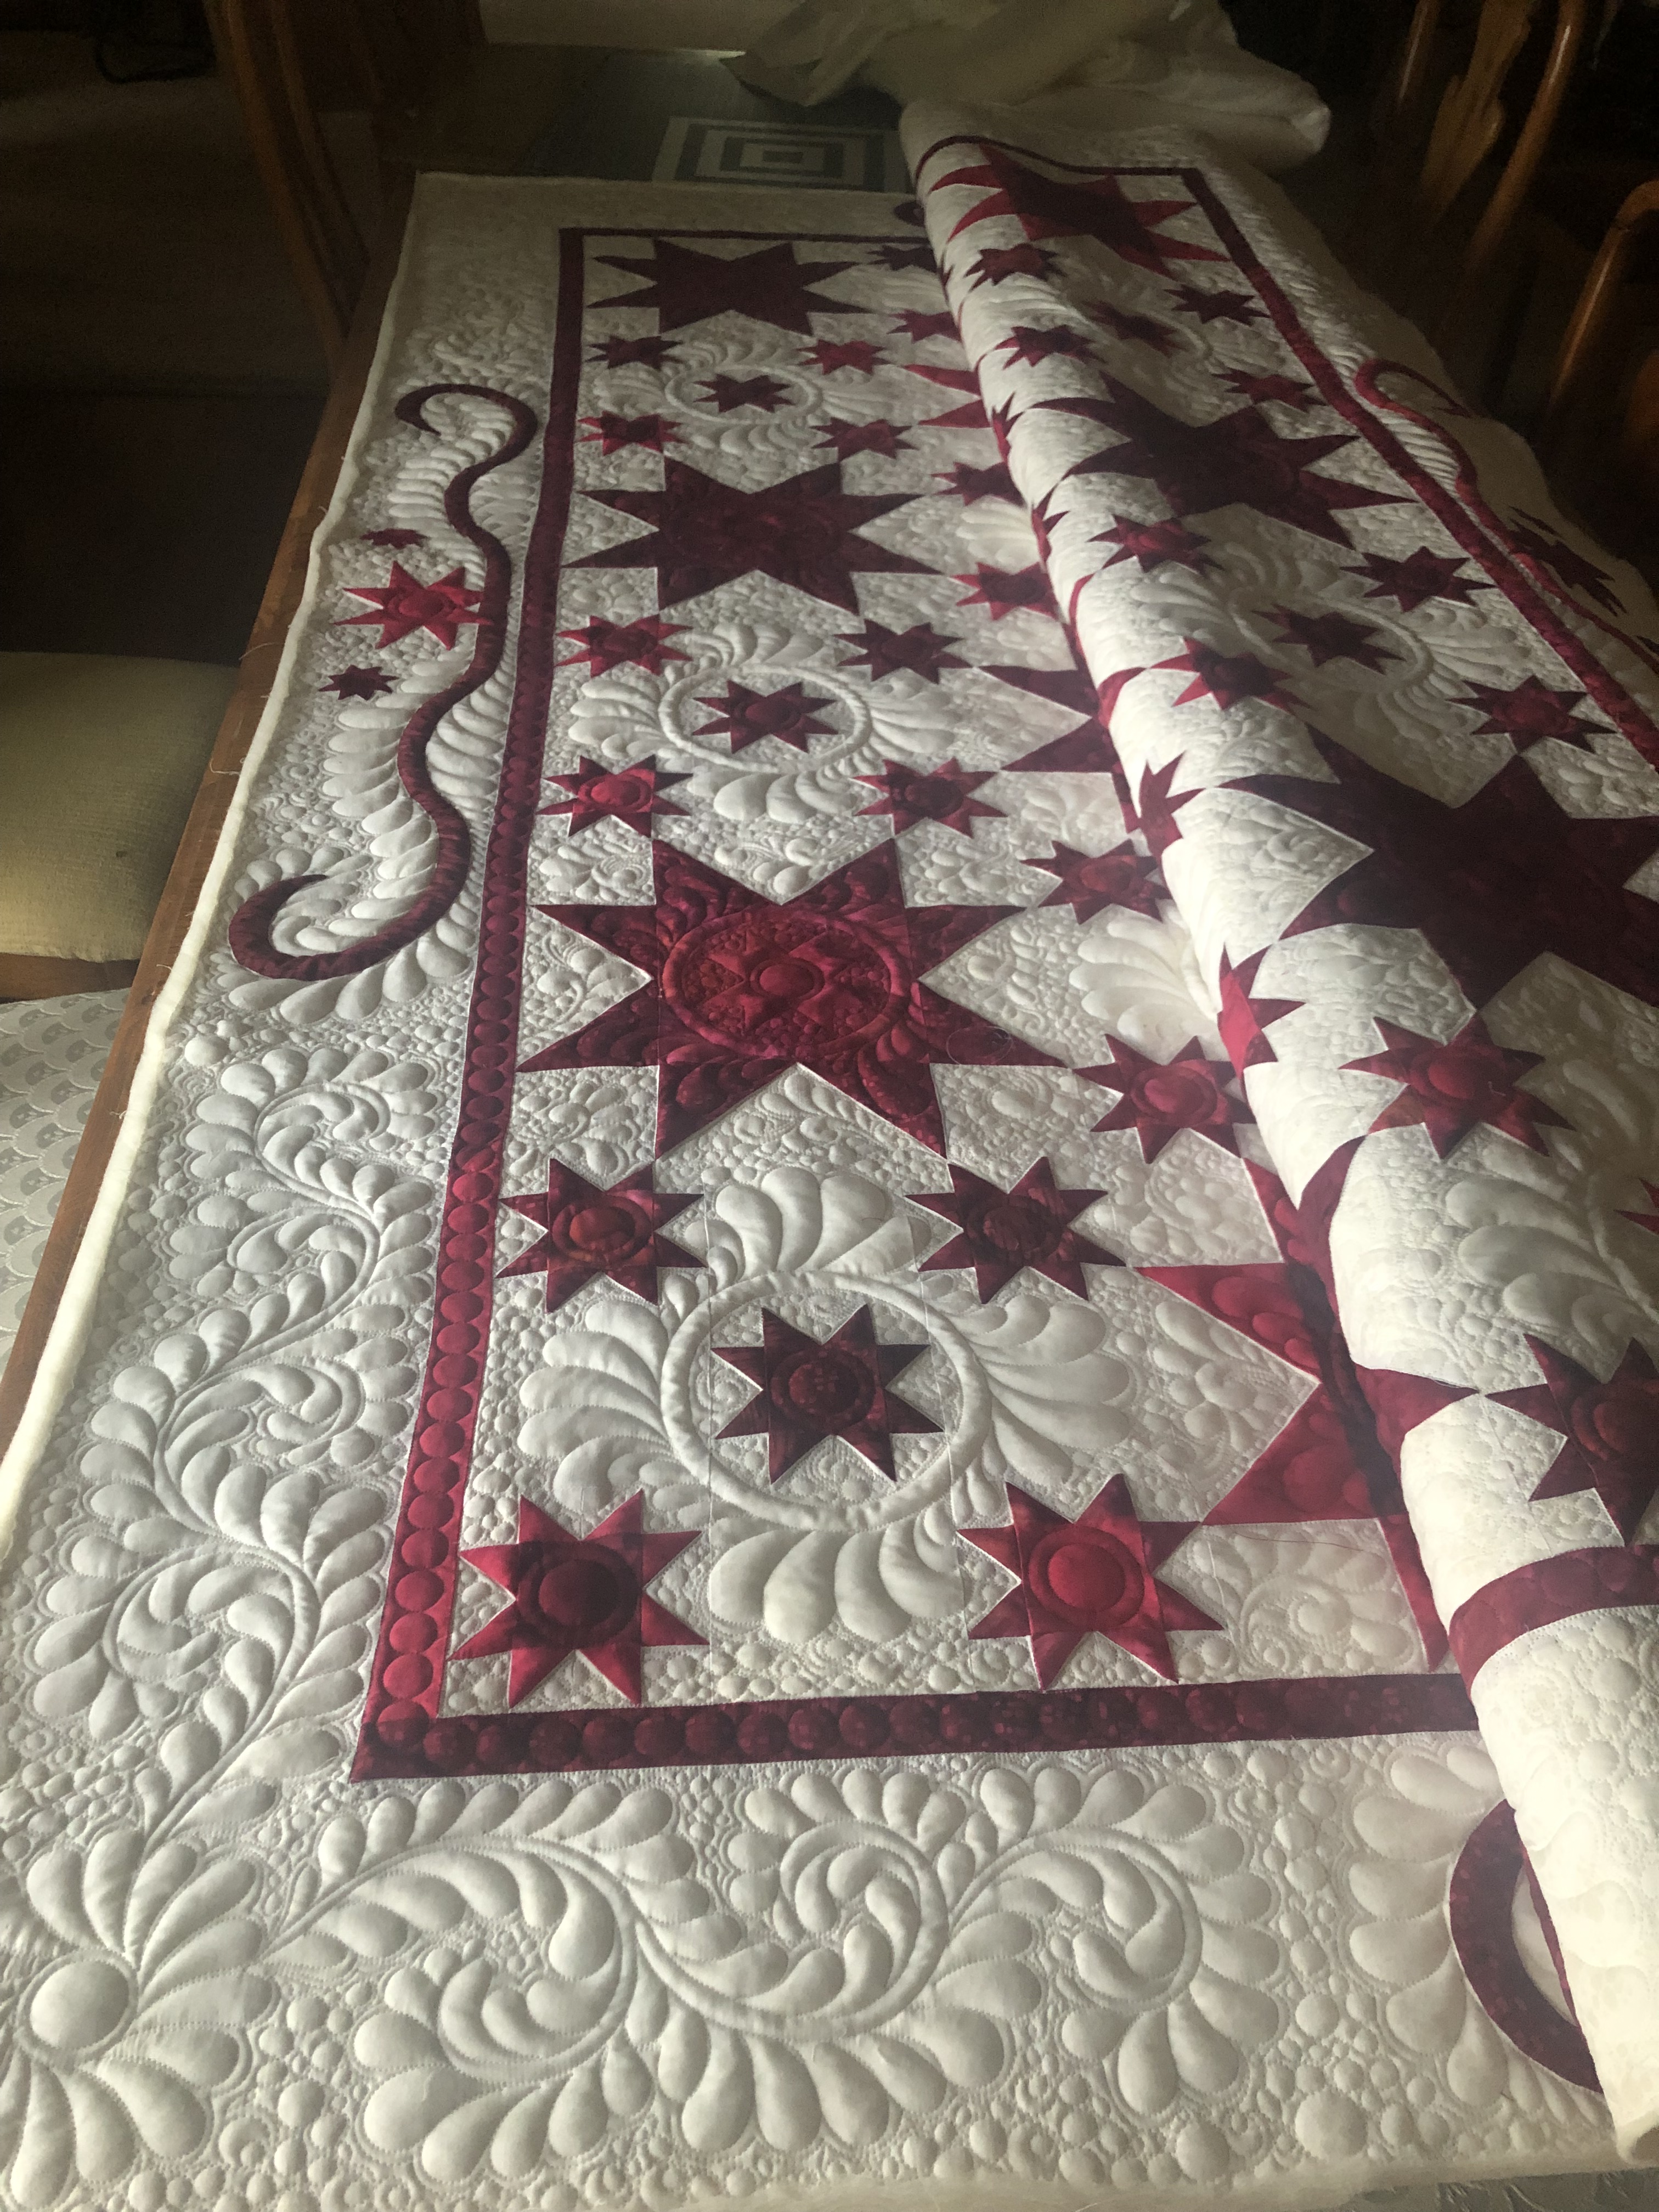
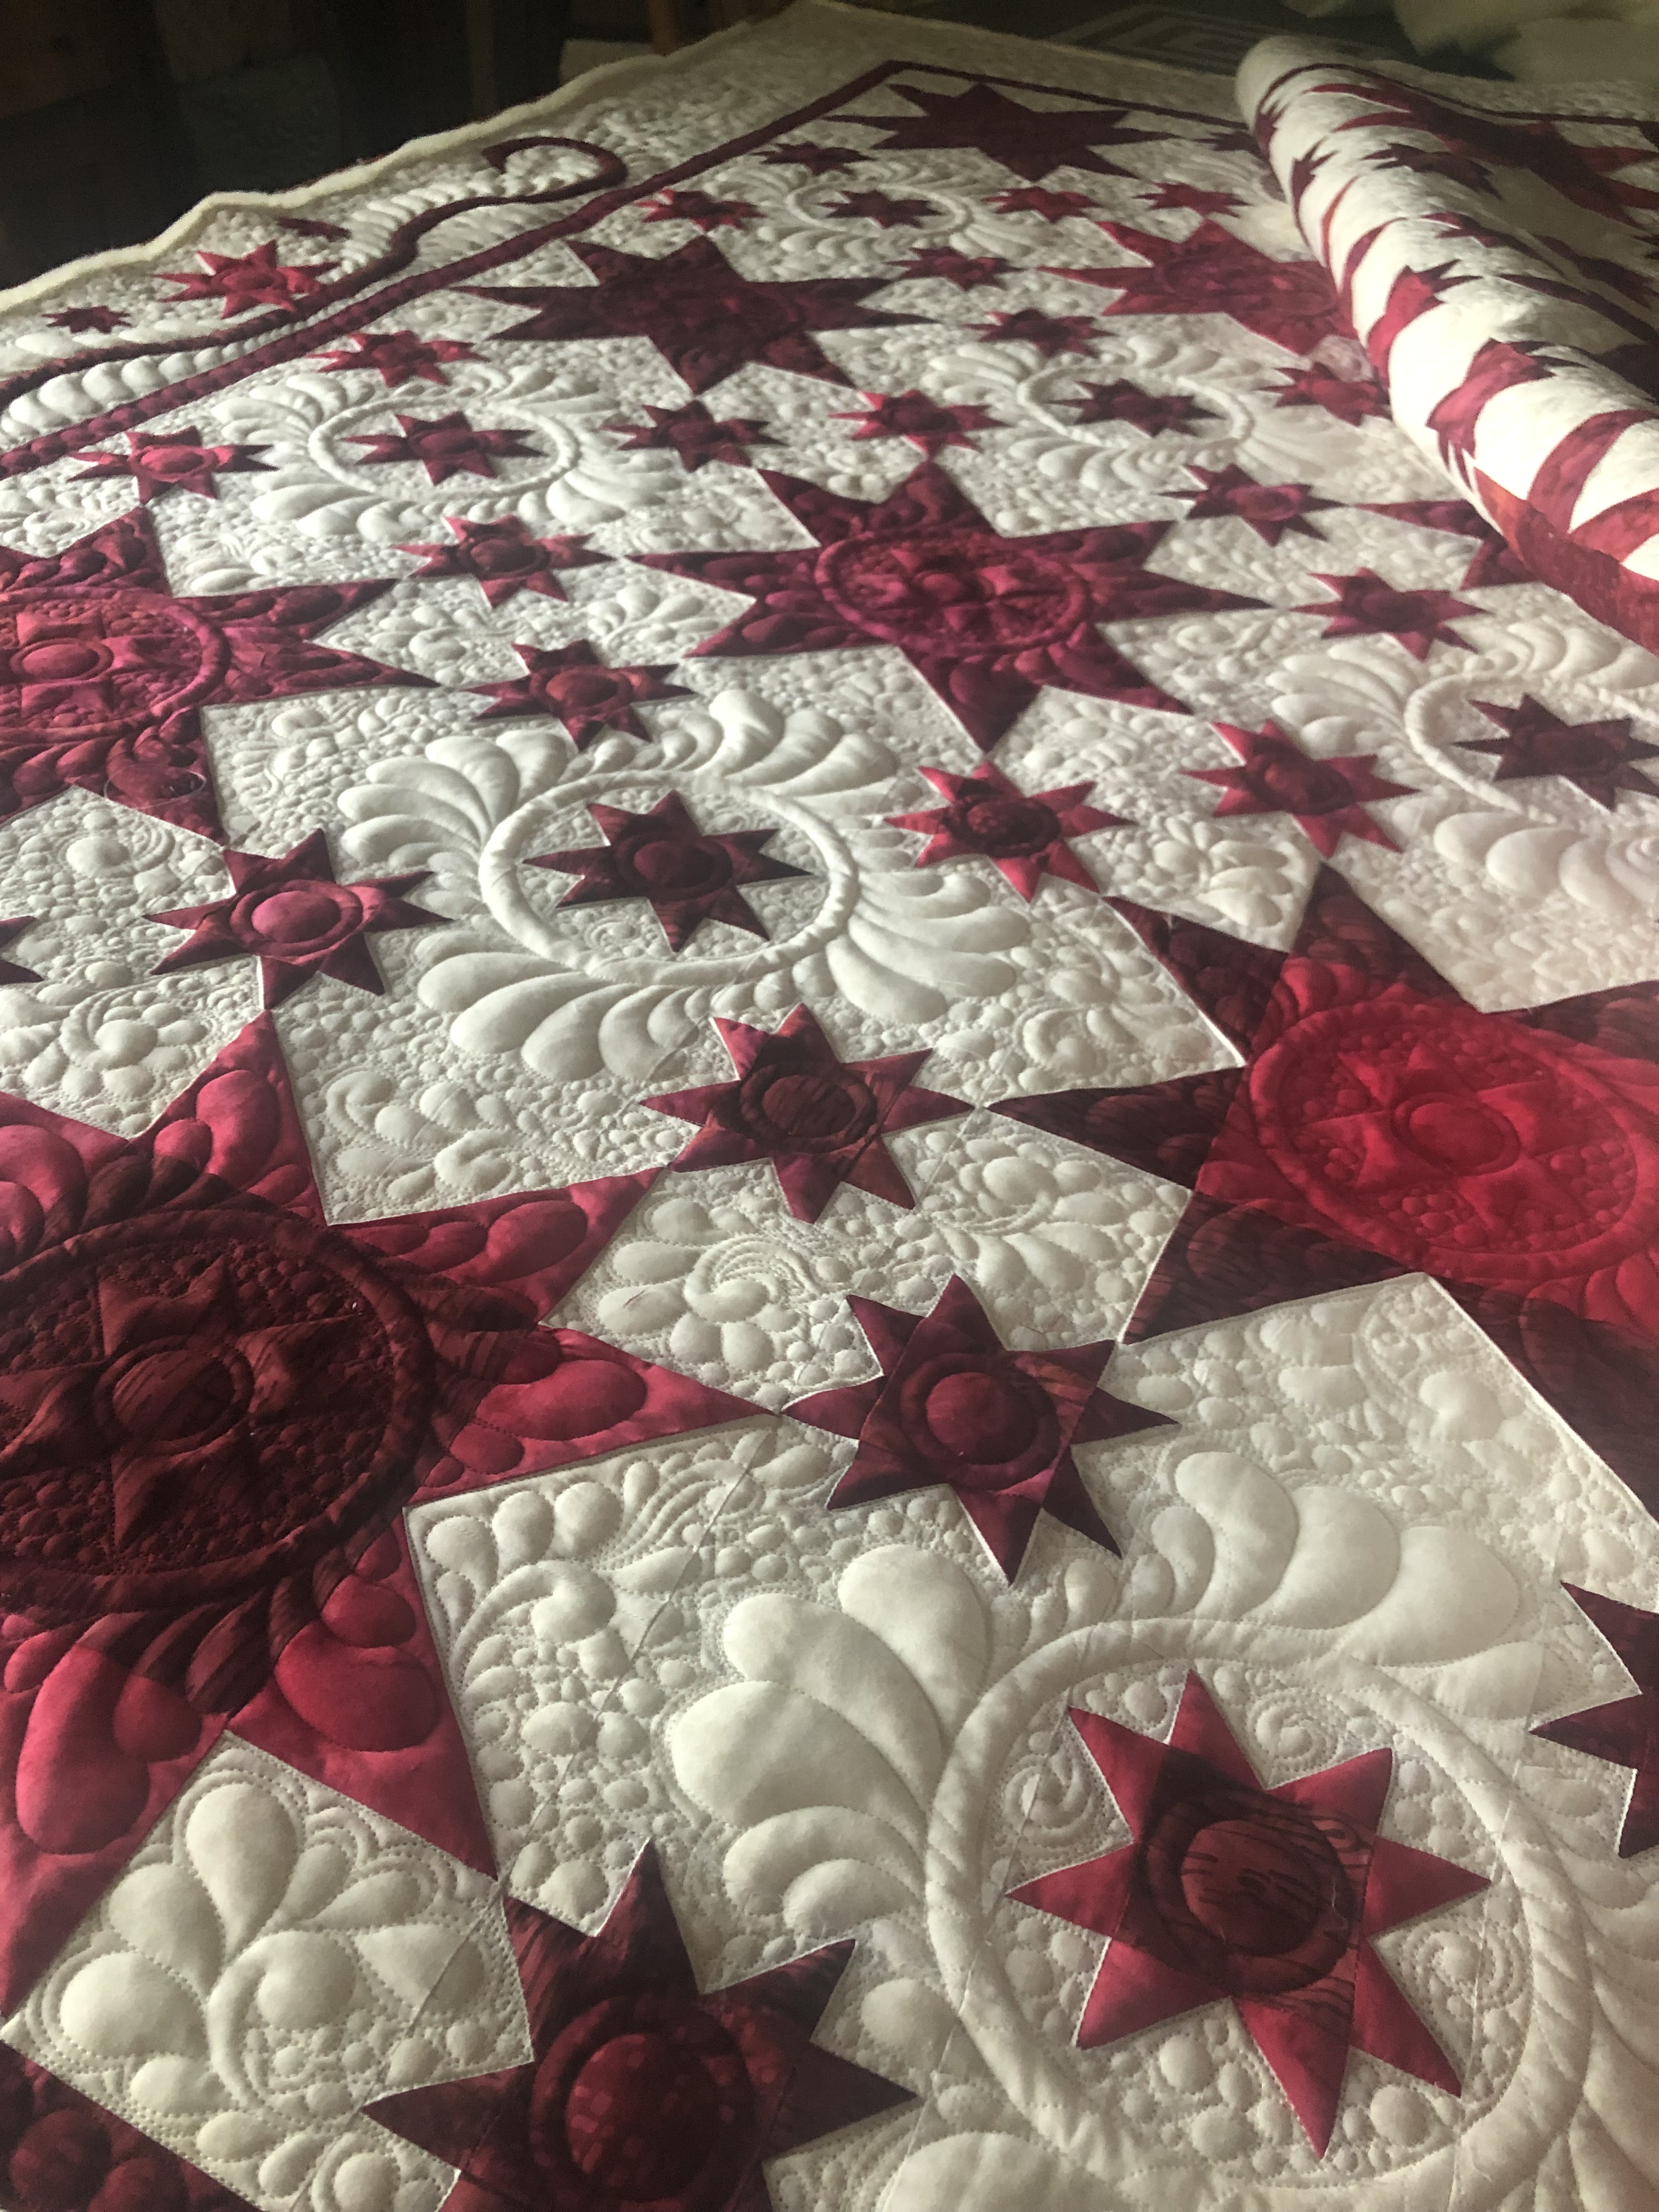
This is a quilt I recently completed for the Decatur Quilters Guild as a raffle quilt for the 2020 Quilt Fest. The guild pieced all of the blocks together and Mary brought it to me to be quilted with instructions to “do my thing”. 🙂
This red and white quilt is wonderful! I love red and white quilts and this one is just gorgeous! The guild did such a lovely job with this.
I layered Quilters Dream wool over Hobbs 80/20. I always use this combination on quilts I consider “show worthy”, which this definitely is. I used a combination of robotics and freehand quilting on this. I mimicked the block design in the quilting motif I created for the center of the large red stars and I’m really happy with how that turned out. The feather were done all freehand, as well as the background filler.
Ticket will be available from guild members starting August 28 and will also be available at their show (https://www.decaturquiltersguild.com/quiltfest). Tickets are $1 each/ $5 for 6. You can contact any guild member or call 217-454-4159. (Did I mention part of my fee is paid in raffle tickets? I hope to win this beauty myself!)
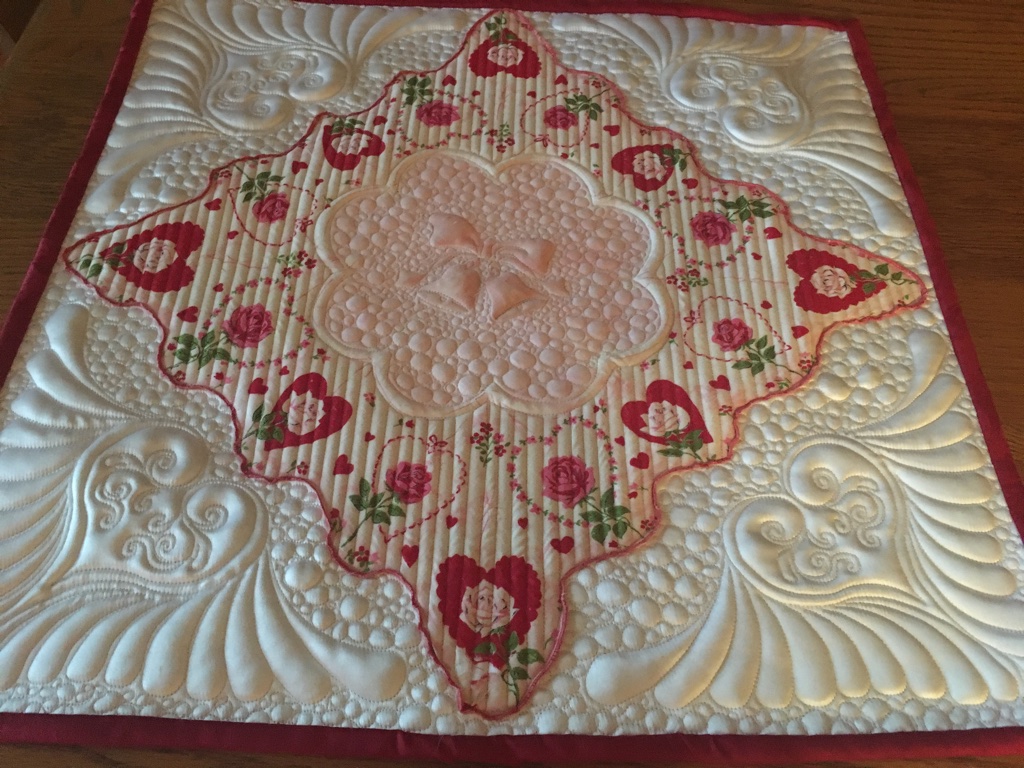
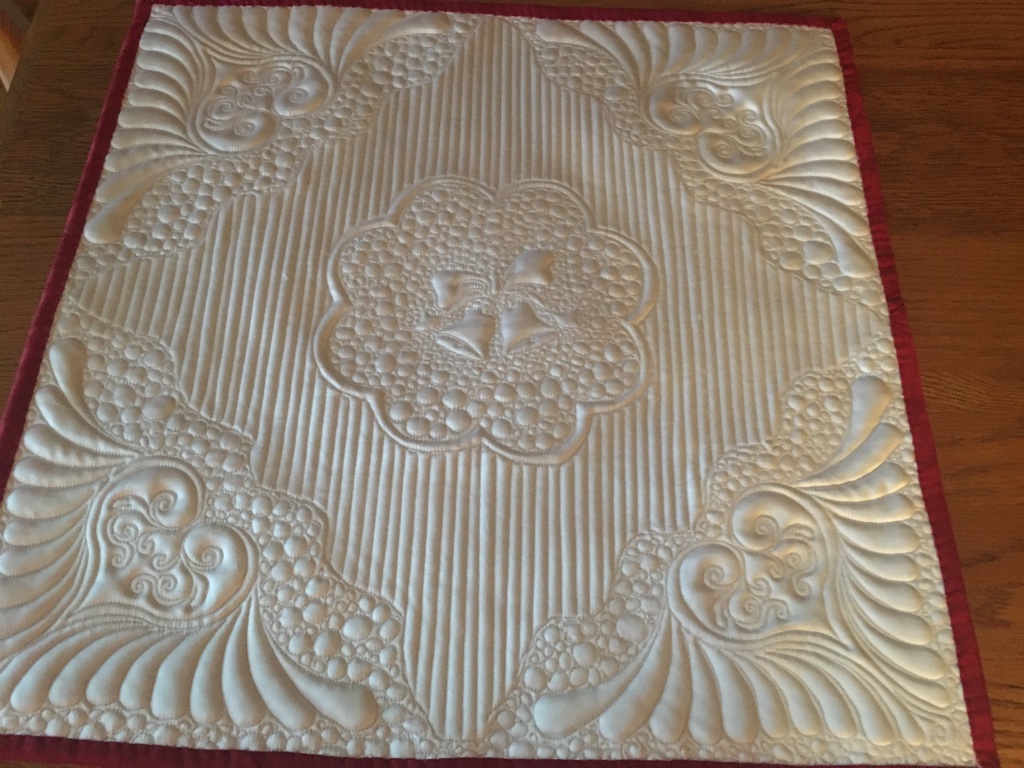
My stepson was getting married in just a few days and I had quilted nothing for the newlyweds. That’s not surprising, given that my schedule is booked months out and I haven’t been able to piece anything for myself in nearly 3 years; but, still! It bothered me. I took a quilt off my frame on the Tuesday evening before the wedding and had been thinking perhaps I’d quilt up something I had in my extremely large stash of vintage linens. I had even purchased one thinking this may make a good gift for them. But, it just didn’t “feel” right. Know what I mean?
So, after going through my stash, I got out the stack of old hankies that had been handed down from my husband’s mother and grandmother. And that is where I found this old Valentine hankie that had been given to my stepson’s great-grandmother Voltenburg. Aha! This is IT! I layered it on white satin (a nod to the bride’s dress) and turned it on point to give me some room to quilt feathered hearts in the corners. I decided on wedding bells for the center. I layered the tops on two layers of batting to give it extra poof and a faux trapunto look.
After getting it bound, I decided the inner bells weren’t visible enough, so I added a bit of a color tint to them using both ProFab paints and Tsukineko inks. Just enough to make them stand out a bit more.
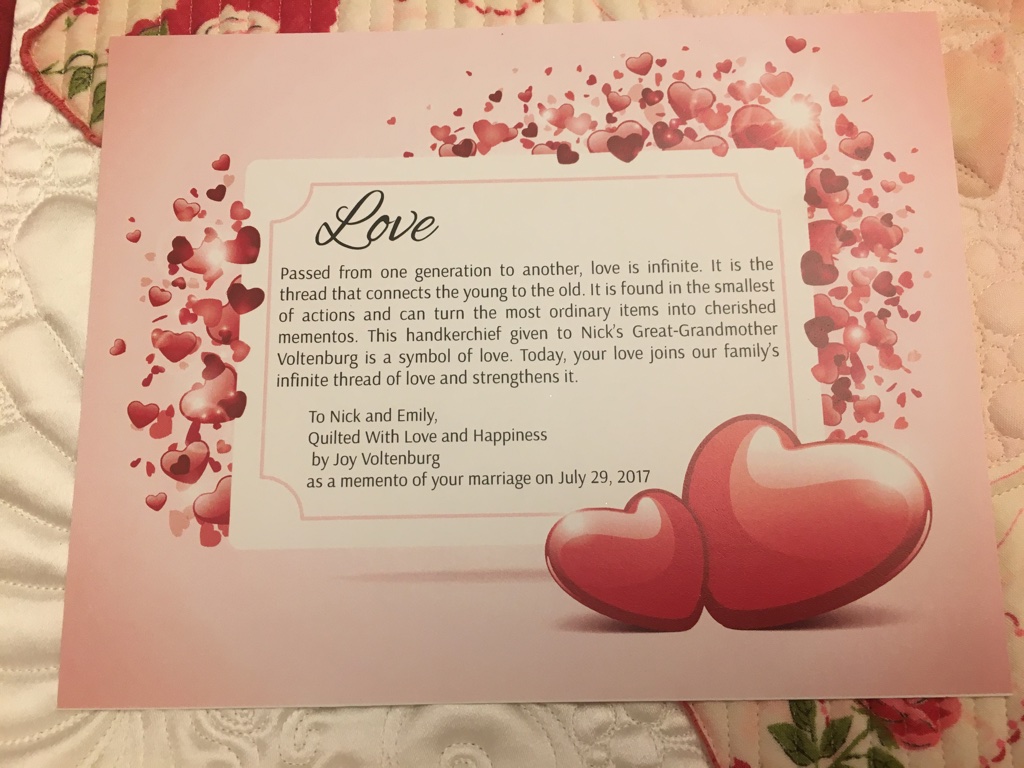
I didn’t want a label attached to this as I wasn’t sure how the newlyweds would display it (if at all), and it could be reversible if I didn’t add a label. I decided to make a card to go along with it which would tell the details (maker, date, etc.). I drew from my inner Hallmark creator and came up with the card below. I wanted to convey the idea that this was given in love many years ago in a different generation and was cherished enough to be kept and handed down and in turn was another gift of love in a new generation. I must say I loved the entire thing, but I love the message of love being eternal even more.
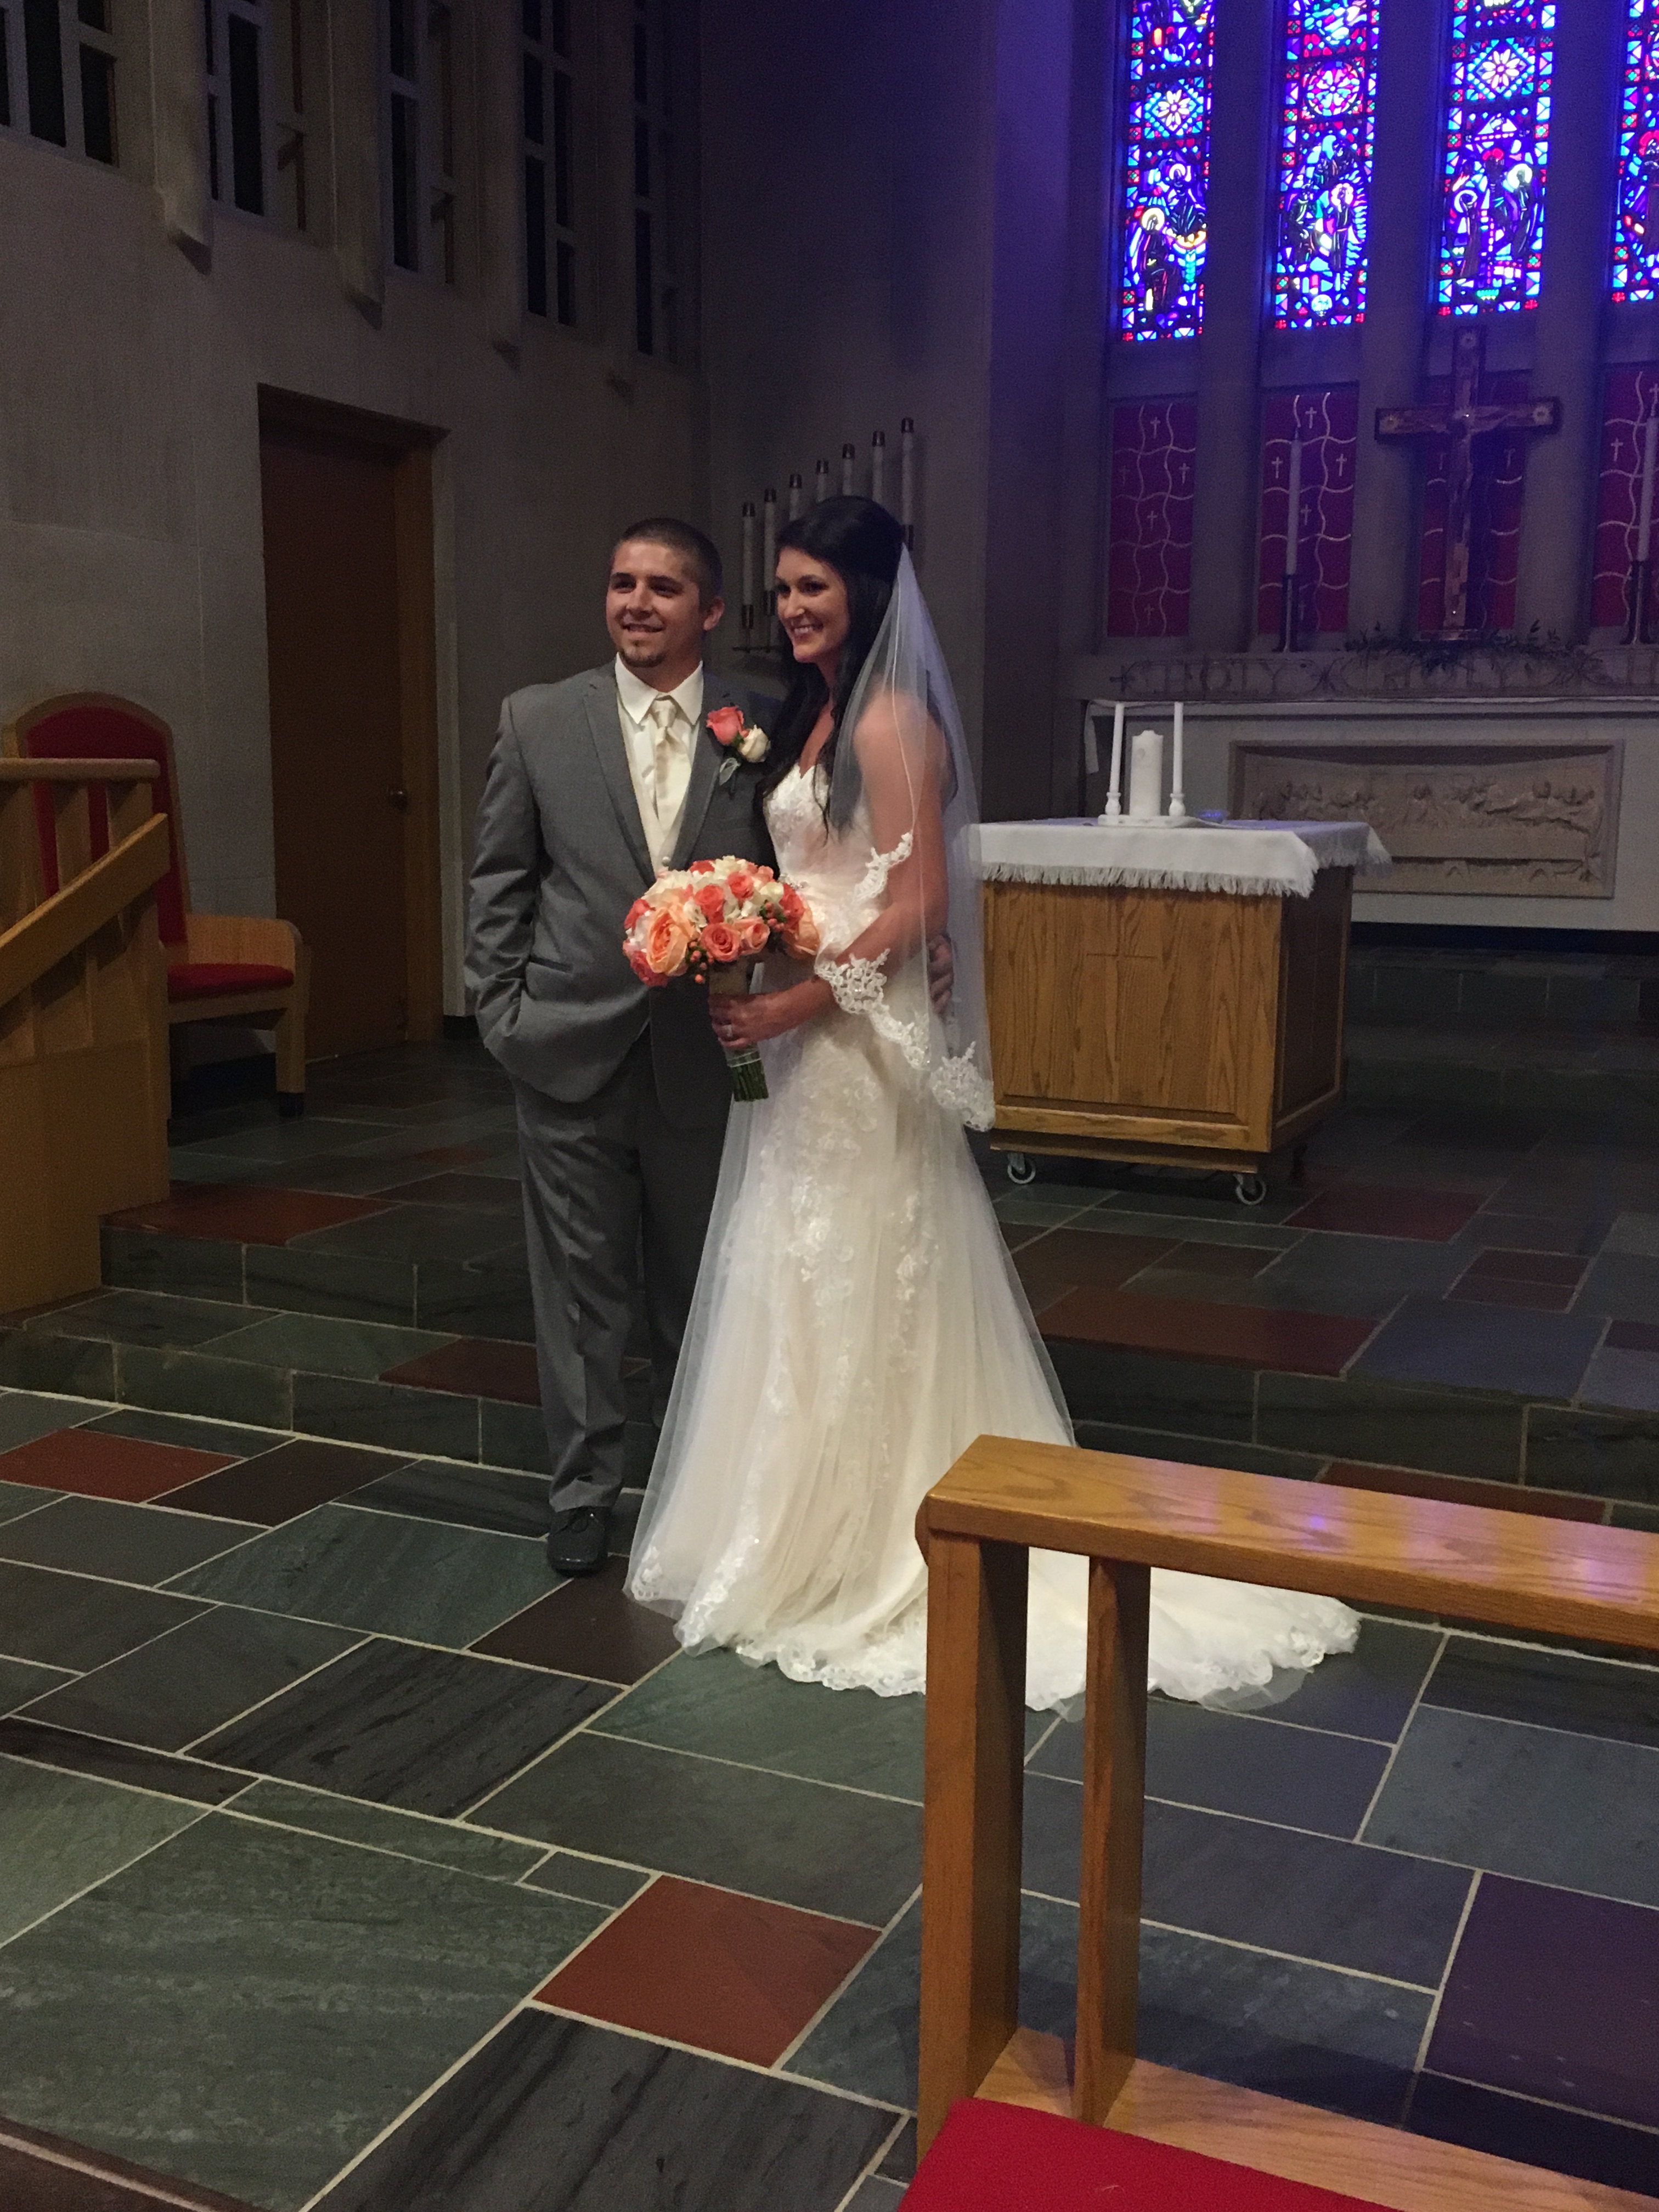
updated: this is how it looks after they got it framed! Isn’t it just beautiful!The beautiful newlyweds! Love these two so much!
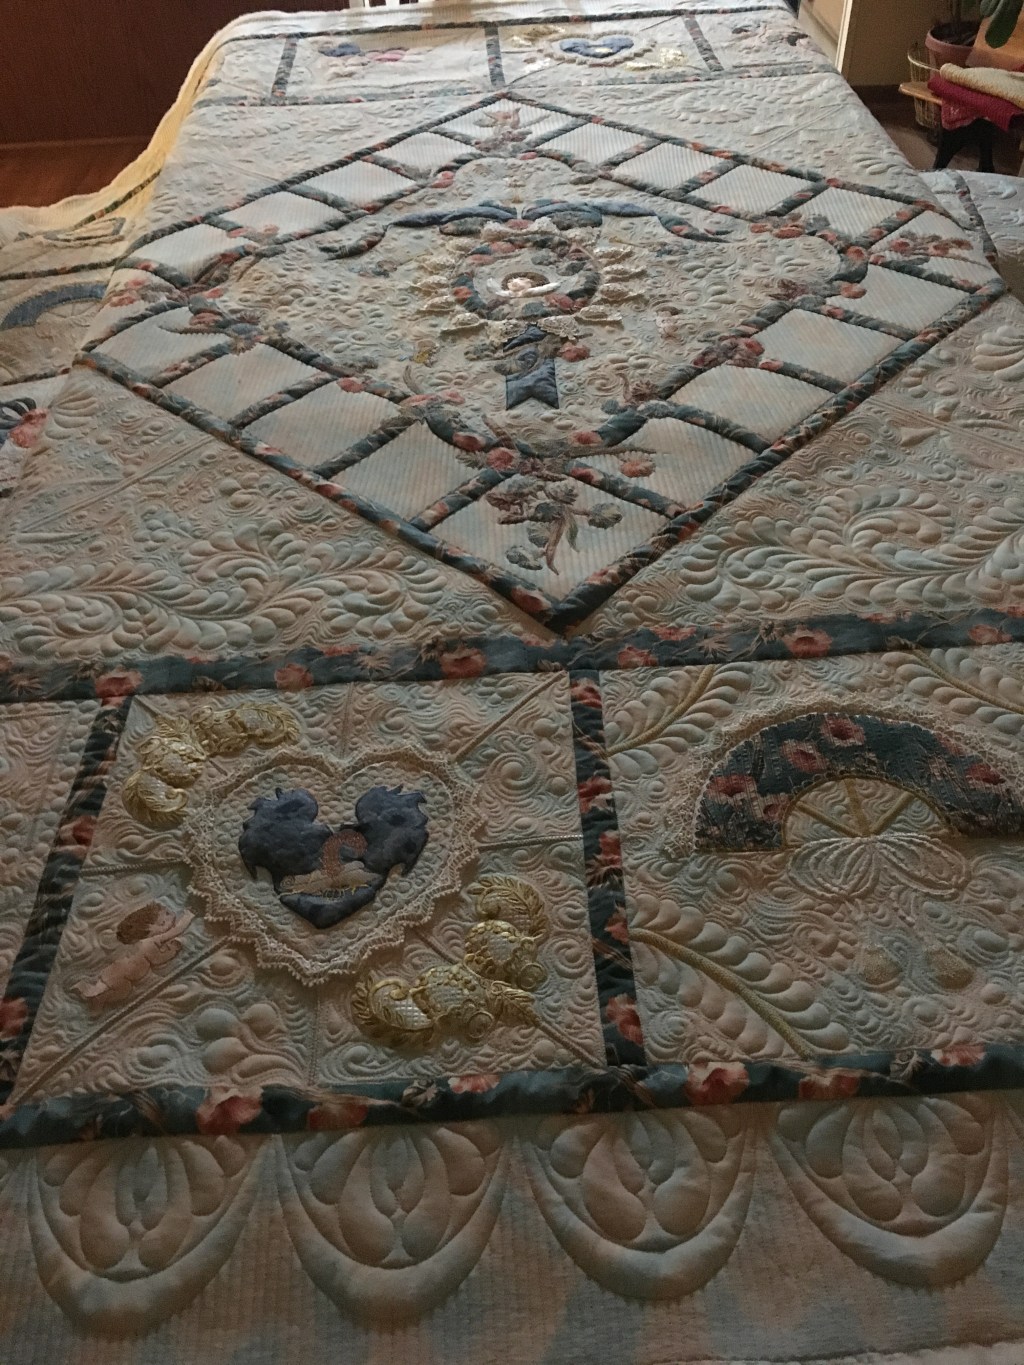
I can’t say enough good things about this quilt. It was 100″ square and had been pieced well over 10 years ago. The lady (Pat in Georgia) is now in her 80s, and decided it was time to get it quilted. I’m glad she did. I’ve not ever seen one like this (probably because the pattern, a Jenny Haskins pattern,was published in 1995). The blocks have both embroidery and applique. Each block also had a layer of cutaway batting behind the main parts of the block for a trapunto effect. The detail work was pretty awesome. She used lace as an embellishment too (I LOVE old lace). She was tickled pink with it. So was I.
I used one layer of Quilters Dream wool and Superior Microquilter thread on top and Bottom Line in the bobbin. I decided to use swags in the outer border to represent the shape of halos as there are embroidered angels everywhere. There is even one hiding behind a block! I opted to quilt a large ribbon with curling feathers in the setting blocks surrounding the middle medallion to break up that space a bit. Of course it called for lots of feathers and feathery fills.
Part of being a longarm machine owner is the ability to do maintenance and repairs on your own machine. An ability to figure out why something is wrong and then figure out how to fix it is a big plus. In the 5 years that I have owned this A1 longarm, I have never had any issues that I couldn’t figure out on my own how to fix. Most of them had to do with regular maintenance (rotary hook, needle bar height, etc.). The machine I had before this one, however, I had torn it apart several times in the short two years I had it.
So, on a Tuesday evening, I was quilting merrily along when all of a sudden I heard this loud pop. It was loud enough that it startled me and nearly made me jump. As soon as that happened, my machine quit. Lights on, but no one home dead. I thought well maybe a fuse blew. So, I figured out how to replace that (first time ever) and that wasn’t it. I unplugged everything and plugged it back in. Still nothing. I checked the user manual, and went through a few suggestions. Nada. I went on Facebook and asked for help and got several suggestions, but still nothing. The next morning, I contacted support and was informed I needed a new motor box. And since I was getting a new motor box, they sent the updated index board and magnet. Randy at A1 said to take pics of all the cables and how they were attached and to call him when I got it back together and he’d walk me through things.
Well, I had never ever taken the back off of this machine. Ever. But, no big deal right? I took the back off to send pics to Randy so I knew what was in store. These are the “before” pics I sent to Randy so he’d know what kind of board he needed to send back.
left side
back
right side
I got the new parts on Friday. I work through the week (and can work from home if I need to – which I did on Wednesday to call support). So, I didn’t get started on taking the old stuff off and replacing it with new stuff until Friday evening. I did ok, until I had a couple of cables I didn’t know where to hook back up. Facebook to the rescue! I got the answer on all but one leftover cable. I also didn’t have a clue on how to replace the magnet; so, I took the day off on Monday and called Randy at A1. The extra cable was just that – an extra cable with nowhere to go. He walked me through replacing the magnet and index board. I had to make a trip to town to get a special allen wrench to unscrew the tiny screw that attached the index board to the housing. It needed a 1/16″ allen wrench and the smallest I had was 1/4″. I found one that small at our local hardware store and got back and was able to remove everything and put it back together.
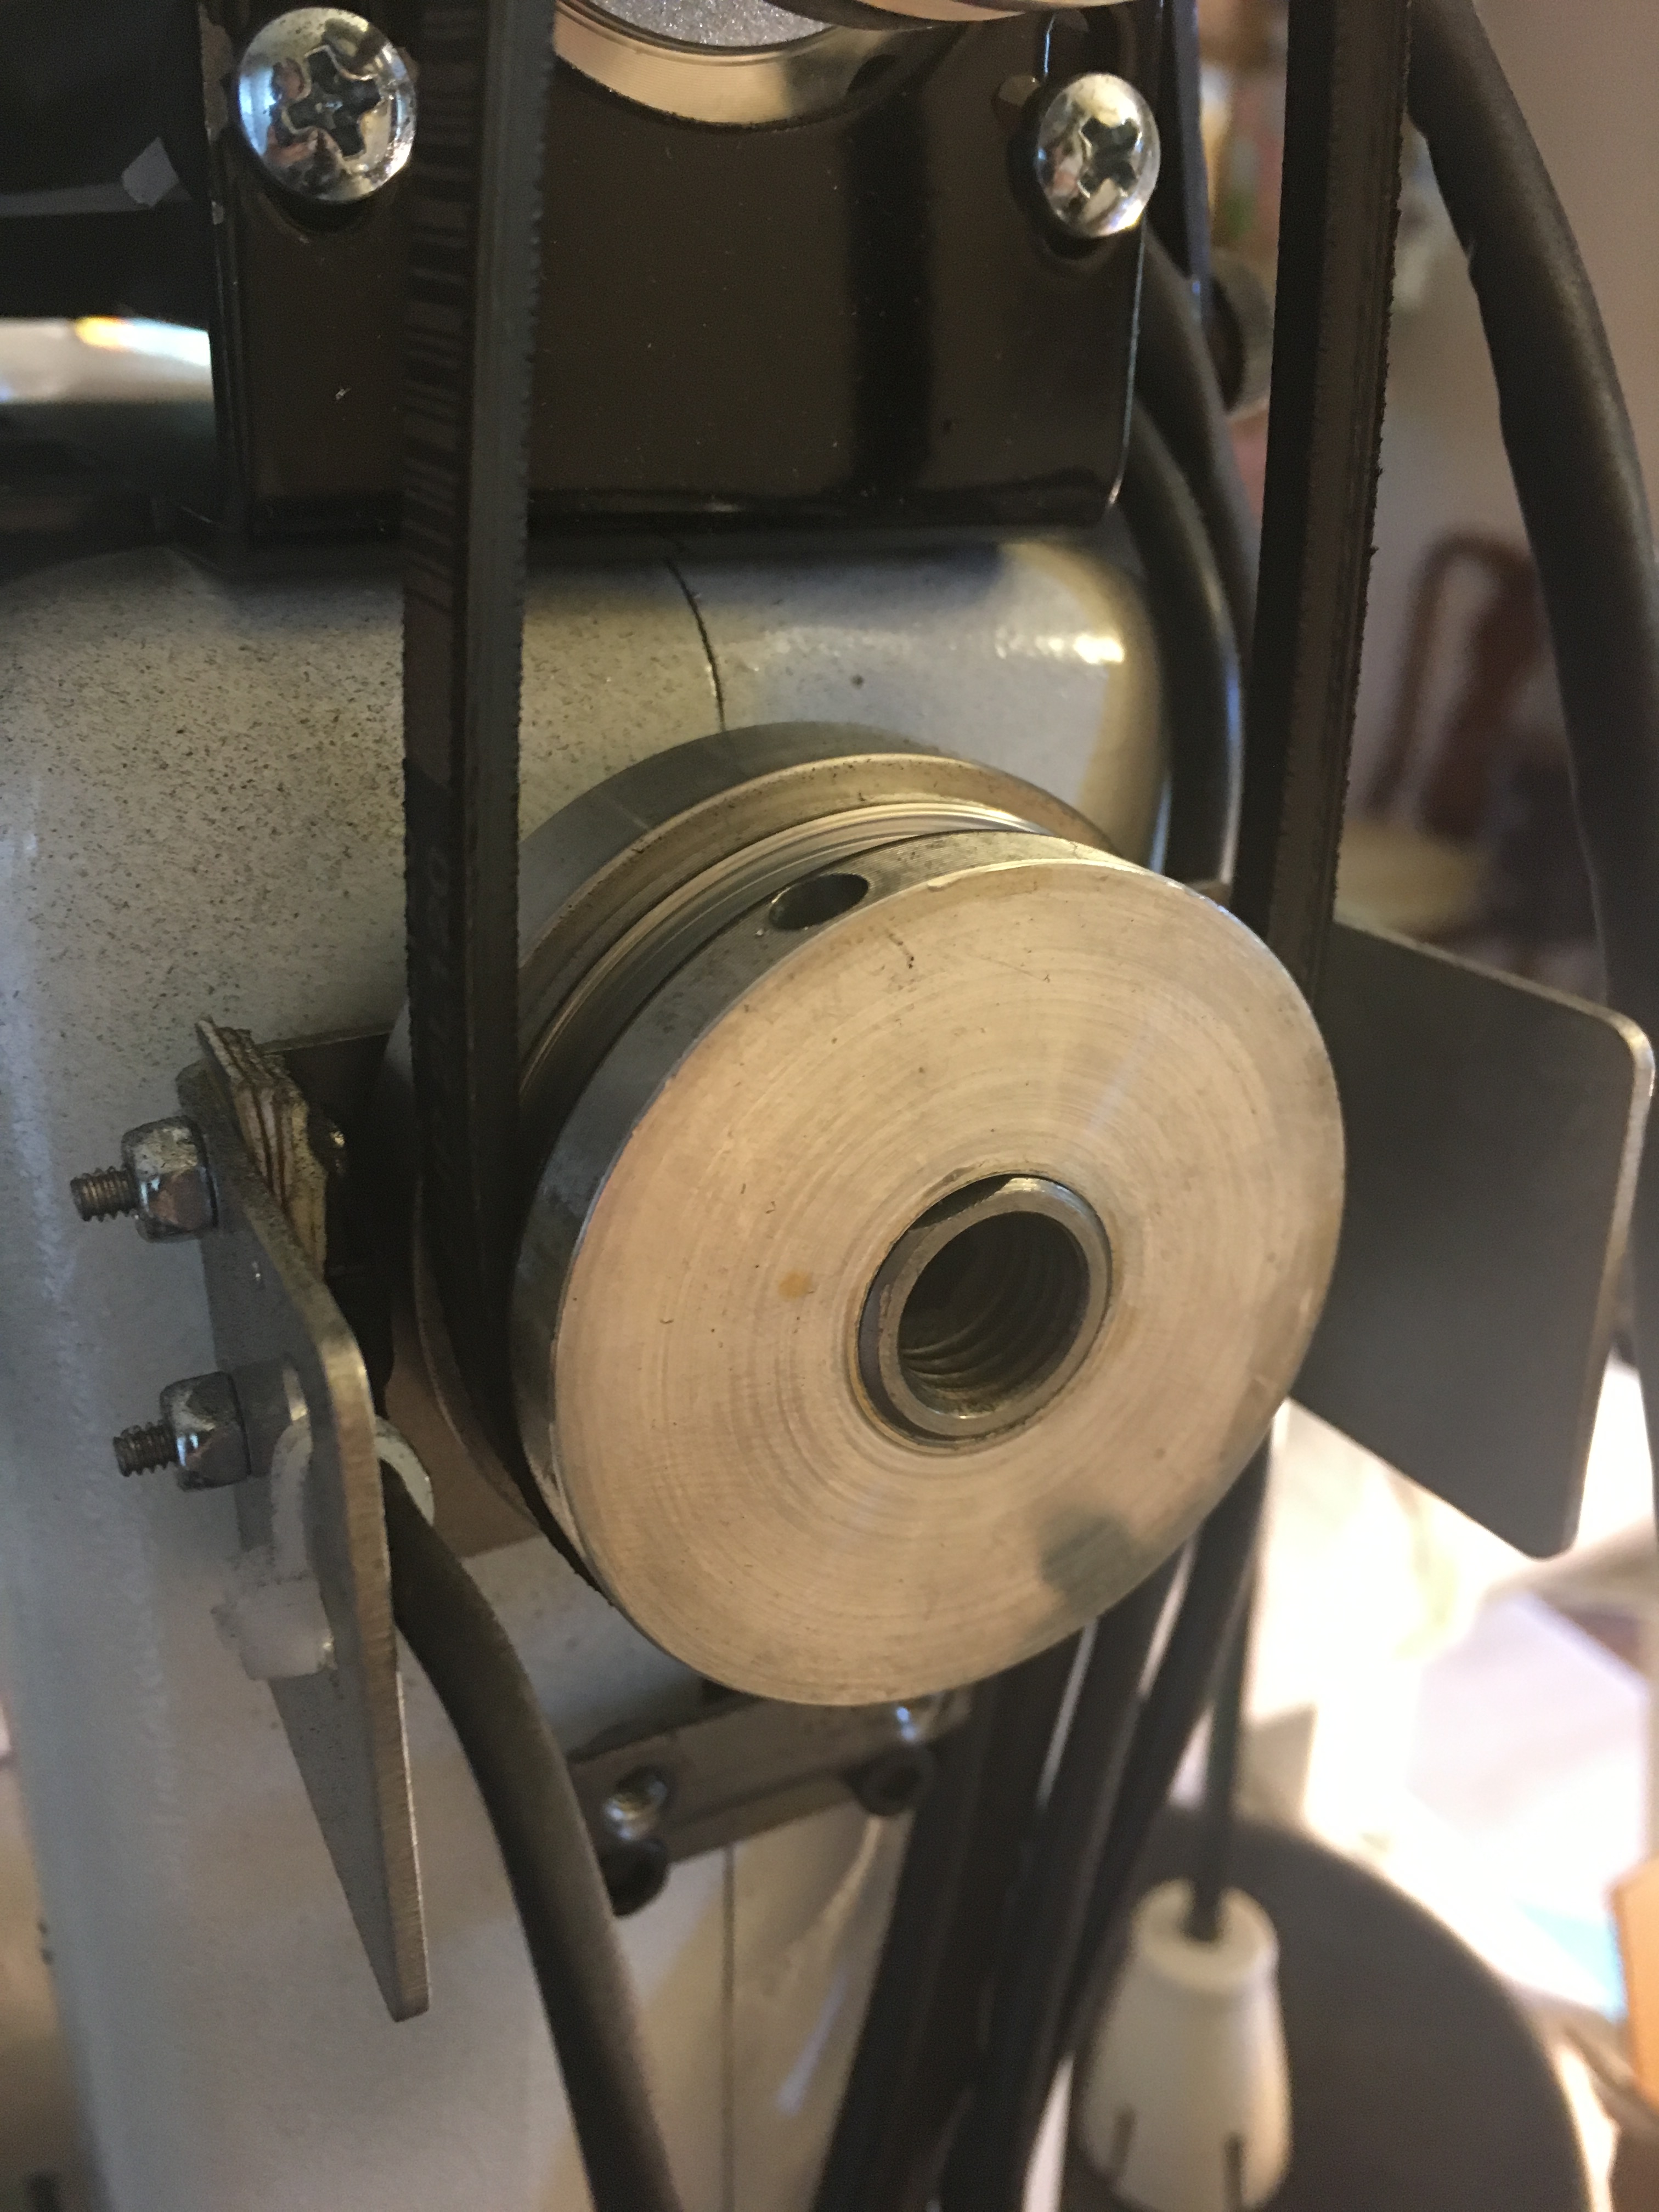
magnet and index board. Index board is behind the cylinder that sets next to the machine. The pulley needed to come off, then I had access to the magnet behind it.
One more call to Randy Tuesday afternoon to help in getting the magnet positioned correctly and I was able to stitch. However, I found the more I stitched, the more I realized I didn’t have things quite right. By then, it was after 5 and support had closed. I sent off an email to Randy with a list of things that the machine was doing. I did manage to get a row of stitching done. I could work around the issues it was having.
So, I stayed home on Wednesday to talk to Randy again. This is where it gets crazy. The needle goes up and down based on the positioning of the magnet near the index board’s sensor. The index board needed to be scooched (yes that’s a word) just a smidge so that the magnet recognized it properly. To do that, I needed to take that pulley off and remove the front cylinder and loosen the two screws that held the index board to the machine. Simple, huh. Well, it would have been simple if , when I purchased that new allen wrench at the local hardware store, I could have bought one with a handle. The hardware store only had one option – a set of loose L-shaped wrenches. Which would have been fine IF I could have gotten it loose with my fingers. I needed more torque than my bare fingers would allow, so I used a pliers wrench to hold the little bitty allen wrench in order to turn it. Therein lies the root of all that came next. The screw head didn’t have a lot of depth to it, so that allen wrench wobbled around and quickly rounded out the screw. It rounded it out when it was partly unscrewed. I couldn’t screw it in and I couldn’t screw it out. I couldn’t rotate the cylinder to gain access to the set screw to remove the magnet. I was royally screwed.
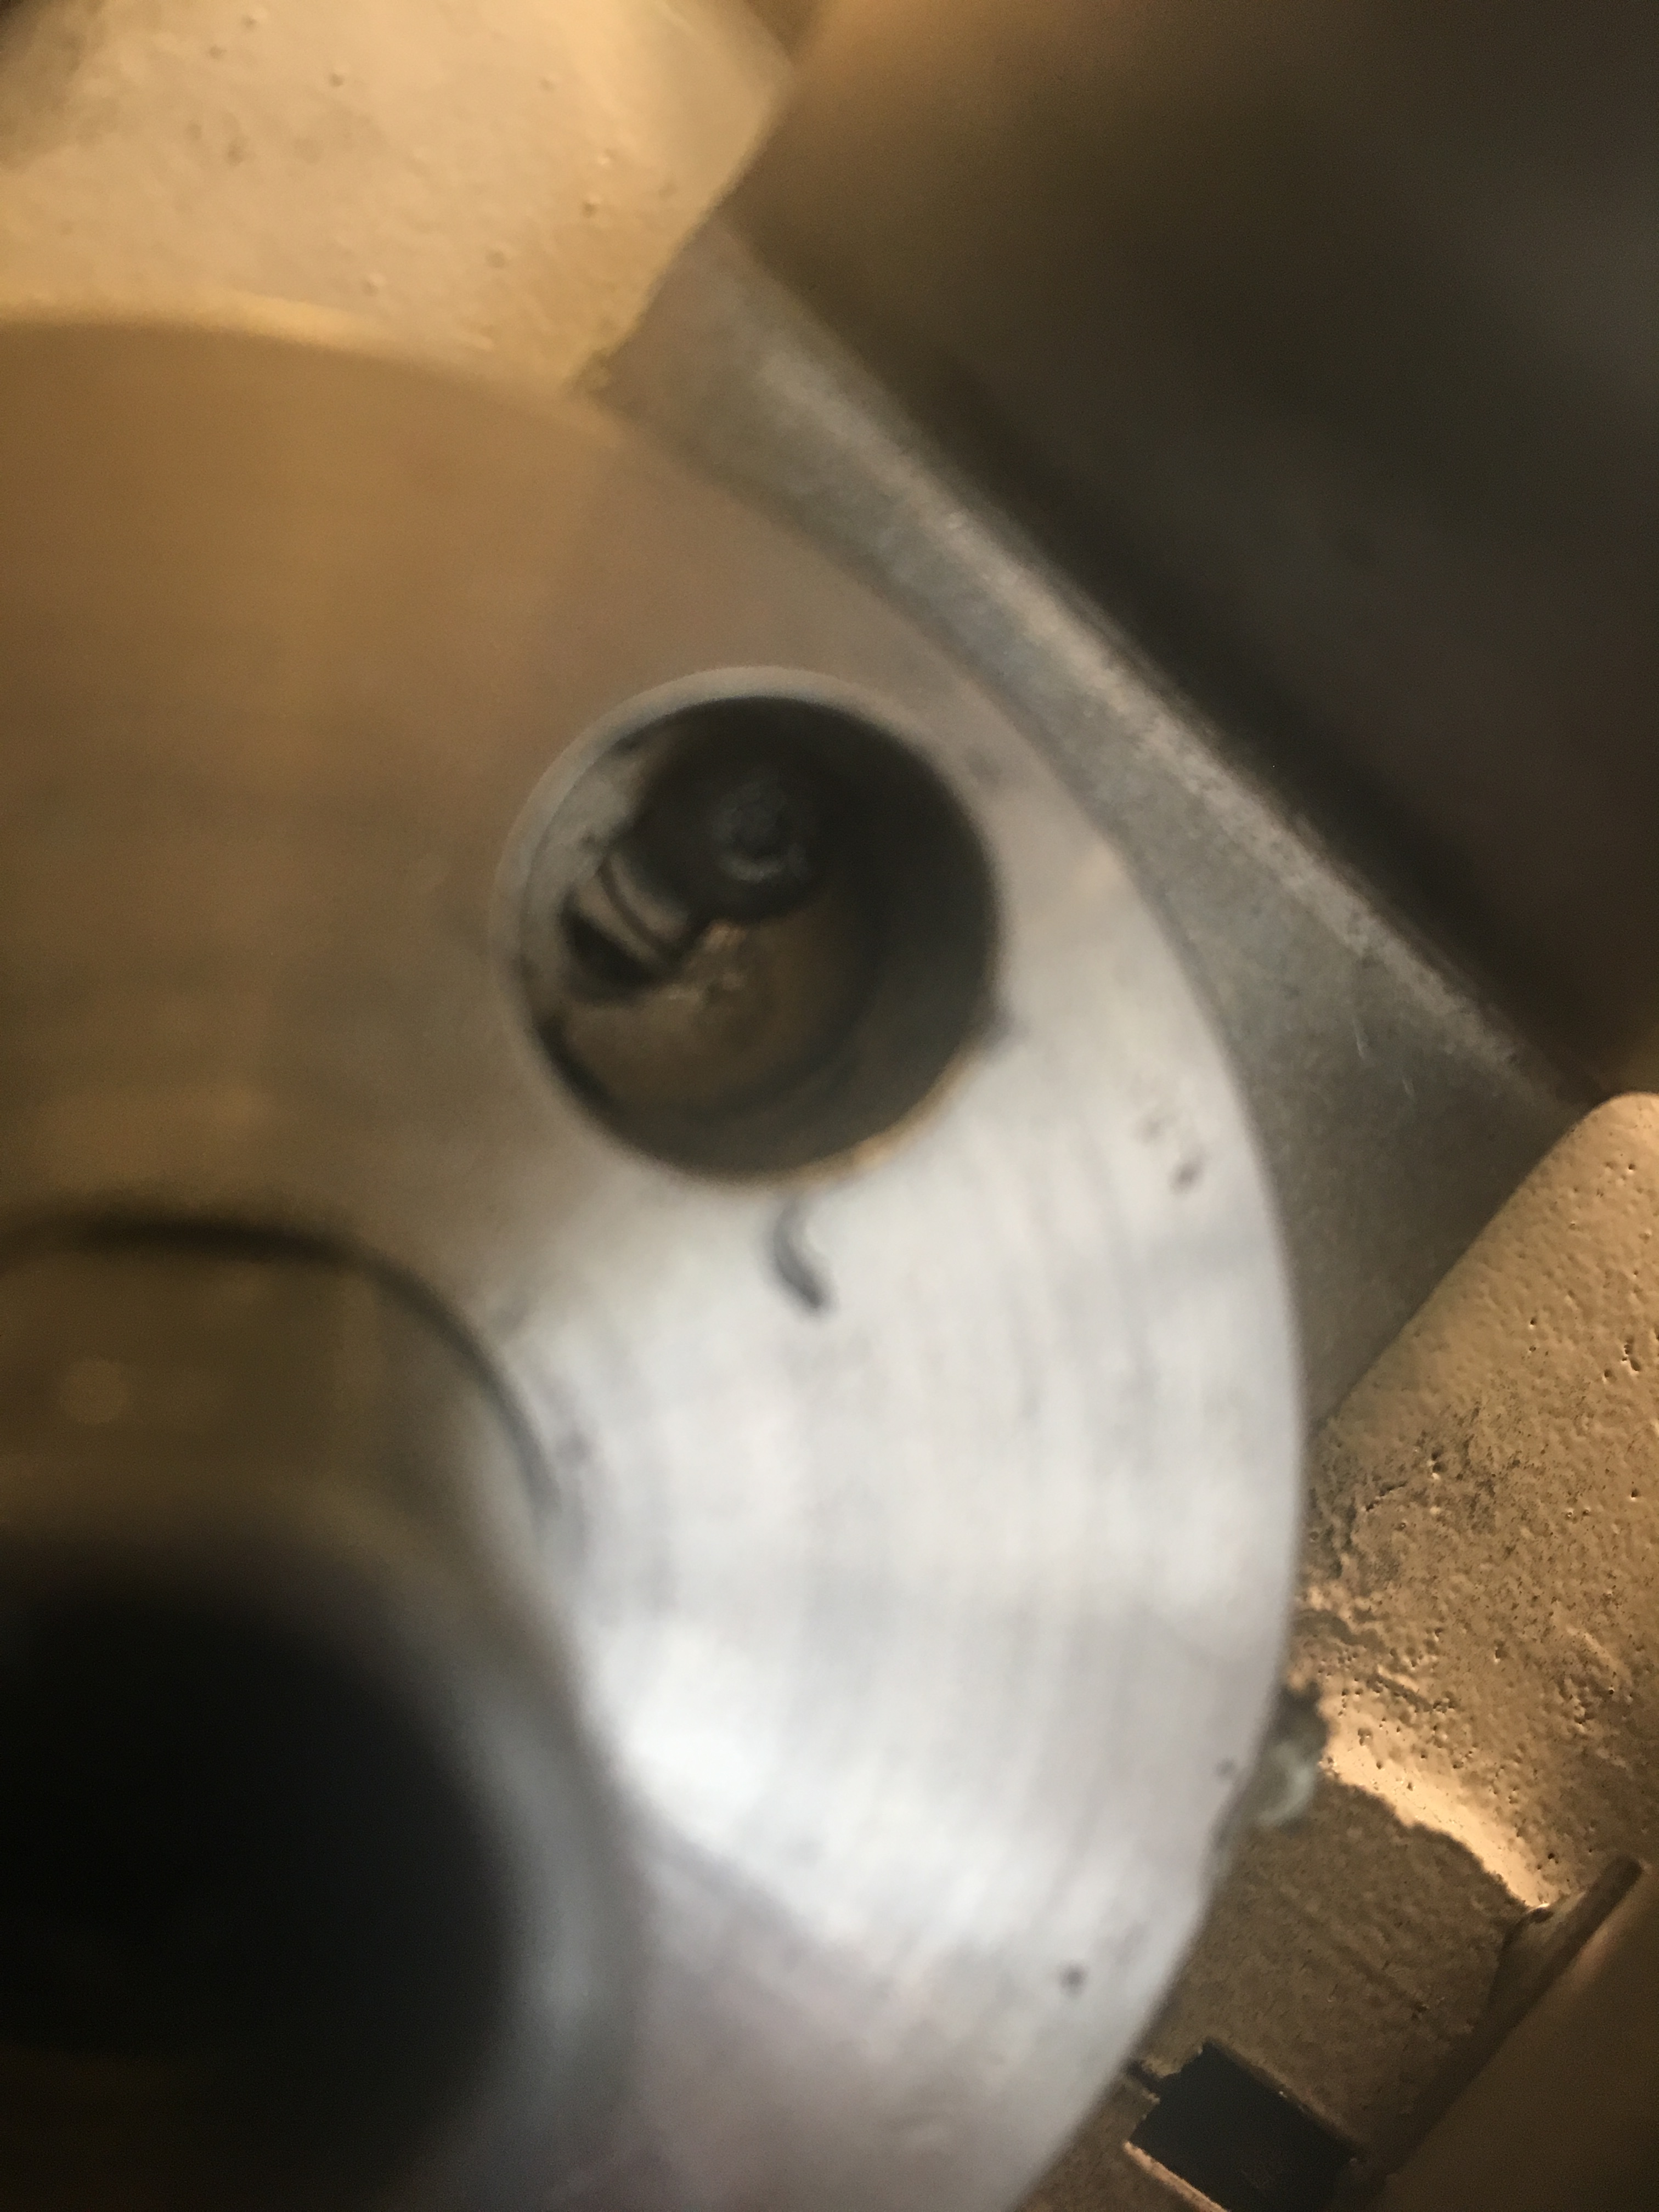
Screw with rounded out head. I tried needle nose pliers. I tried using a small rubber band to give the wrench something to grip. I literally tried everything google could think of .
So, I googled it and called around to some buddies and they all suggested getting a extractor bit to drill out the screw. So, off to Menards I went (40 minutes away) and purchased a Grab It micro extractor bit and got home at 8 p.m. and started again. O M G. I am not a mechanic. It literally was doing nothing. I put some cutting oil on it and still could not make a dent on it. My husband took pity on me and tried and he couldn’t do anything with it either. Finally, at 11 p.m., the screw broke in two and left over half of the shaft in the machine. I was defeated. I went to bed after numerous curses.
broken screw seen through the hole in the magnet
shaft of screw left in the machine
the index board had two screws. here’s the size of the intact one and the other one is what broke off.
(Oh, and it turns out the shaft that the magnet slides on had a burr which made it impossible for me to remove the cylinder anyway – unless I had a gear puller, which I did not even know what that was. My husband said he had some pullers but they were all too big because he works on big stuff.)
I stayed home yet again. Facebook came to the rescue – Stewart Plank, the owner of A1, called around for a mechanic and put me in touch with one in Mattoon. But, after sending pictures of what I had done, that mechanic didn’t call me back. The shaft of that screw either needed to come out or a new hole had to be drilled. I threw in the towel and made arrangements to make a trip to Springfield, Missouri the next day. That’s a 5 1/2 hour drive one way.
I got up and left the house at 5:30 Thursday morning. Got to A1 and dropped off the machine with Randy. While he fixed it, I went shopping for a dress for my son-in-law’s wedding next month and had just sat down to eat lunch when Randy called to say he was done!
Back I went and he had got it all put back together and it was stitching like a dream again. Randy, you are seriously the BEST mechanic EVER! Stewart, give that guy a hefty bonus and raise! He’s worth his weight in sewing machines! He had to drill a new hole, and smooth off the shaft. He also replaced those screws with new ones they had just got in to replace that type of screw.
Randy with my A1 working like a dream again.
So, I got home at 8 p.m. and got it hooked back up on my frame and am back in business. I lost 10 days working on customer quilts, but did make some progress on my wholecloth design. I might actually get it done this year!
If anything like this ever happens again, I’m confident I can repair it myself; but, I think it’s worth the drive to Springfield, Missouri to just have Randy do it.
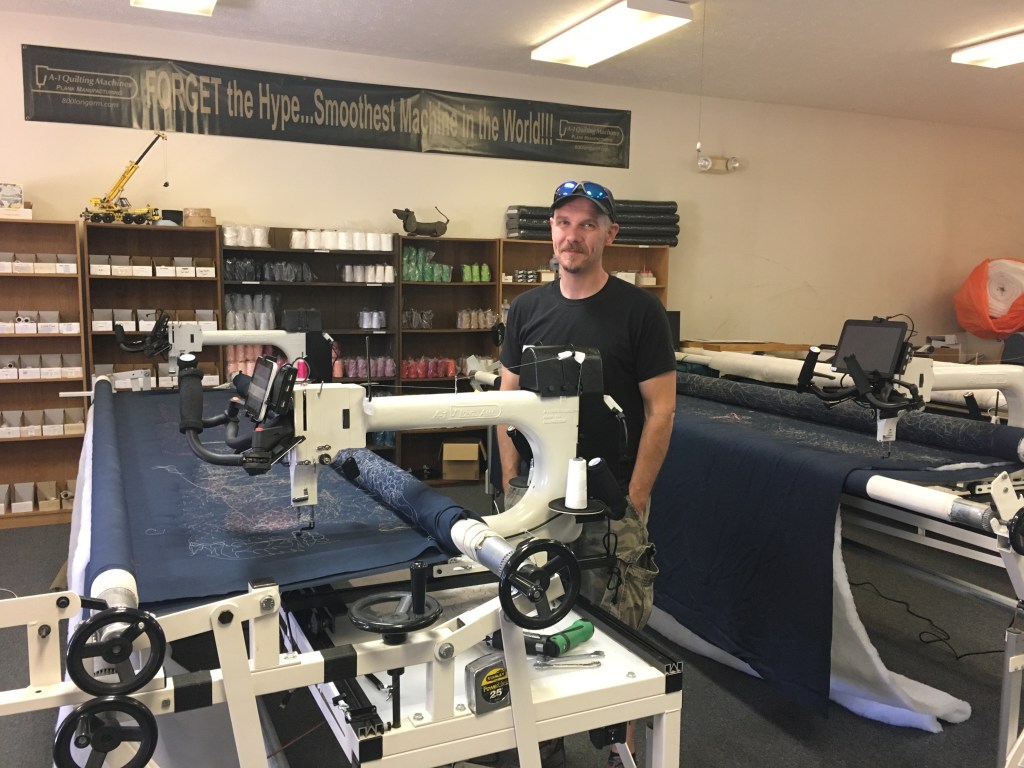
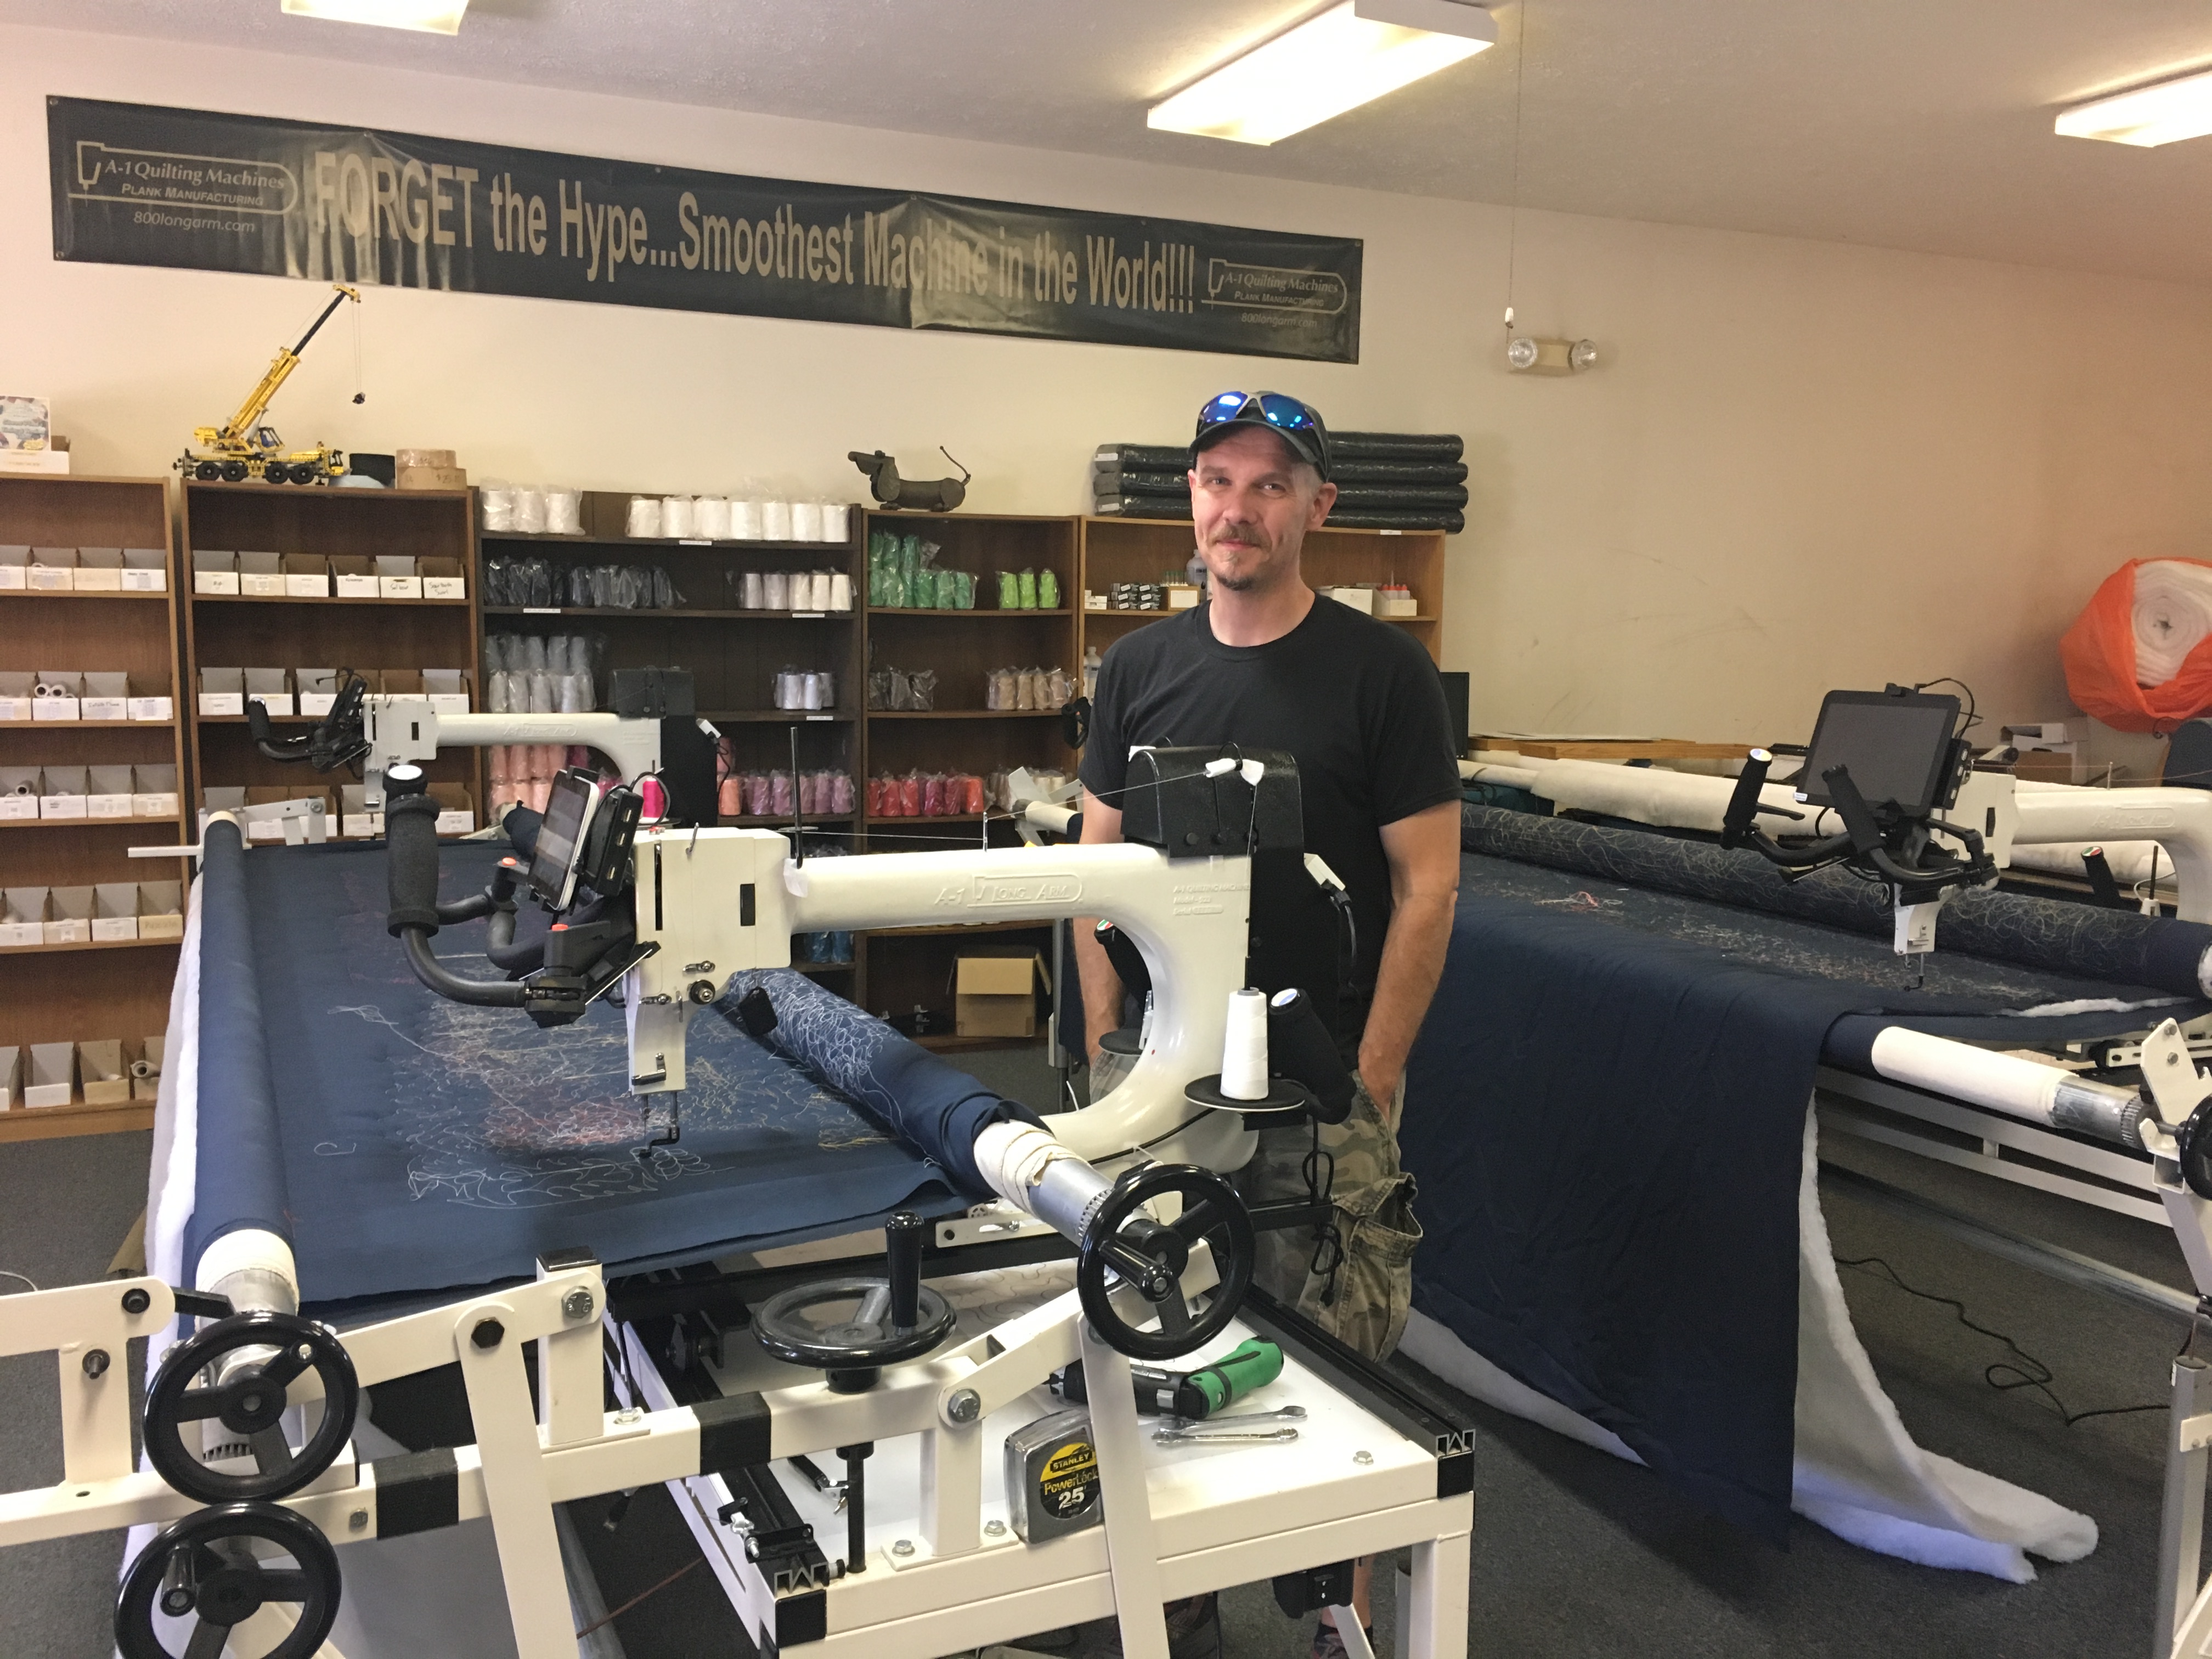
I added a robotics package to my longarm last November and have been practicing and getting to know that new technology in between doing custom quilts. I finally feel confident about how to use this efficiently on quilts using an edge to edge pattern or digital patterns in blocks. As a result, I’m offering a 10% discount on all quilts using a digital pantograph. This discount is good only on quilts received during the month of June. Mention this post to make sure you get your discount! Overall designs are a great way to finish those quilts that don’t need a custom treatment – plus it’s a lot easier on your pocketbook! See my pricing page for info on pricing.
I purchased a robotics system mainly because I was not precise enough to suit my tastes while doing hand-guided pantographs from the back of the machine. I also hope to convert some of my designs to digital. While the learning curve (on my own) was a bit harder than I anticipated, I feel great about how my skills improved with each new technique learned. The package I added to my A1 longarm is the Quilt Gallery robotics system (the Butler system when purchased through Quilt EZ). The price — relative to the features — was what finally persuaded me, as well as the ease of purchasing it as an add-on to my longarm directly from A1.
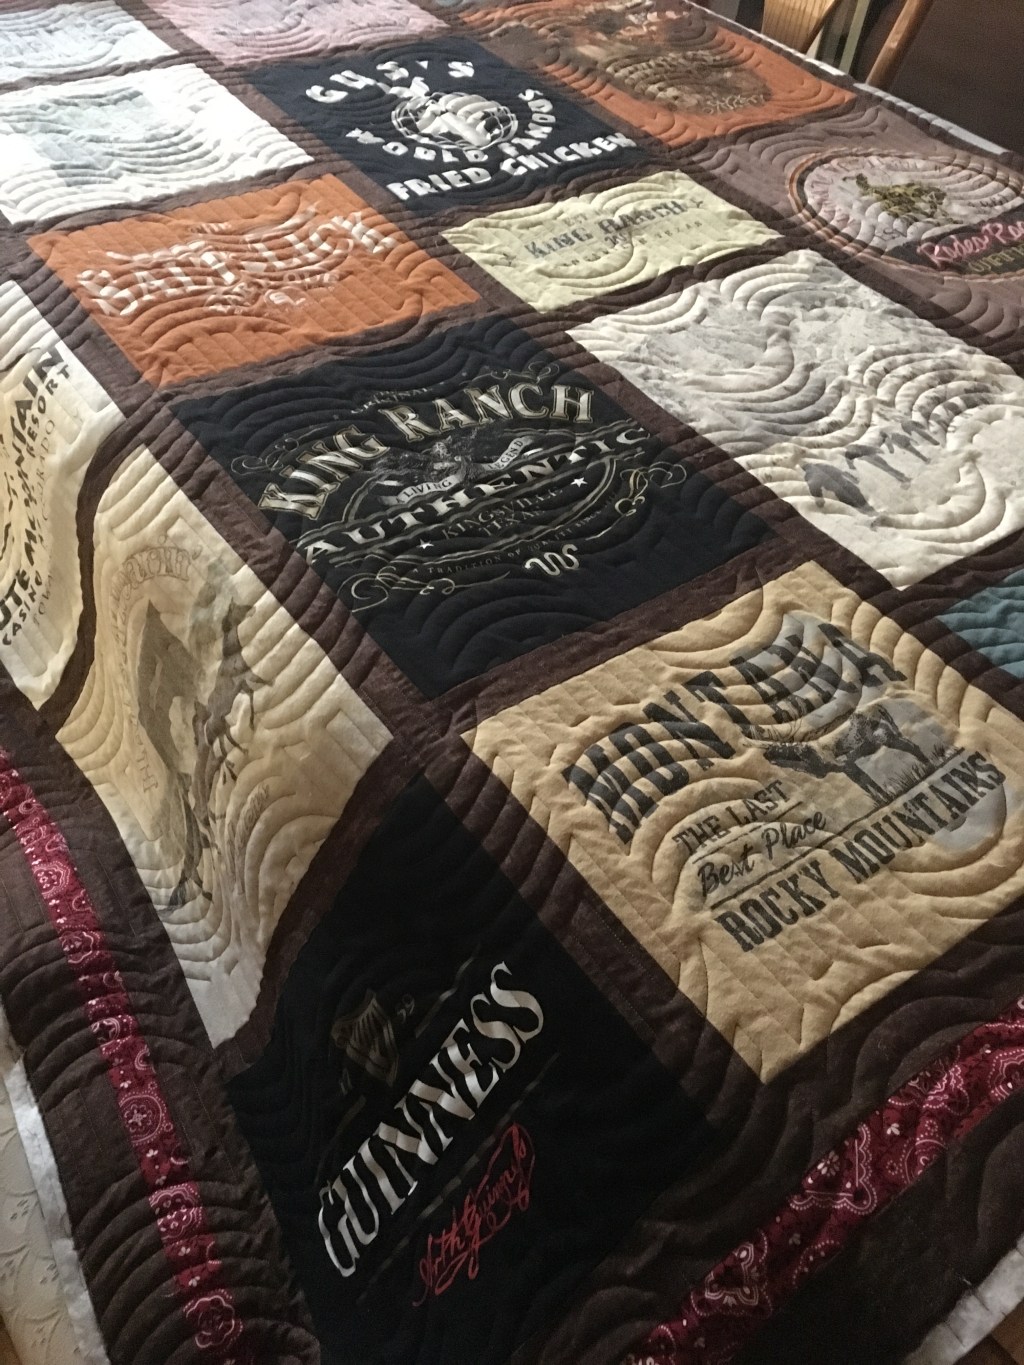
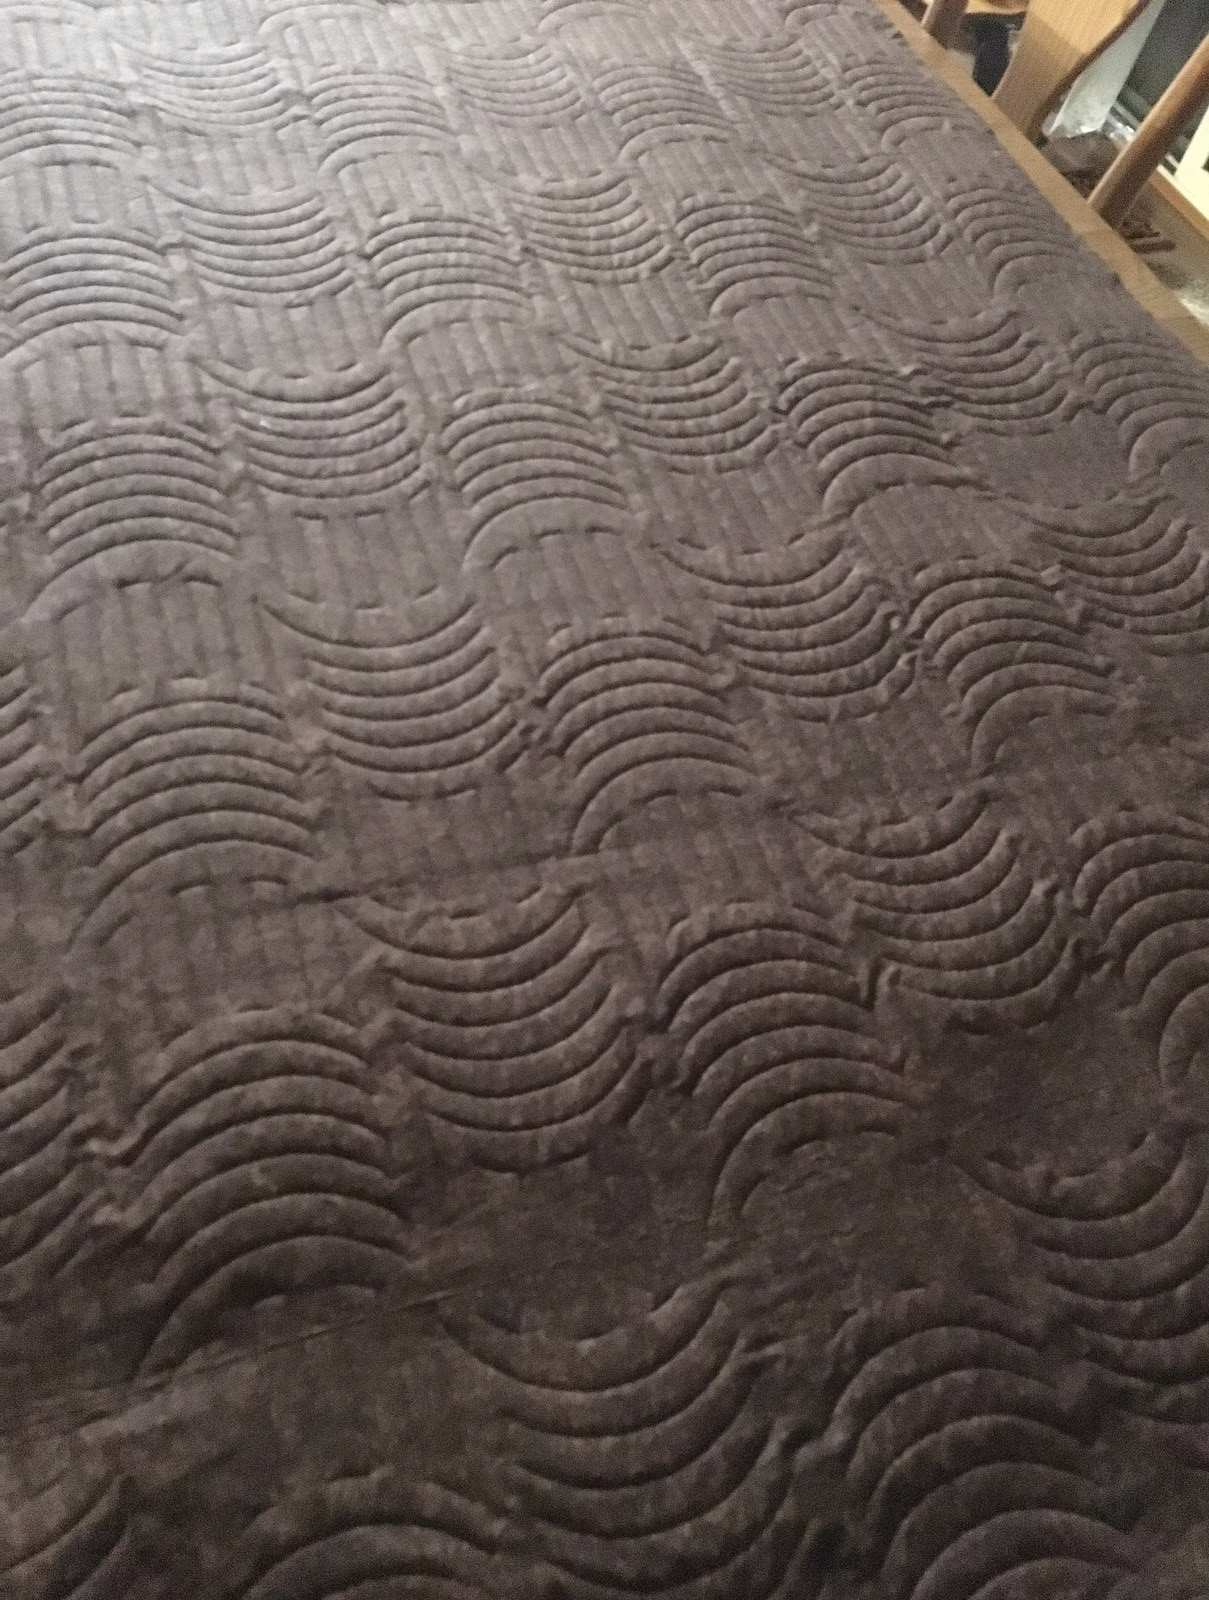
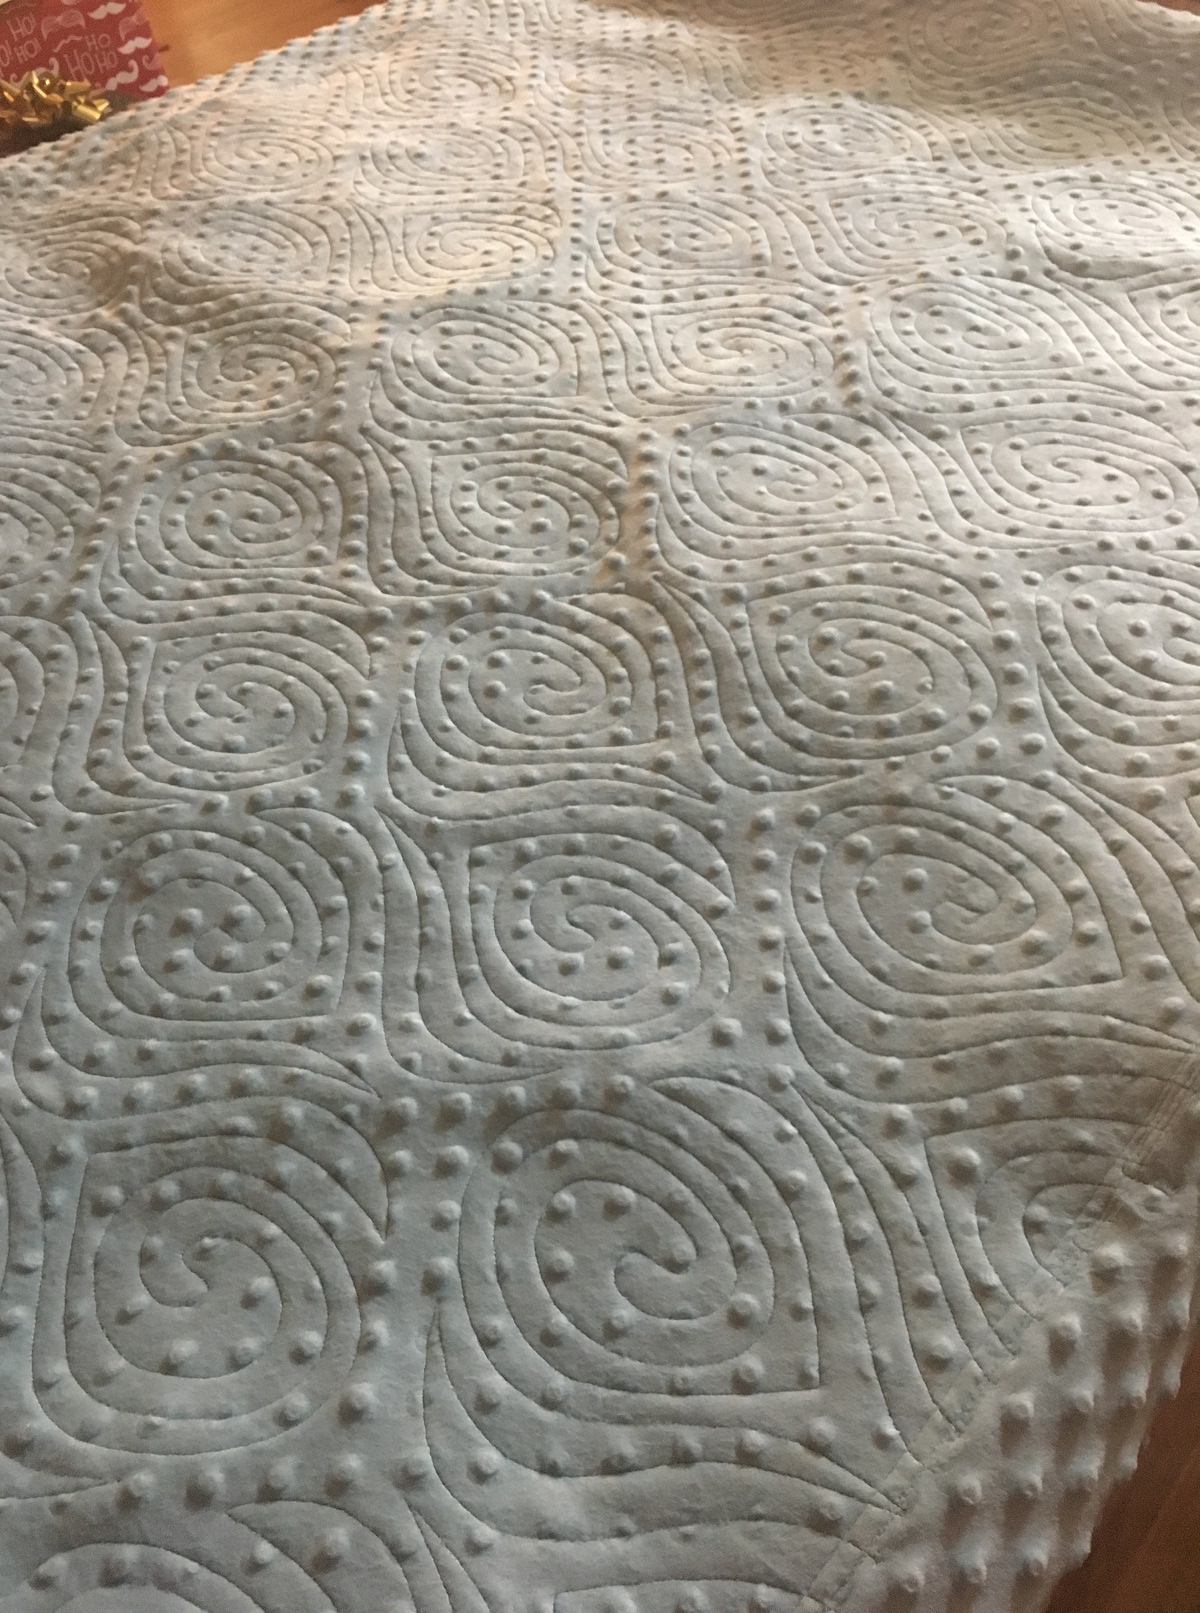
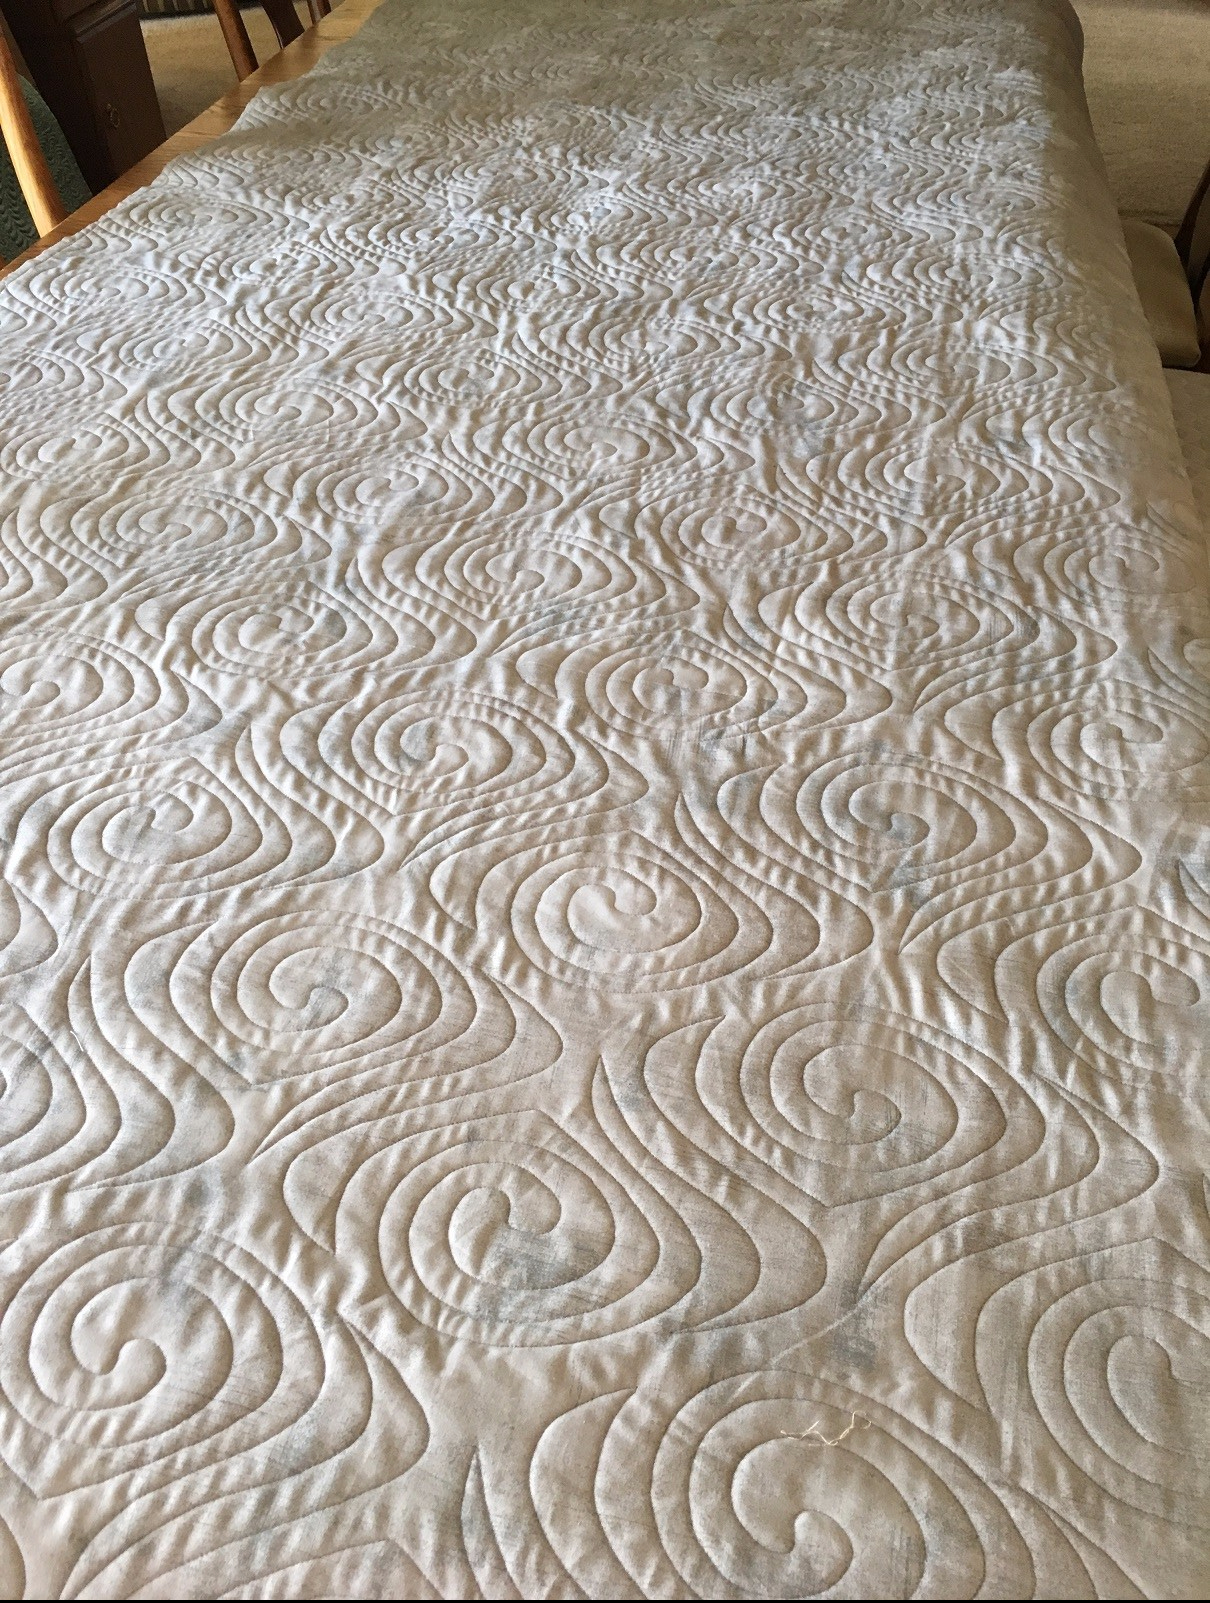
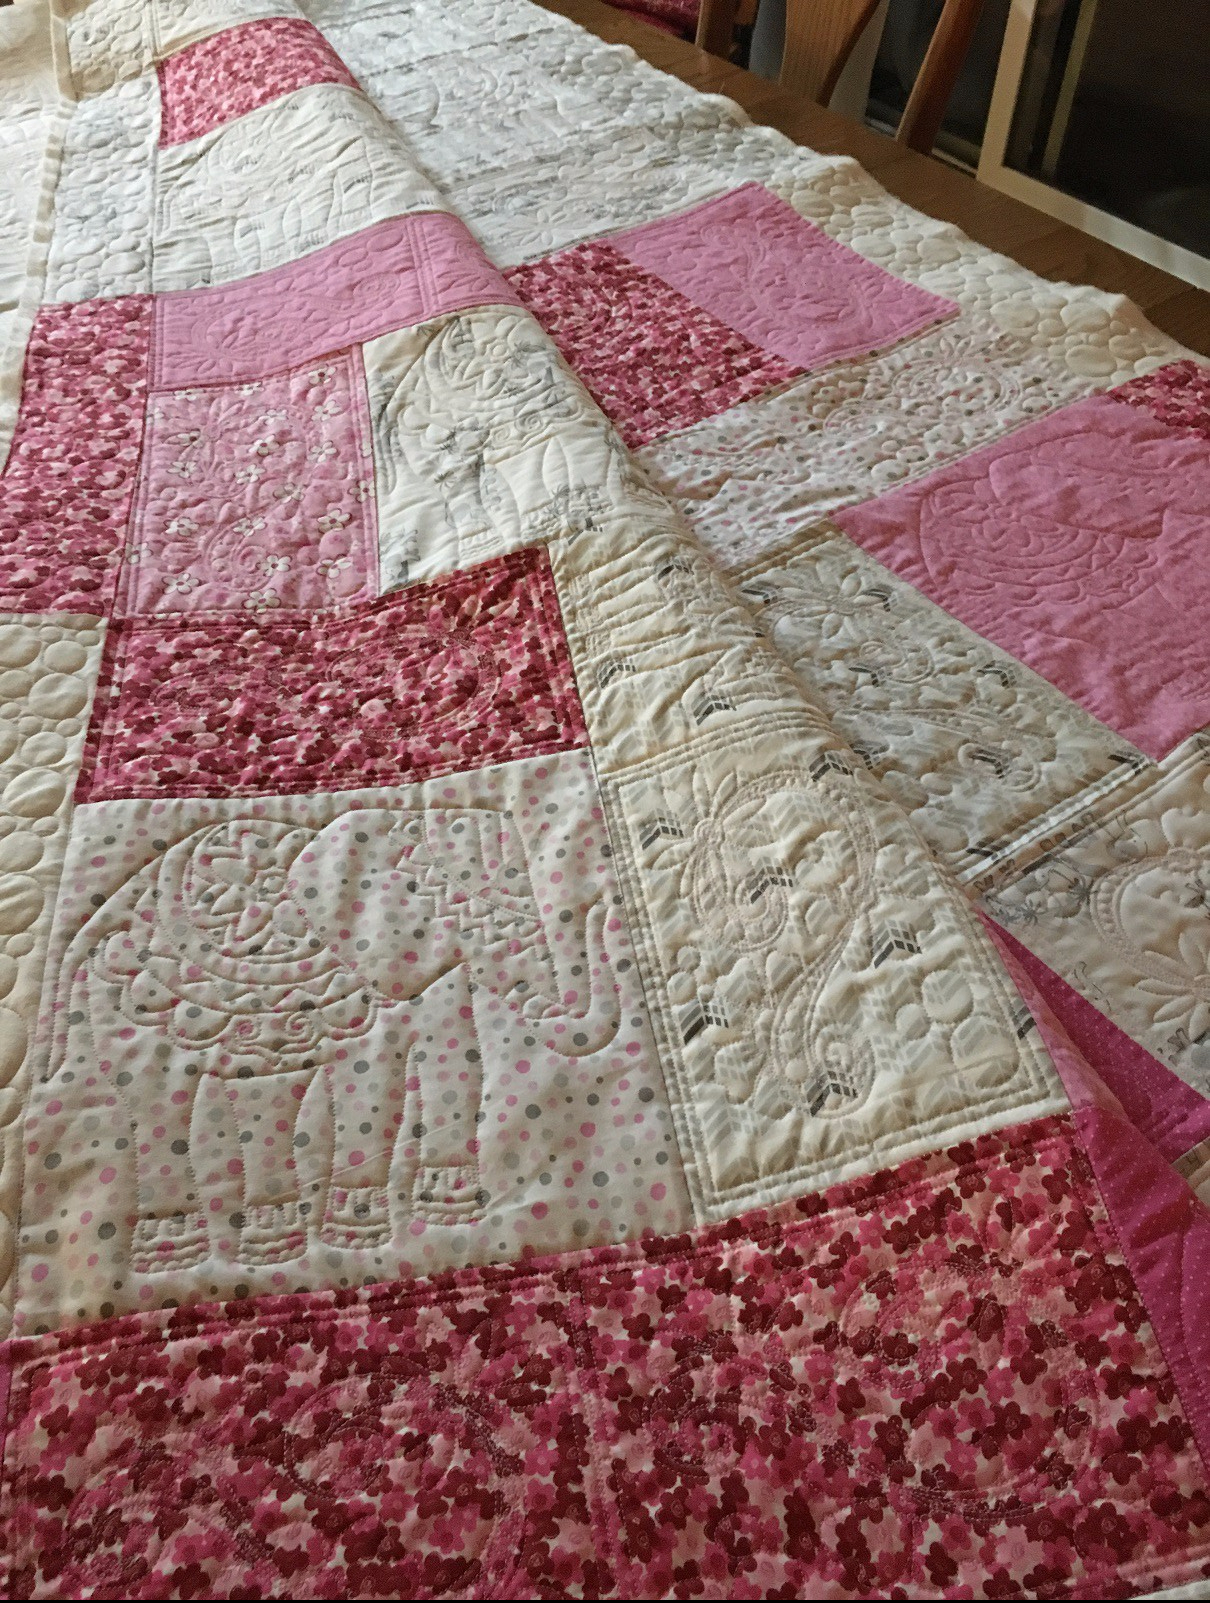
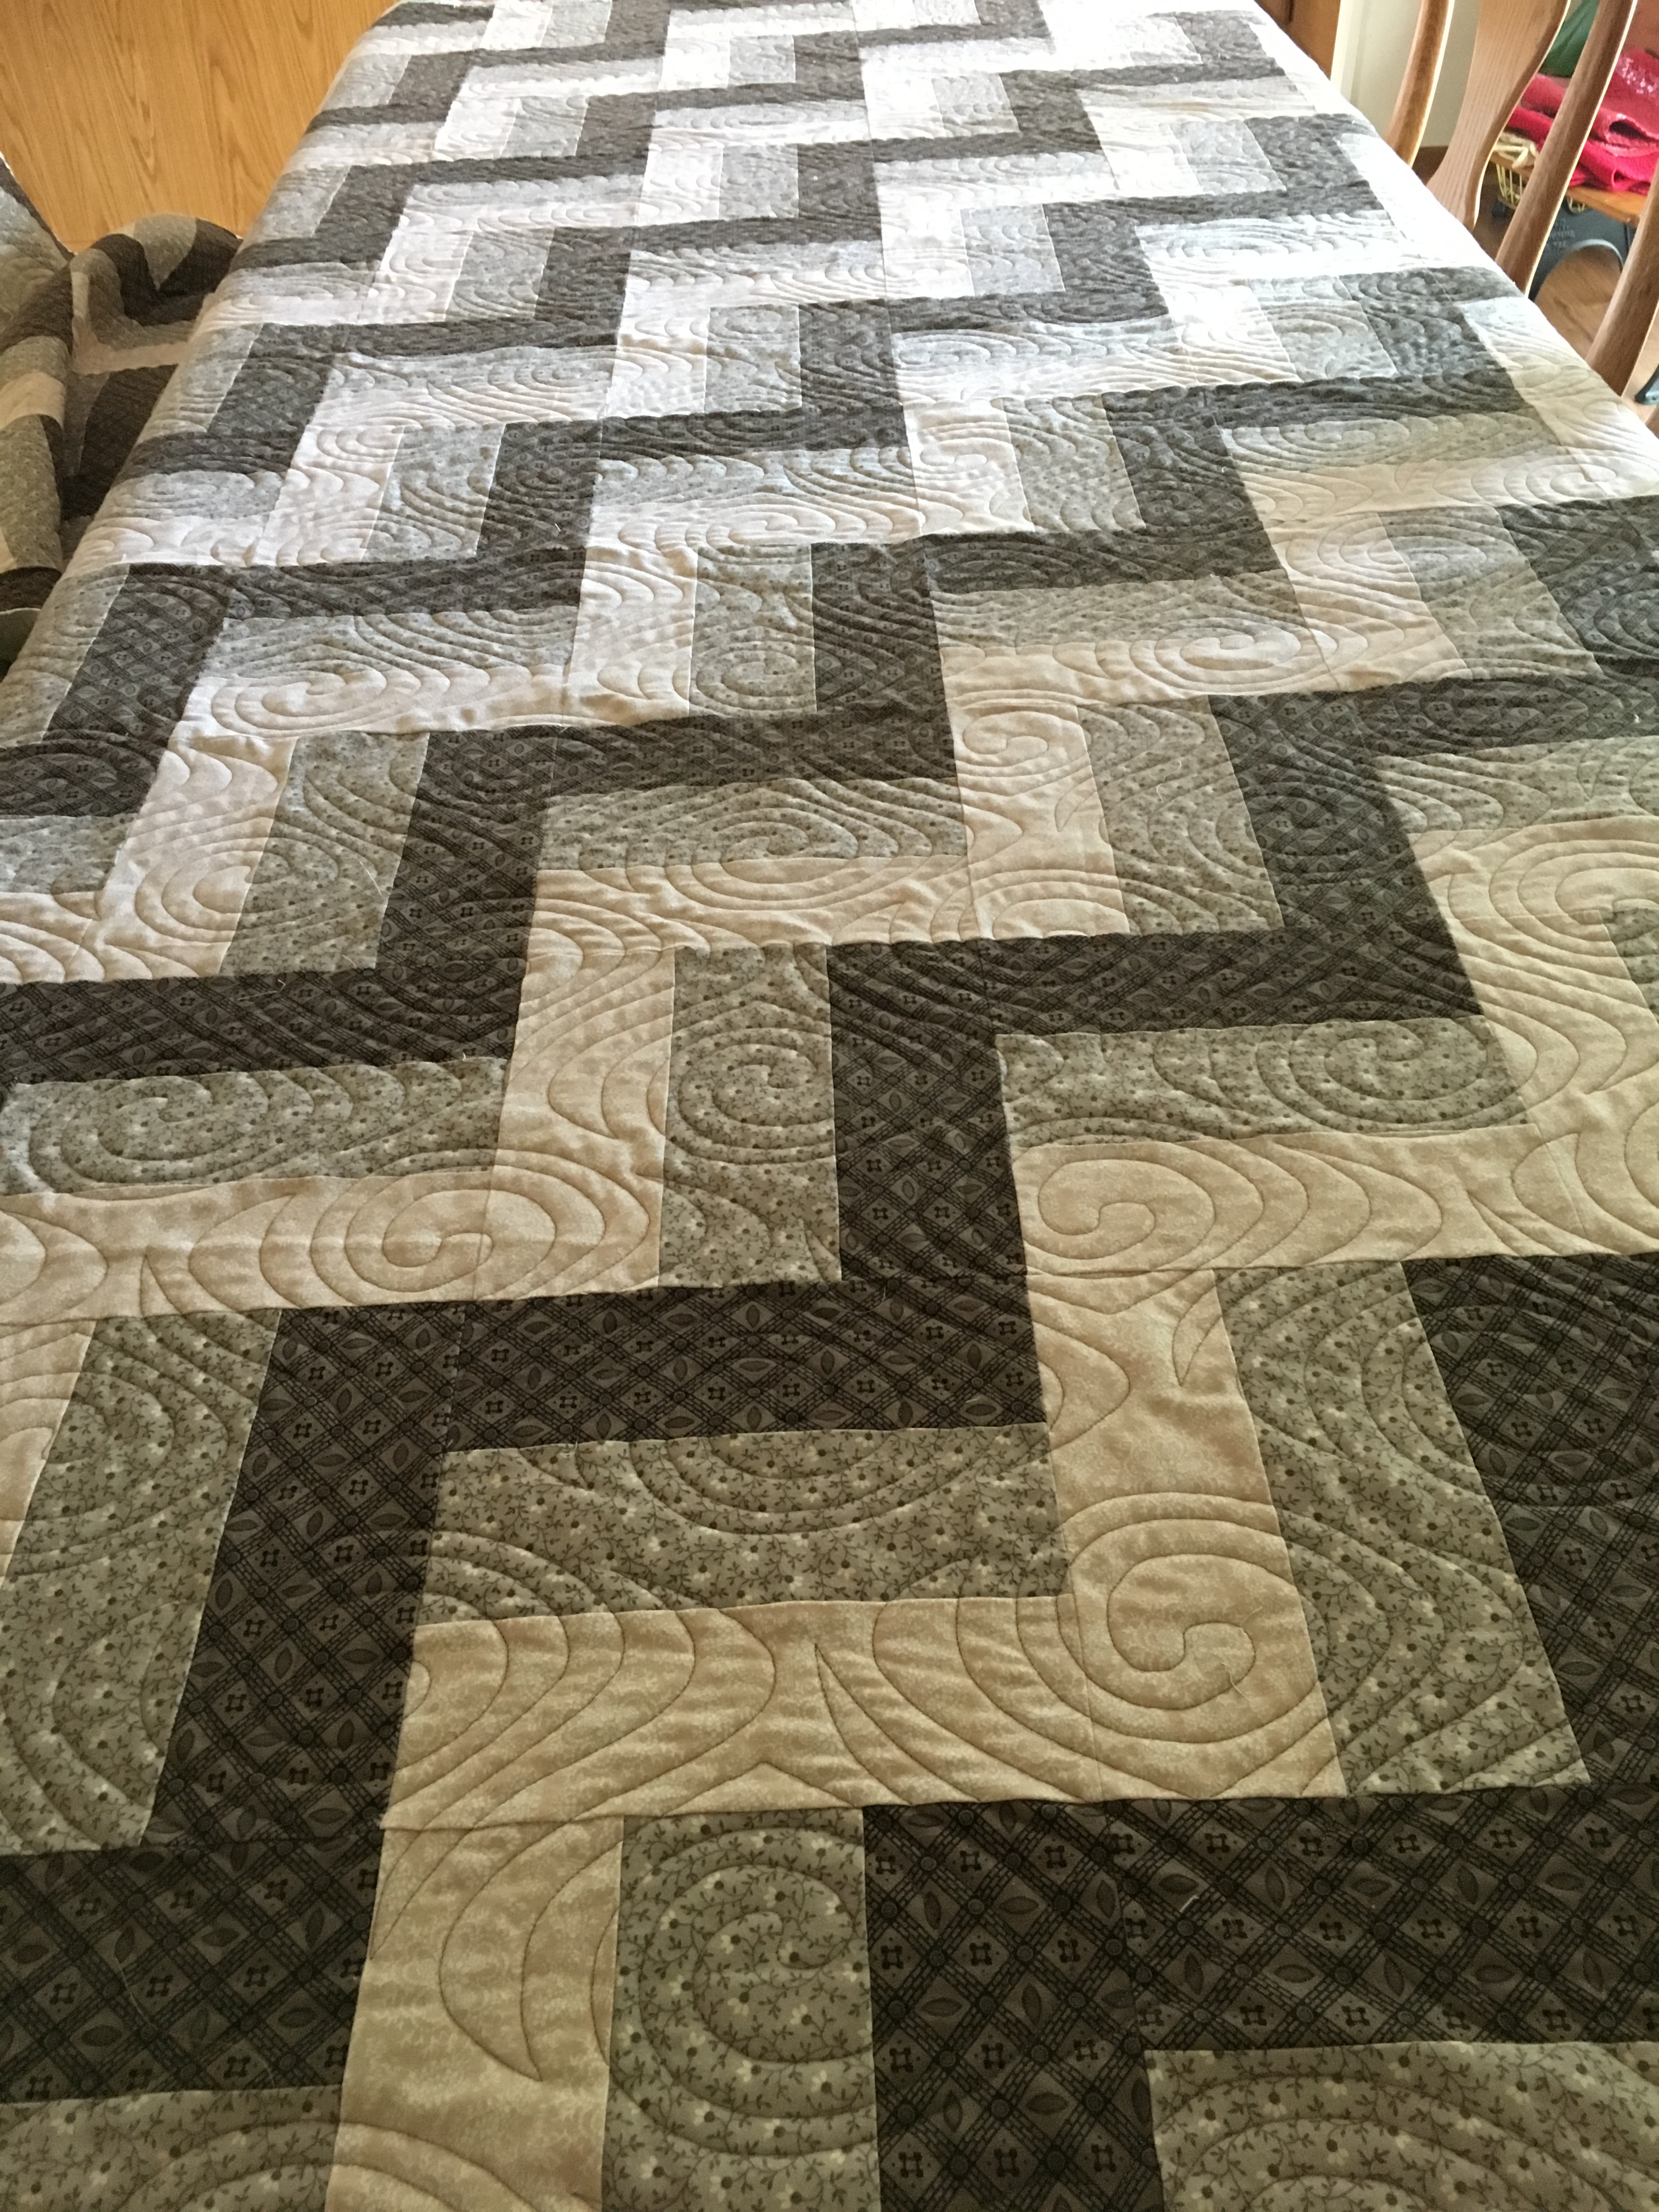
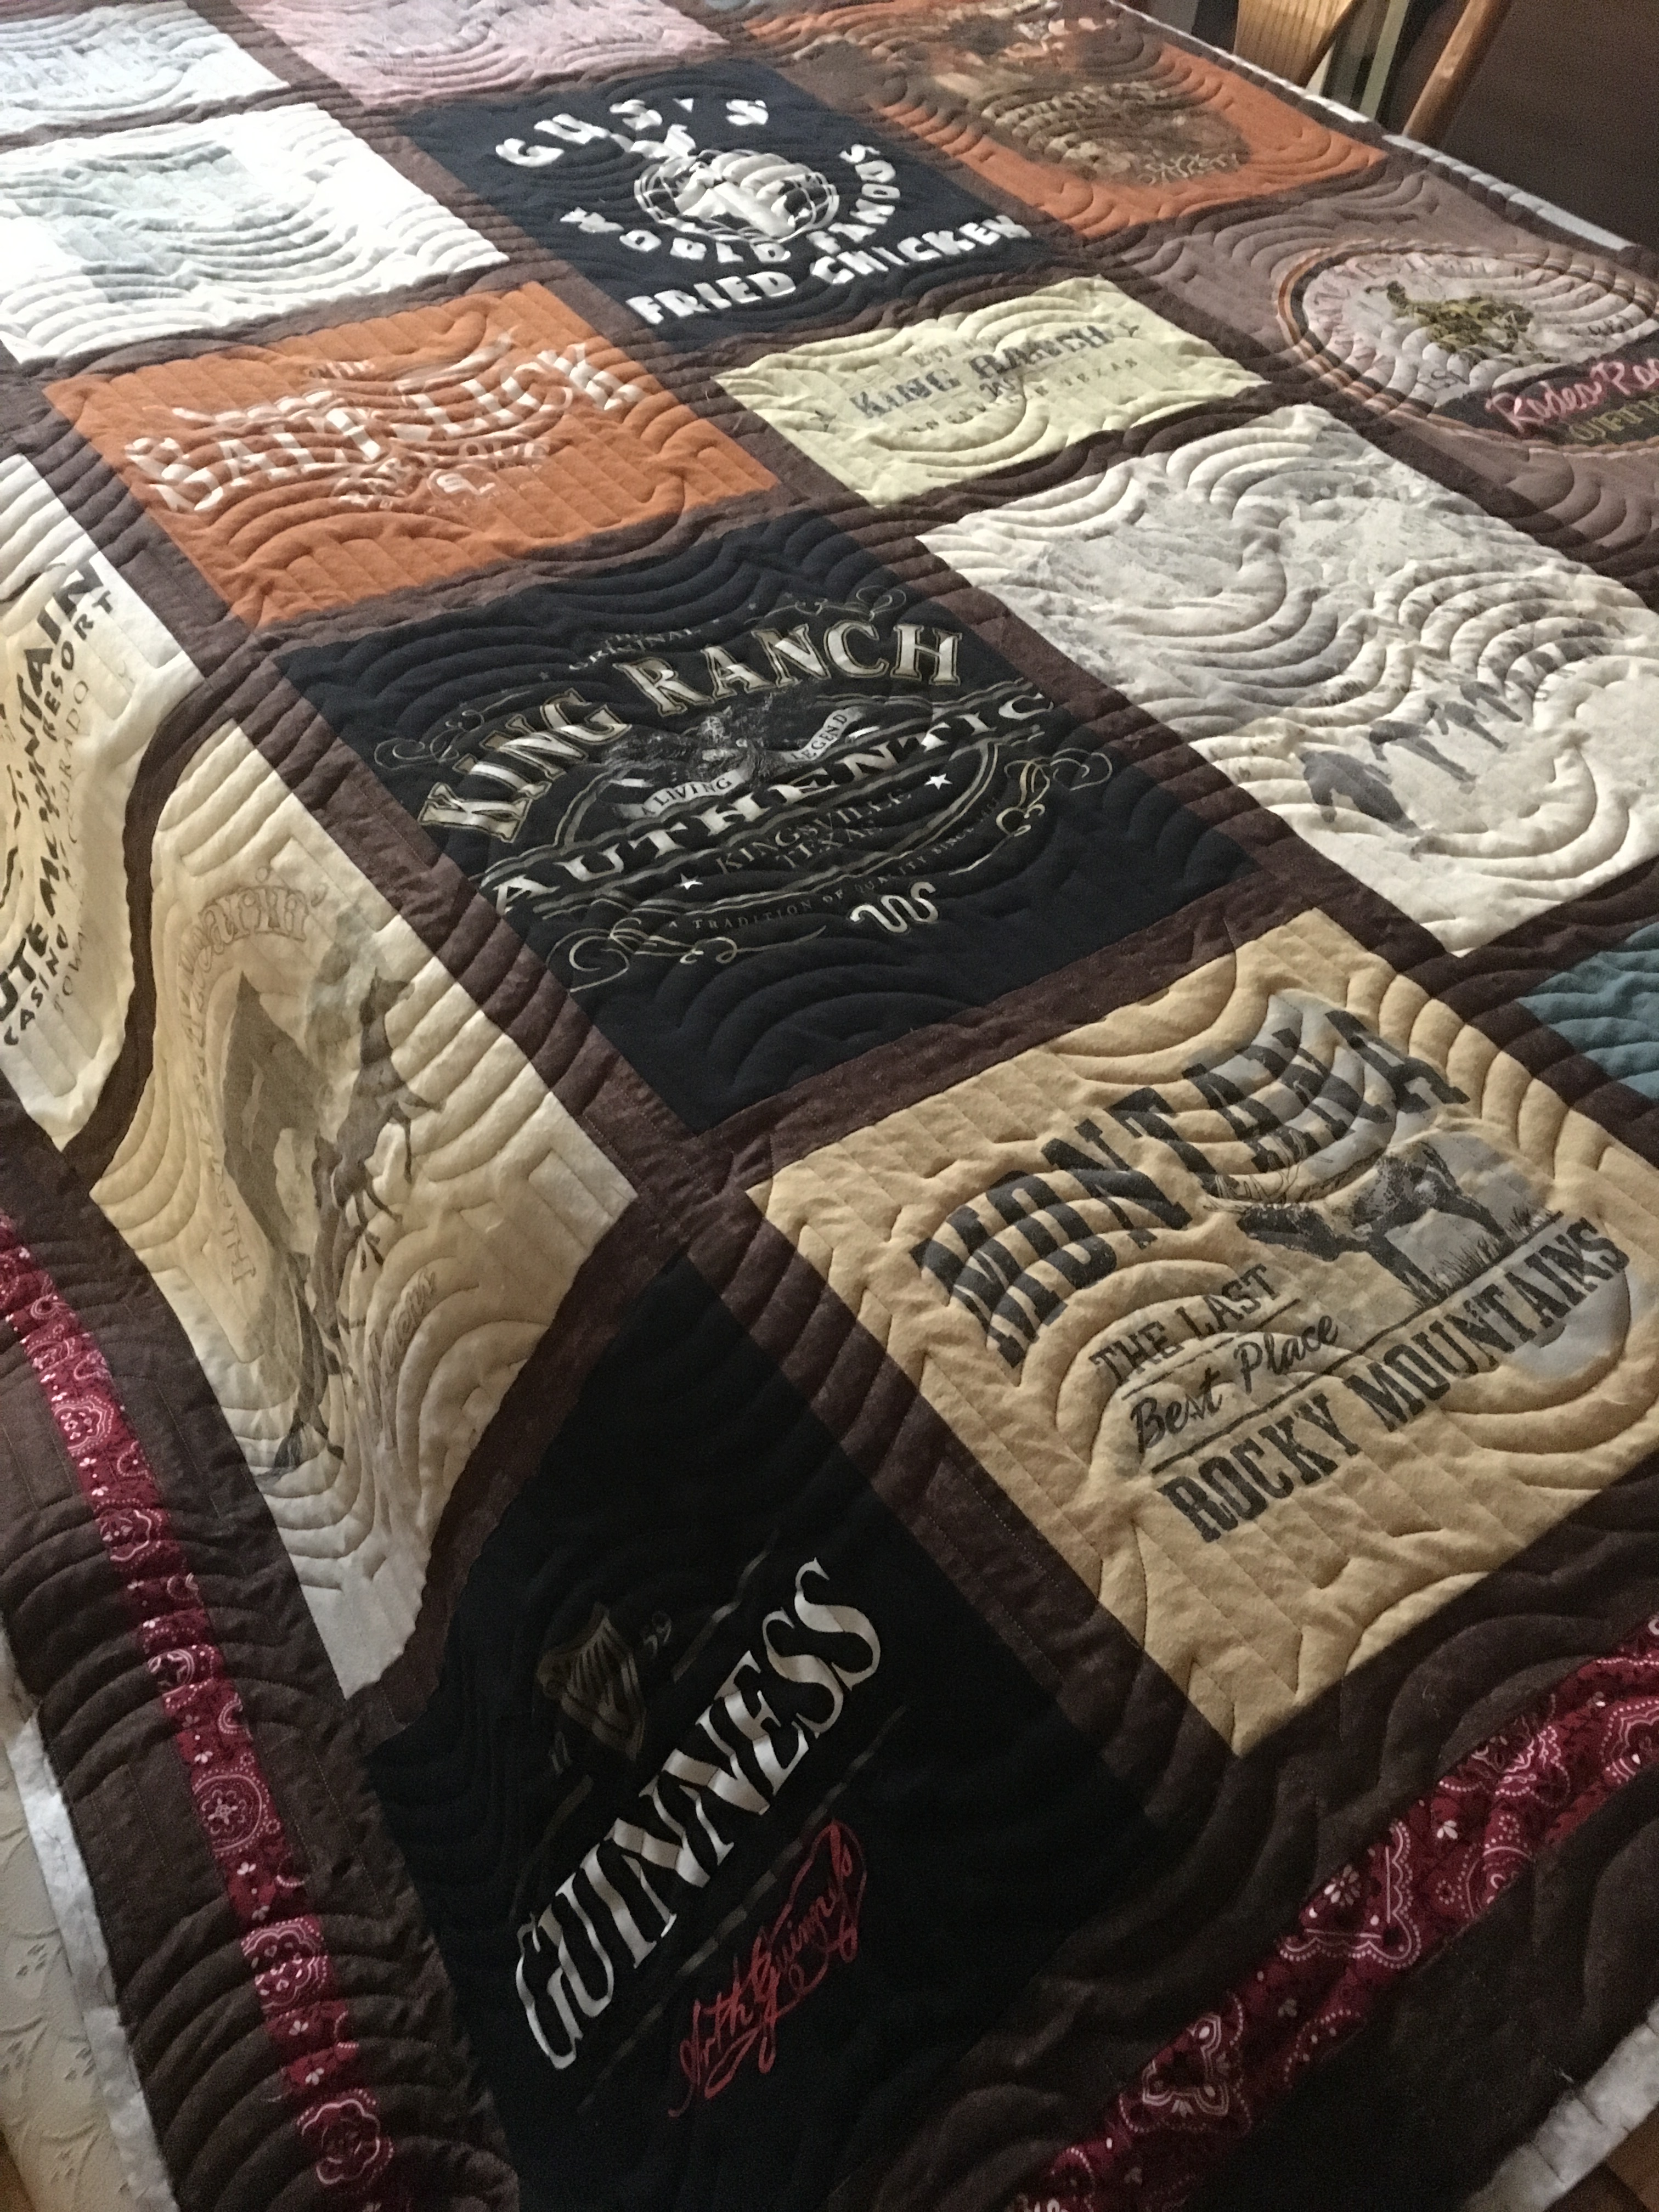
Below are a few pics of some of the quilts I’ve used robotics on so far (both overall patterns and digital block motifs). I need more quilts that want overall quilting! I will be running two calendars in the future – custom quilt and digital quilt calendars. I plan on trying to put at least one or two digital quilts in between each custom quilt job. While the machine is stitching out a digital pattern, I can work on creating the design plans for the next custom quilt in the queue. Sometimes I’ll spend a week on getting the designs planned out for a custom quilt and being able to do a quilt with a digital pantograph at the same time is a great way to multi-task. I can finish a lot of digital quilts during the time I spend designing a custom treatment!
digital blocks with custom quilting.
back view of t-shirt quilt – Rodeo panto
peacock feather panto (back view)
peacock feather panto (back view)
Hindi elephant and Spring Fling blocks
peacock feather panto
Rodeo panto
Serpentine Feather panto
maple feather block (in red squares); all other designs were freehand.