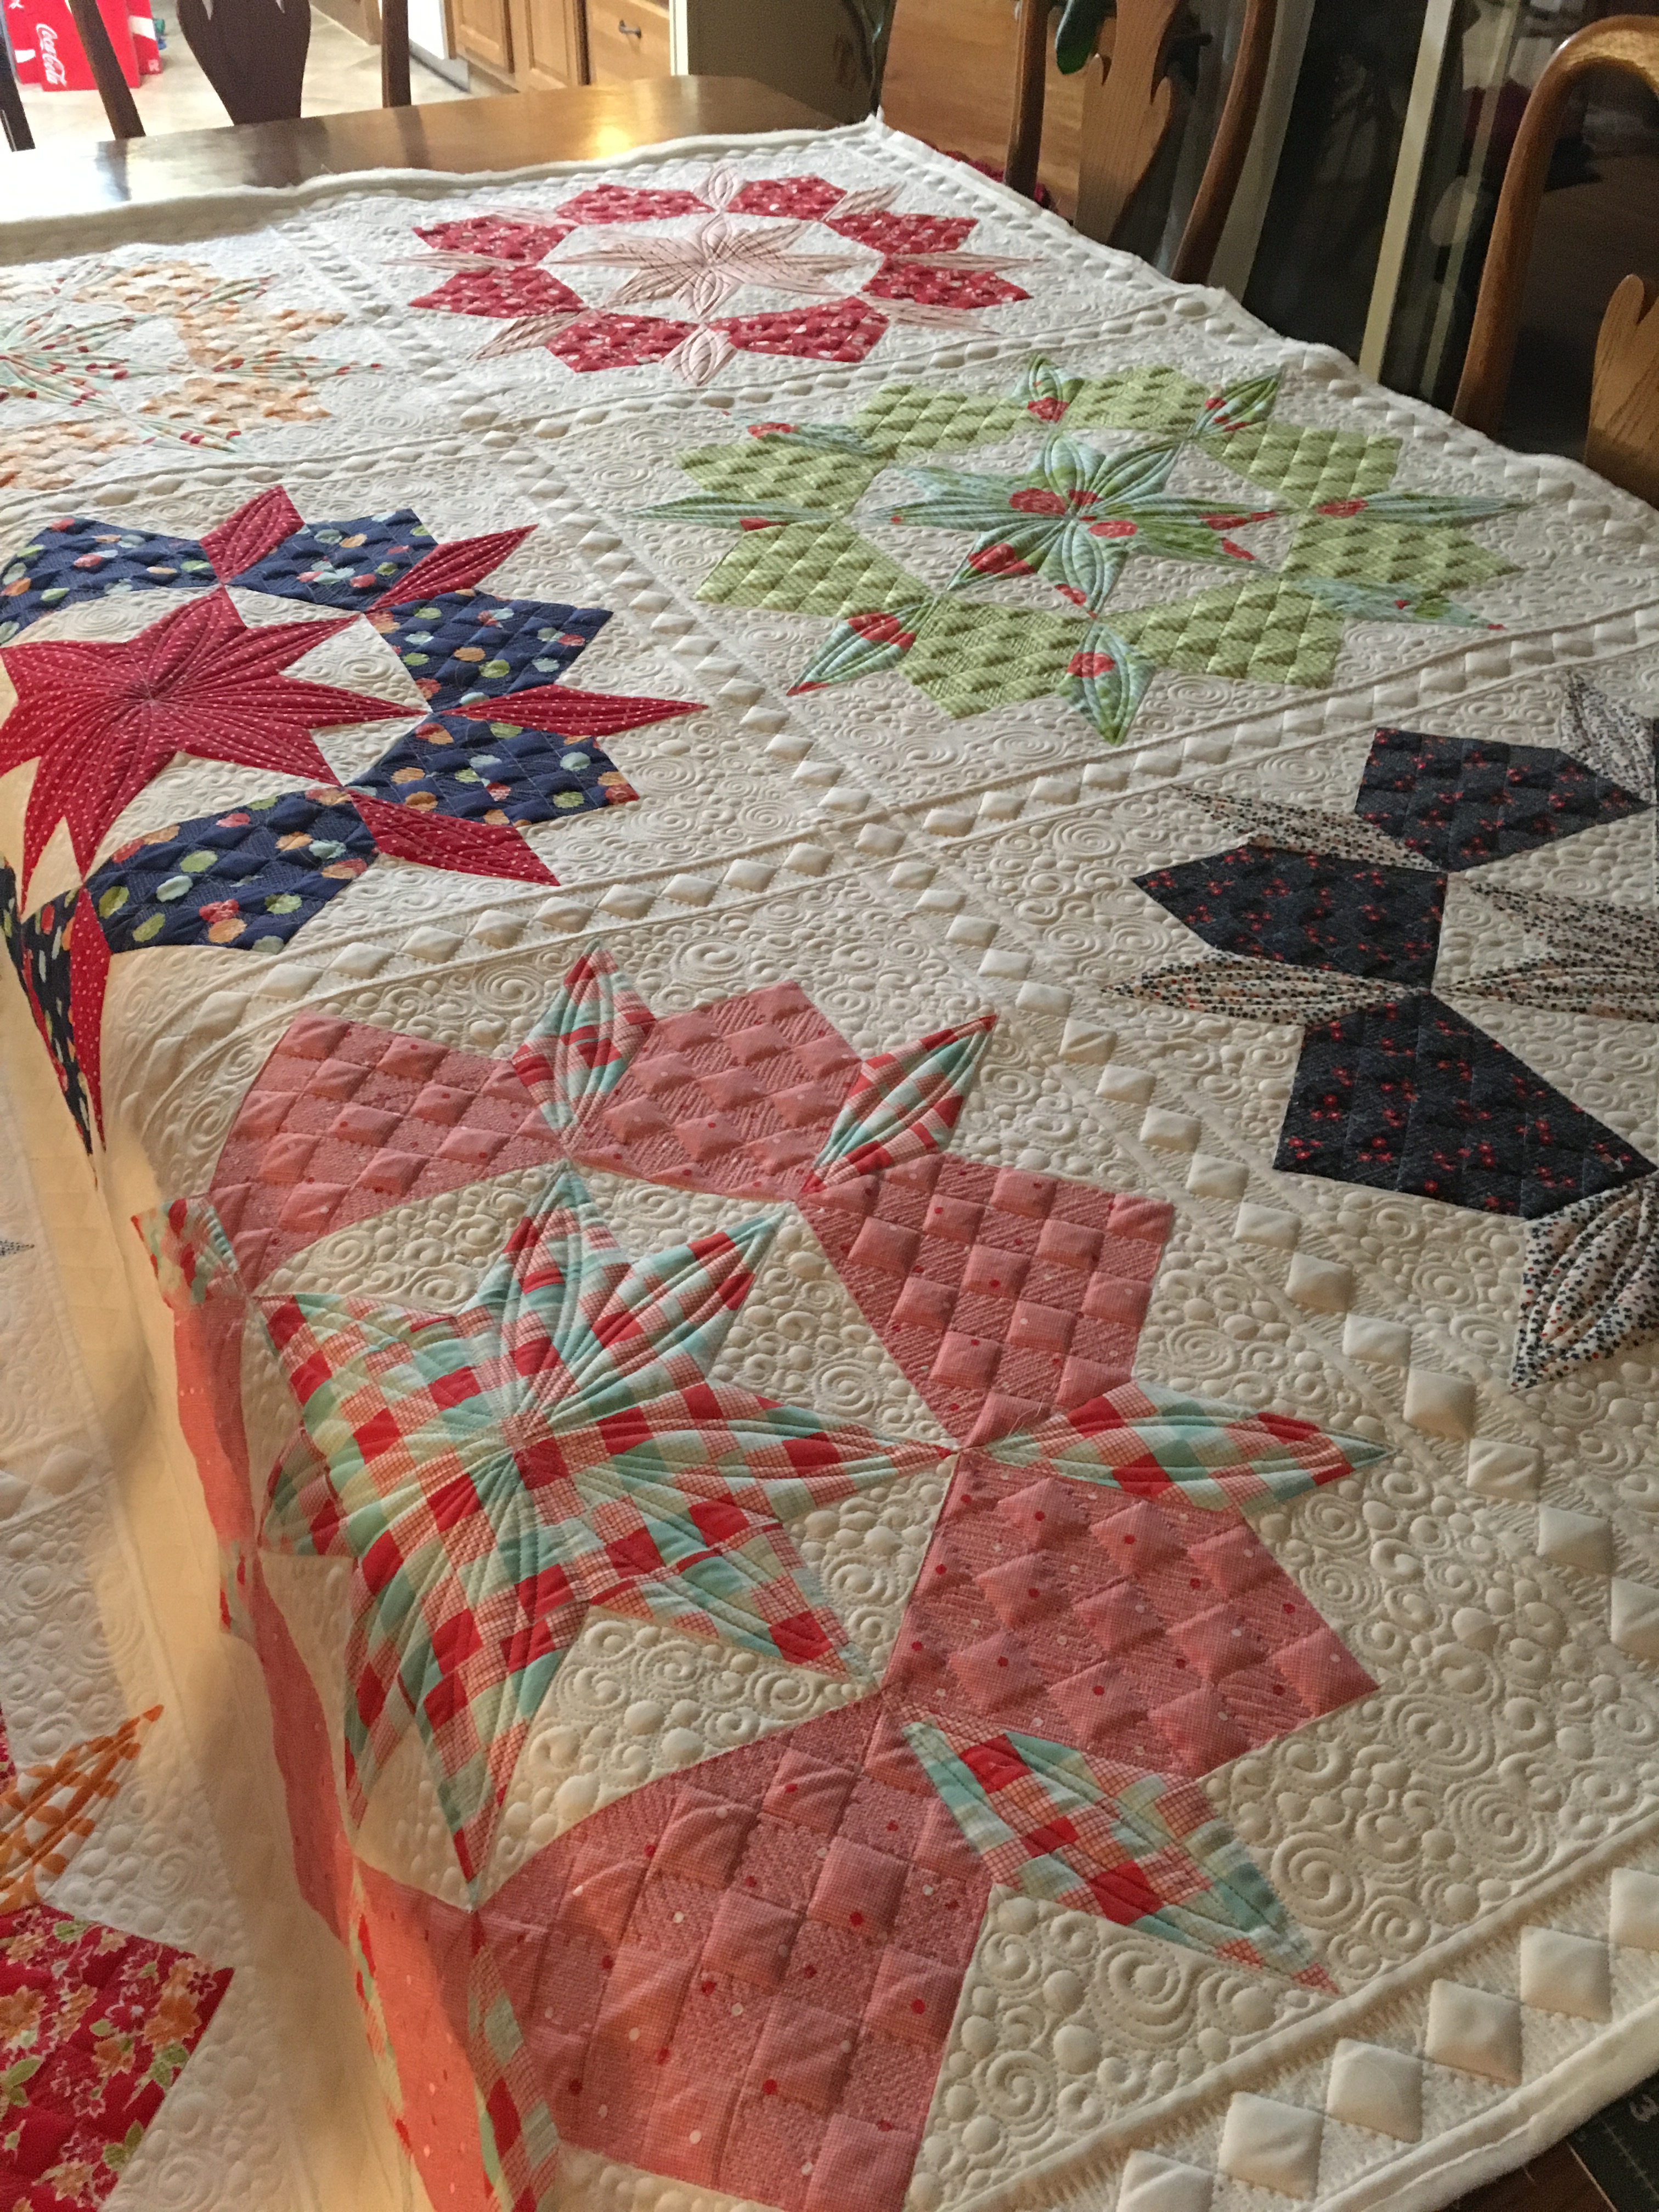
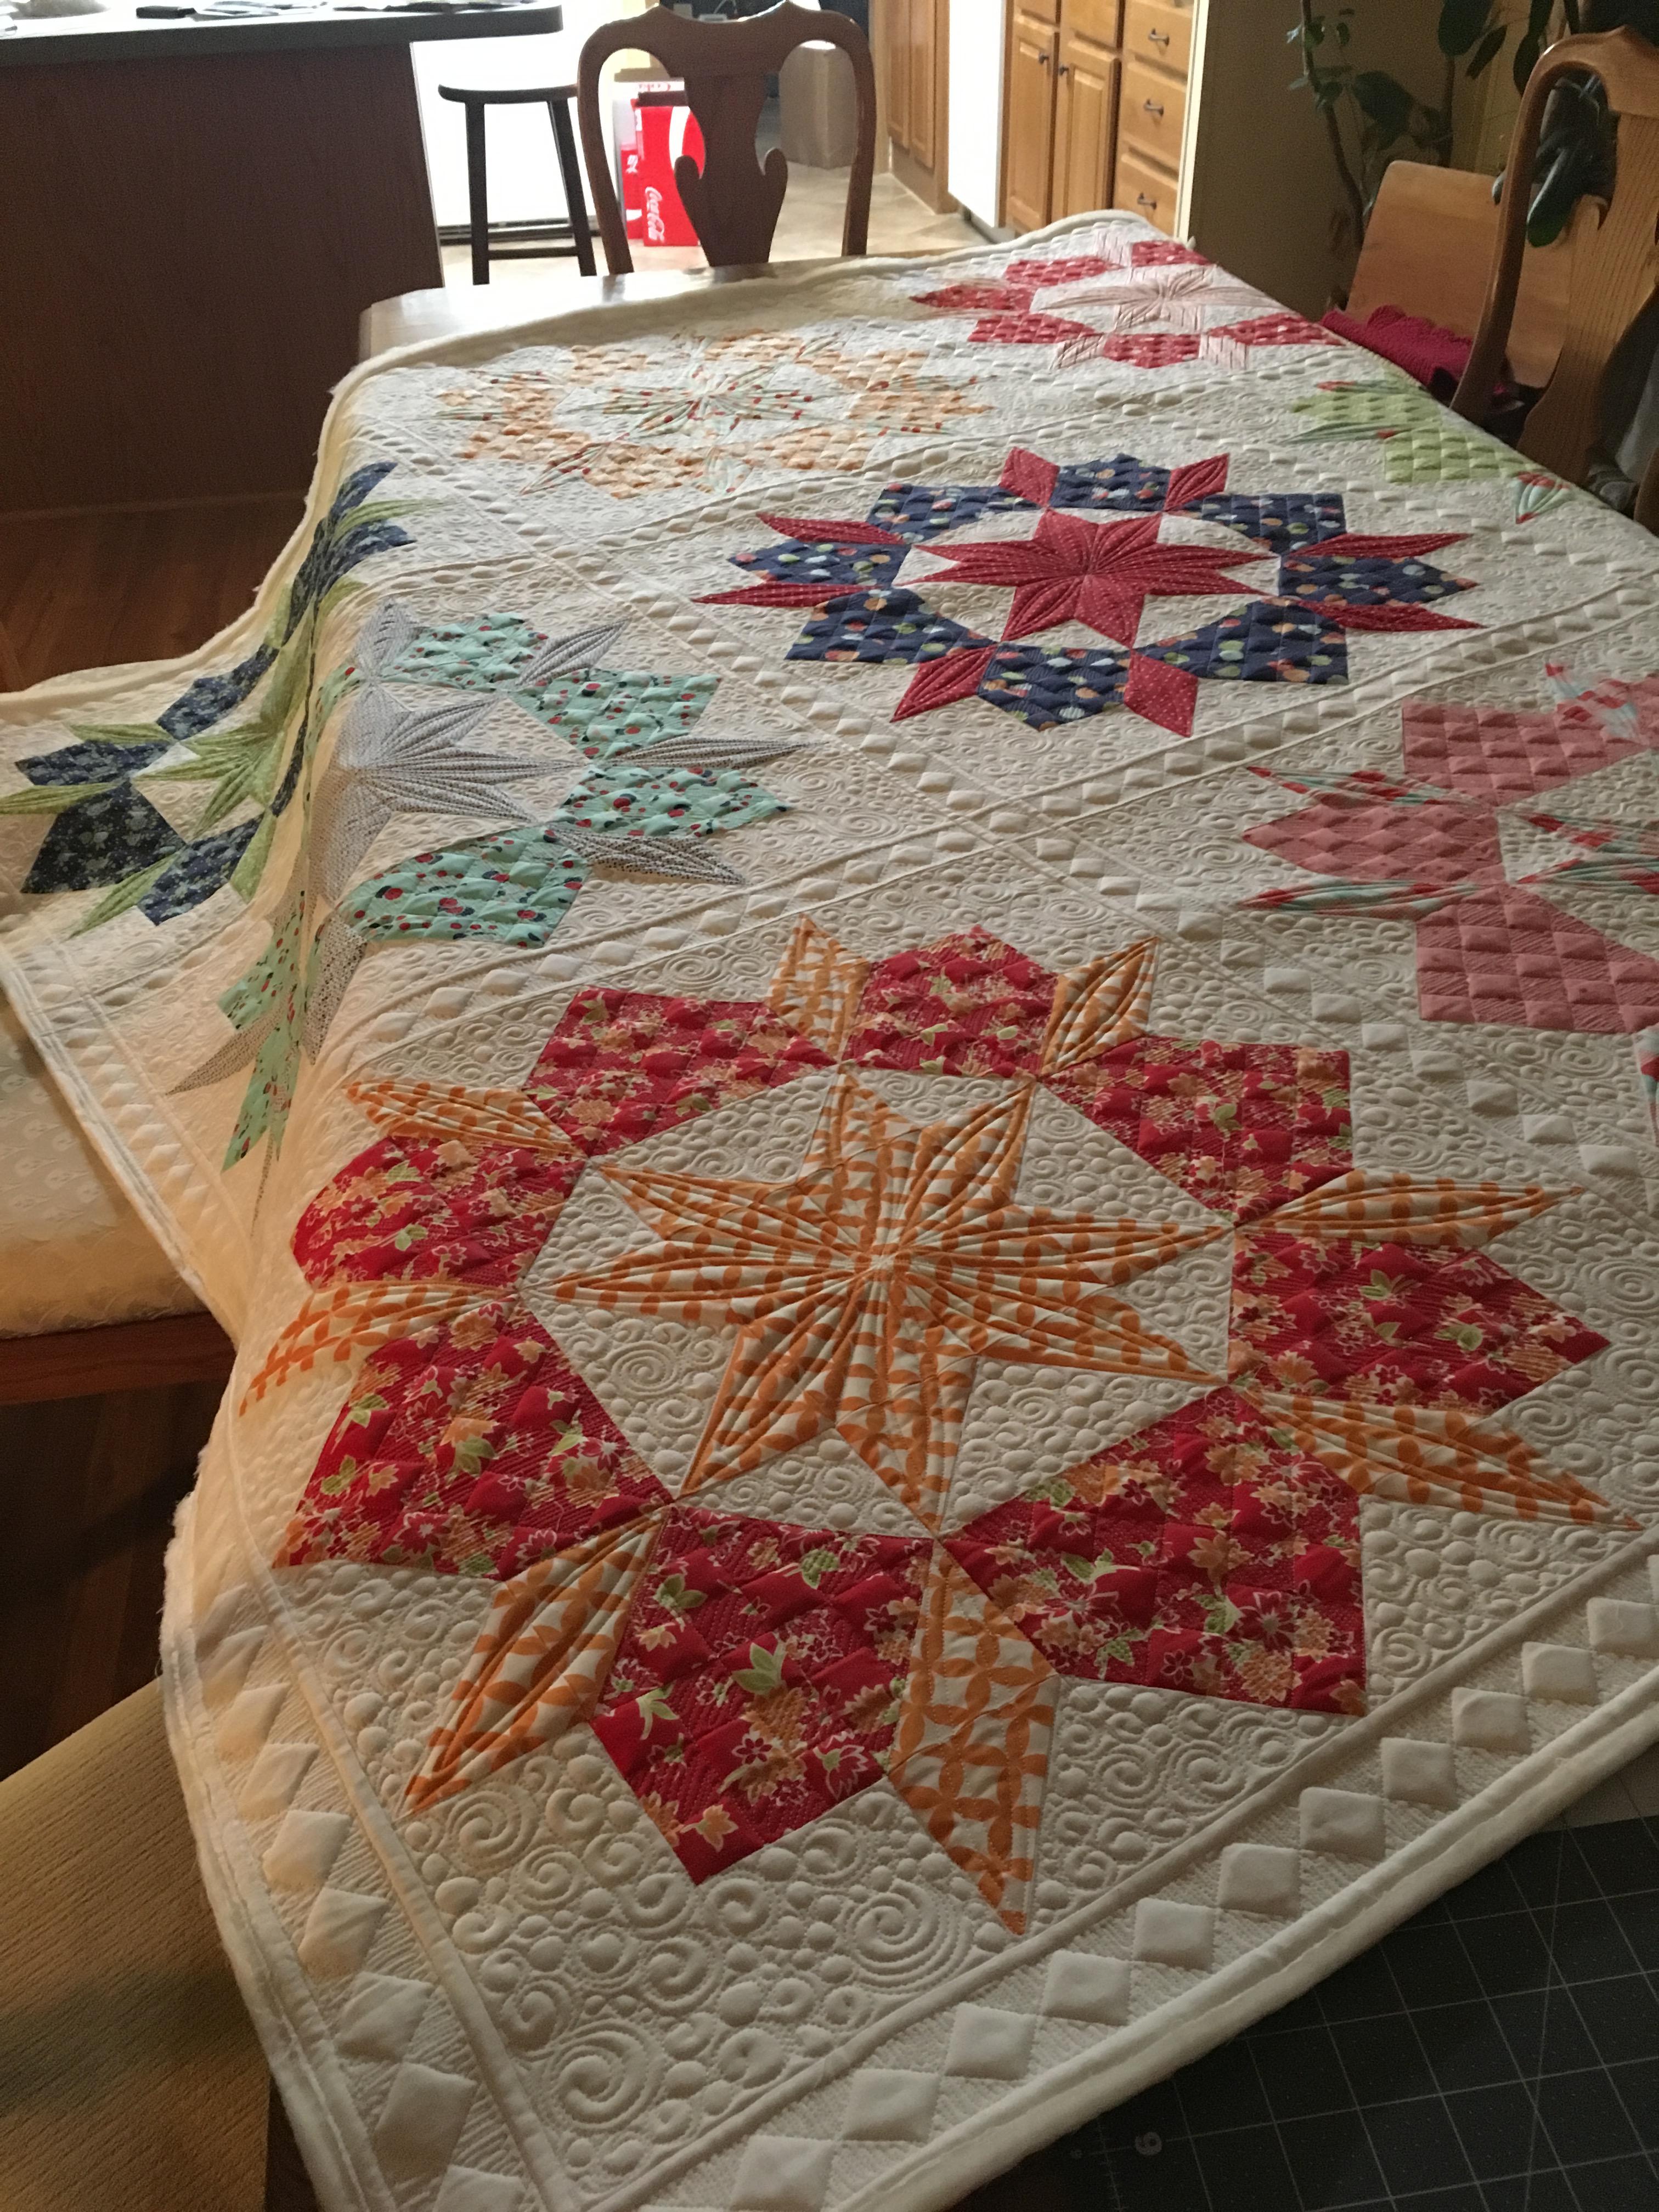
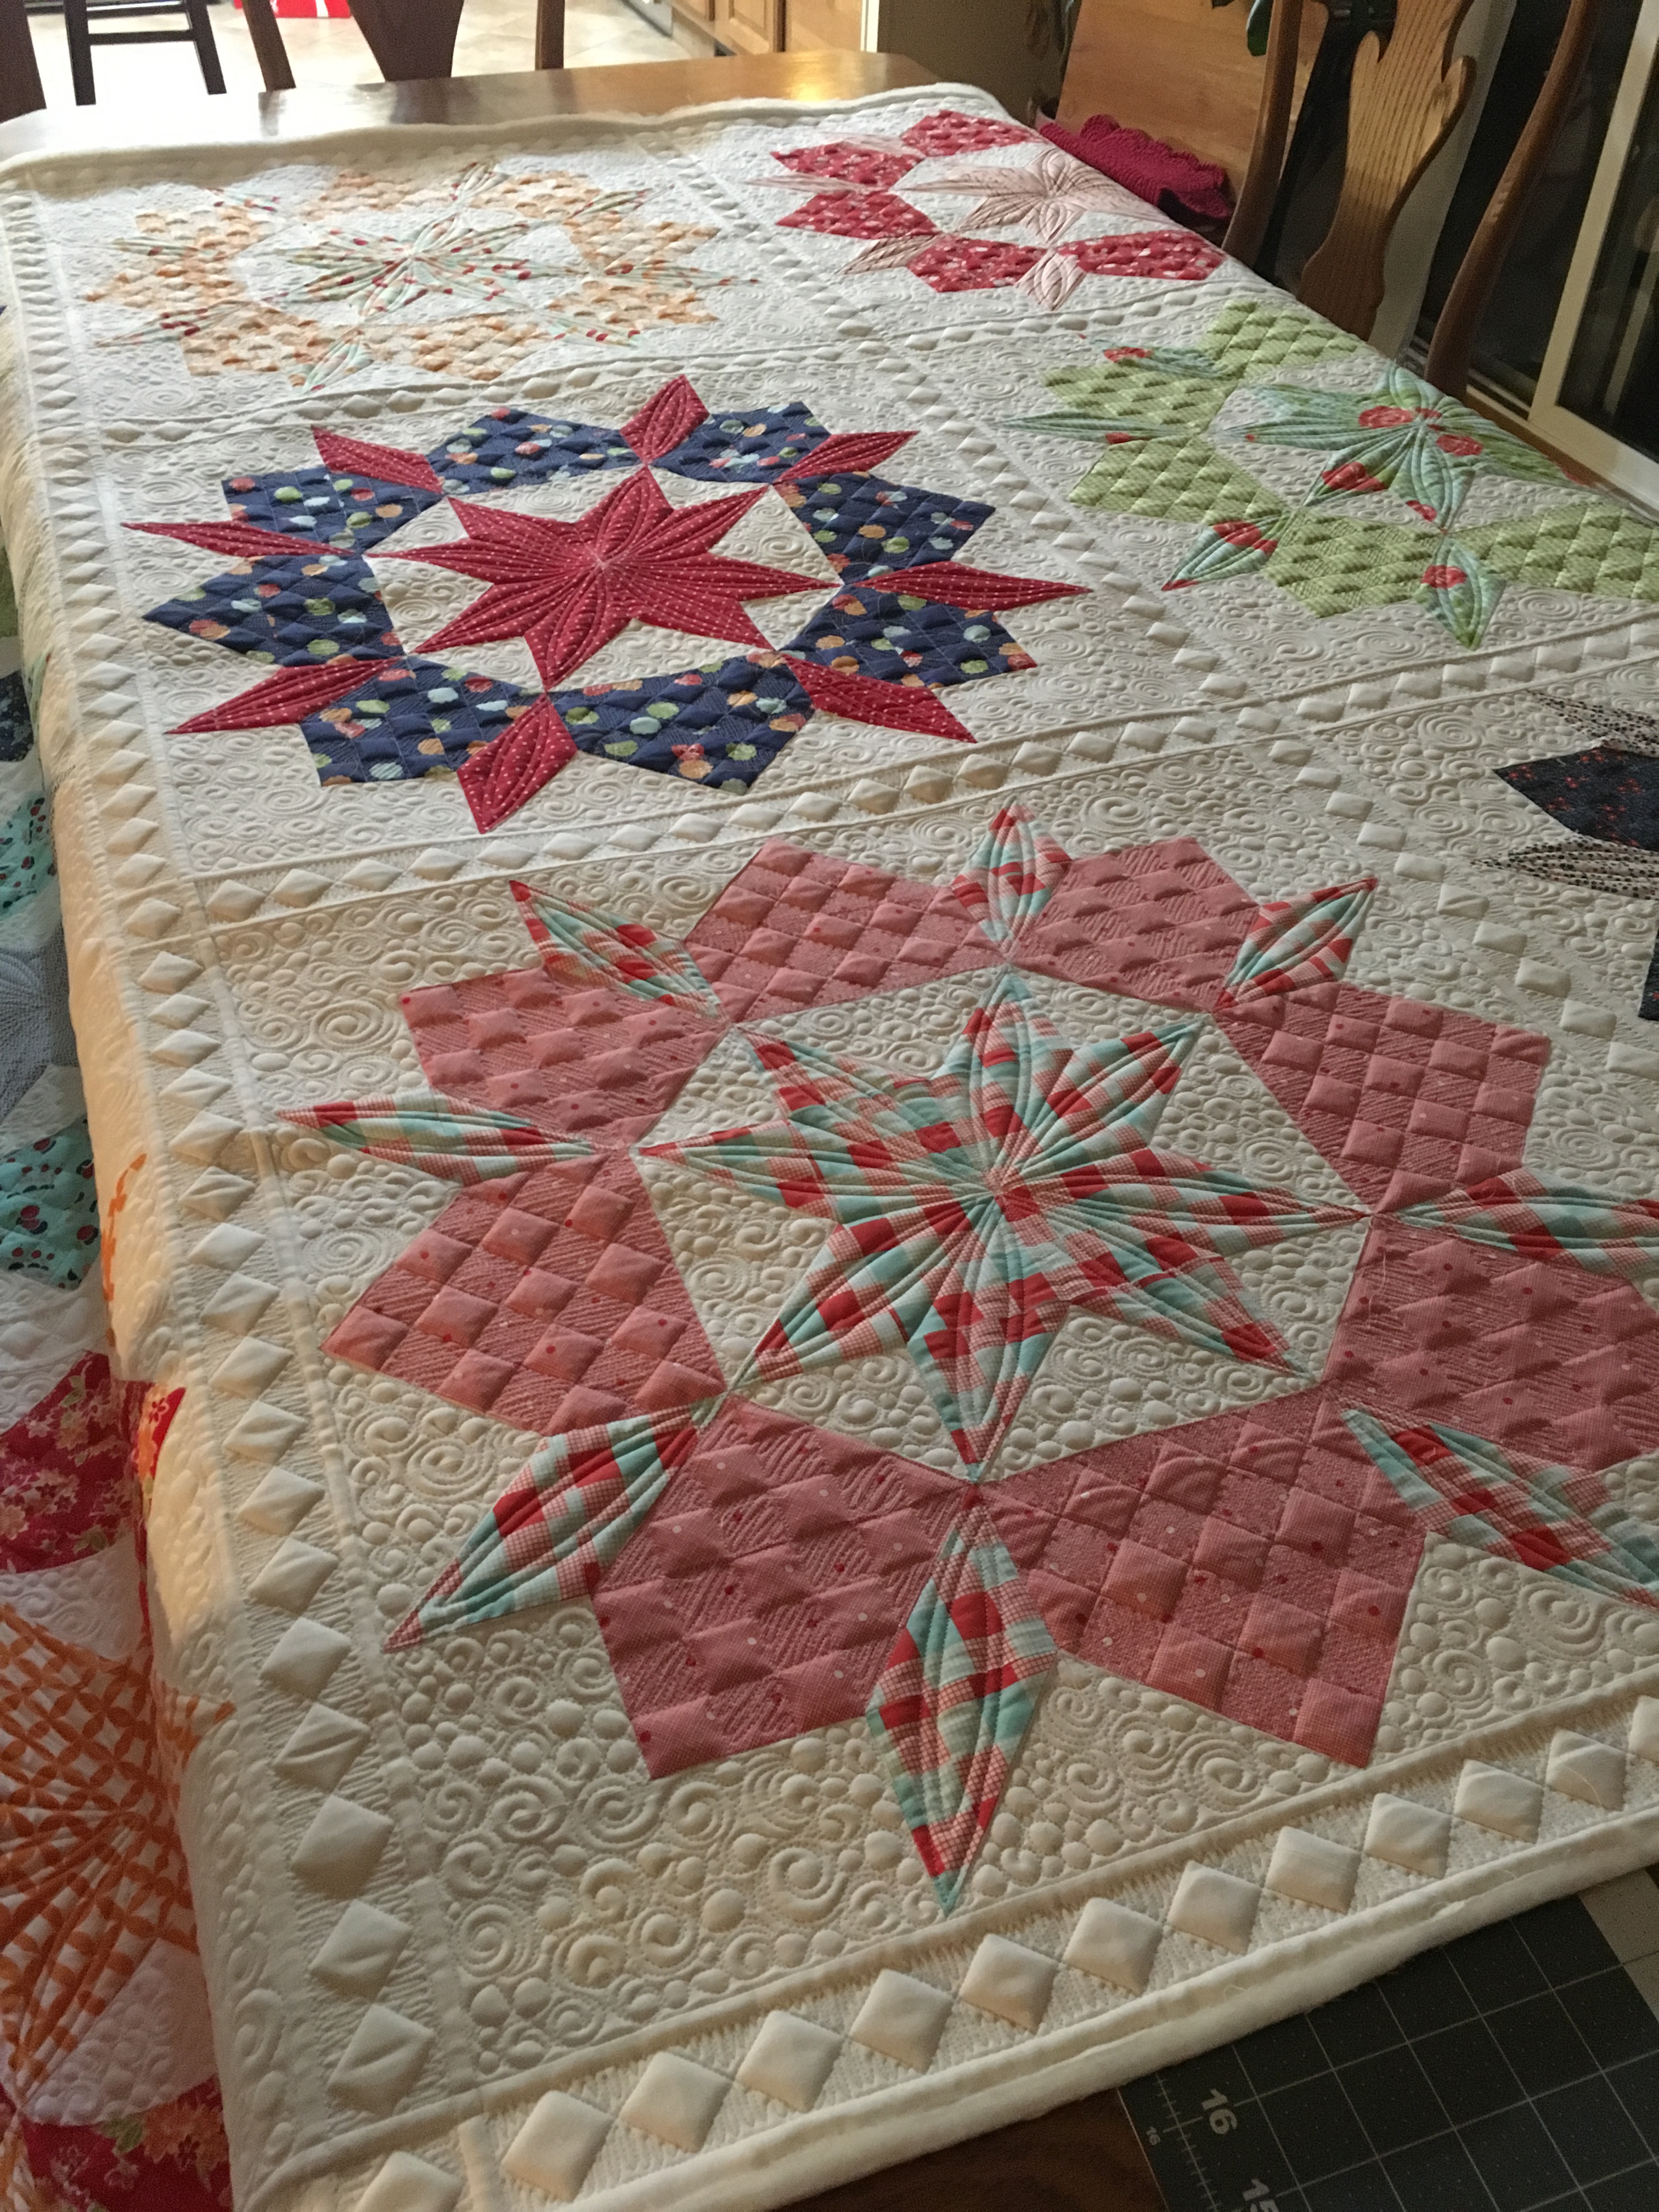
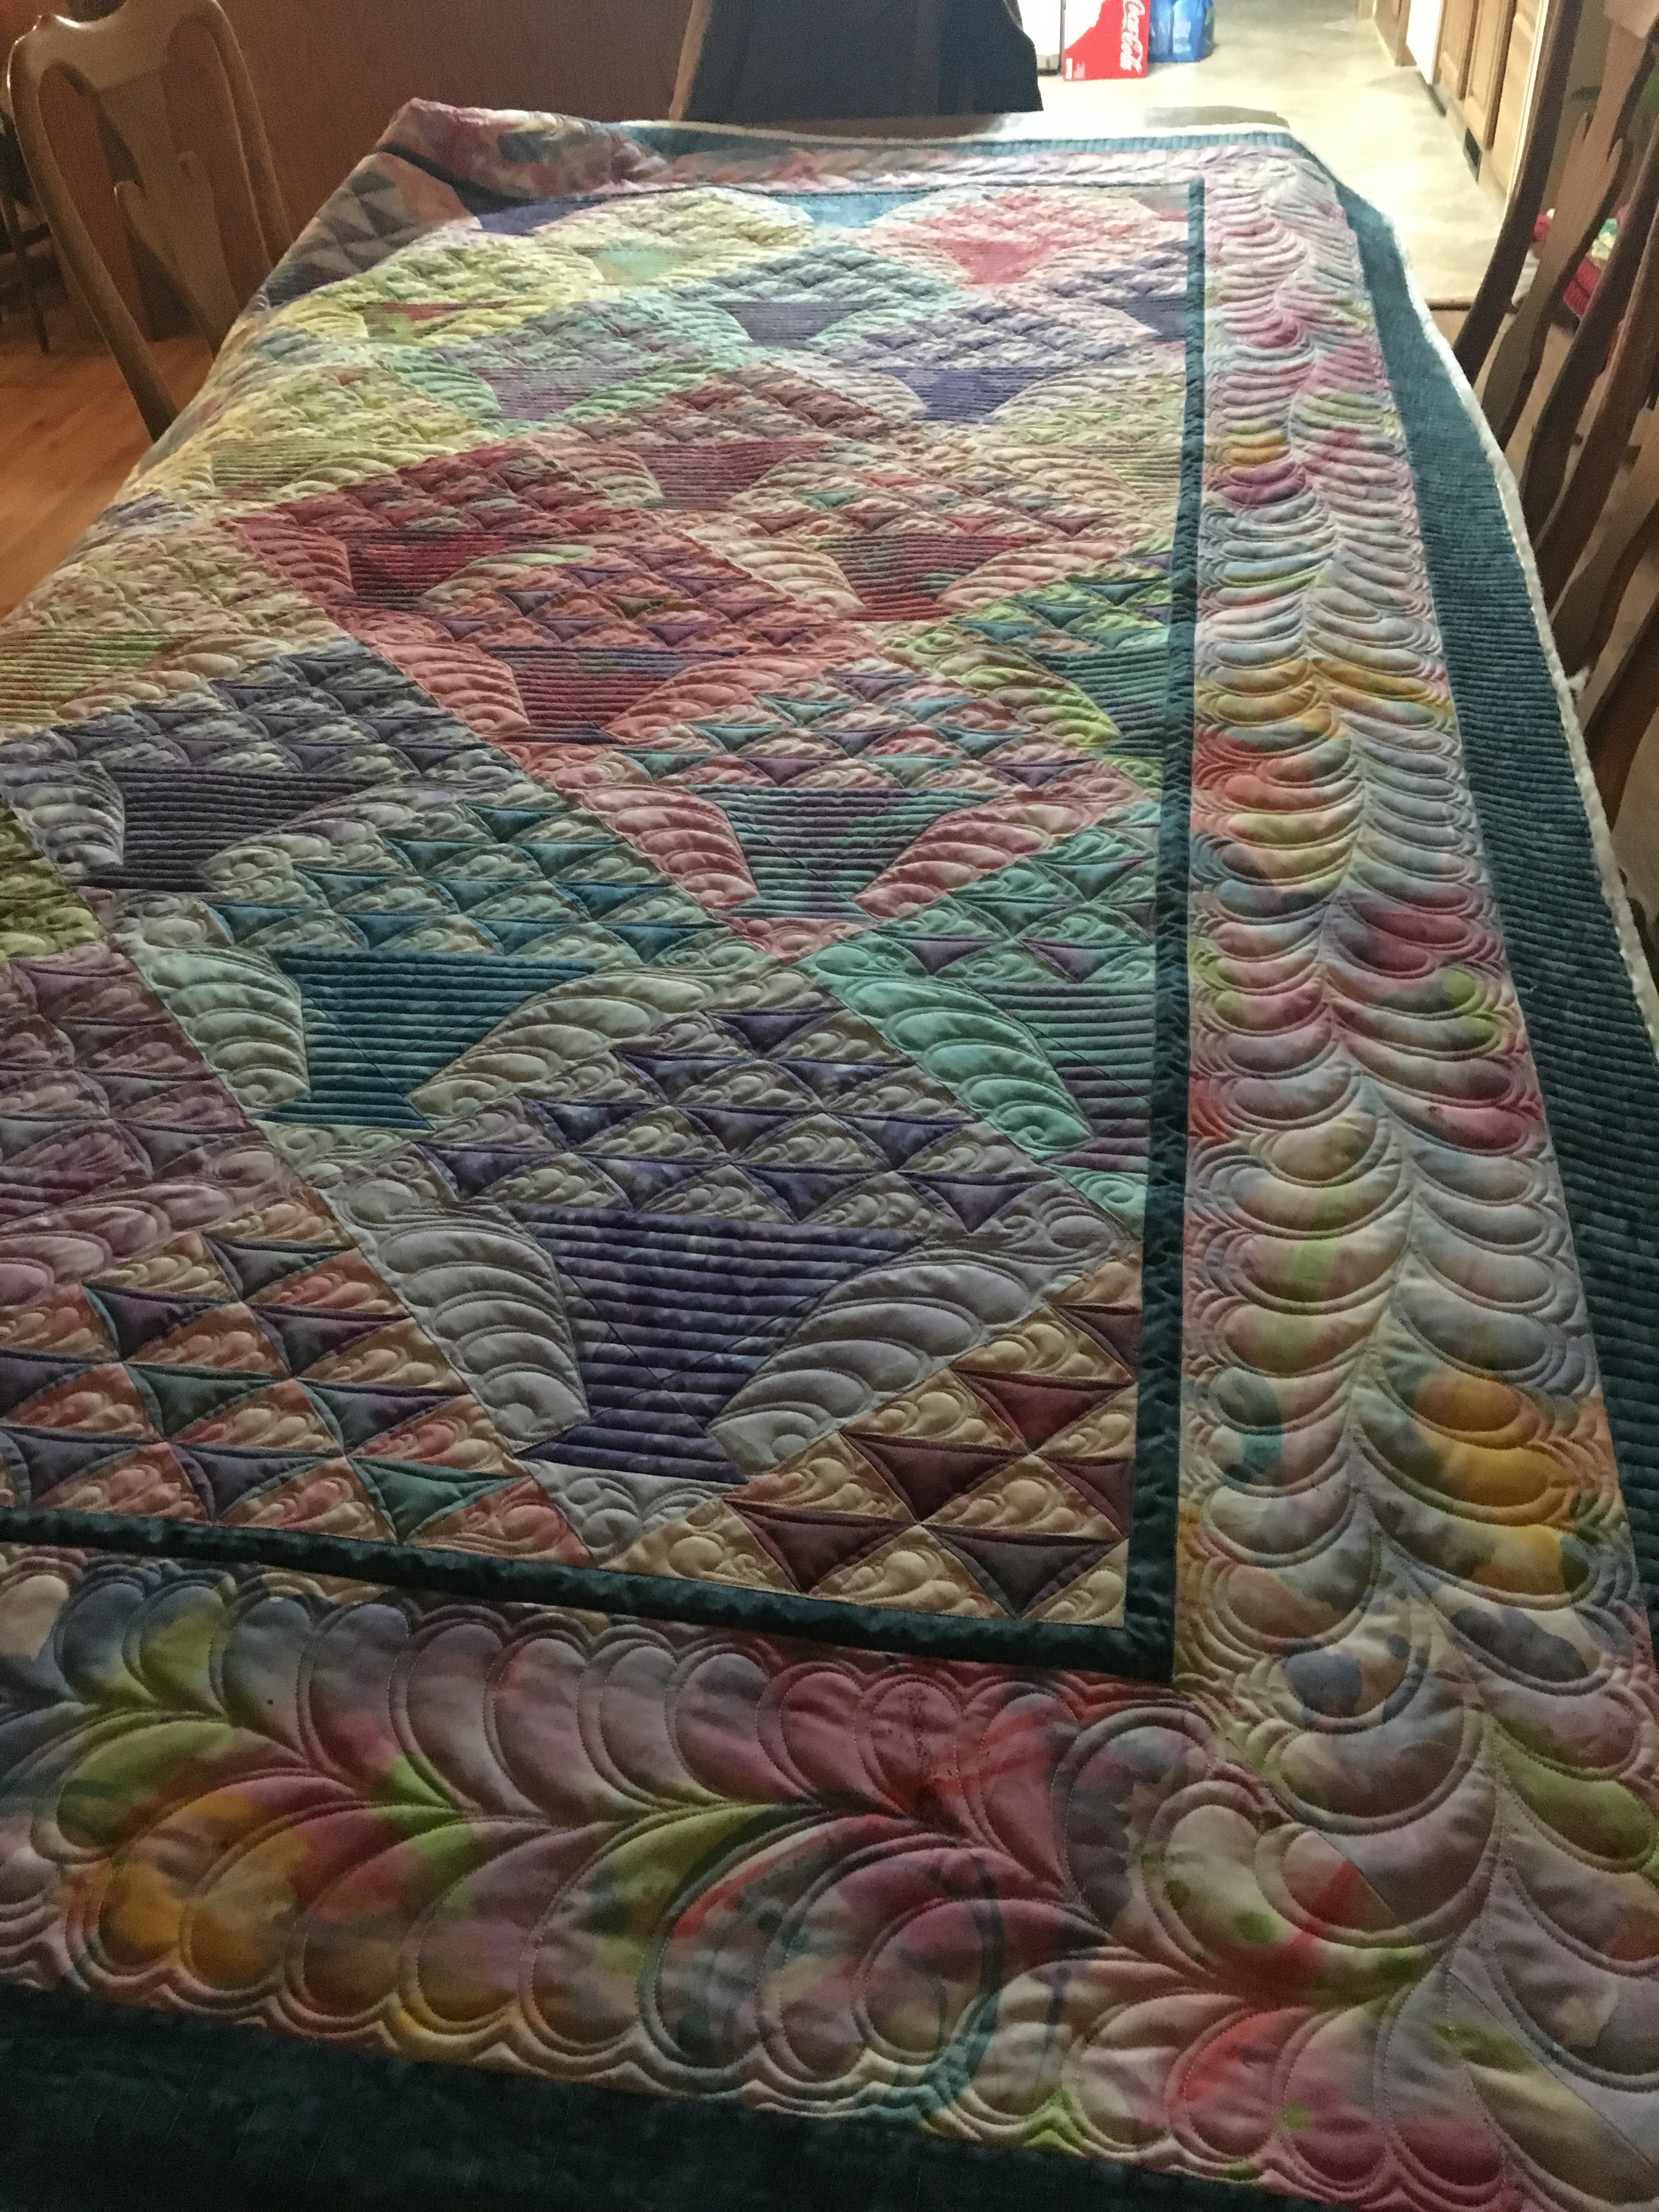
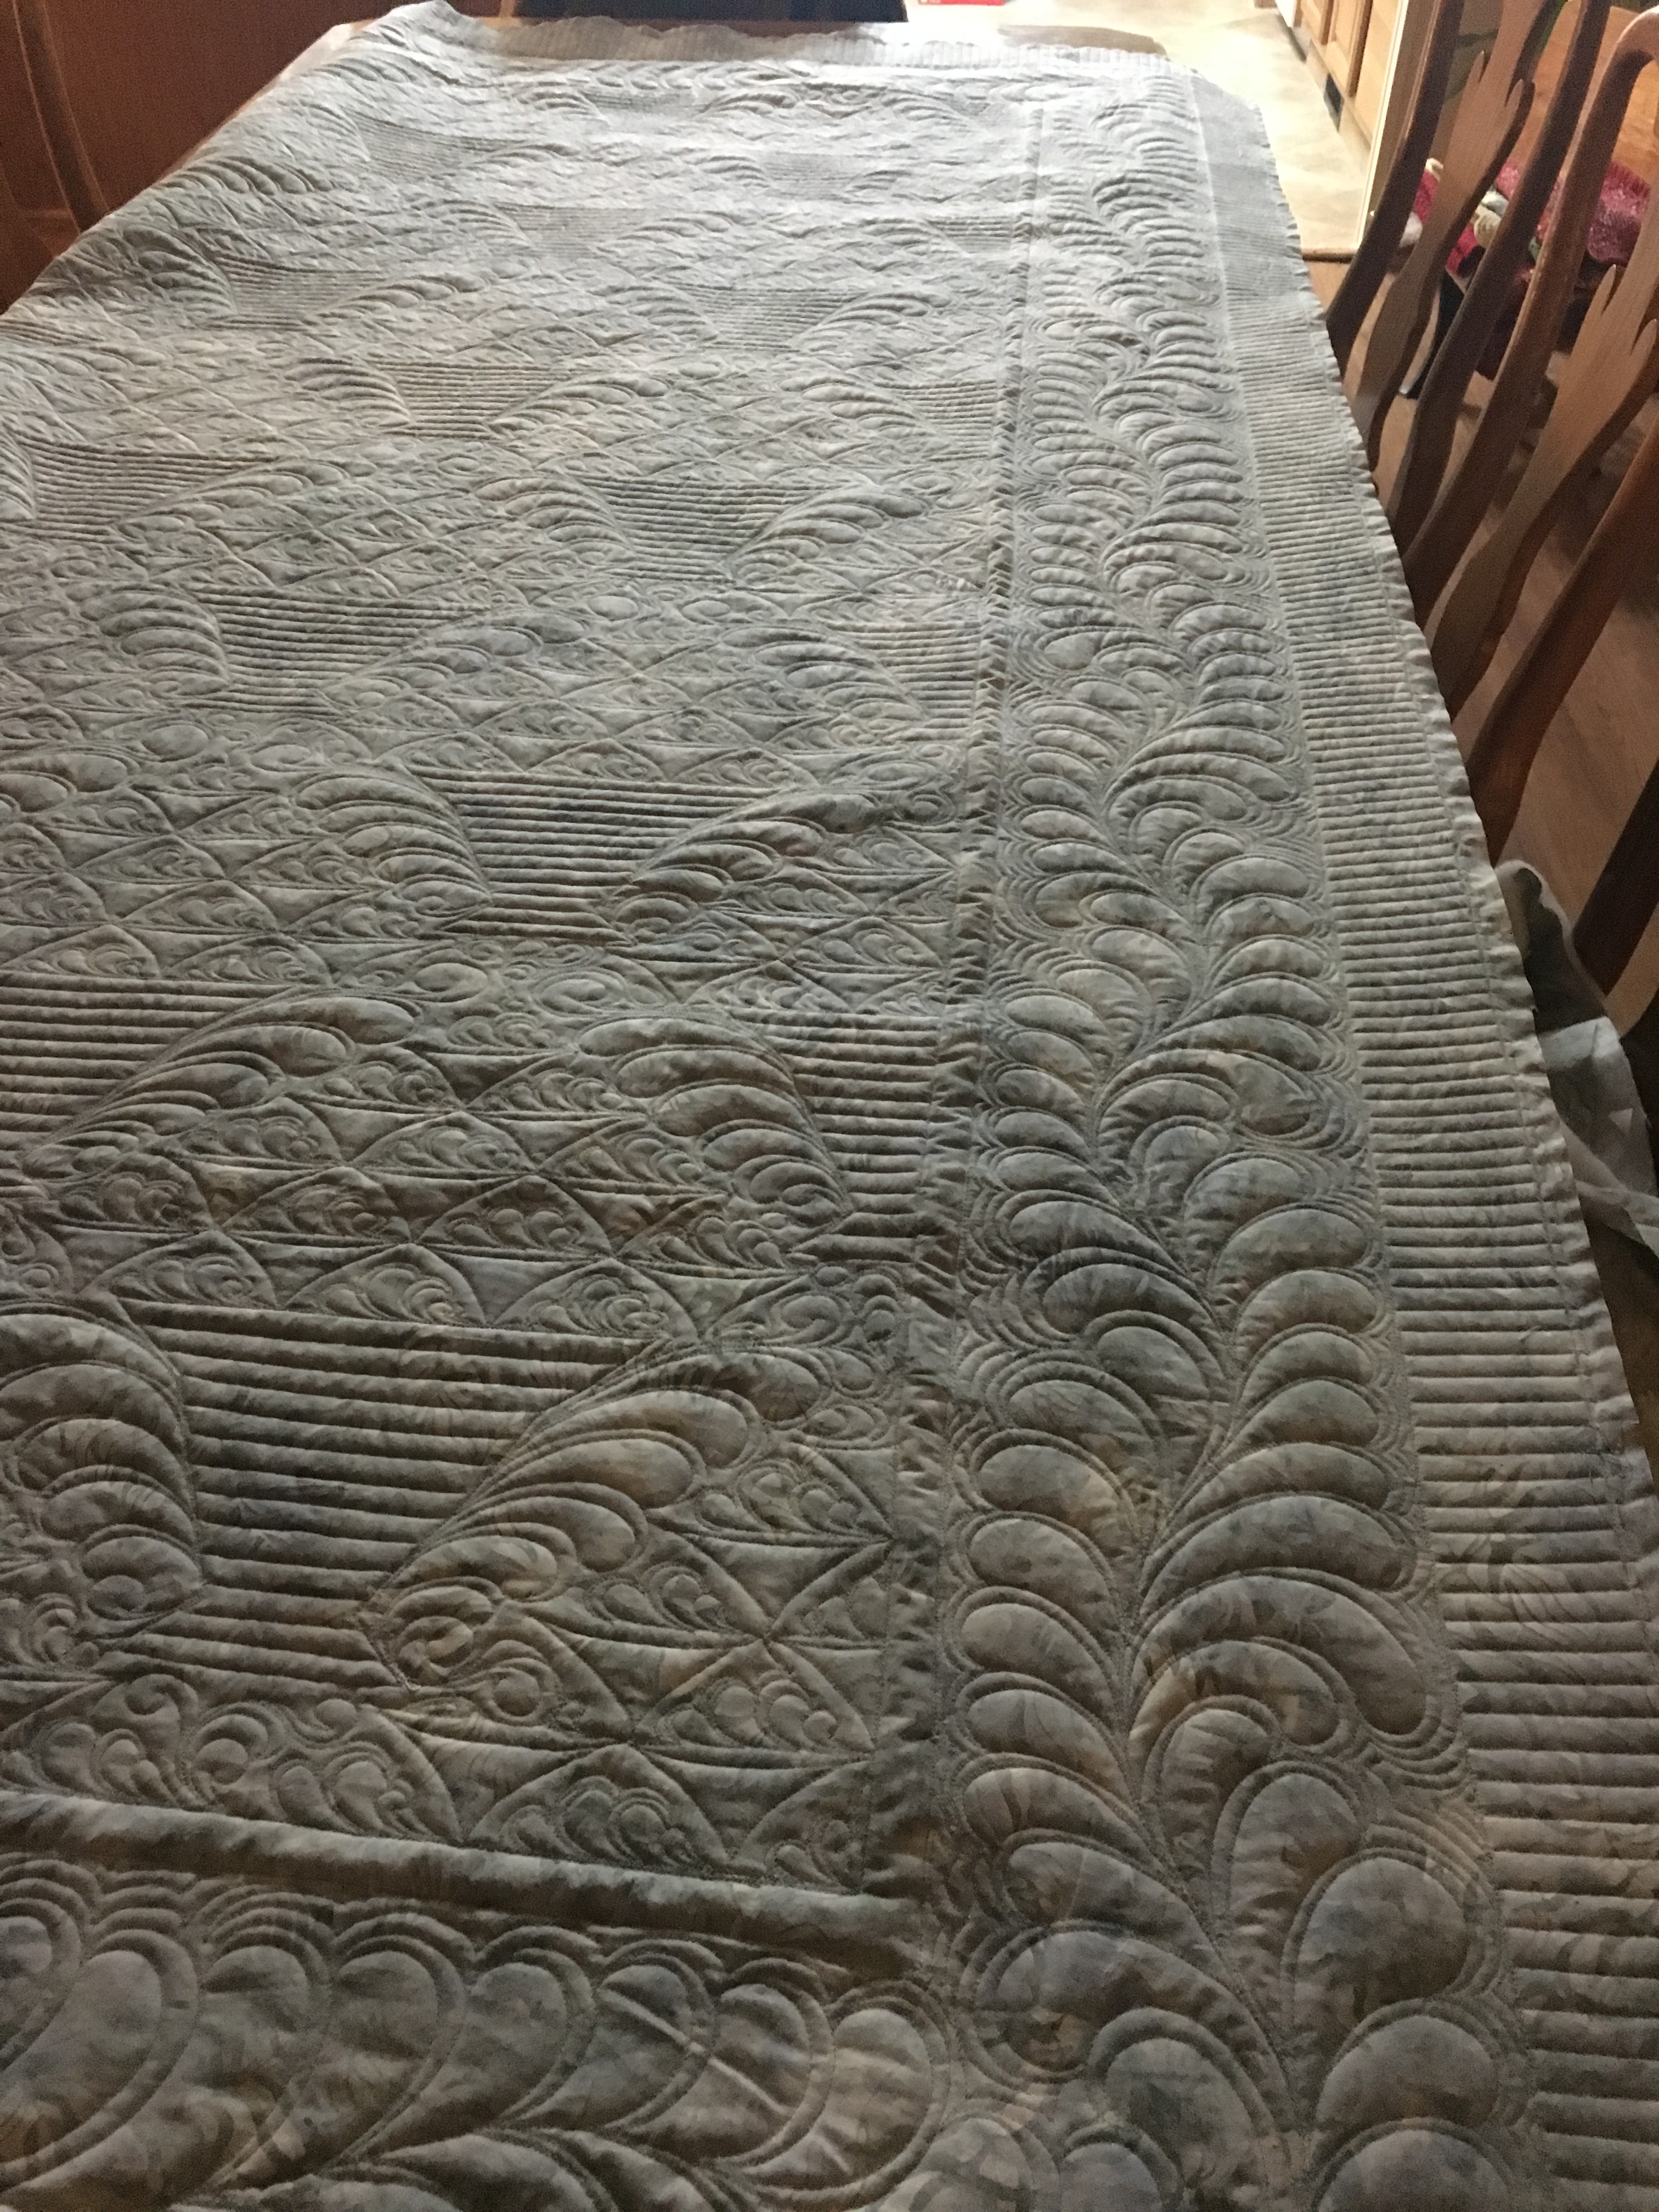
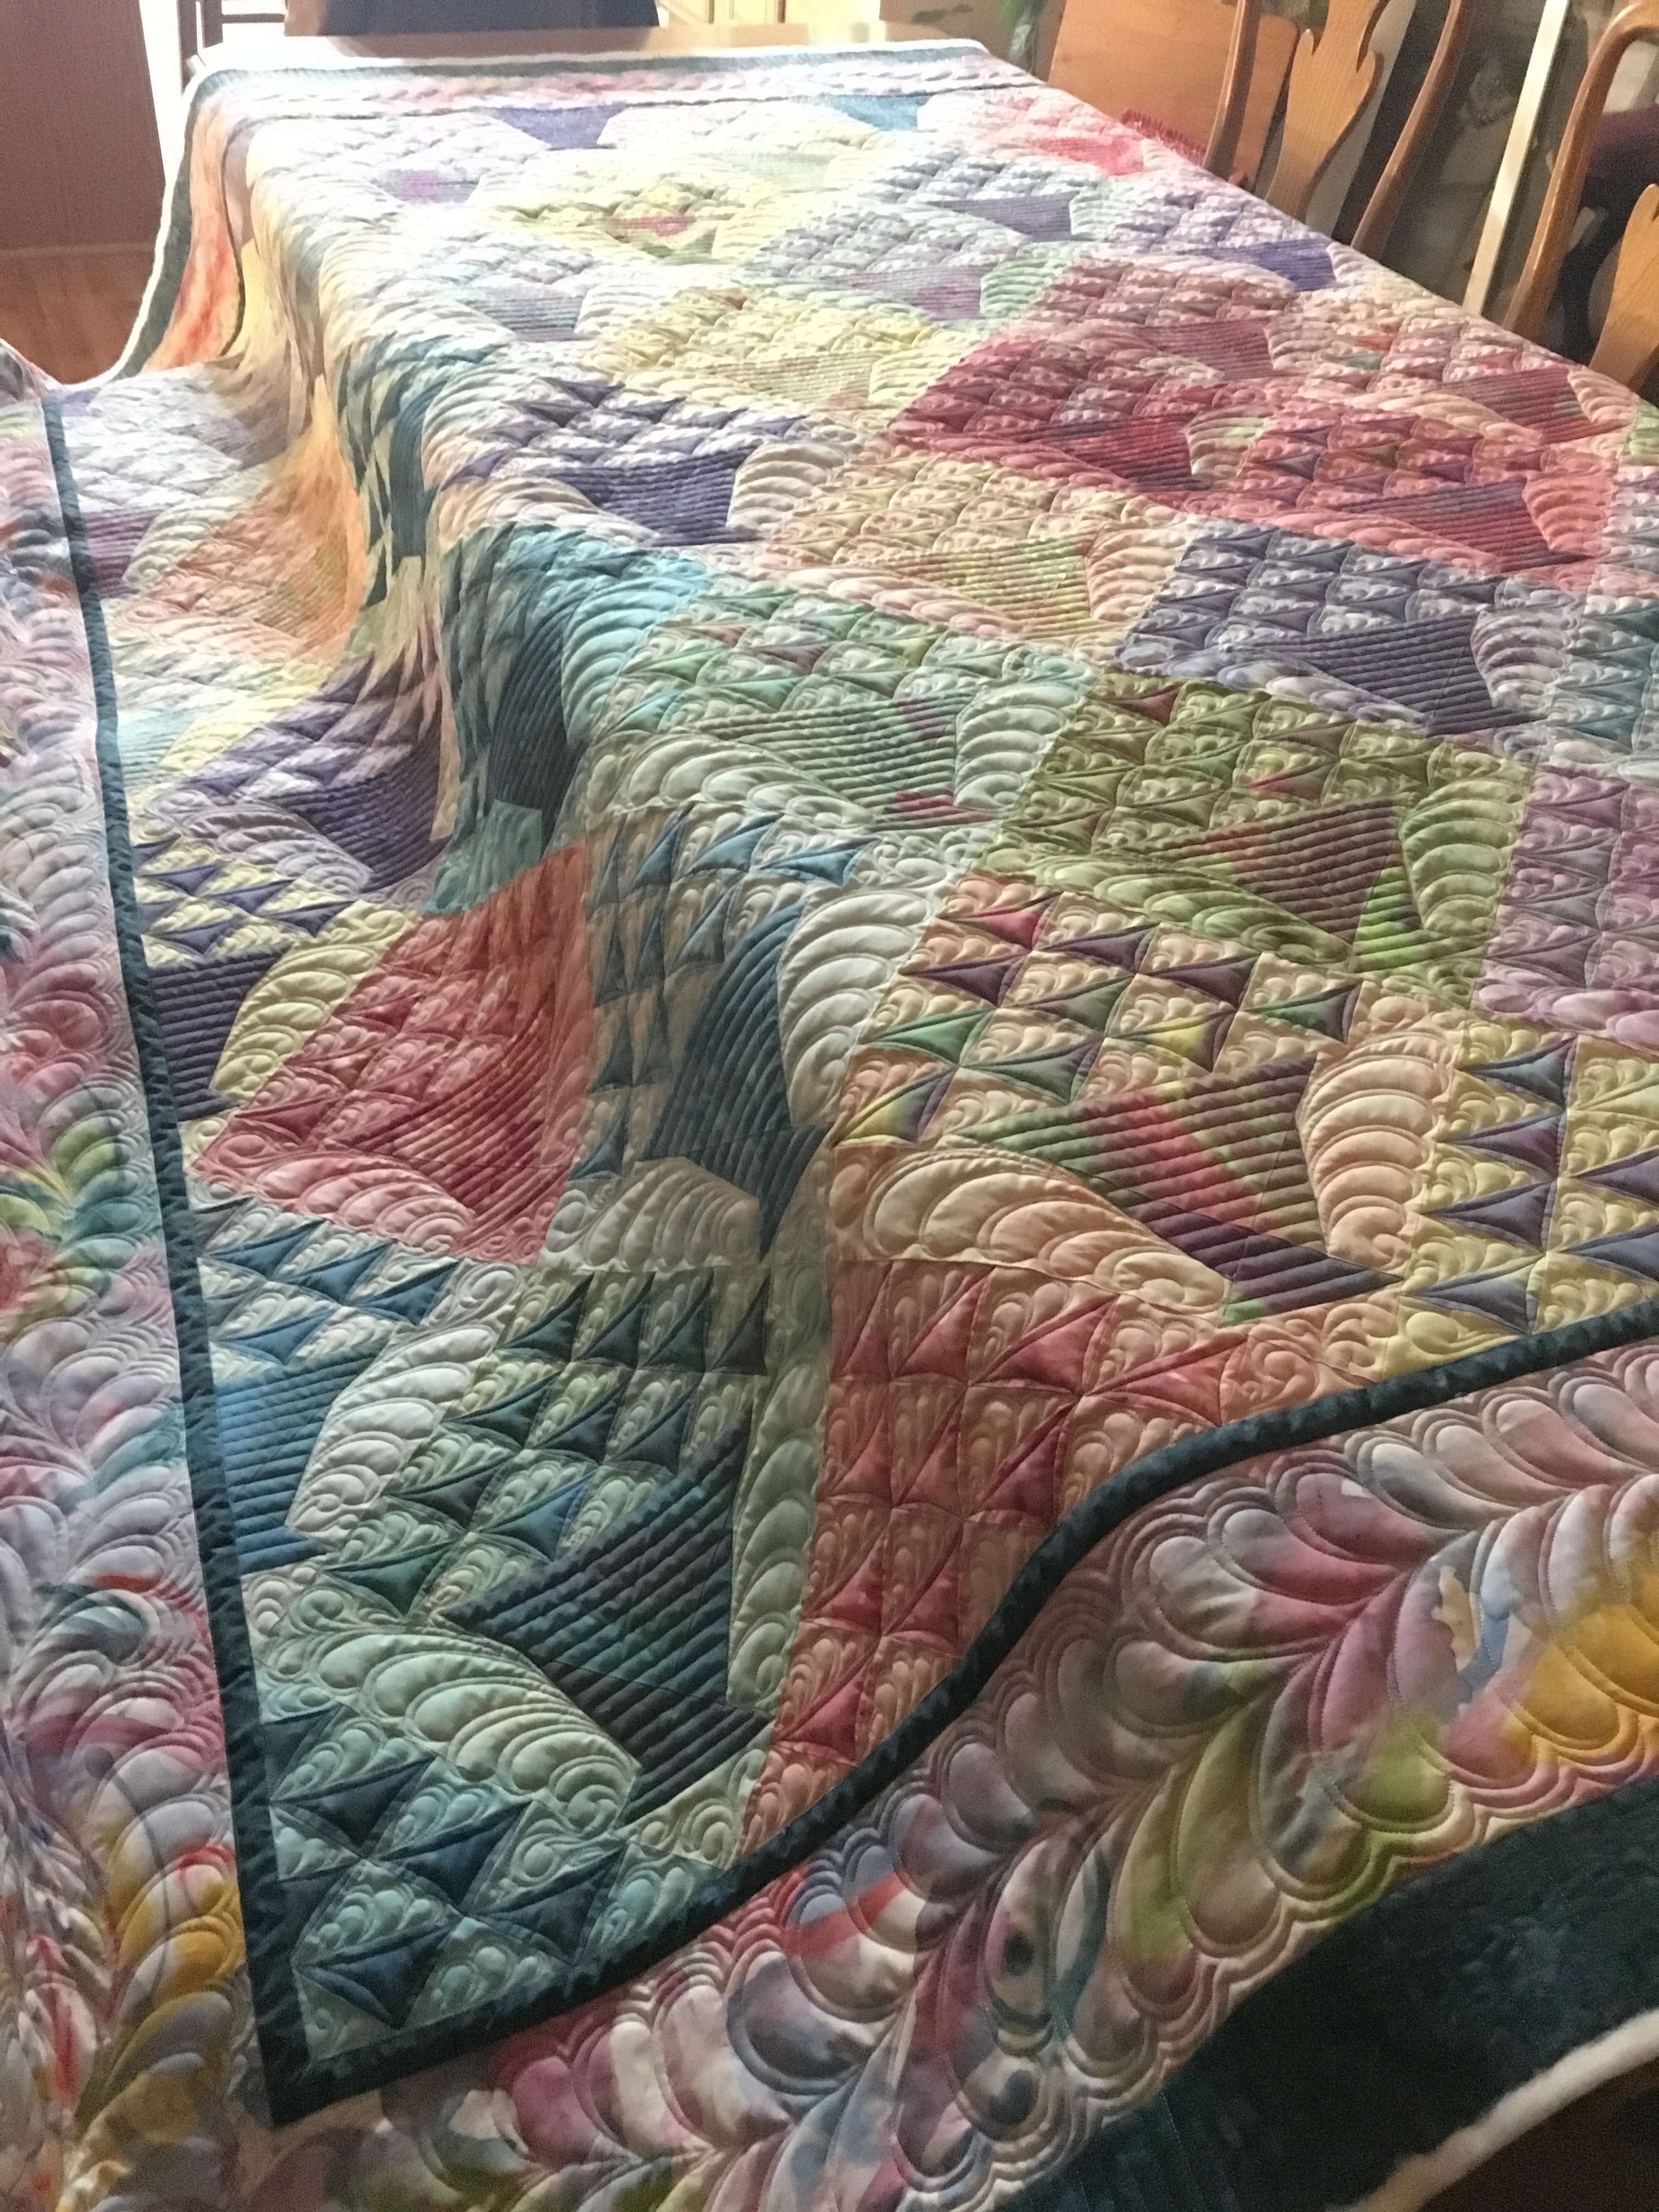
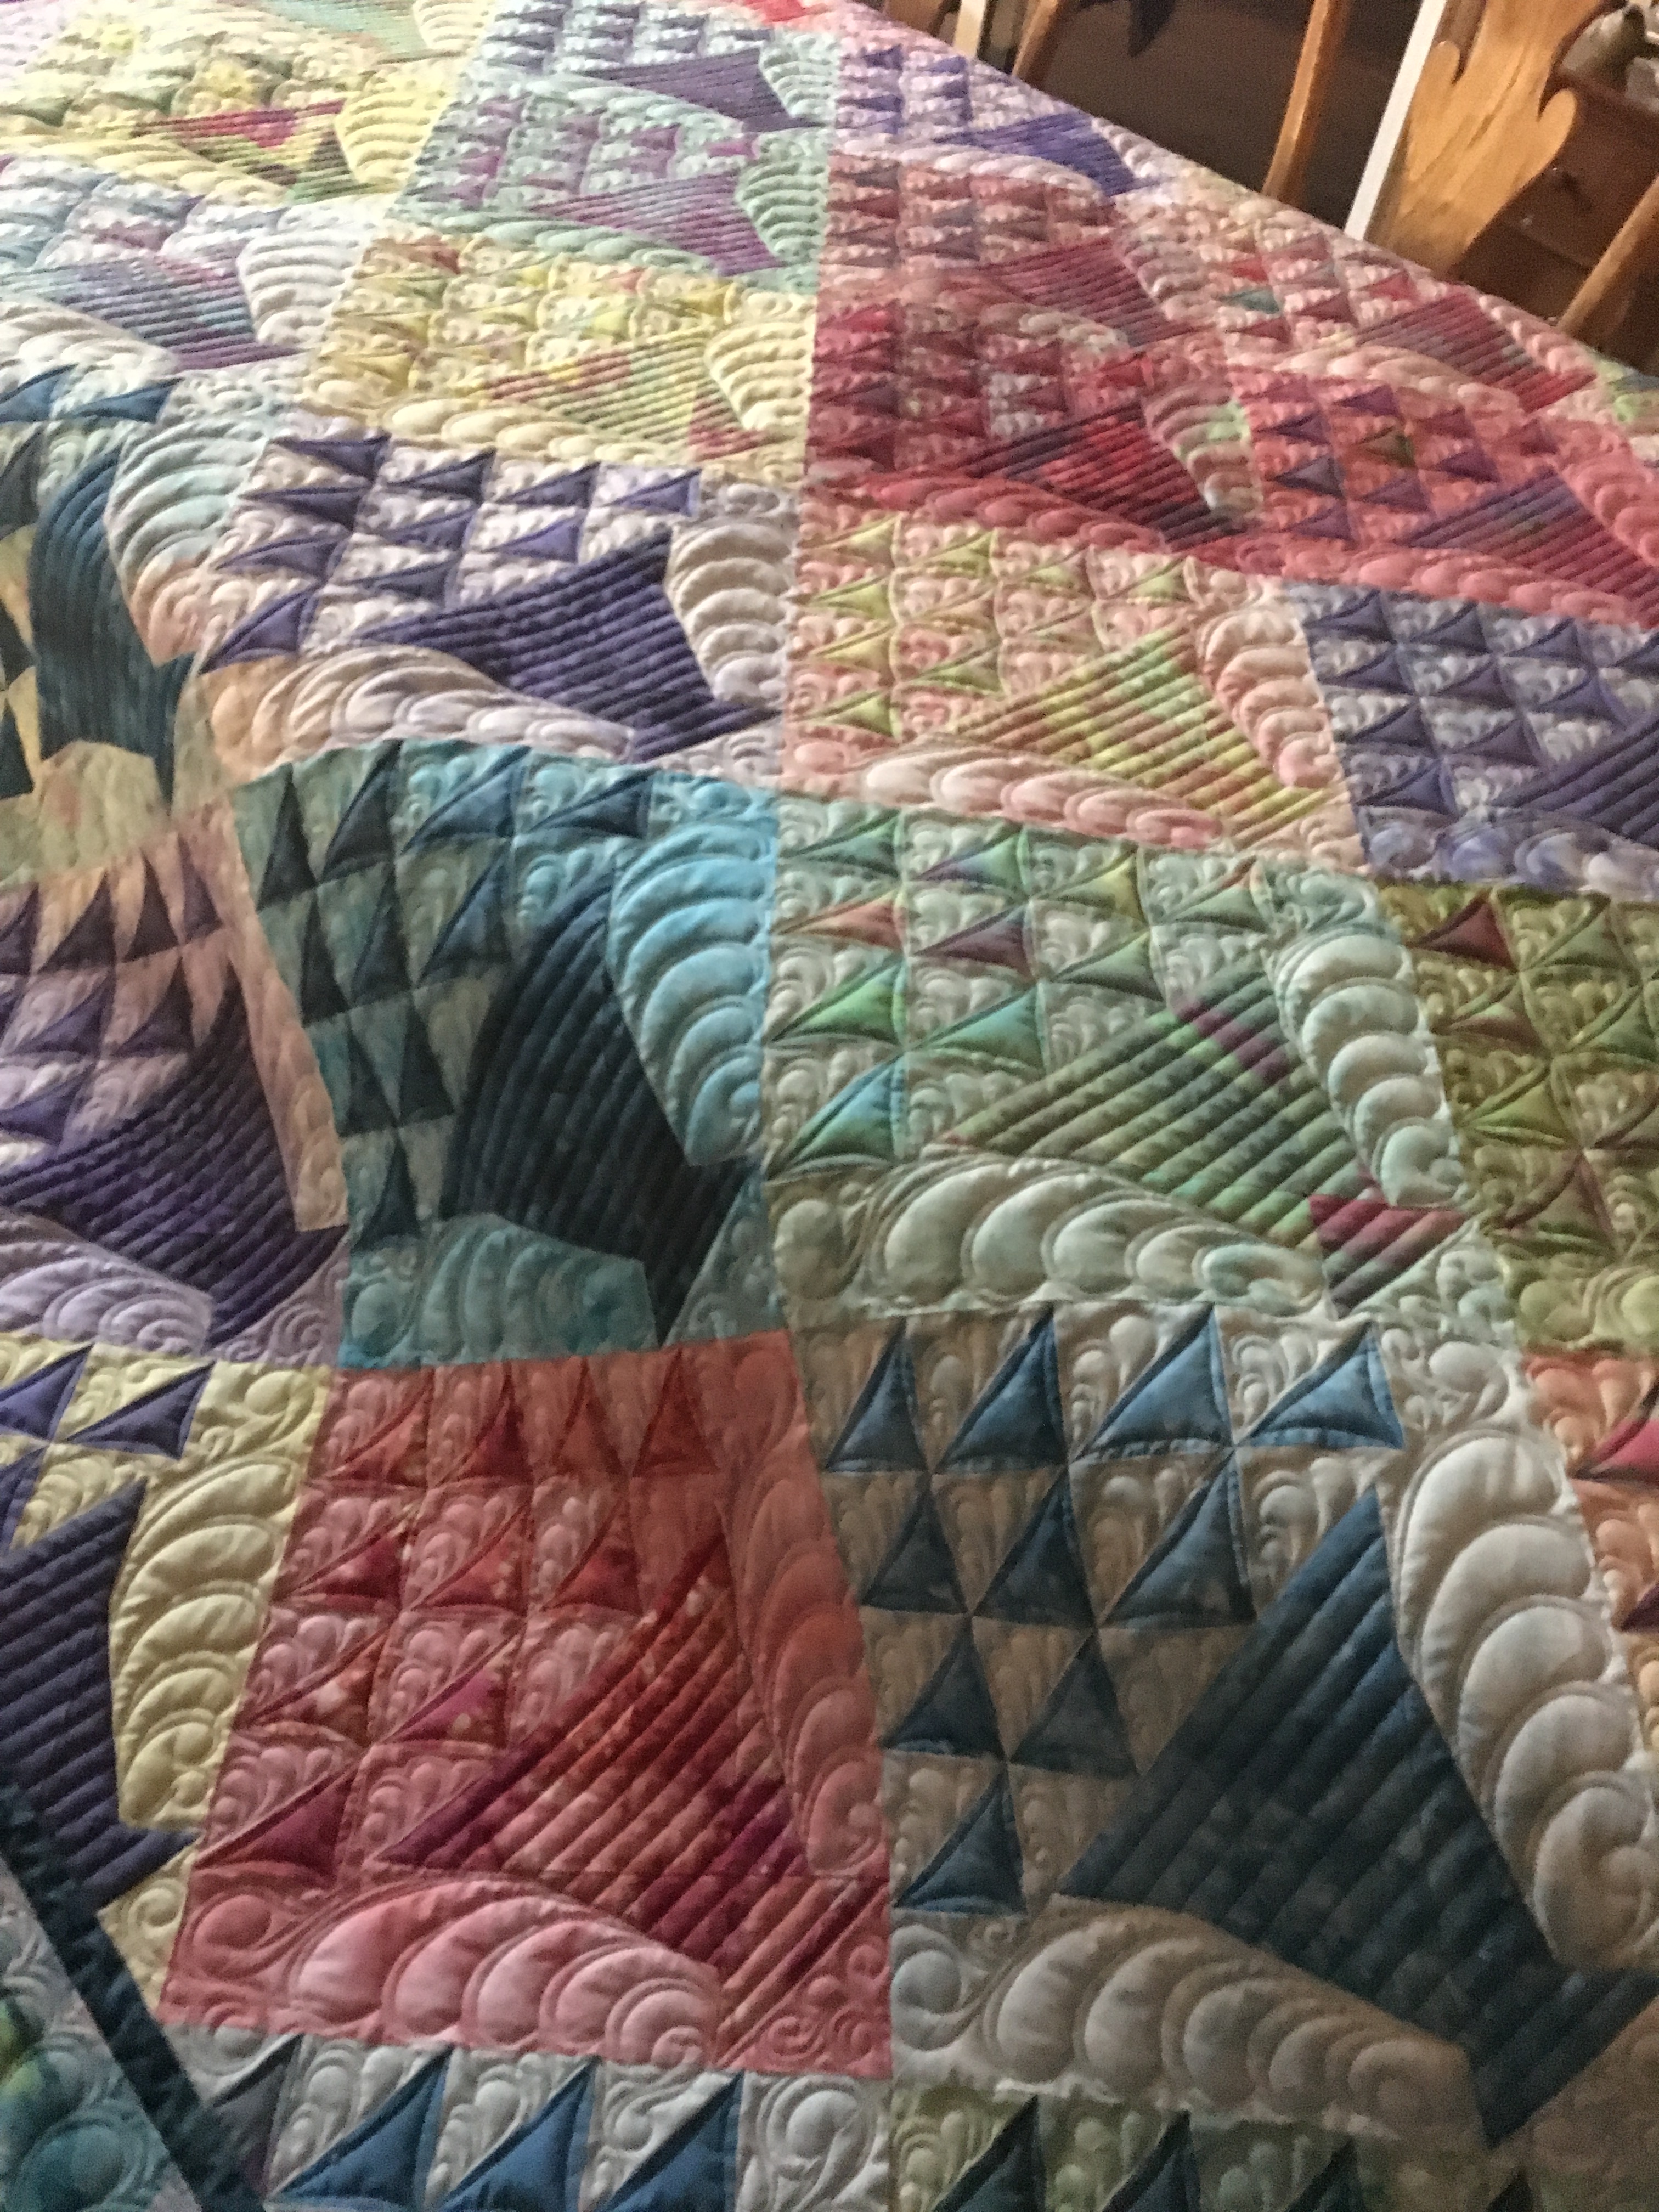
• The Sun, The Moon and The Stars

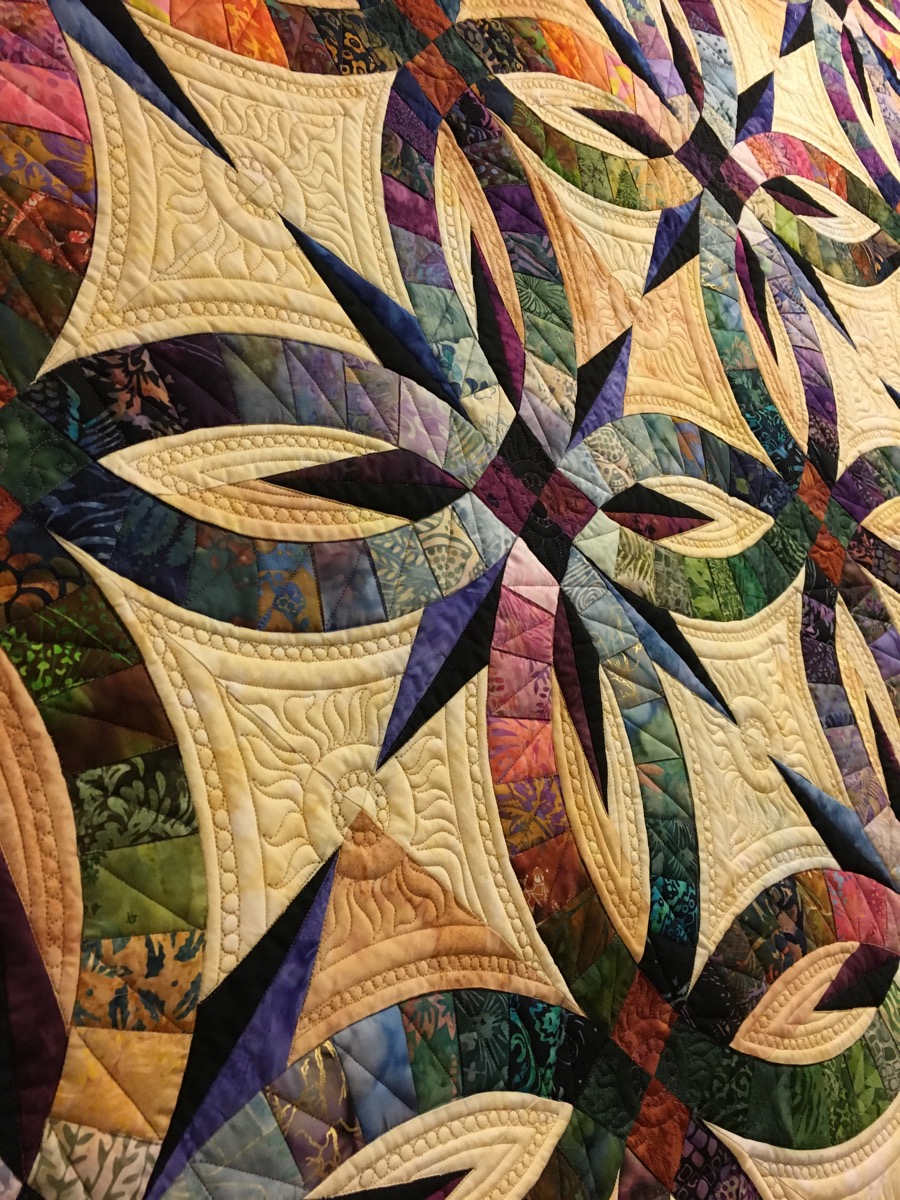
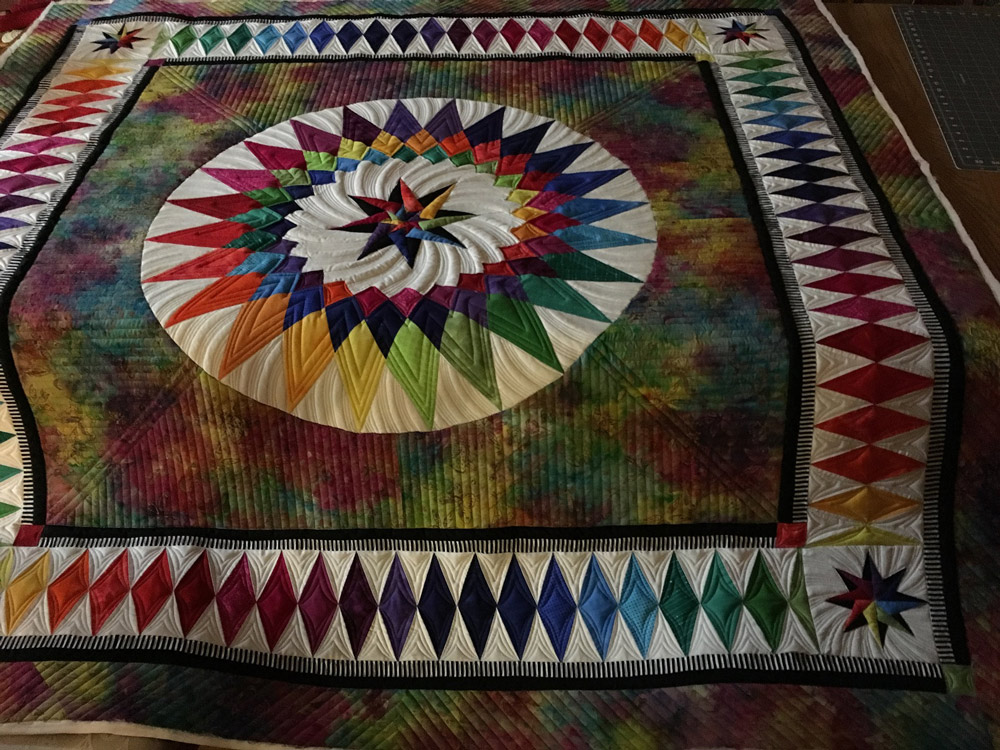
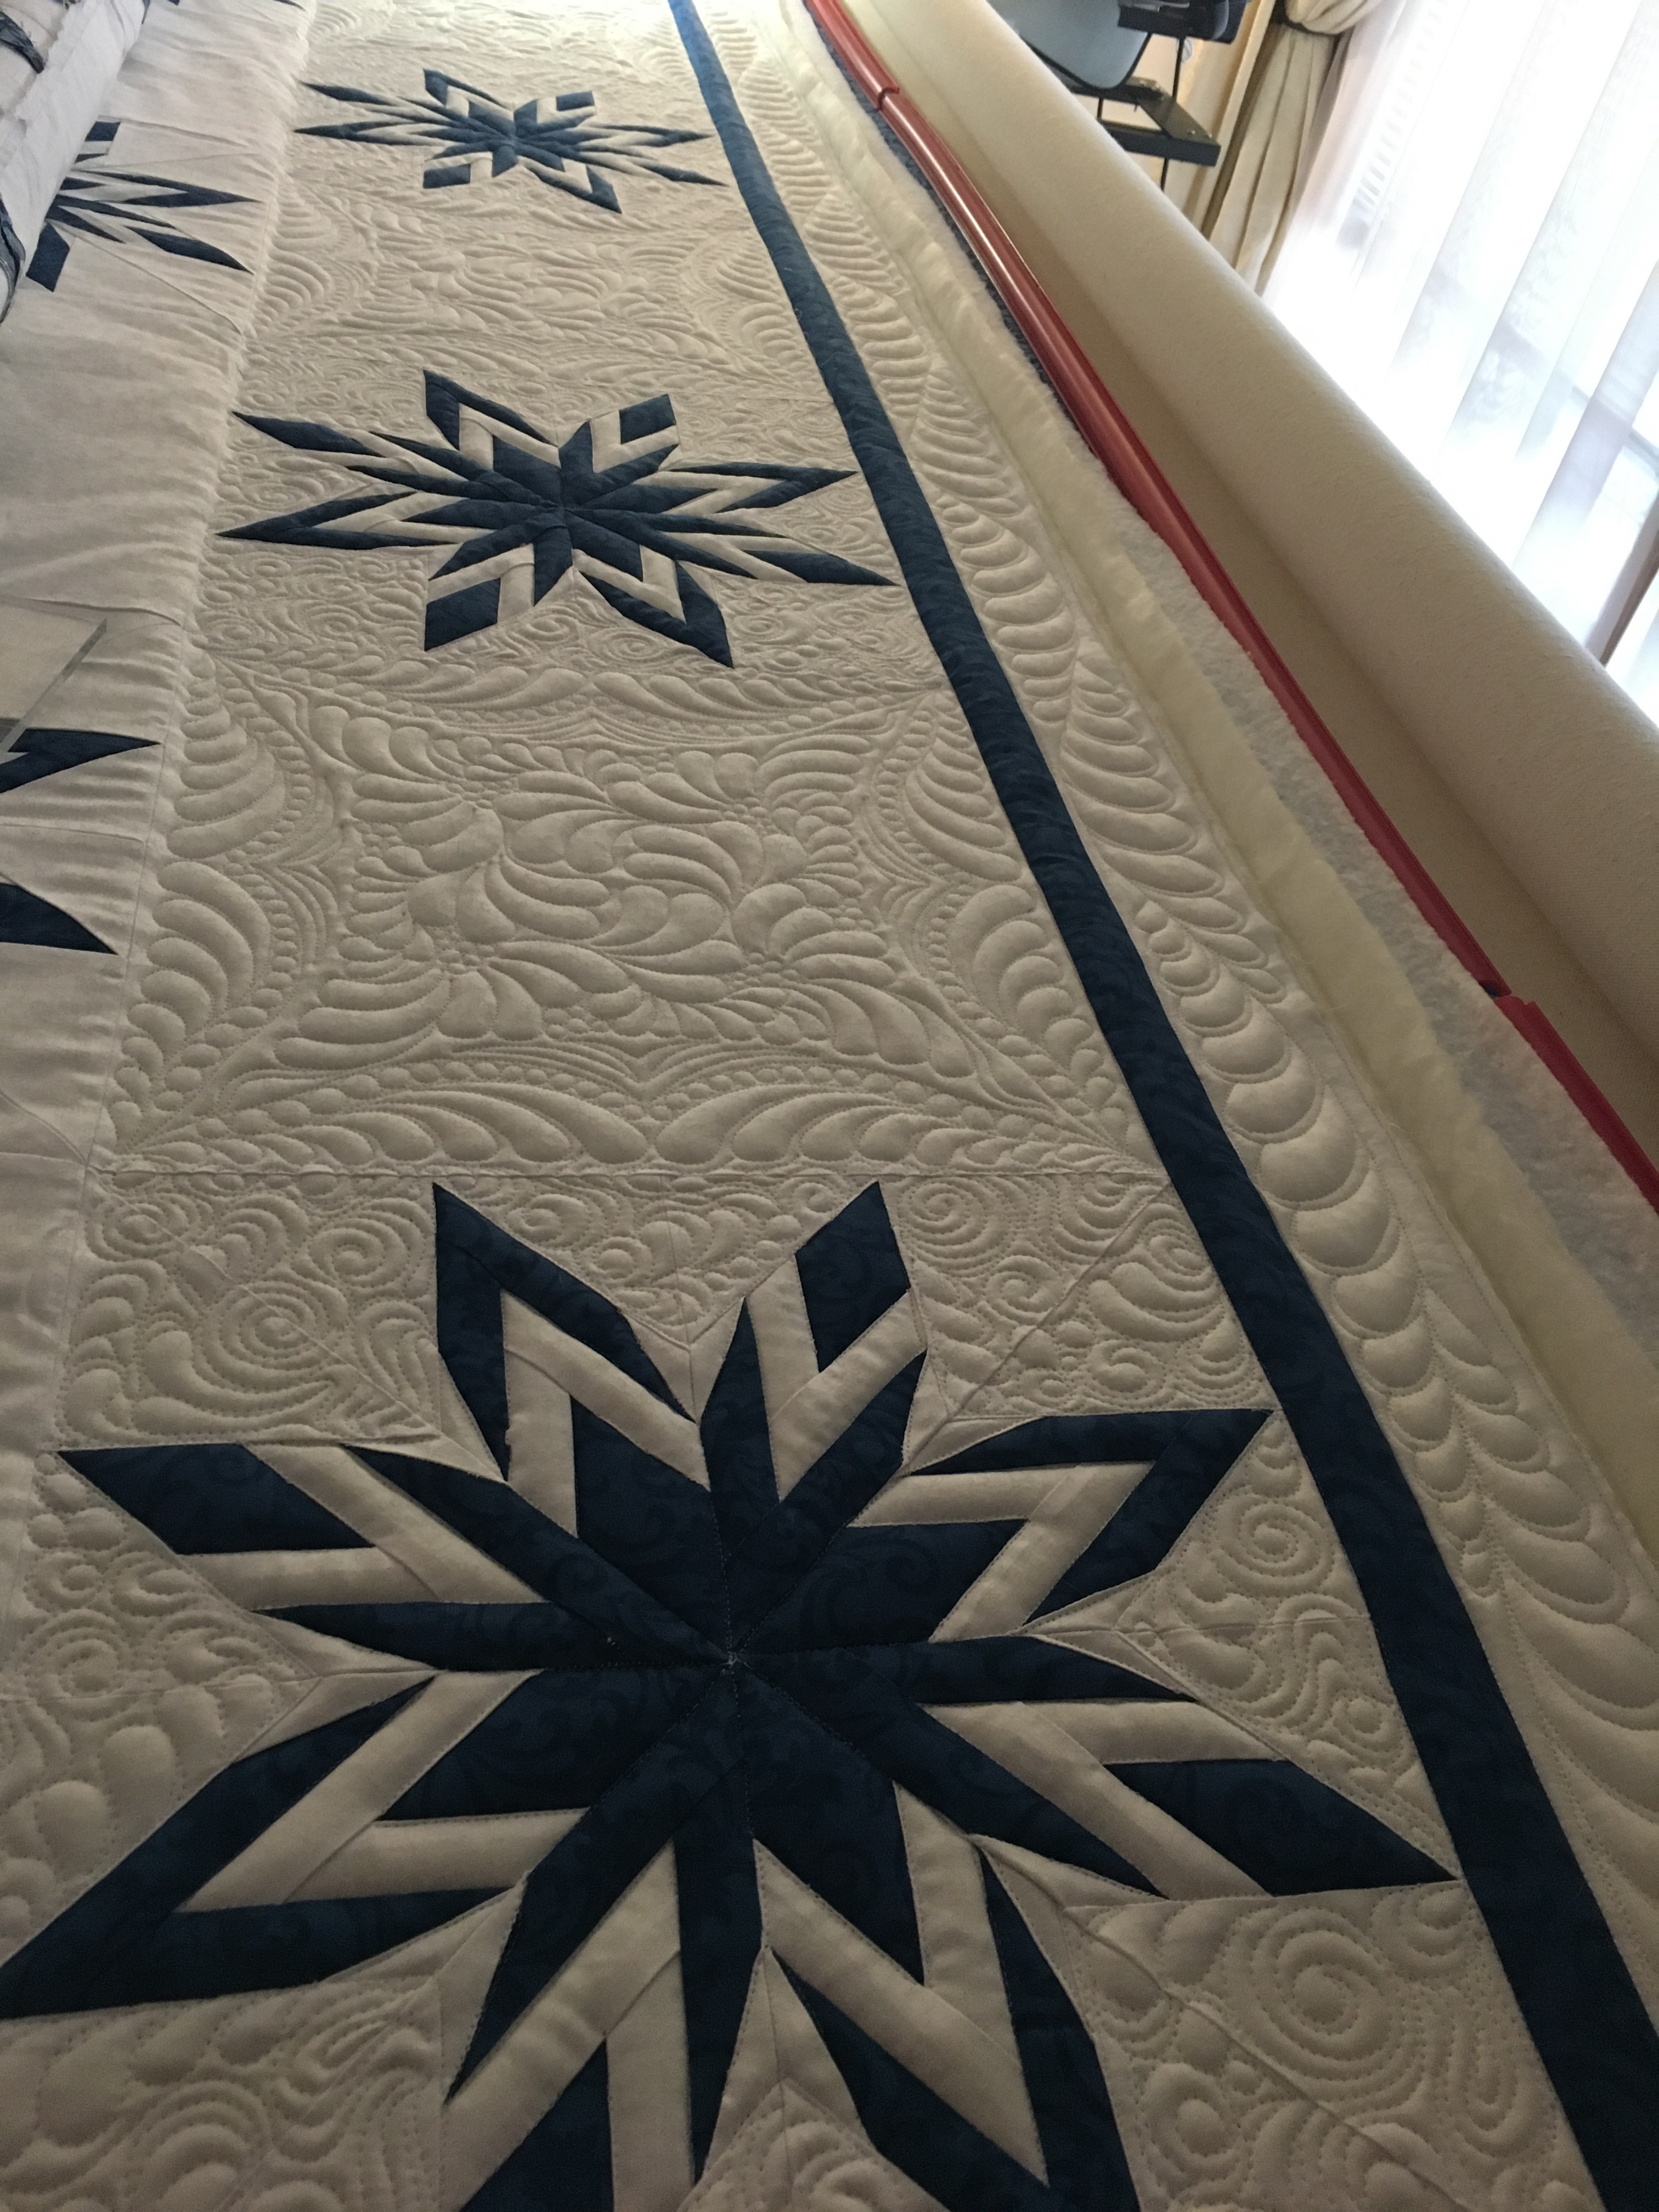
    I cannot believe I didn’t blog about this quilt!  This quilt has such a story to tell.

    The piecer of this quilt – Lorna – had been bringing me quilts for a while. Lots of fabulous quilts!  I kept telling her, “Lorna! You need to enter your quilts in a national contest!” and she kept pooh poohing that idea. Here are a couple of pictures of just two of the gorgeous quilts she had been bringing me up to this point. (more…)

  • Twirling Stars

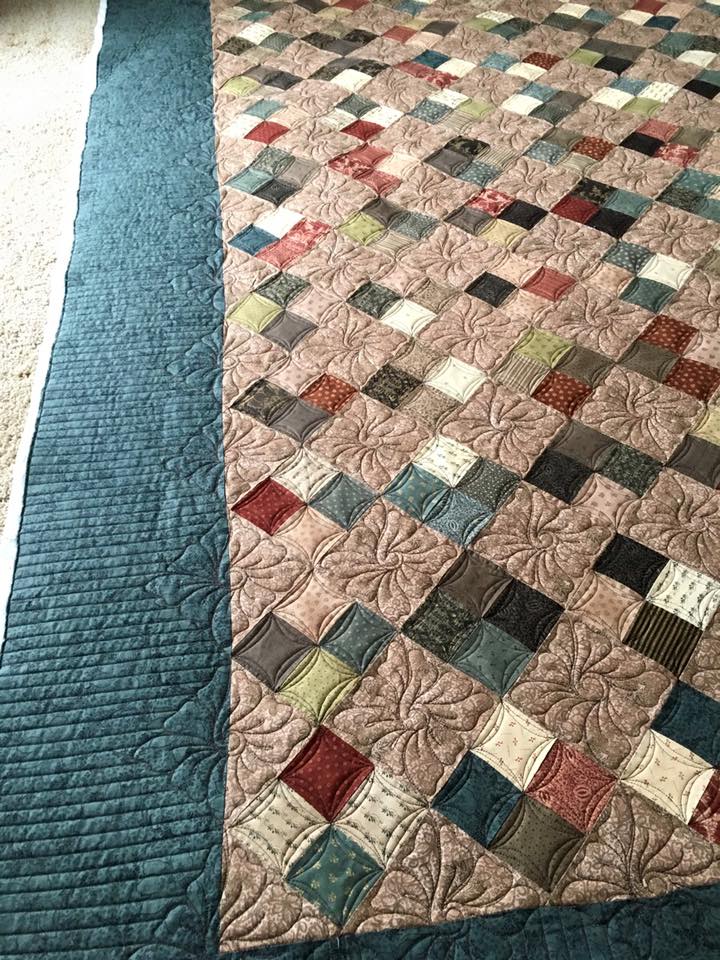
    Twirling Stars

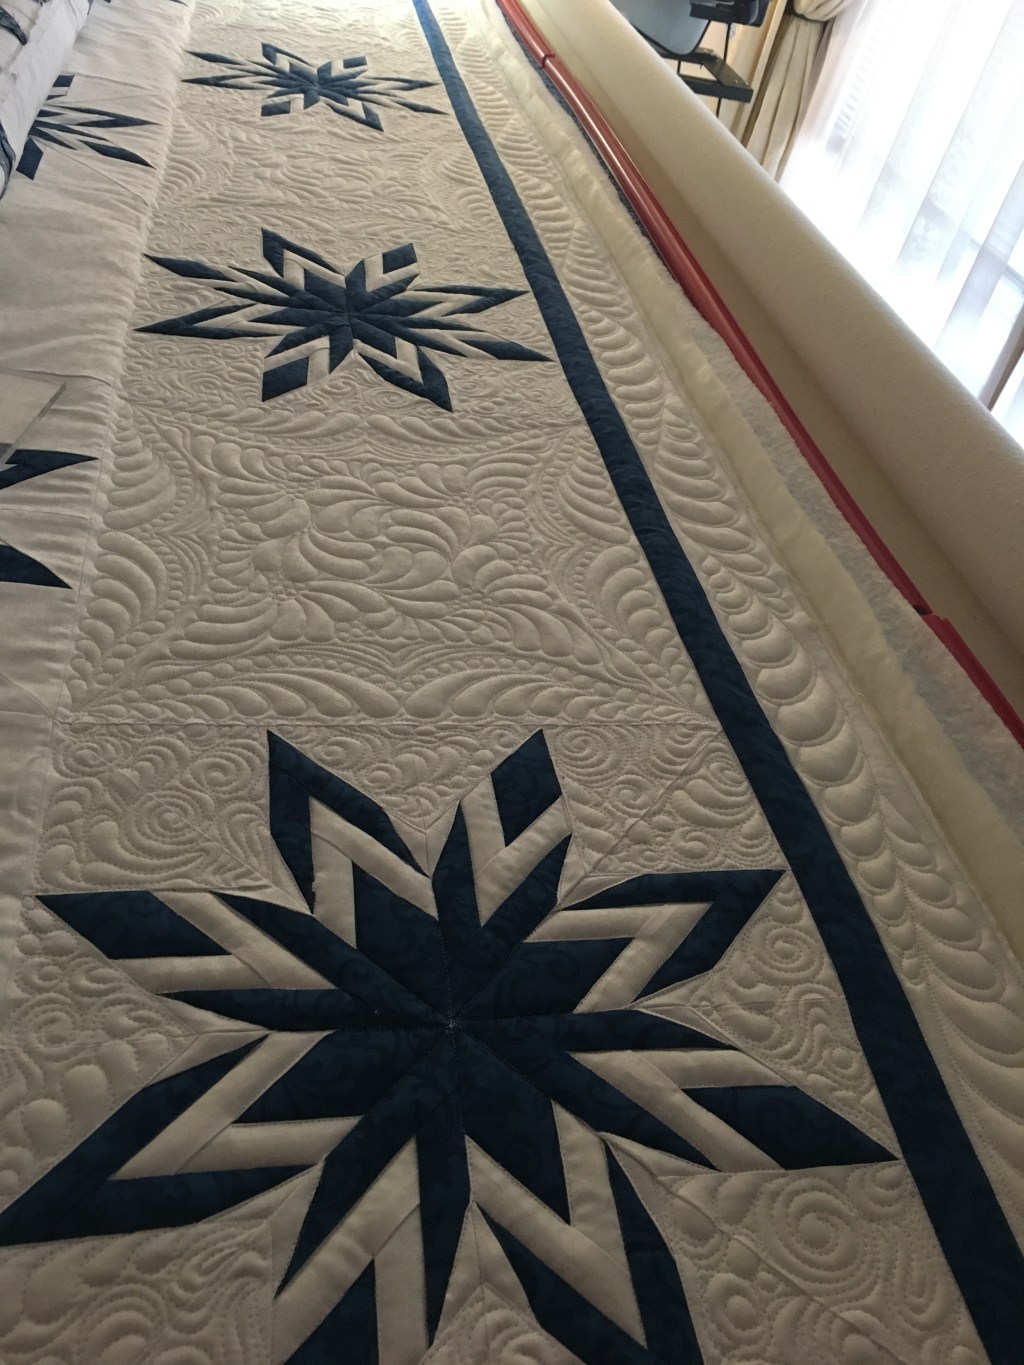
    This quilt made its way to me from Arizona. A gal is teaching this pattern (a Jacqueline de Jonge pattern) in a class at a community college and asked me to quilt it after seeing an article I wrote for Superior Threads newsletter. I studied it for a few days before putting it on my frame. It had a few issues with imprecise seams and a bit of puffiness in the middle. That is common on circular blocks or medallions like this. I bring that up only because sometimes those issues may affect the designs I may choose to apply to a quilt block. For example, if I have a double wedding ring quilt and the seams are not joined precisely, then I may elect to not SID each individual piece of the ring and instead do a different design. Sometimes that works out for the better (lots of times actually).  You can draw a person’s eye away from any tiny imperfections through the use of a good quilting motif, and sometimes the extra focus I spend on the design allows me to come up with something pretty cool. I think that was the case here. I love the movement that the rotating arcs around the stars added to this quilt pattern.  Which is why I called this quilt “Twirling Stars”! (more…)

  • A Lesson from Jamie Wallen

    I entered a contest last year on Facebook for a free 3-day class of instruction from Jamie Wallen at his new studio in Michigan City, Indiana and I WON!  Not only did I win, but the class was for up to 6 people, so I got to invite six other longarmers to join me!!  Awesome, right!!  Yes, it truly was a wonderful thing.  As many of you know, my elderly parents’ home burned to the ground in January, 2016 and I was in charge of everything that entailed from that catastrophe. I met with insurance agents, talked with contractors, designed the new house, oversaw the rebuilding process, filled out the massive insurance claim forms, ran interference with any number of stressors that come up in these processes.  I bring this up, because I found out I won on July 1 – the day I was helping my parents move into their new home!  I definitely had lots to celebrate that day! (more…)

  • WIP Wednesday 
  • I’m Swooning!

    I’m Swooning!

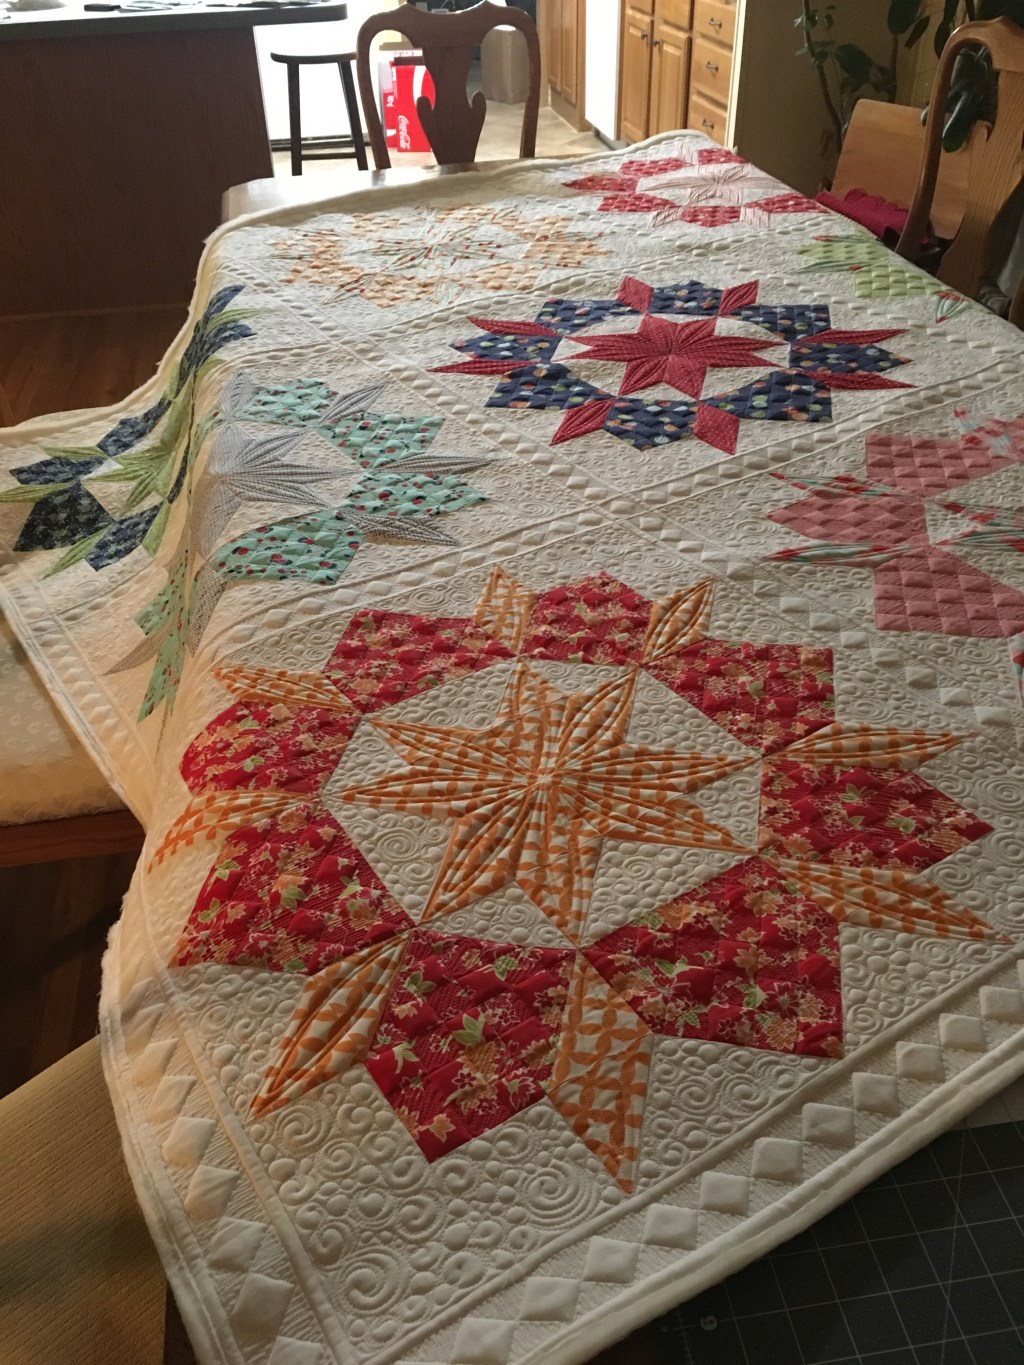
    I’m swooning over this Swoon Quilt which was pieced by Thelma (@thelmacupcake on Instagram and www.cupcakesndaisies.com).  This was the first quilt I had done for Thelma and I’m in love with her quilts already.  I loved the Moda fabrics she chose for the pattern by @thimbleblossoms (www.thimbleblossoms.com). The best part of doing longarm quilting on other quilters’ tops is the opportunity to see fabric collections and combinations put together in patterns that I might never have seen otherwise. This is a good example of that.

    Thelma had some specific ideas on the types of quilting she liked and disliked. I do try to get feedback from the piecer whenever possible. I always ask “what would you like to see” on your quilt? Or “is there any design you absolutely hate or absolutely love?  In this case, she did not want feathers and she did not want a secondary design. She liked linear and geometric designs and pebbly fills. She brought some photos of swoon quilts and pointed out the things she liked and disliked on each of them. That kind of guidance is key to making a good relationship between piecer and quilter, I think.  My first instinct was to go to a secondary design – those intersections are ideal for that type of quilting design. But “no secondary design” kept echoing in my head!

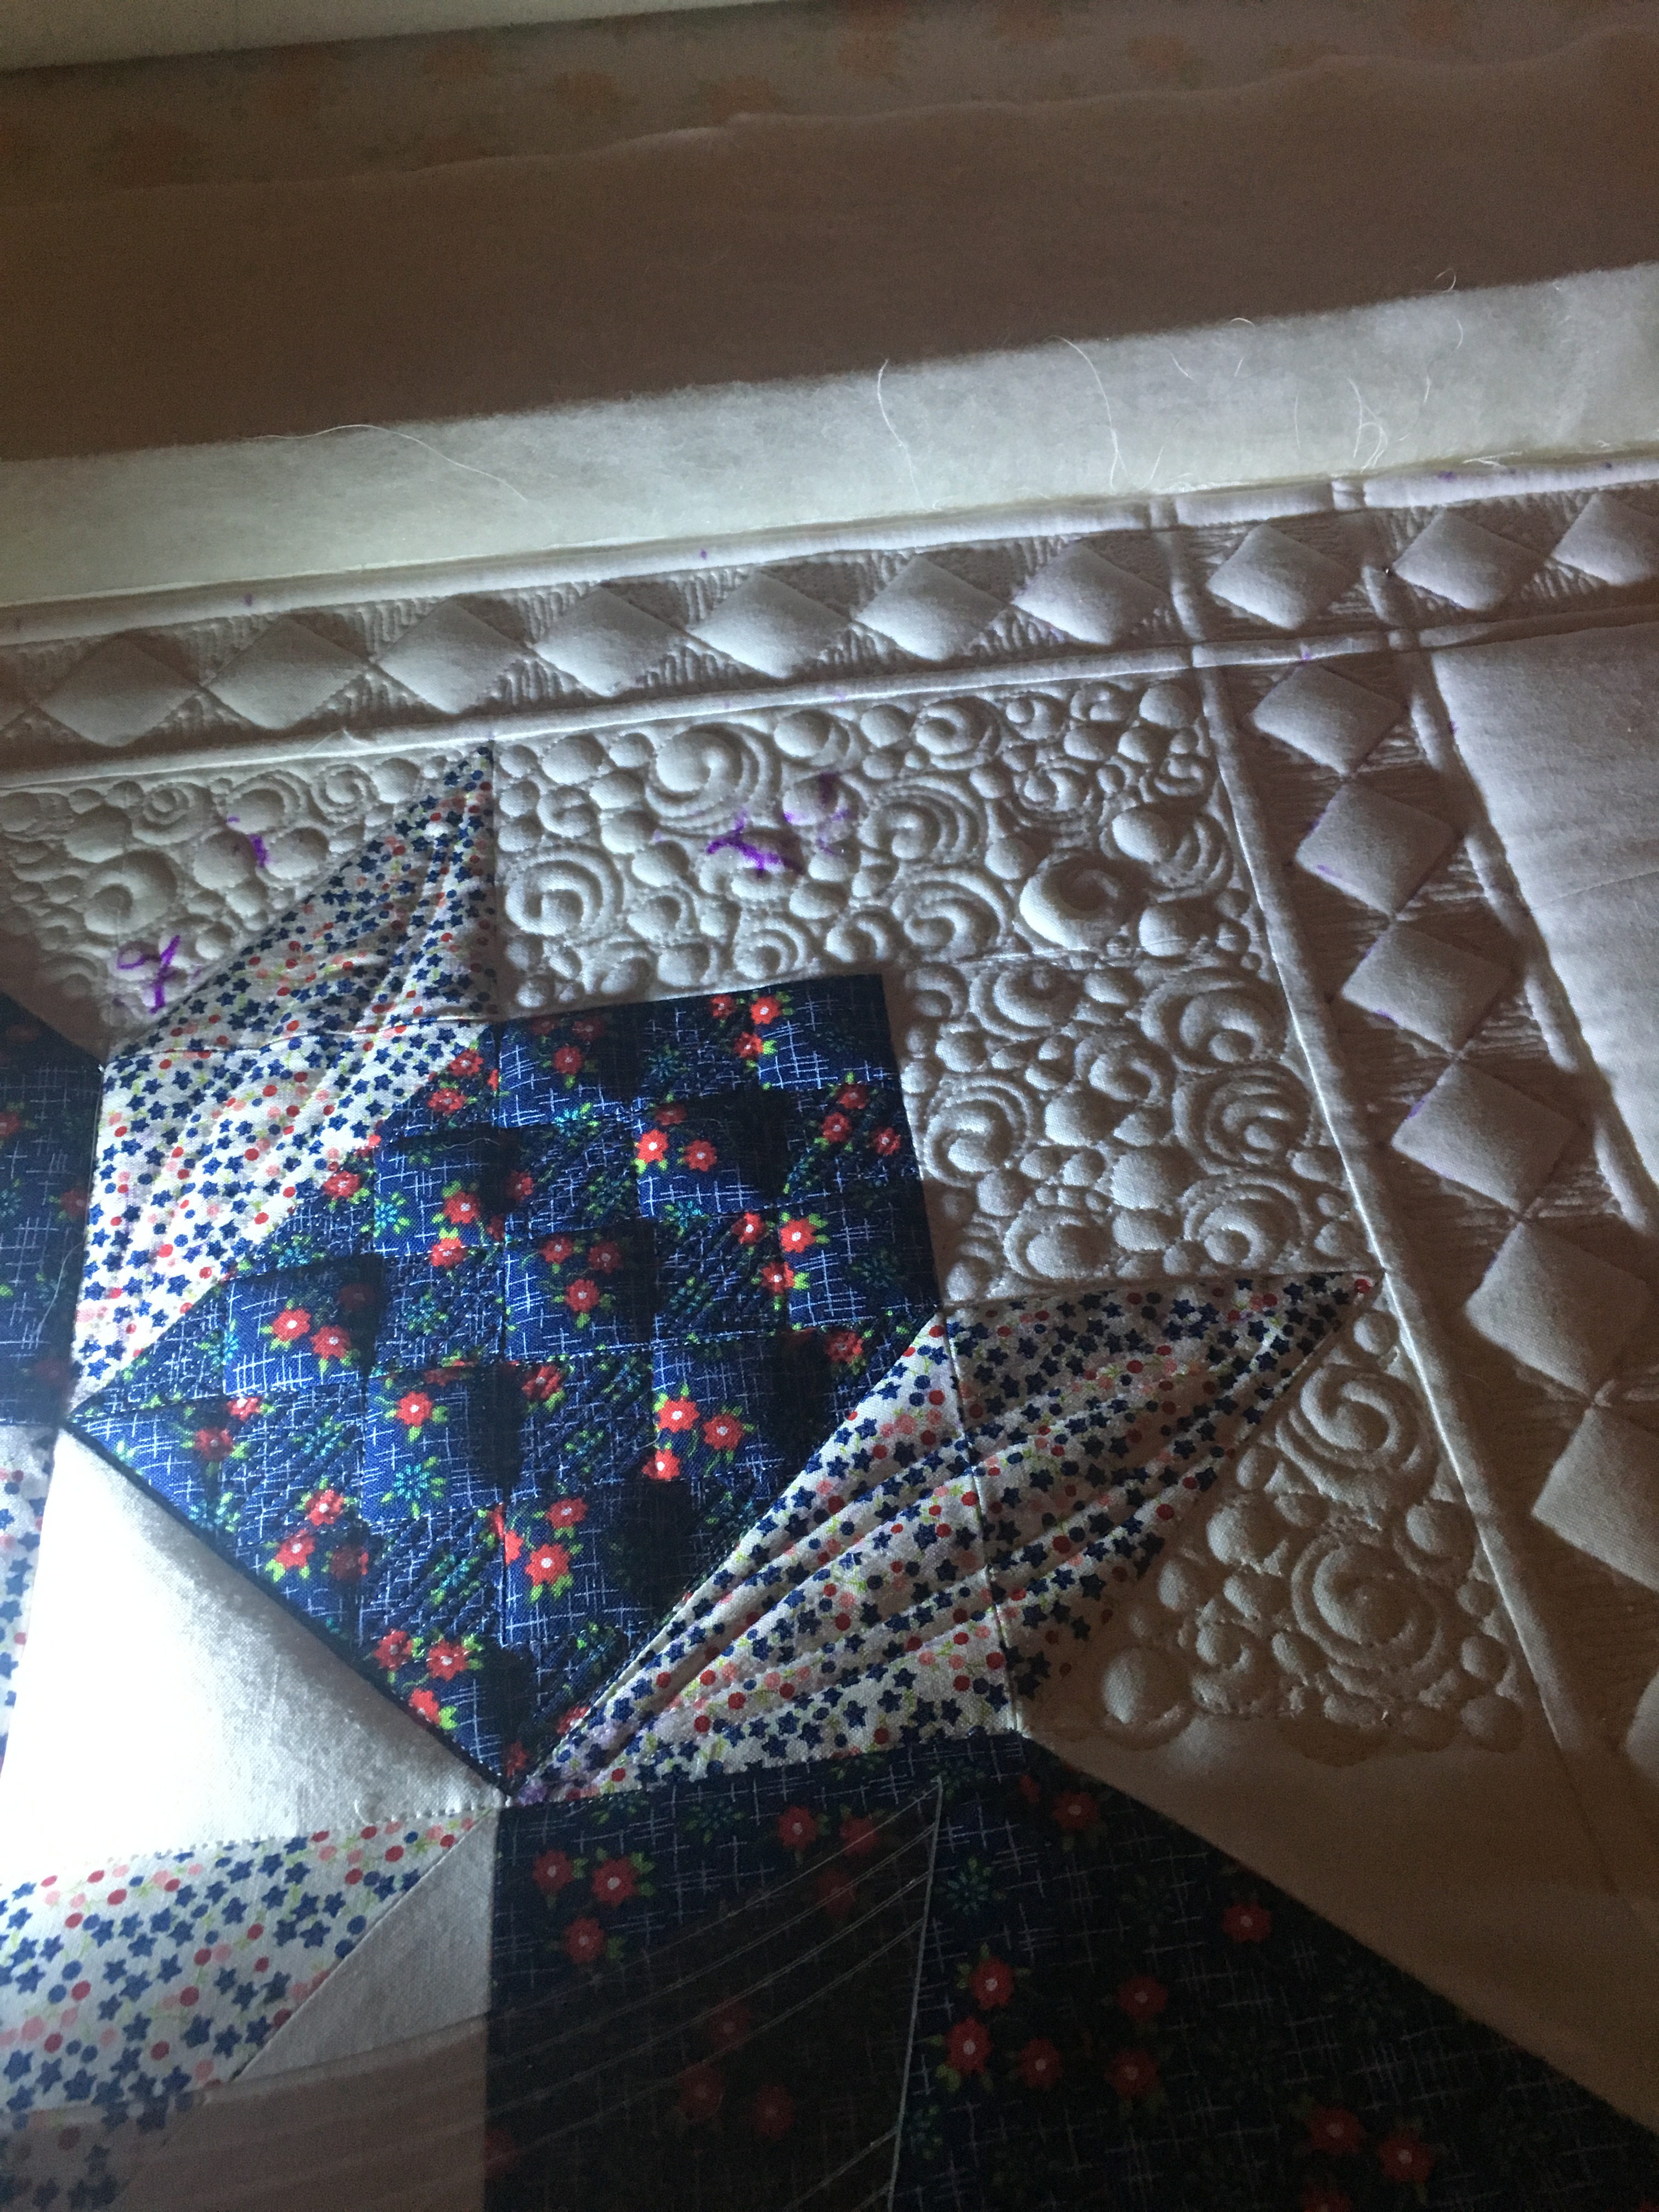
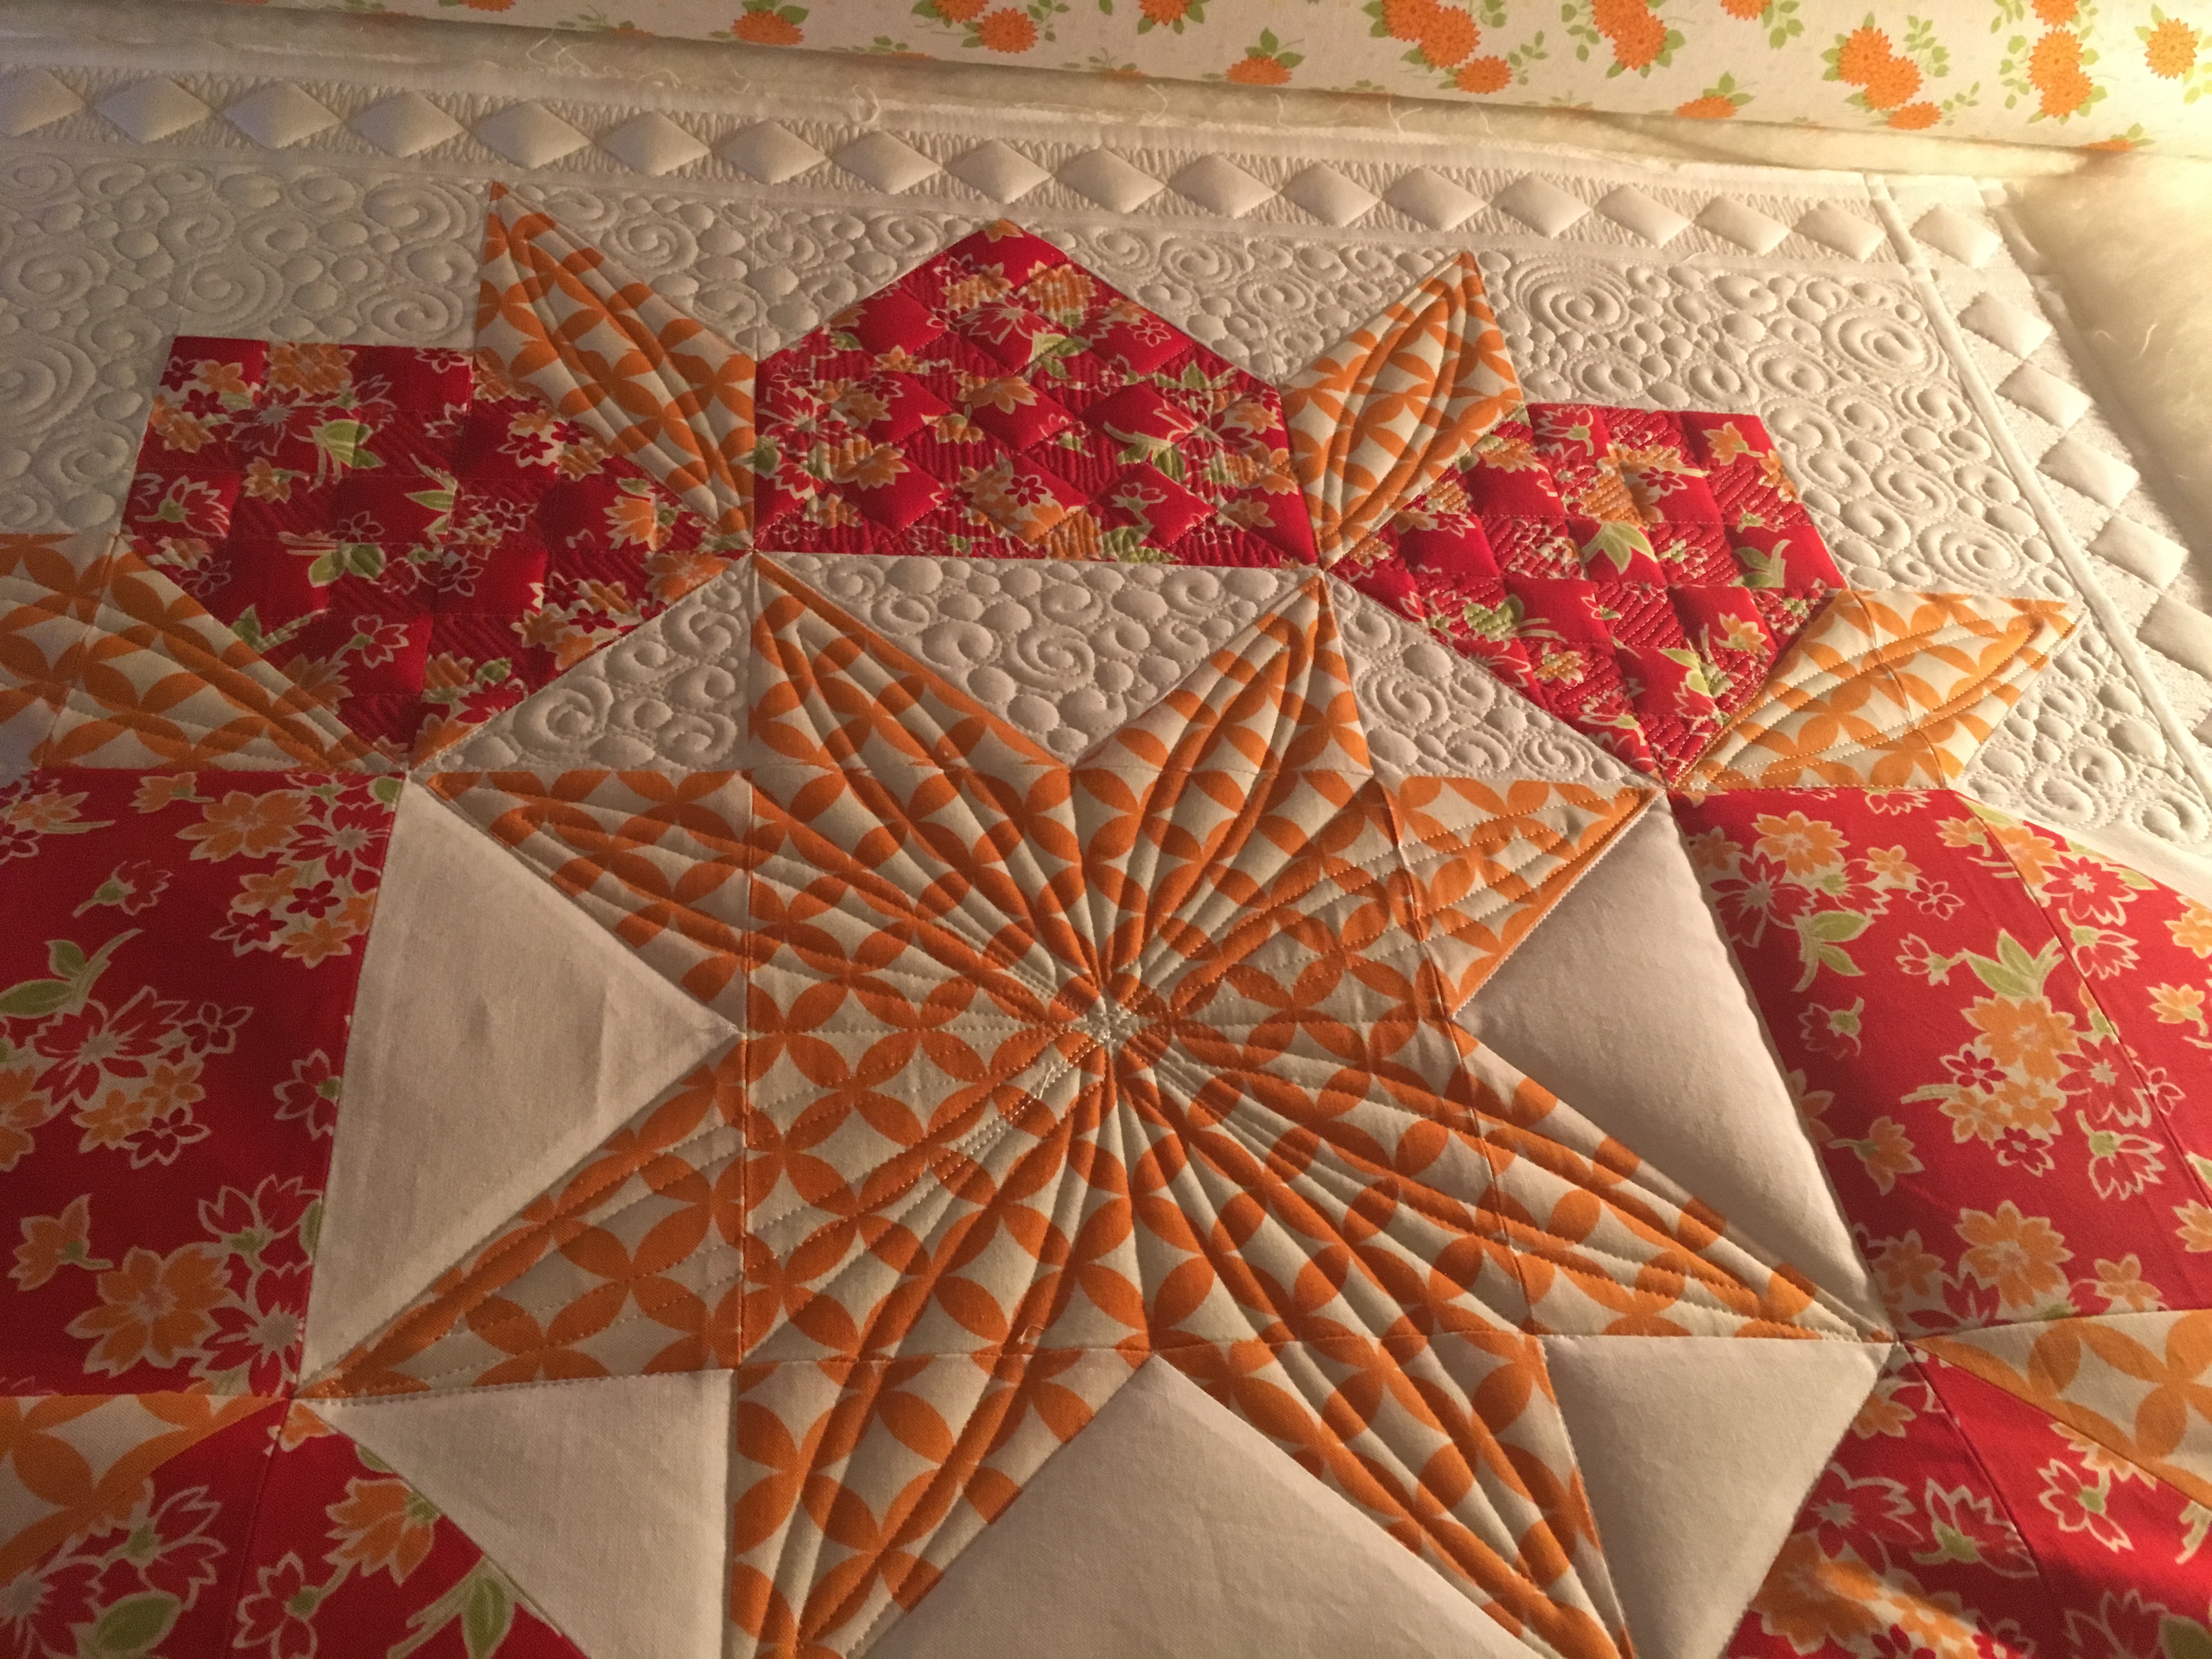
    I also thought I’d help make those swoon blocks pop (another stated preference) by echoing 1/4″ to 1/2″ around the perimeter of each swoon block. After numerous auditions of designs, I abandoned that idea as unworkable as I needed that space for the sashing design. I did think about doing a design that interacted with the sashing design, but also abandoned that idea. I finally settled on something relatively “simple” as a checkerboard pattern on point. Once I had settled on that idea, I then tried to determine how I could bring that design into the Swoon blocks to create a cohesive design. Repeating that checkerboard design on the Swoon (petals) brought the sashing design into the body of the blocks. To break up that geometric design, I used a simple curved design in the “leave” of the swoon blocks, and repeated that in the center star.  I thought that was a simple and effective way to highlight those blocks.

    We discussed background fills and she had expressed a liking for a pebbly texture. That much background space needed some variation in size and design so as not to become too boring. I used a variety of pebble textures in a variety of sizes and coupled that with large swirls. This type of background fill goes fairly fast, actually.

    Particulars: Quilters Dream wool over Quilters Dream 80/20. I wanted that texture to pop out on the blocks and in the sashing and this combination helps achieve that texture. I love Quilters Dream batting!! I used Superior Kimono silk thread on top and bottom – mainly because I thought I had enough of that particular color in the weight I needed.  I unfortunately ran out and had to wait a few days on new thread to come in. (Yes, I, with  my two big cabinets full of thread, ran out of thread!!)

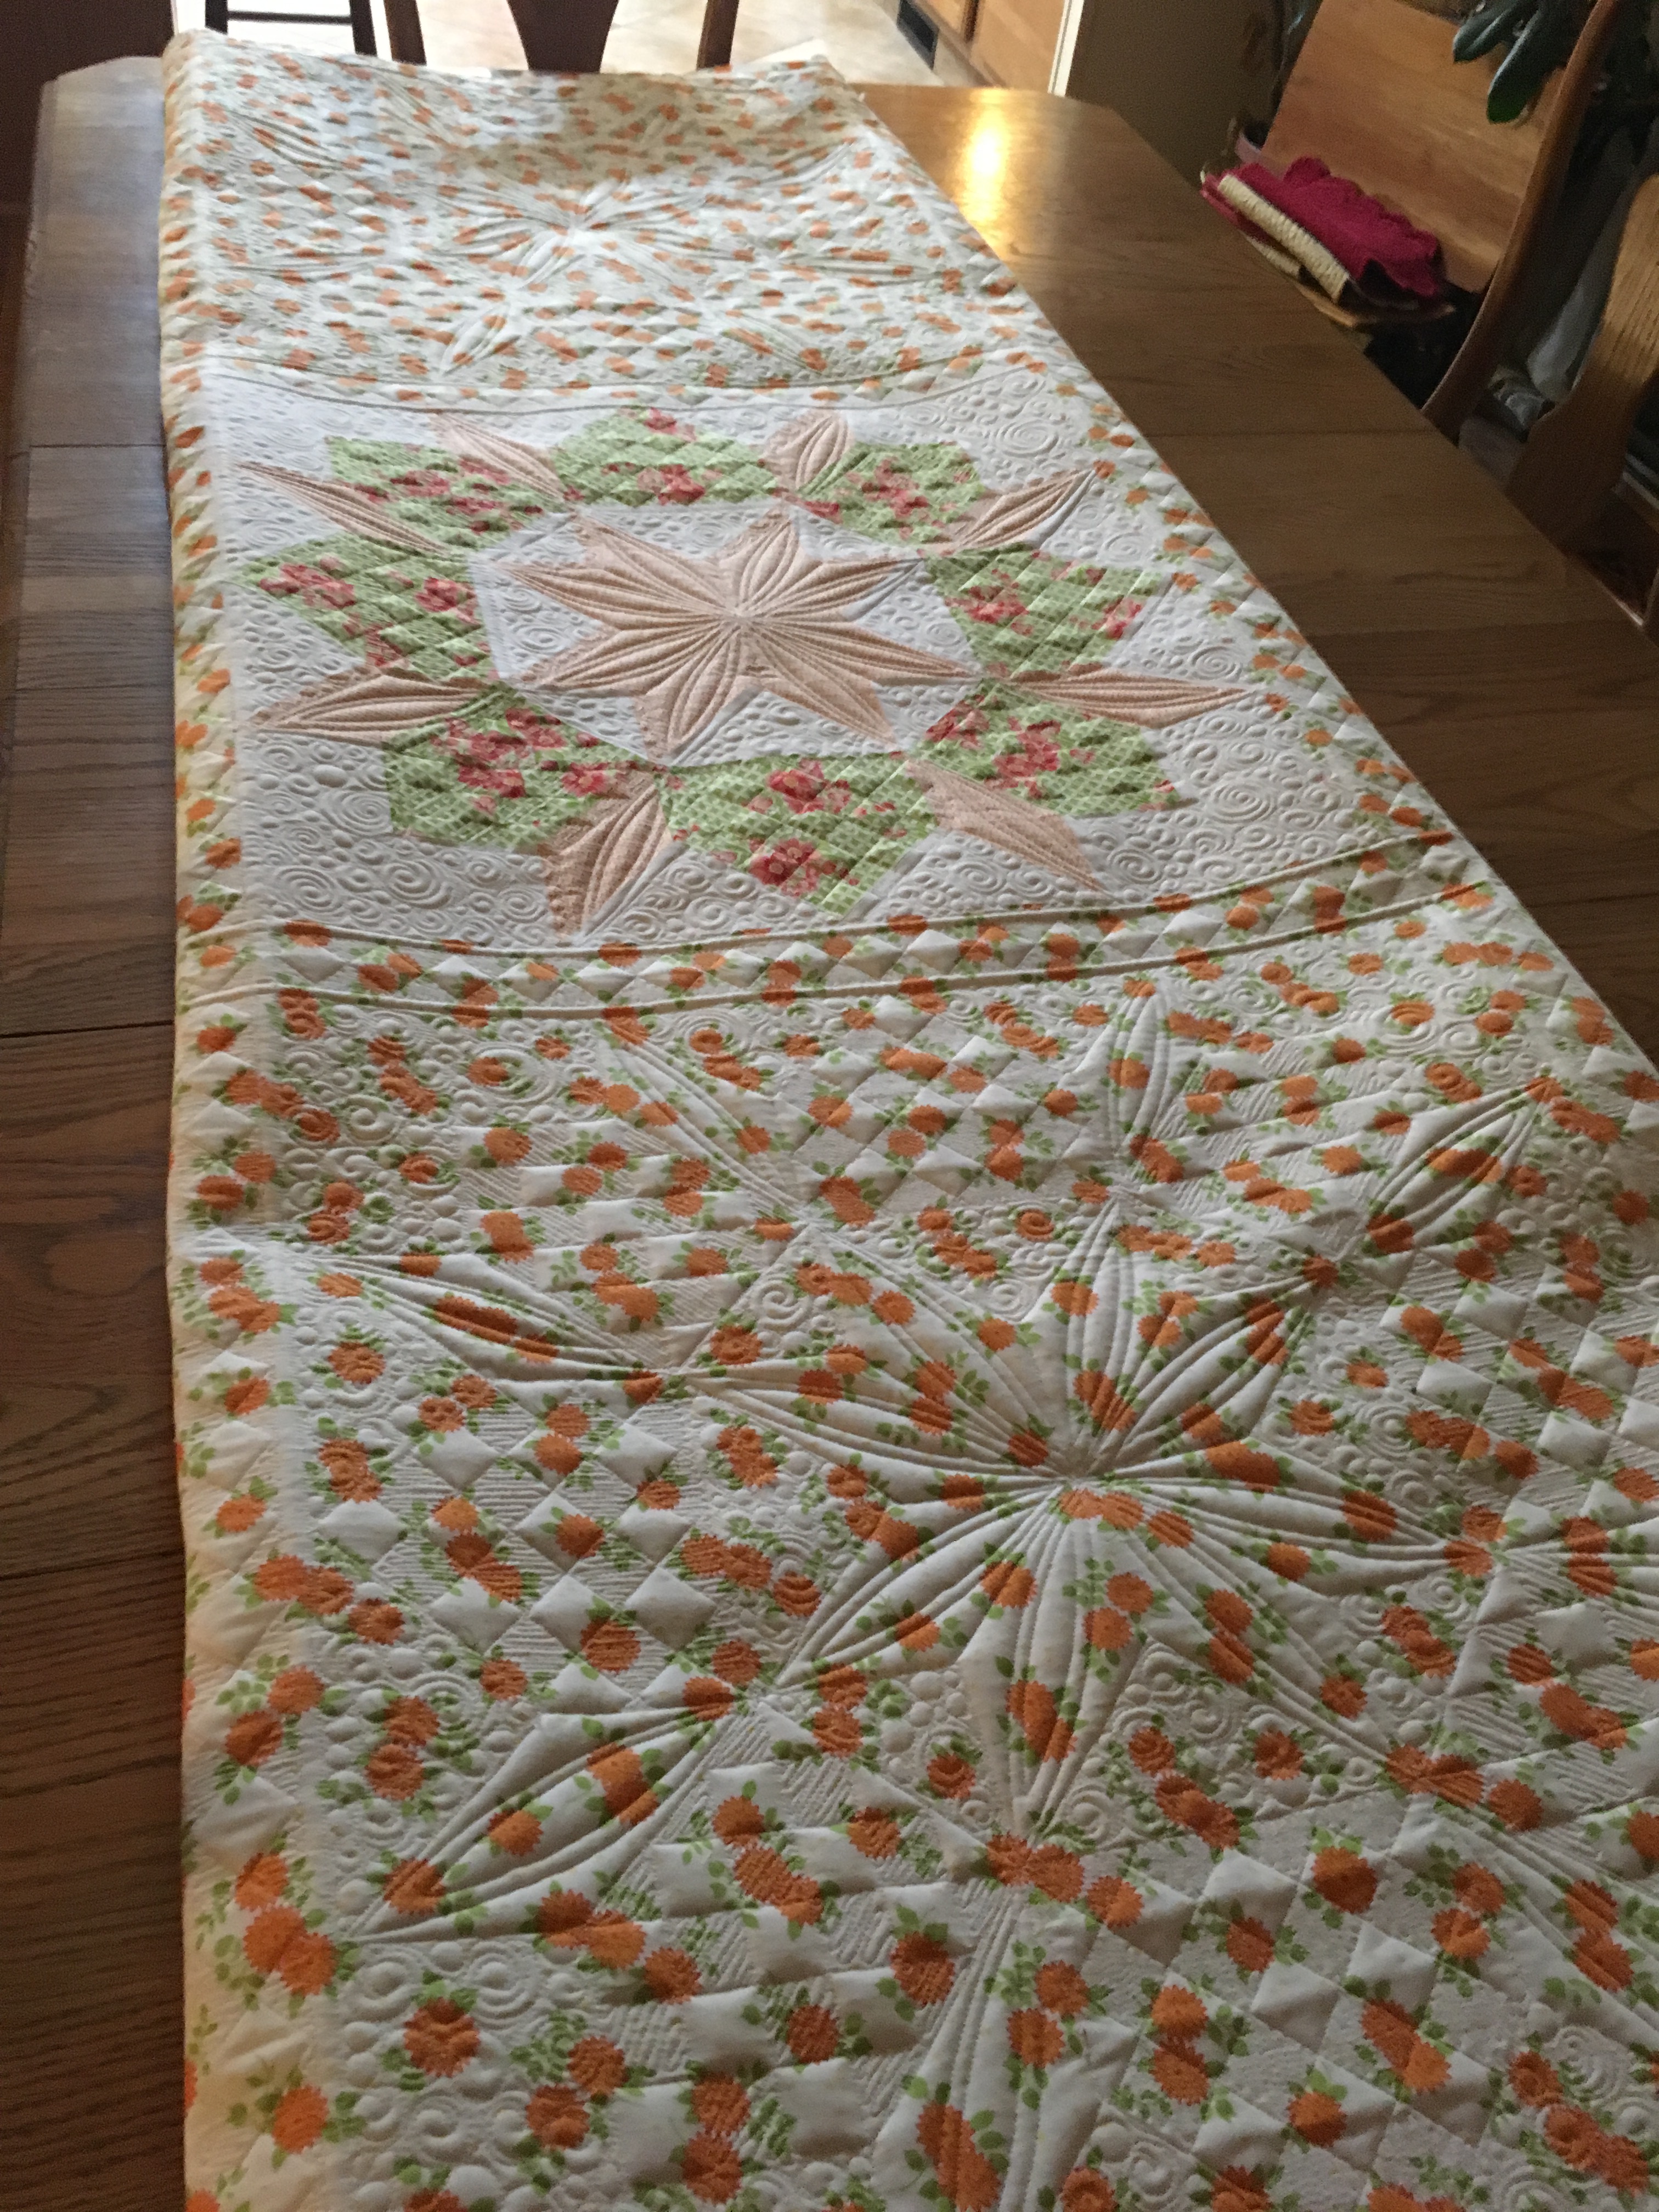
    Also, please take a look at the backing fabric. She placed a leftover block in the middle of the backing fabric. Anyone who has ever tried to center a quilt back on the frame knows how hard that is to do, and I’m tickled I got that close!  I’m only off 1/2″ on the centering of that block!

    IMG_5531
    On the frame – showcasing that yummy texture!
    IMG_5539
    On the frame – stabilizing by SID as I go.

    2017-03-12 21.12.432017-03-12 21.13.562017-03-12 21.16.15

    2017-03-12 21.14.30
    Look at the centered block on the back!!

    Video alert! I did videotape myself quilting this. I just purchased a camcorder and was experimenting with camera placement and how to operate it. I need to edit some of the videos, but do plan to upload those videos soon to show how I marked this quilt and quilted it.

  • I got notice yesterday that a customer quilt I had quilted last year was juried into the AQS Paducah 2016 Spring Quilt Festival this year. The quilt was entered as a group quilt – with Illene Tucker being the organizer of the quilt, and Jan VanBokel adding custom dyed fabrics and me doing the longarm quilting.

    At the time I quilted this, I did not realize she had plans to enter this in national shows. I think if I had realized that, I might have quilted this differently.  That said, I do love how it turned out and so do Illene and Jan. I especially love the fabrics included in the quilt and Illene did an expert job in piecing the top. I think we decided on the name of Watercolor Baskets, but I might have that wrong. We got together and brainstormed to name it.

    If you’re in Paducah for Spring Festival this year, look me up. I’ll be making a quick day trip (probably on the last day of the show) with a couple of friends.

    2016-11-10 18.56.582016-11-10 18.58.202016-11-10 18.59.162016-11-10 18.59.52

  • Video Tutorial – continuous motifs

    I made my first ever longarm video tutorial last year. I’m just now getting around to posting it here however.  This was made to show someone how I made continuous flowers/feathers in a block formation.  This is good for use in an e2e setting or as an easy custom e2e pattern like shown in this quilt.  I have received several requests for more videos (and better quality ones), so I bit the bullet and ordered a camcorder that will work better than my smart phone propped up on my quilt. So stay tuned for more videos to come.

  • Beautiful Applique

    Beautiful Applique

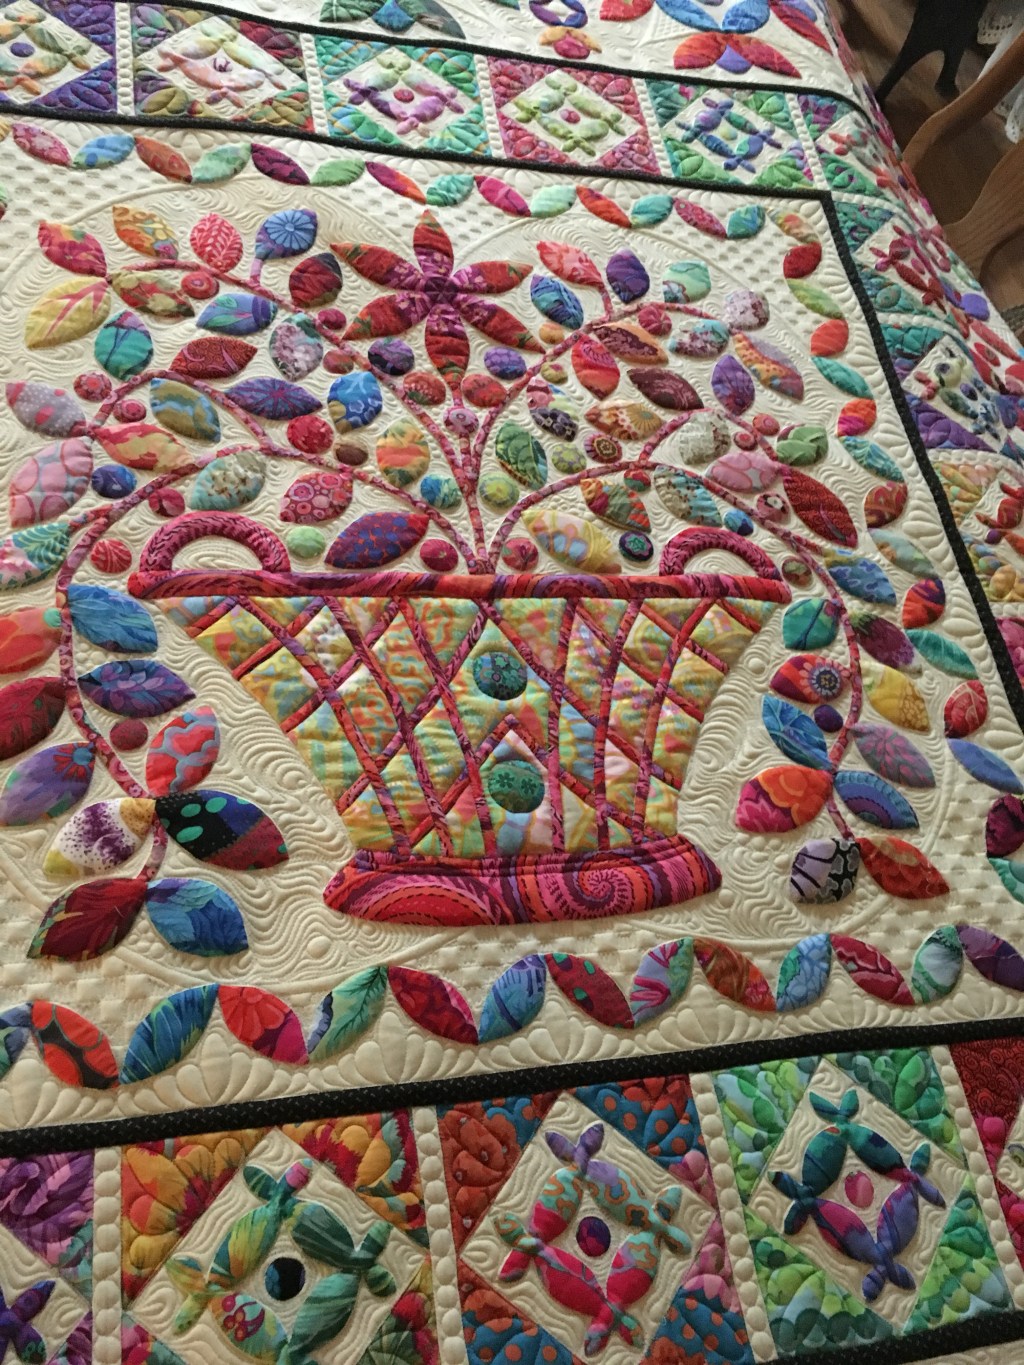
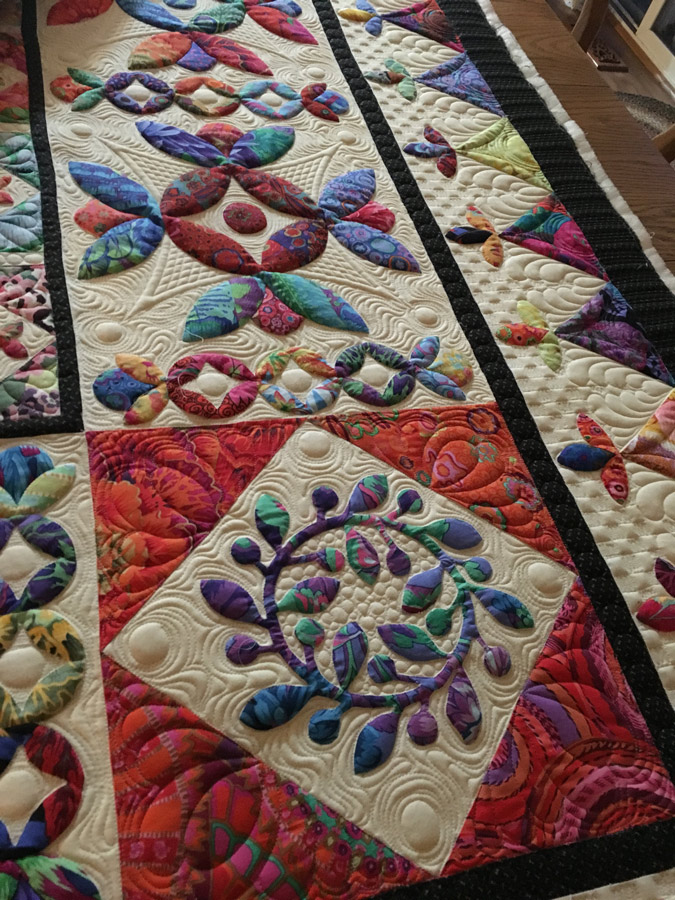
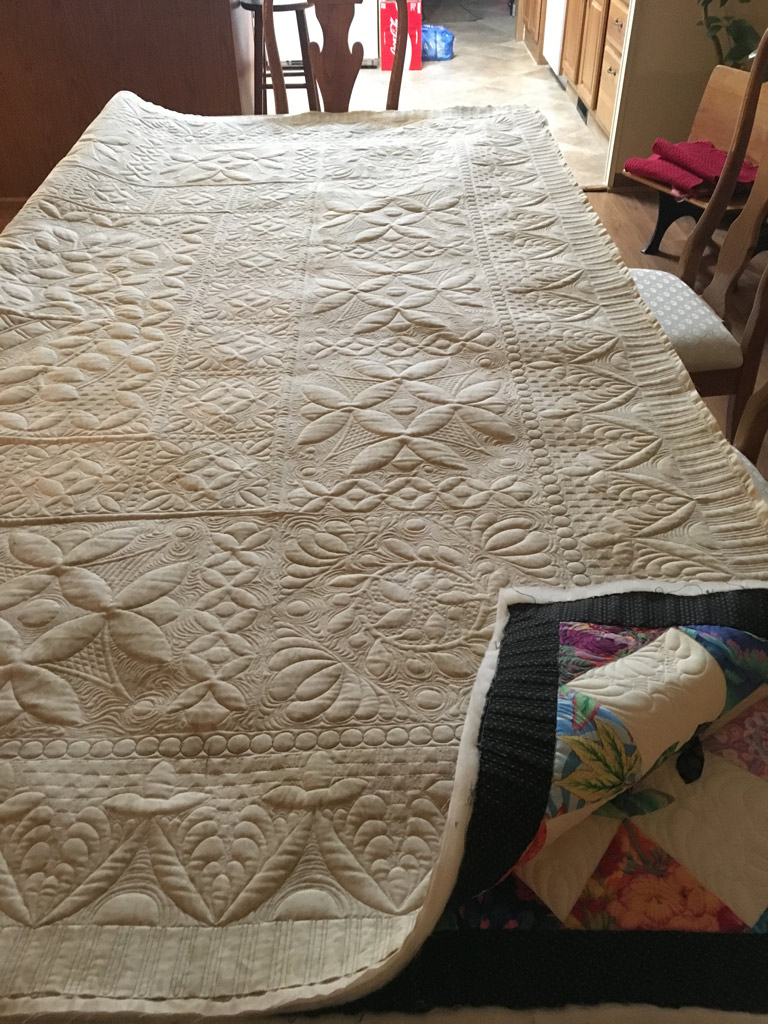
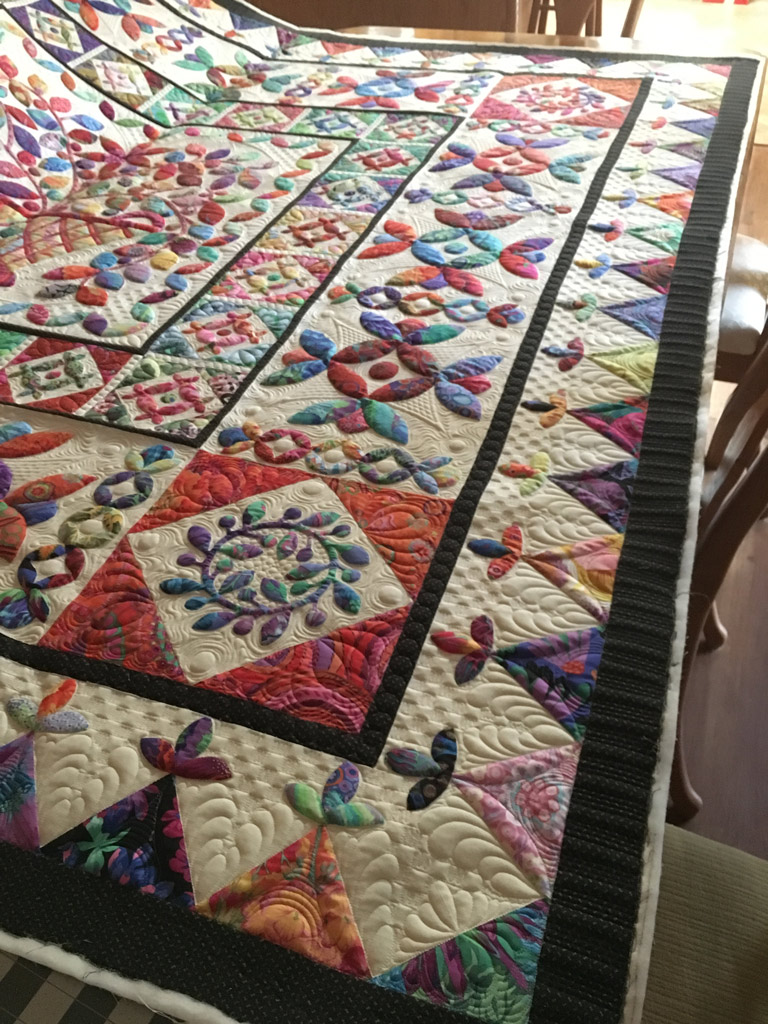
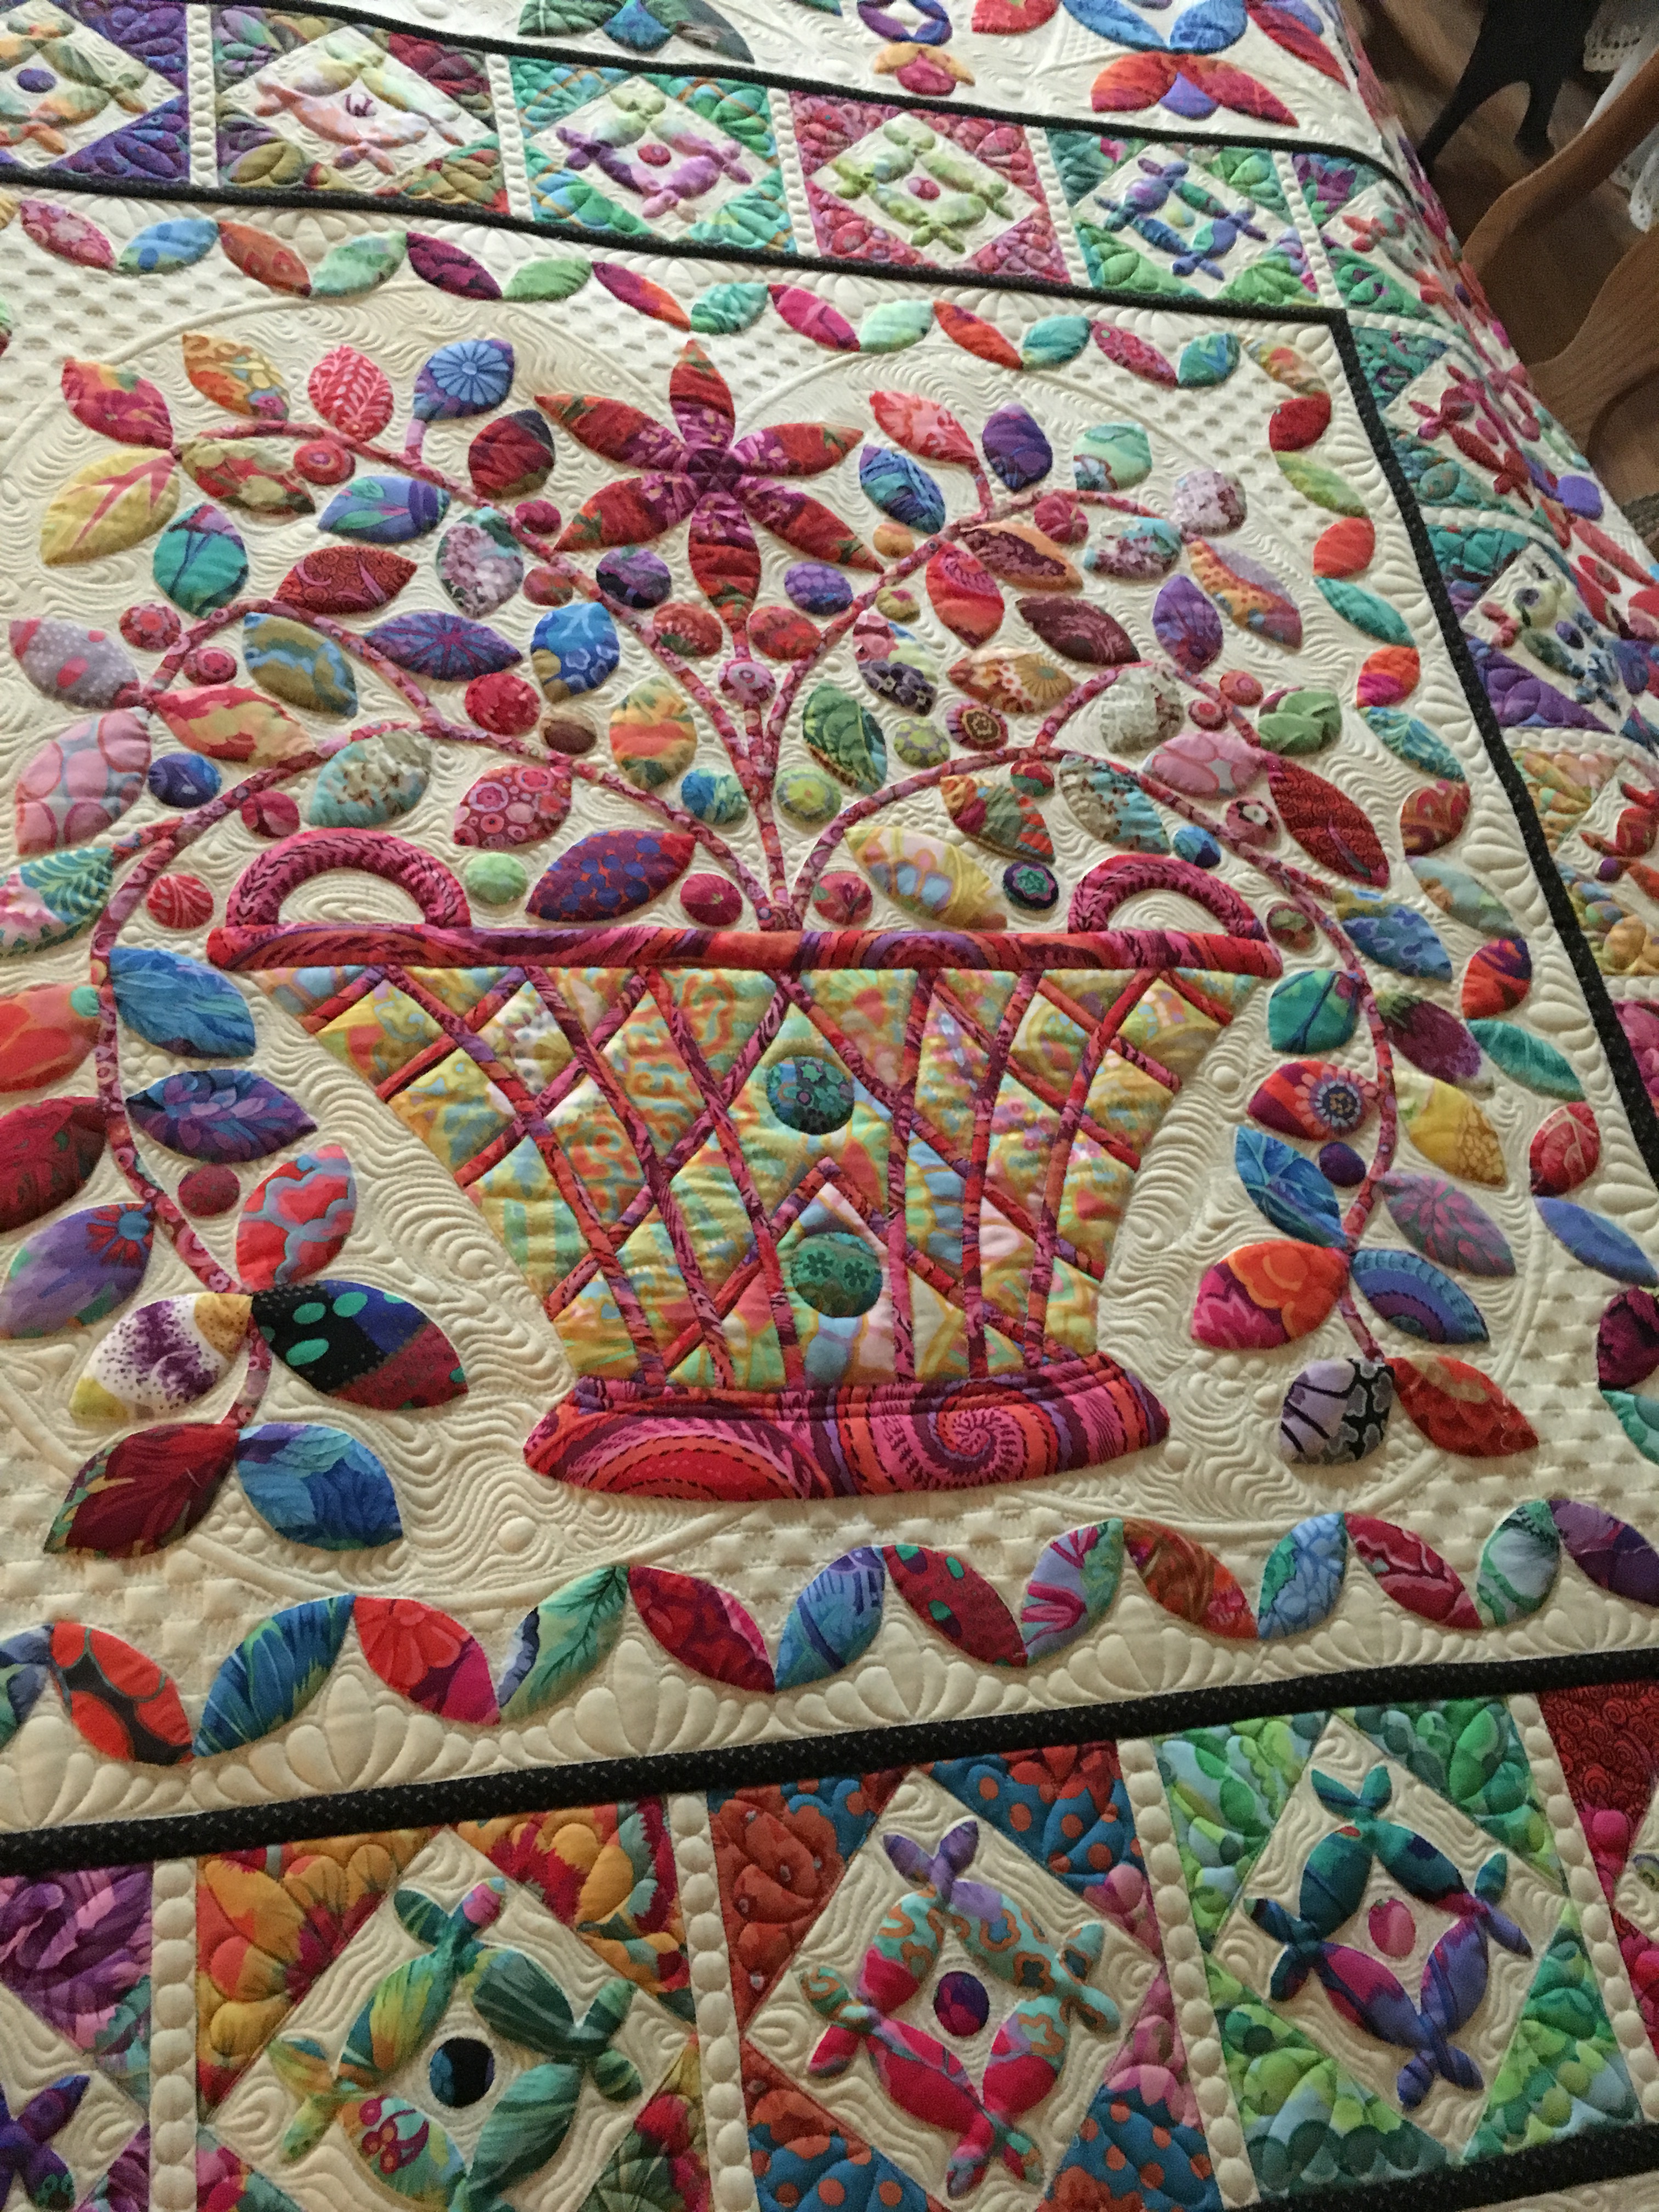
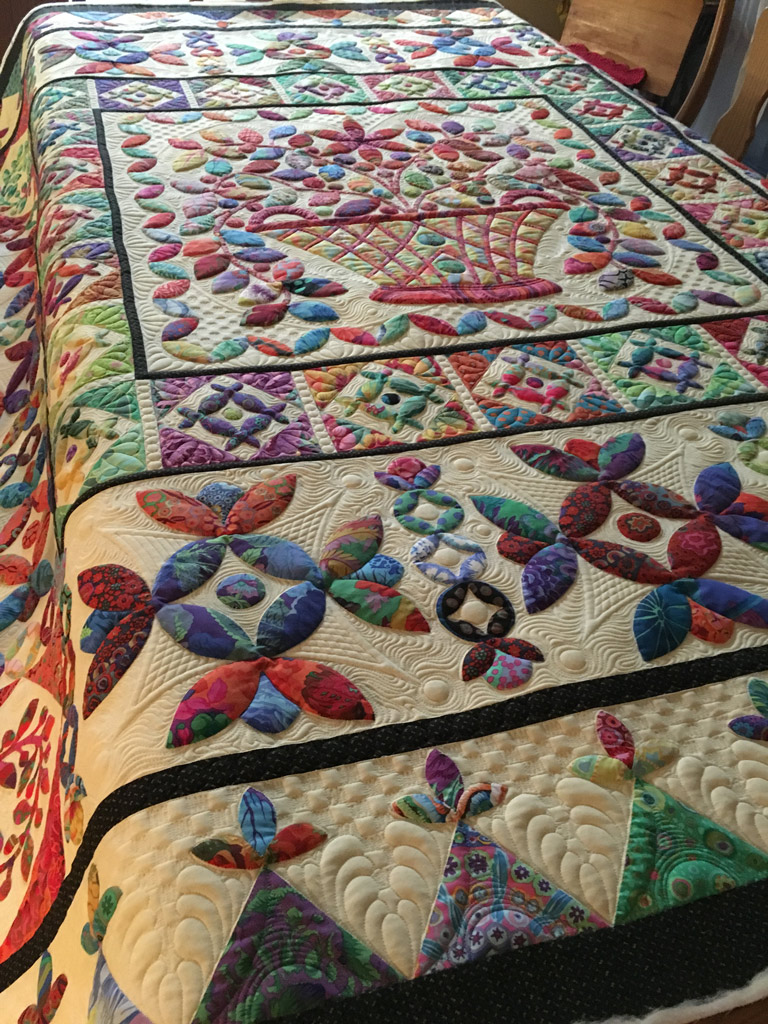
    I recently finished this gorgeous quilt! Mary used Kaffe Fassett fabrics and hand-turned all of this gorgeous applique.  I absolutely love how this turned out. Mary spent two years on this quilt and it shows. I needed a magnifying glass to see the stitches in her needle-turned applique!  Perfectly put together, this came together for me also. I love it when a quilt “speaks” to me.  There were a lot of circles in her quilt, so I used circles in my quilting. The basket lent itself to the curved crosshatching and checkerboard in the border.  The outer border’s curves in the triangles mimicked the curves of the applique.  I did a lot of marking on this quilt, but it was worth it. I brought the checkerboard pattern I had used in the outer border into the middle medallion, framing the basket of flowers.  Mary’s hope is to get it accepted in Fall Paducah this year. I really don’t think she’ll have a problem getting that acceptance letter!

    I used Quilters Dream wool (my favorite) over Hobbs 80/20 and two shades of silk thread on top and bottom.  I love Kimono silk thread by Superior Threads.

    2017-01-29-17-262017-01-29-19-082017-01-30-07-06img_54712017-01-29-17-23

  • Quilting Vintage Linen

    Quilting Vintage Linen

    I’ve found a solution to a problem that faces a lot of longarmers – how to avoid burning out on the job due to an ever increasing backlog of client quilts to do which negatively effects the amount of time available to piece our own quilts. The answer I’ve found is to use vintage linens as a creative fix.  I can pop on something in between a client quilt and have it finished in a few hours. I  get something pretty that I get to keep and it makes me happy – a good side effect for my customer quilts.

    I love old linens of all kinds. Tablecloths, table runners, napkins, doilies, etc.  I’ve been collecting them for as long as I can remember. My friends know about my obsession also, and thanks to them I have a huge stash now.

    Here are some things to consider with vintage linens:

    1. Don’t be afraid of a piece of linen just because it is dirty. A lot of those stains or yellowing can be dealt with by a good soaking.  Try soaking it overnight with hot water and oxy clean, or by using one of these recipes, or use some Retro Clean.
    2. Estate auctions are a good place to pick up bulk lots of linens.
    3. Small holes can be camouflaged with dense quilting.
    4. Larger holes or tears may be able to be removed if they are on the outer edge of the piece without compromising the design of the linen. Larger holes may be able to be camouflaged with another doily or cutter linen.  Or, it can be used as cutter linen to camouflage or layer in another project.
    5. They’re a good teaching tool if you offer longarm classes. I can use a small doily as a tool for the student to apply the day’s lessons in a real project that can be completed in a small amount of time.

    The problem arises when how to bind a piece that has a crocheted or lace edging.  I’m still figuring out how to treat them effectively when quilting. The first table runner I tackled with a lace edging, I attached a piece of fabric to the outer edge, sewing in the seam of the lace to attach it to the runner. After quilting, I turned the fabric under and sewed it by hand. I found that I still had issues with the fabric and think maybe I should have used bias binding. Or maybe I could use some practice in creating a faced edging. At any rate, I still like how it turned out.

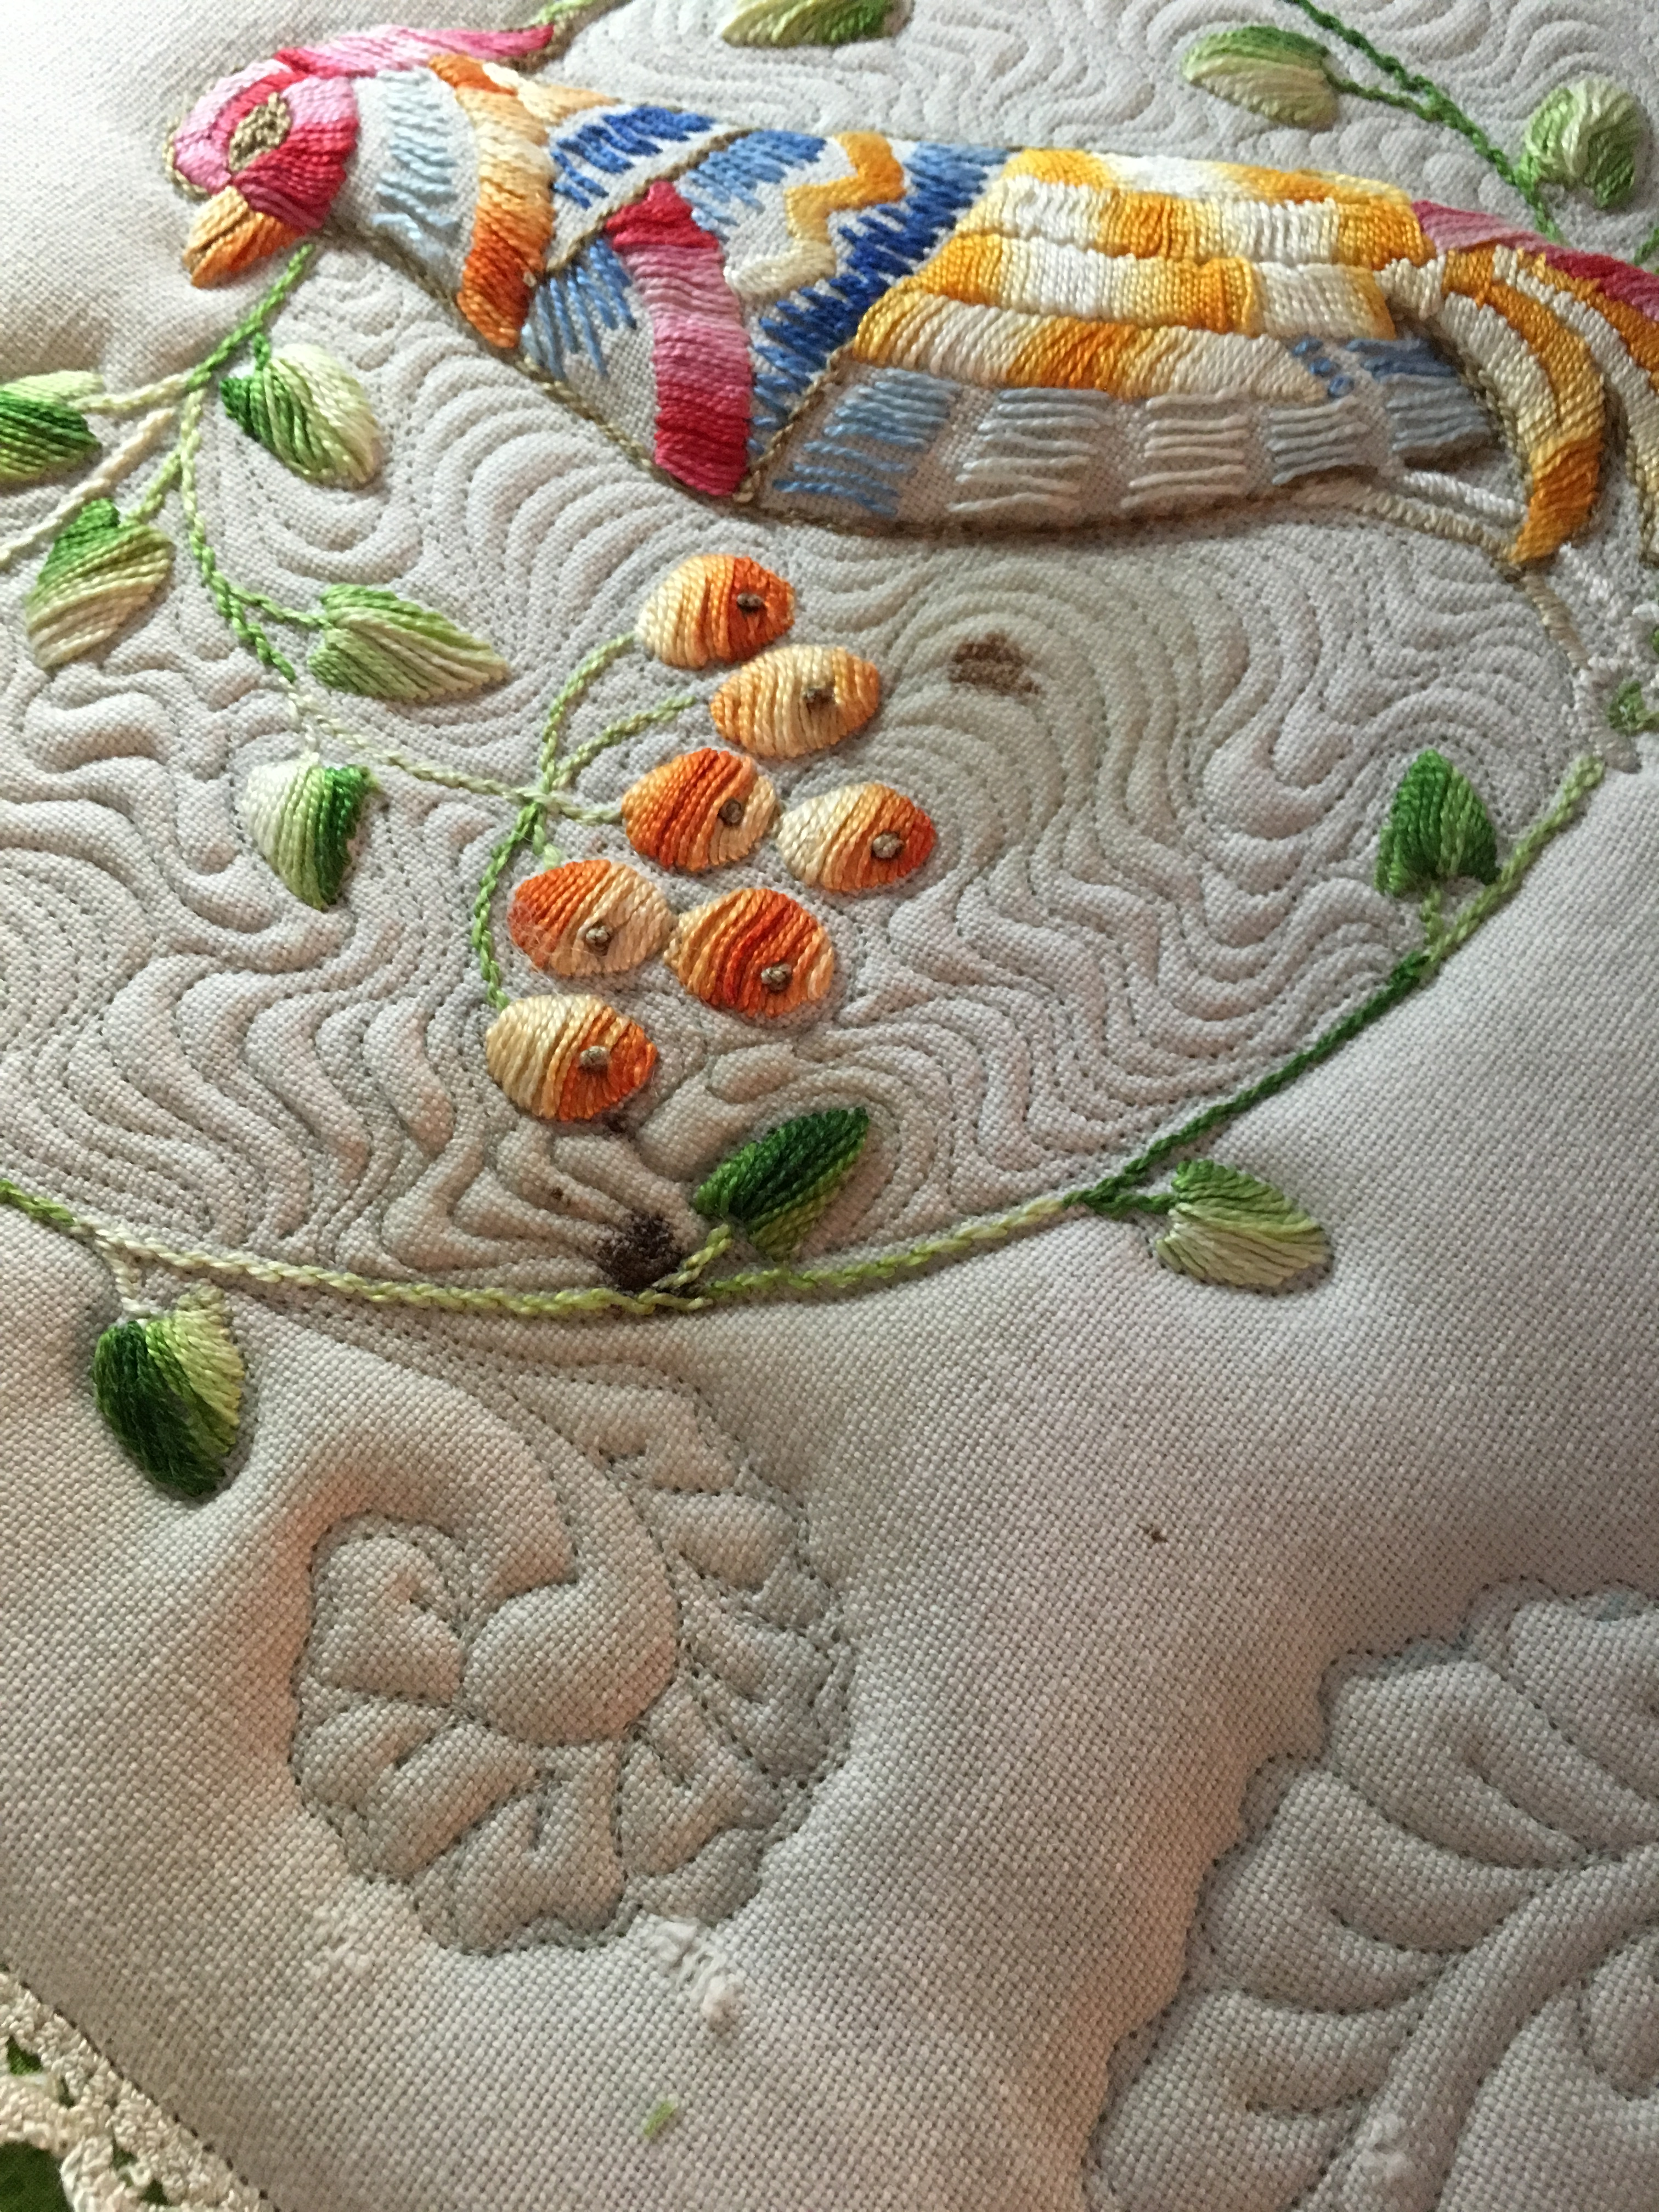
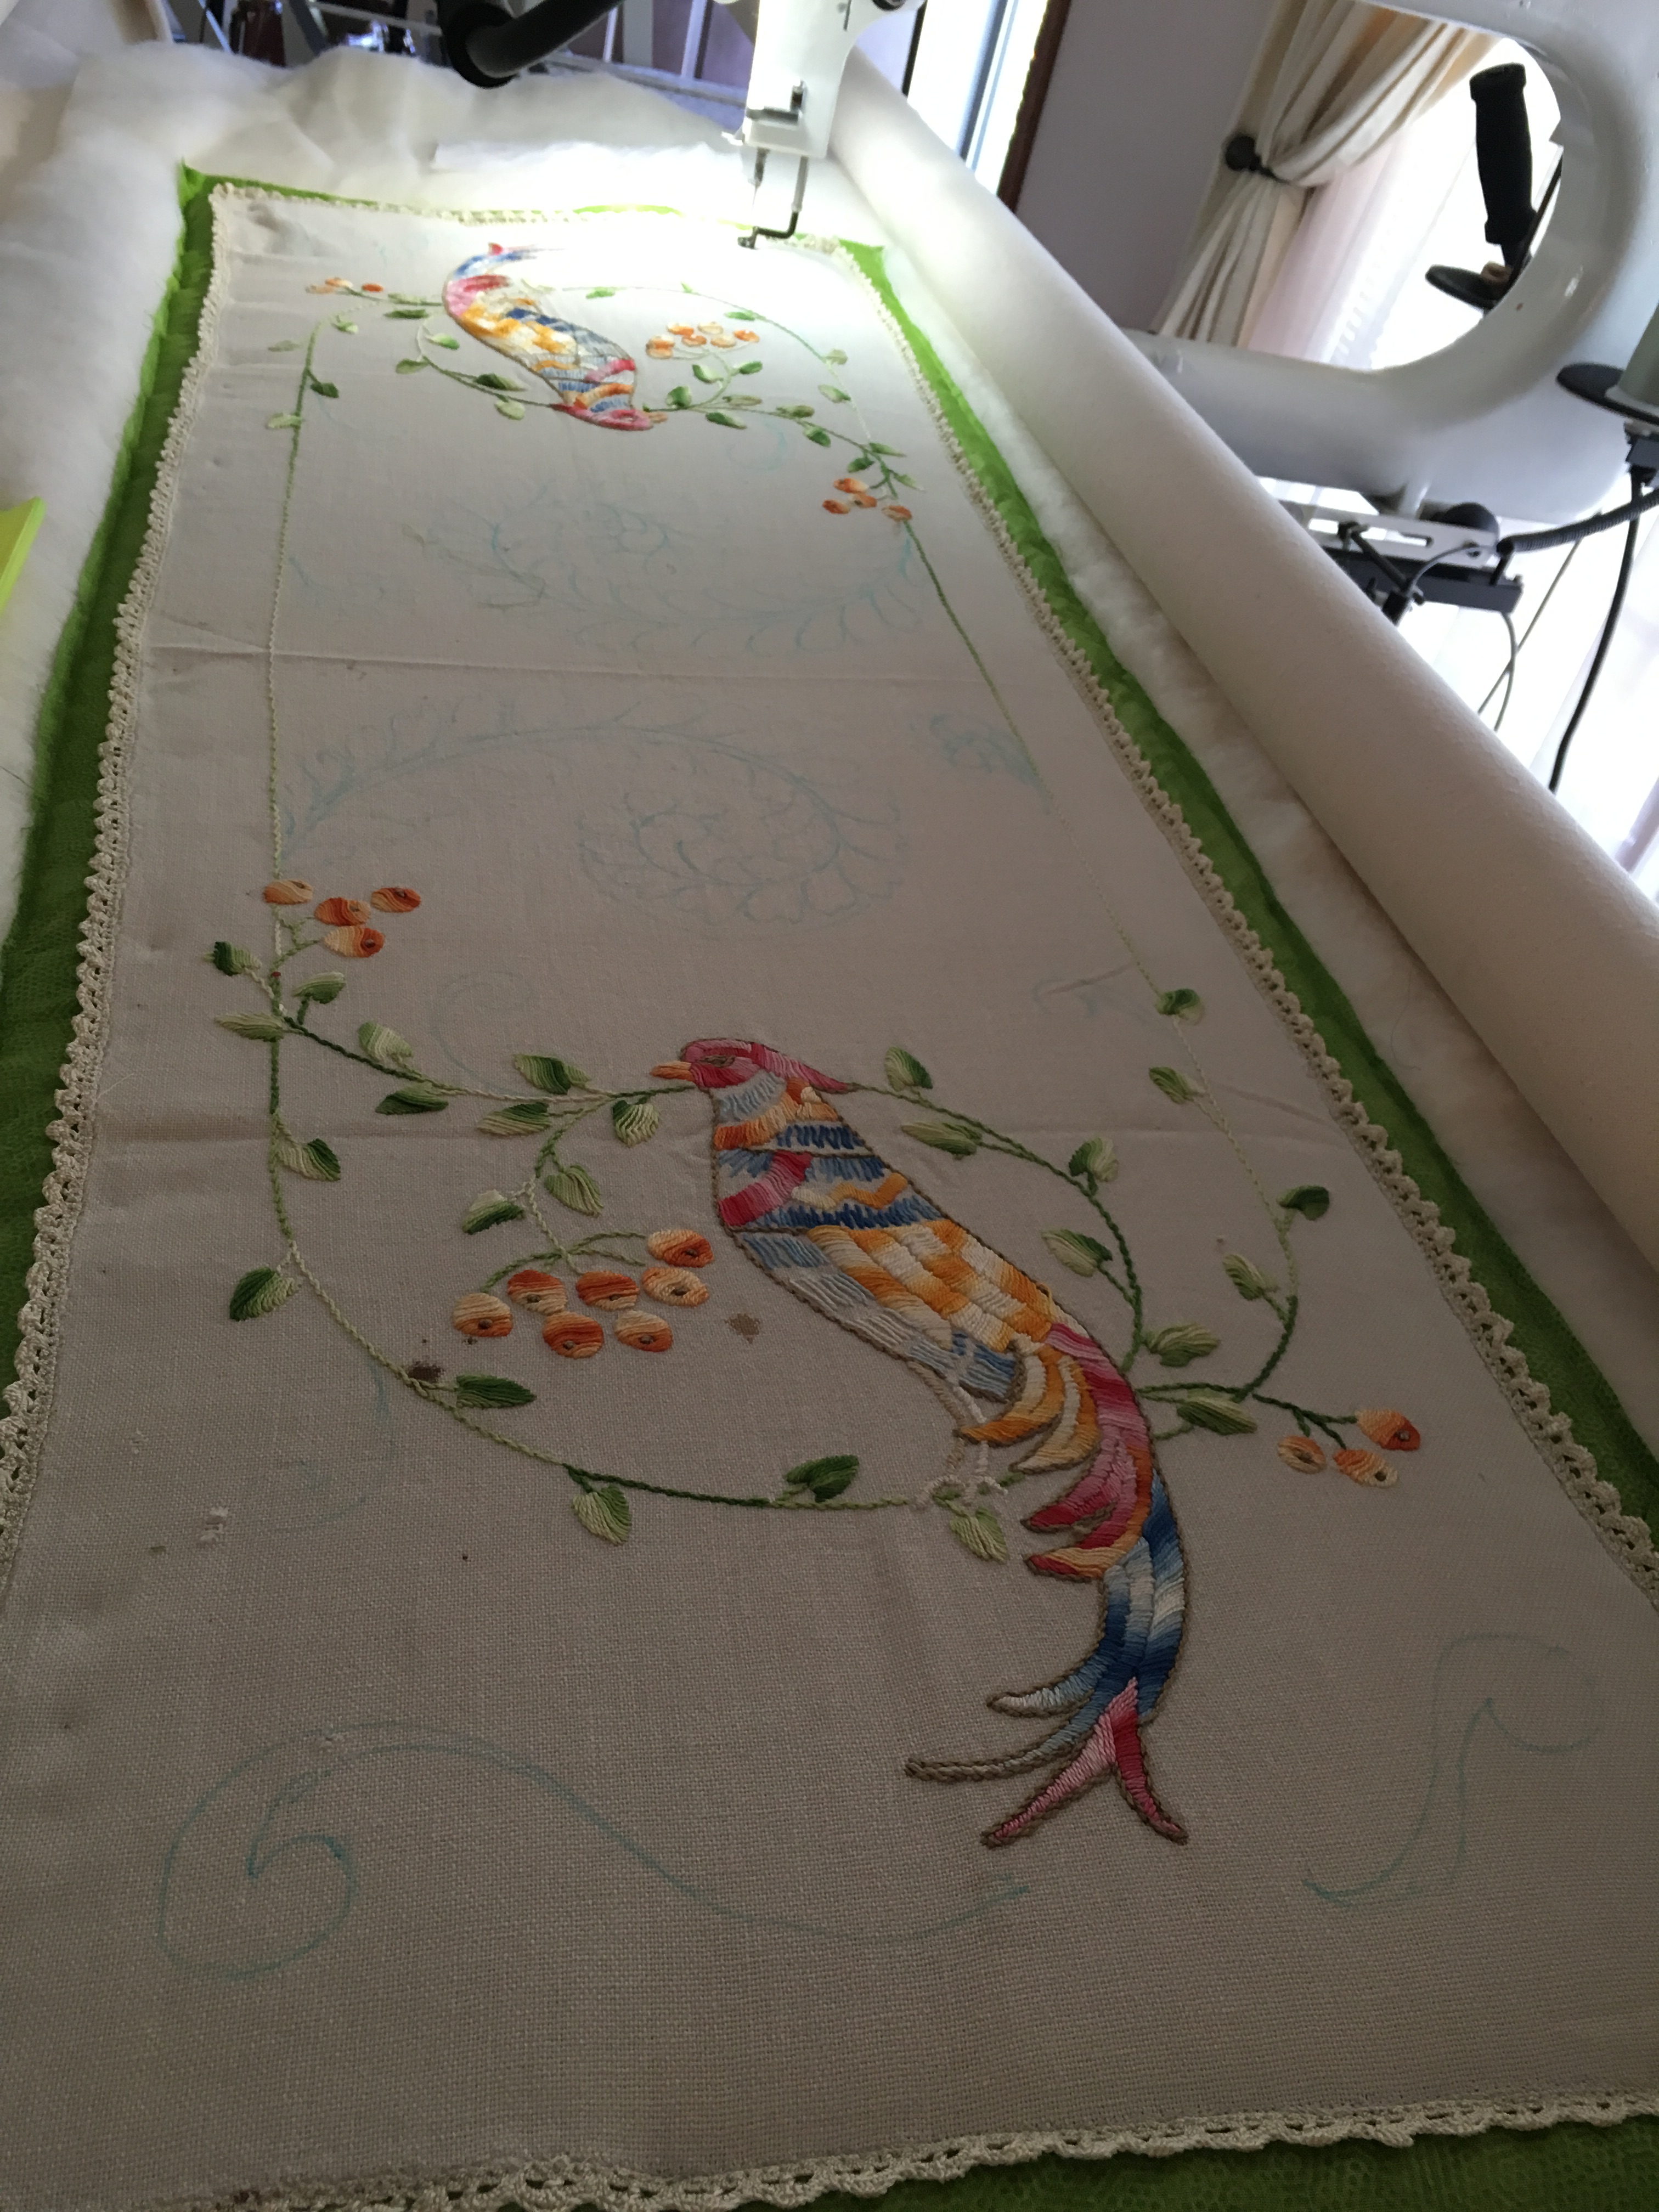
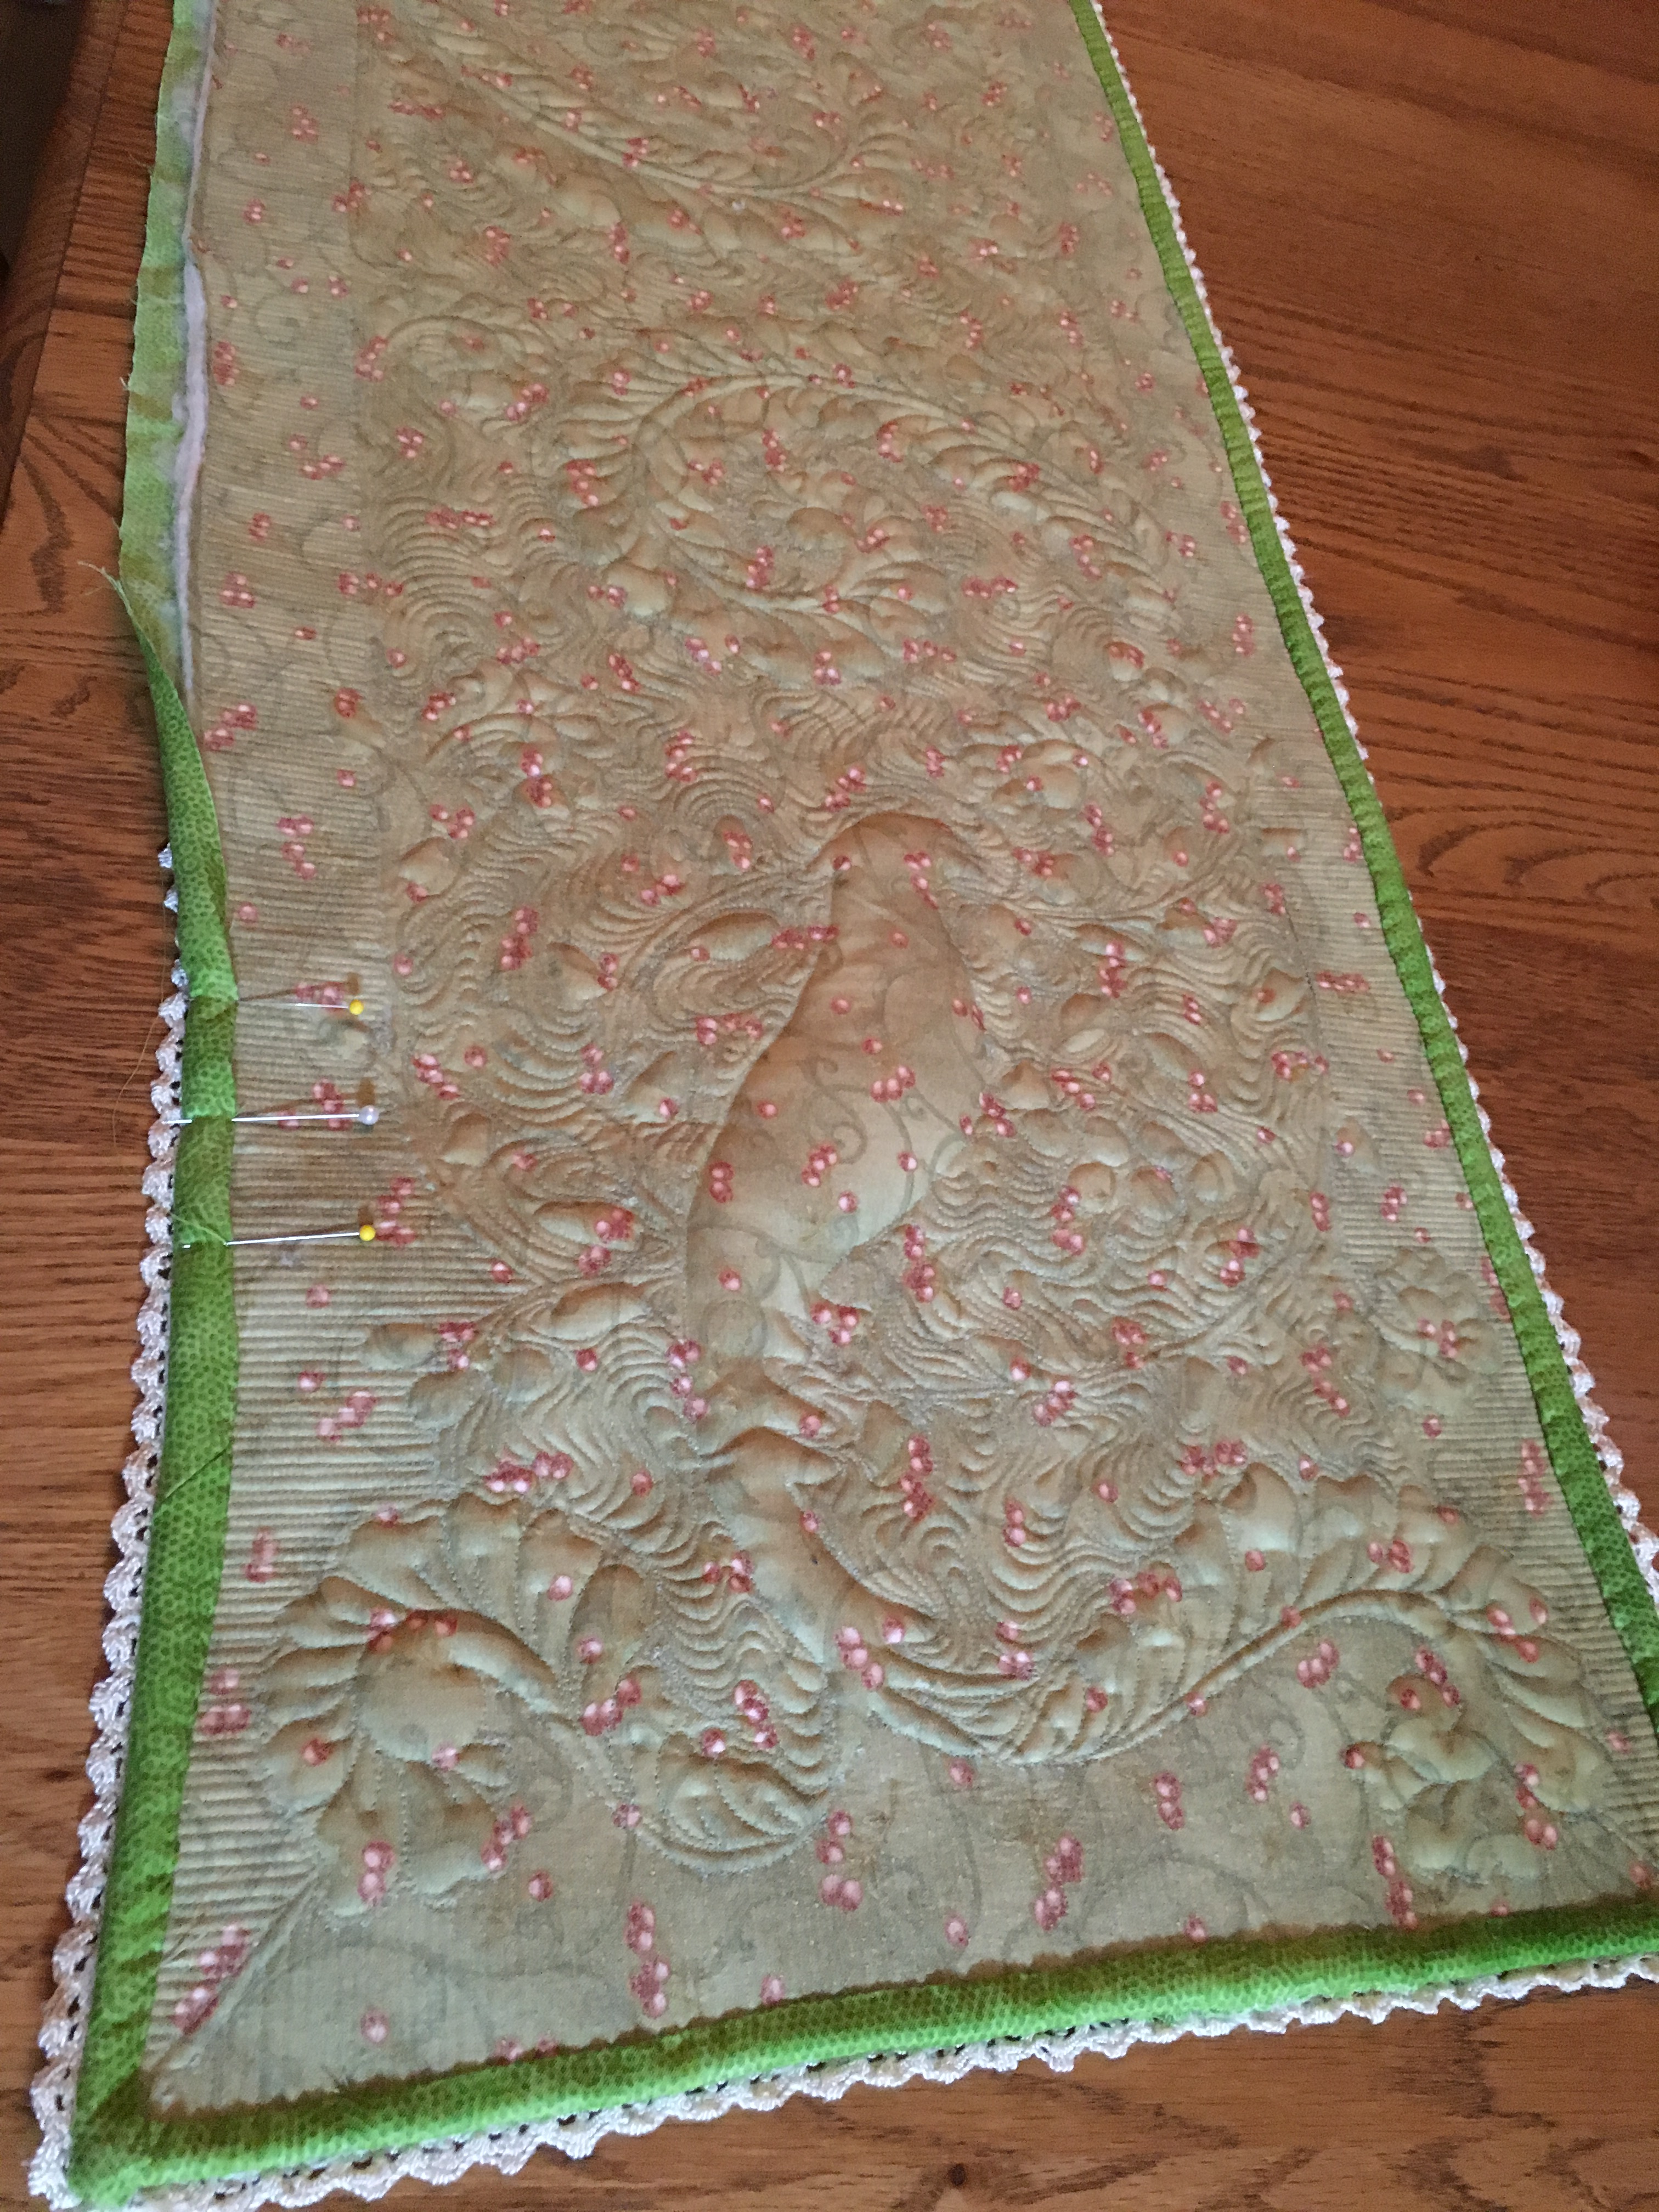
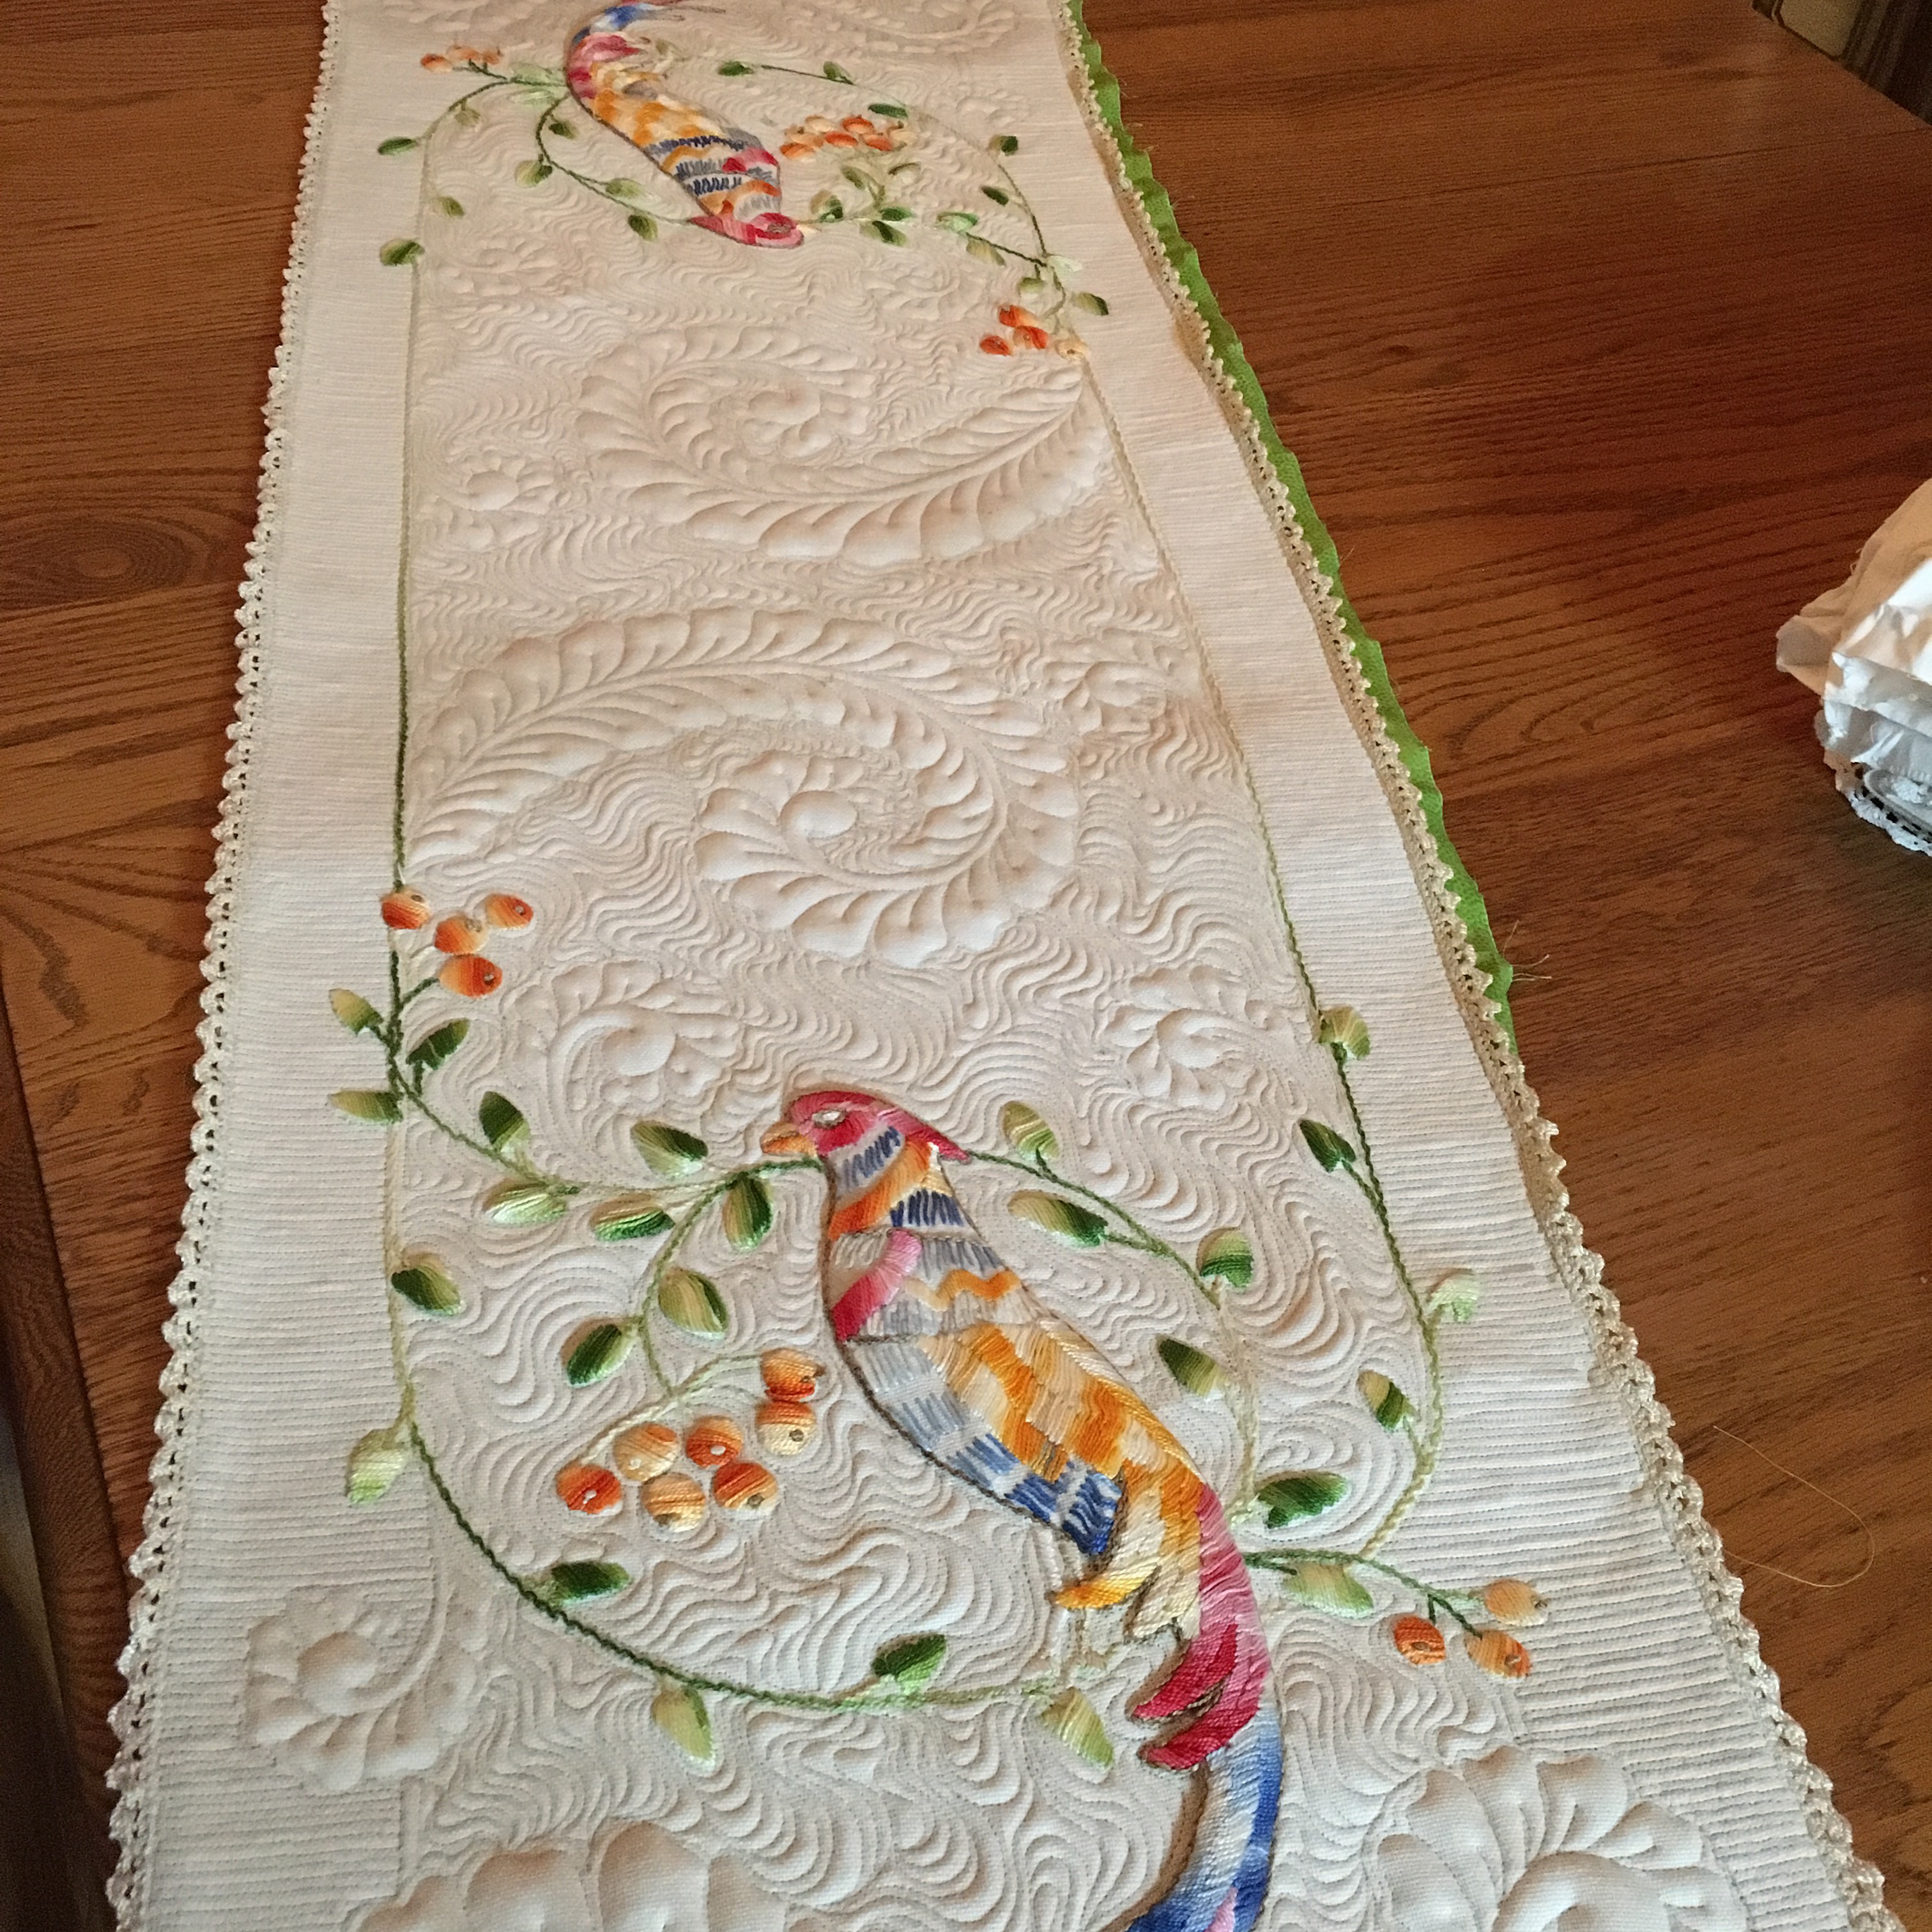
    Shown below is a piece I purchased from eBay for $2.50. It had two dark brown stains, one of which you can see in the 1st image on the left below. It actually was not receptive to cleaning and the stain itself disintegrated the fabric. However, that area was quilted heavily and you cannot see easily where that fabric had disintegrated. The image at the bottom left is shown as it was loaded on the longarm. The middle image is a view of the backside as I was turning it under. The right image is the completed piece. I love it!

    file_000-2file_000file_000-1file_001-1

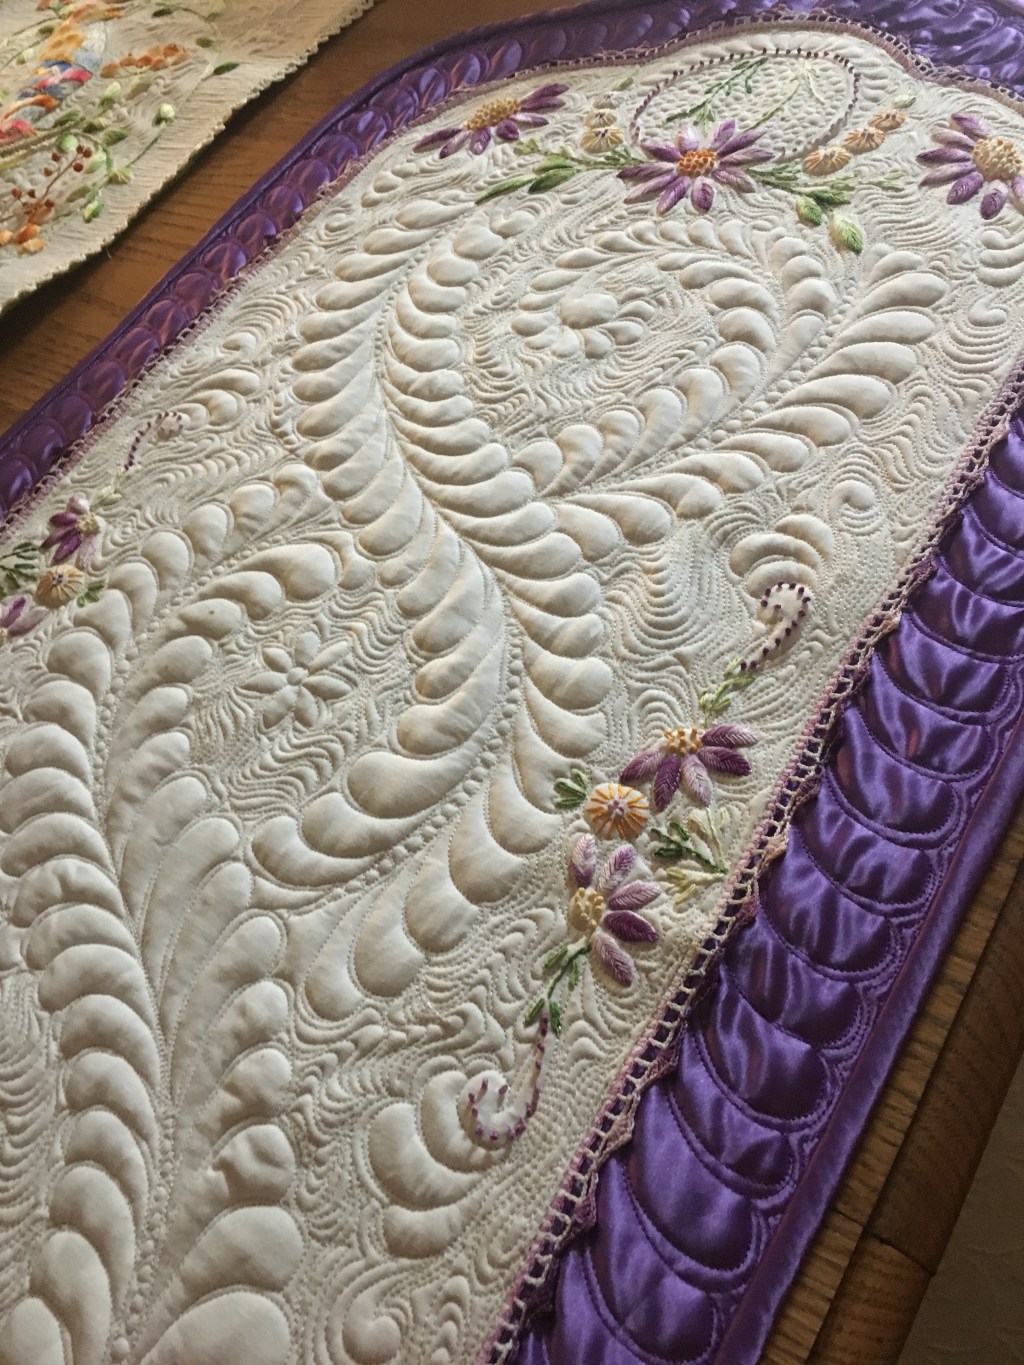
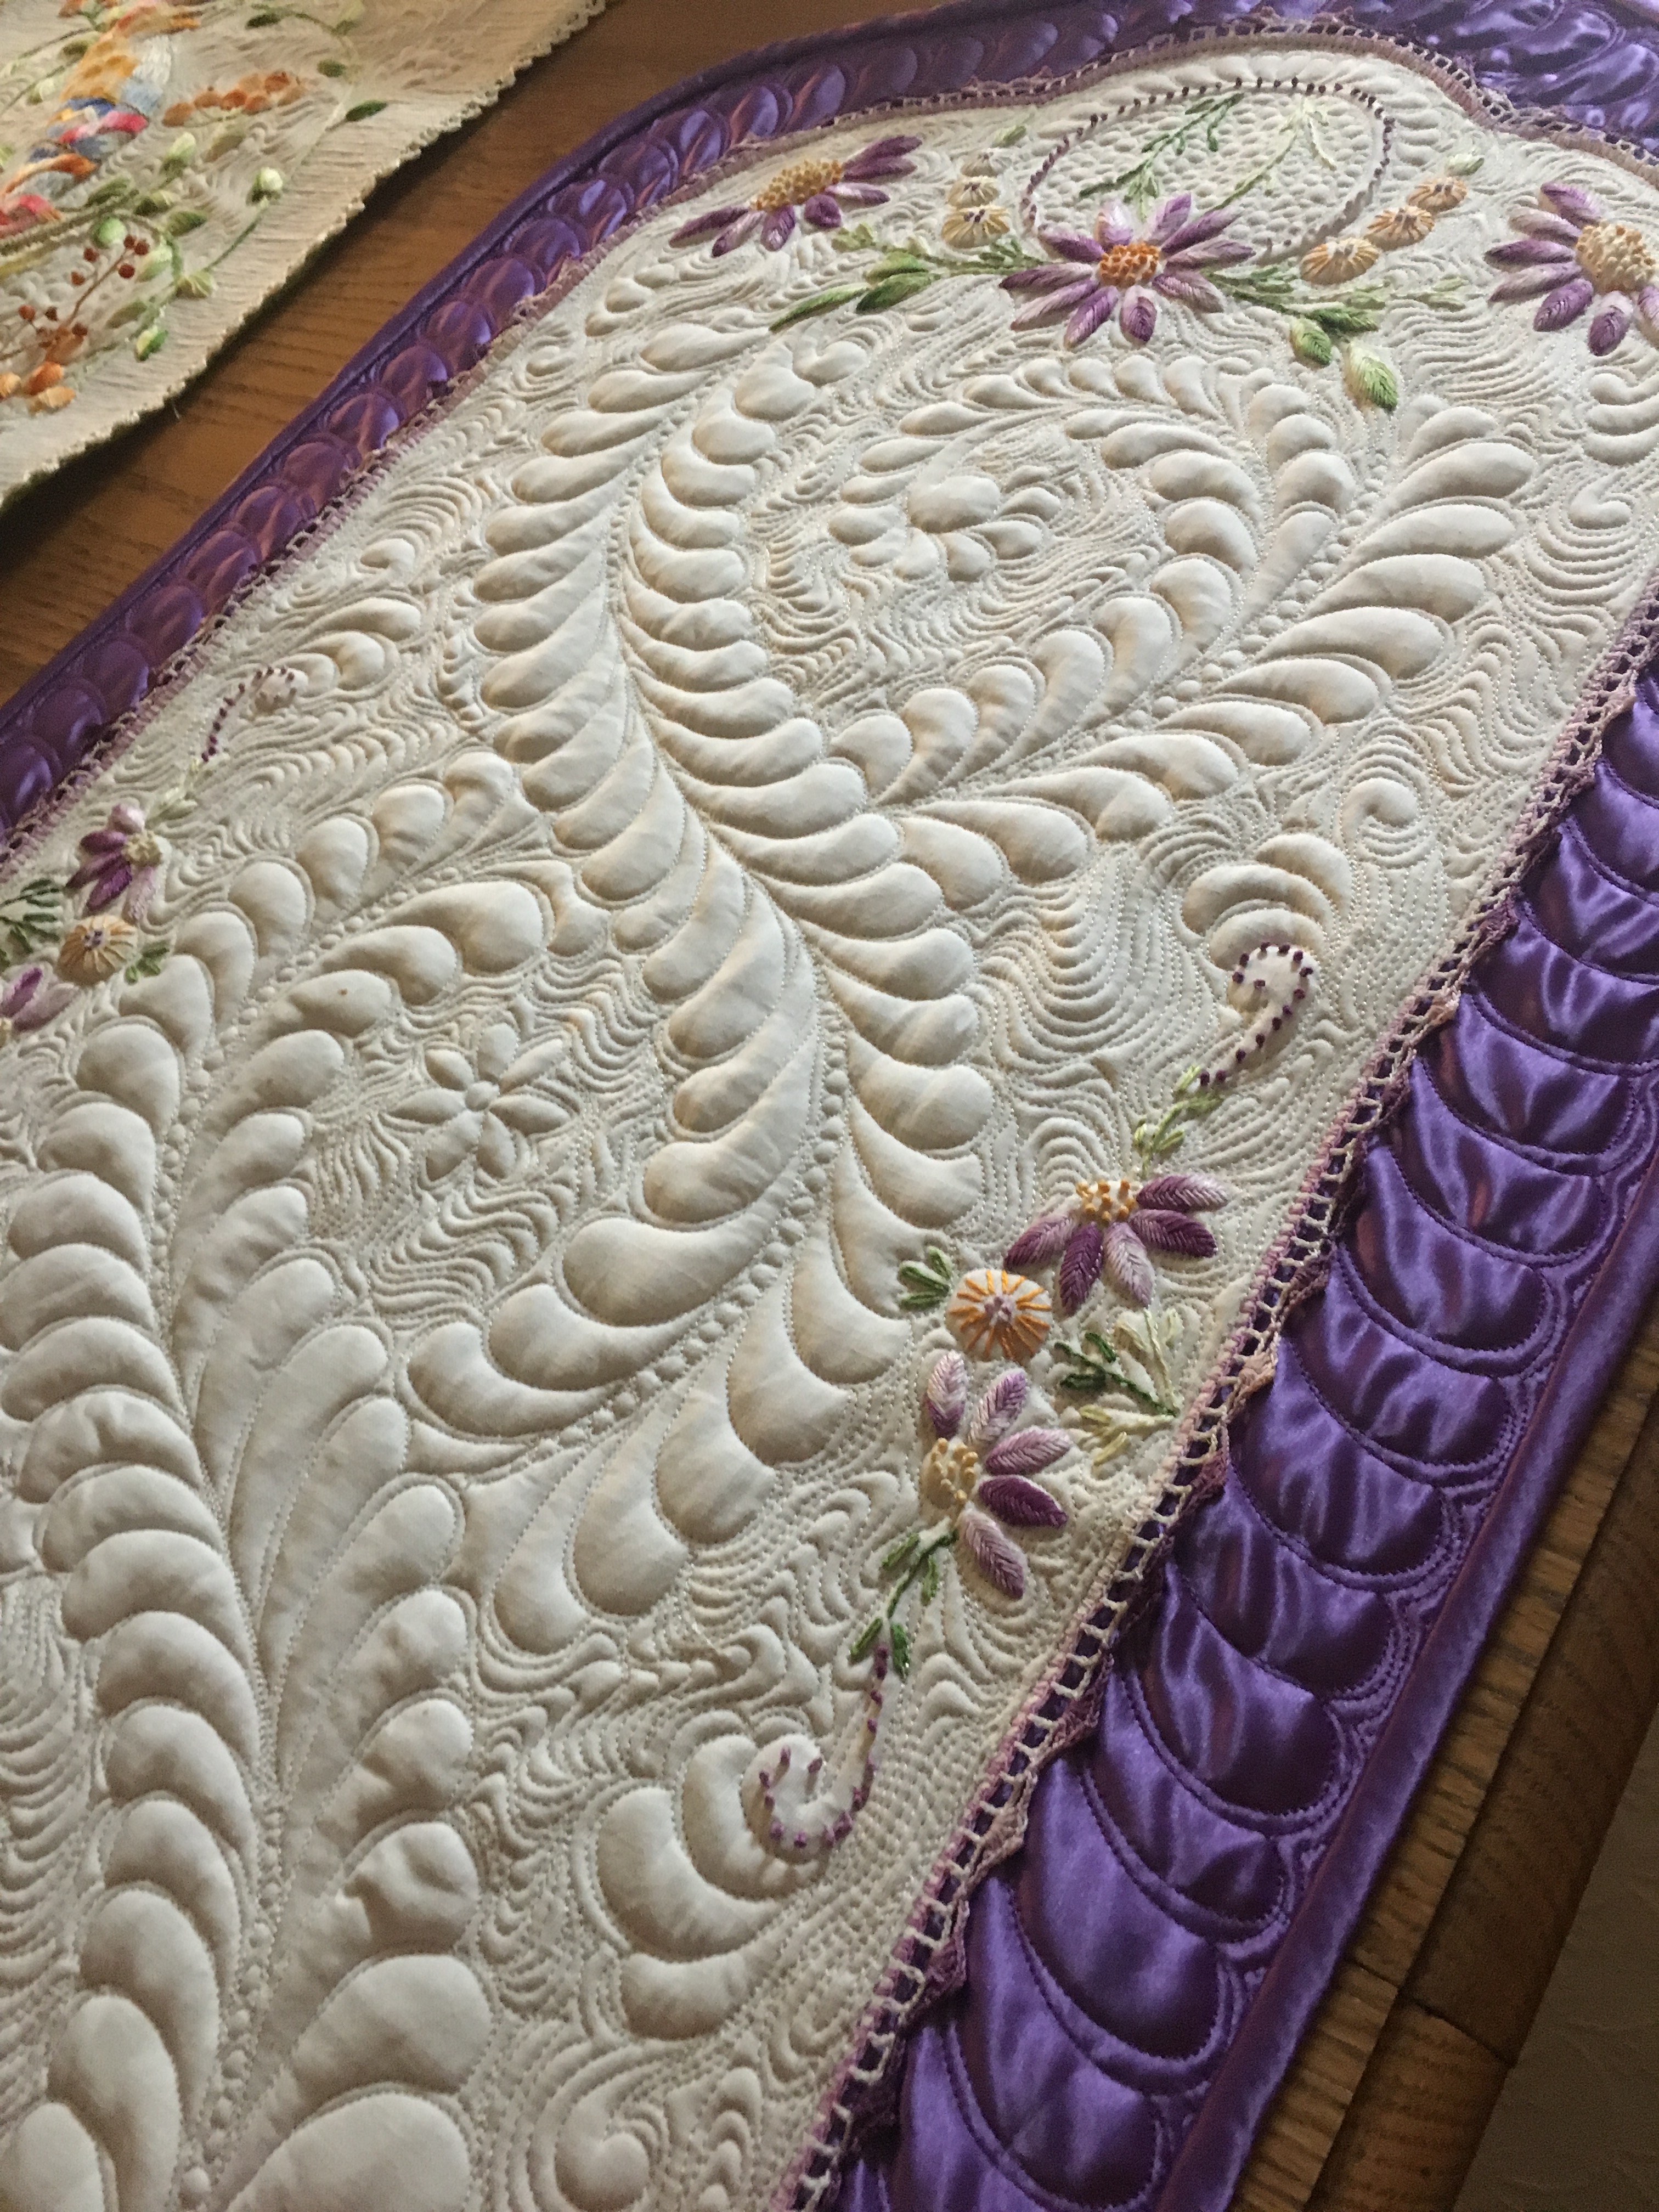
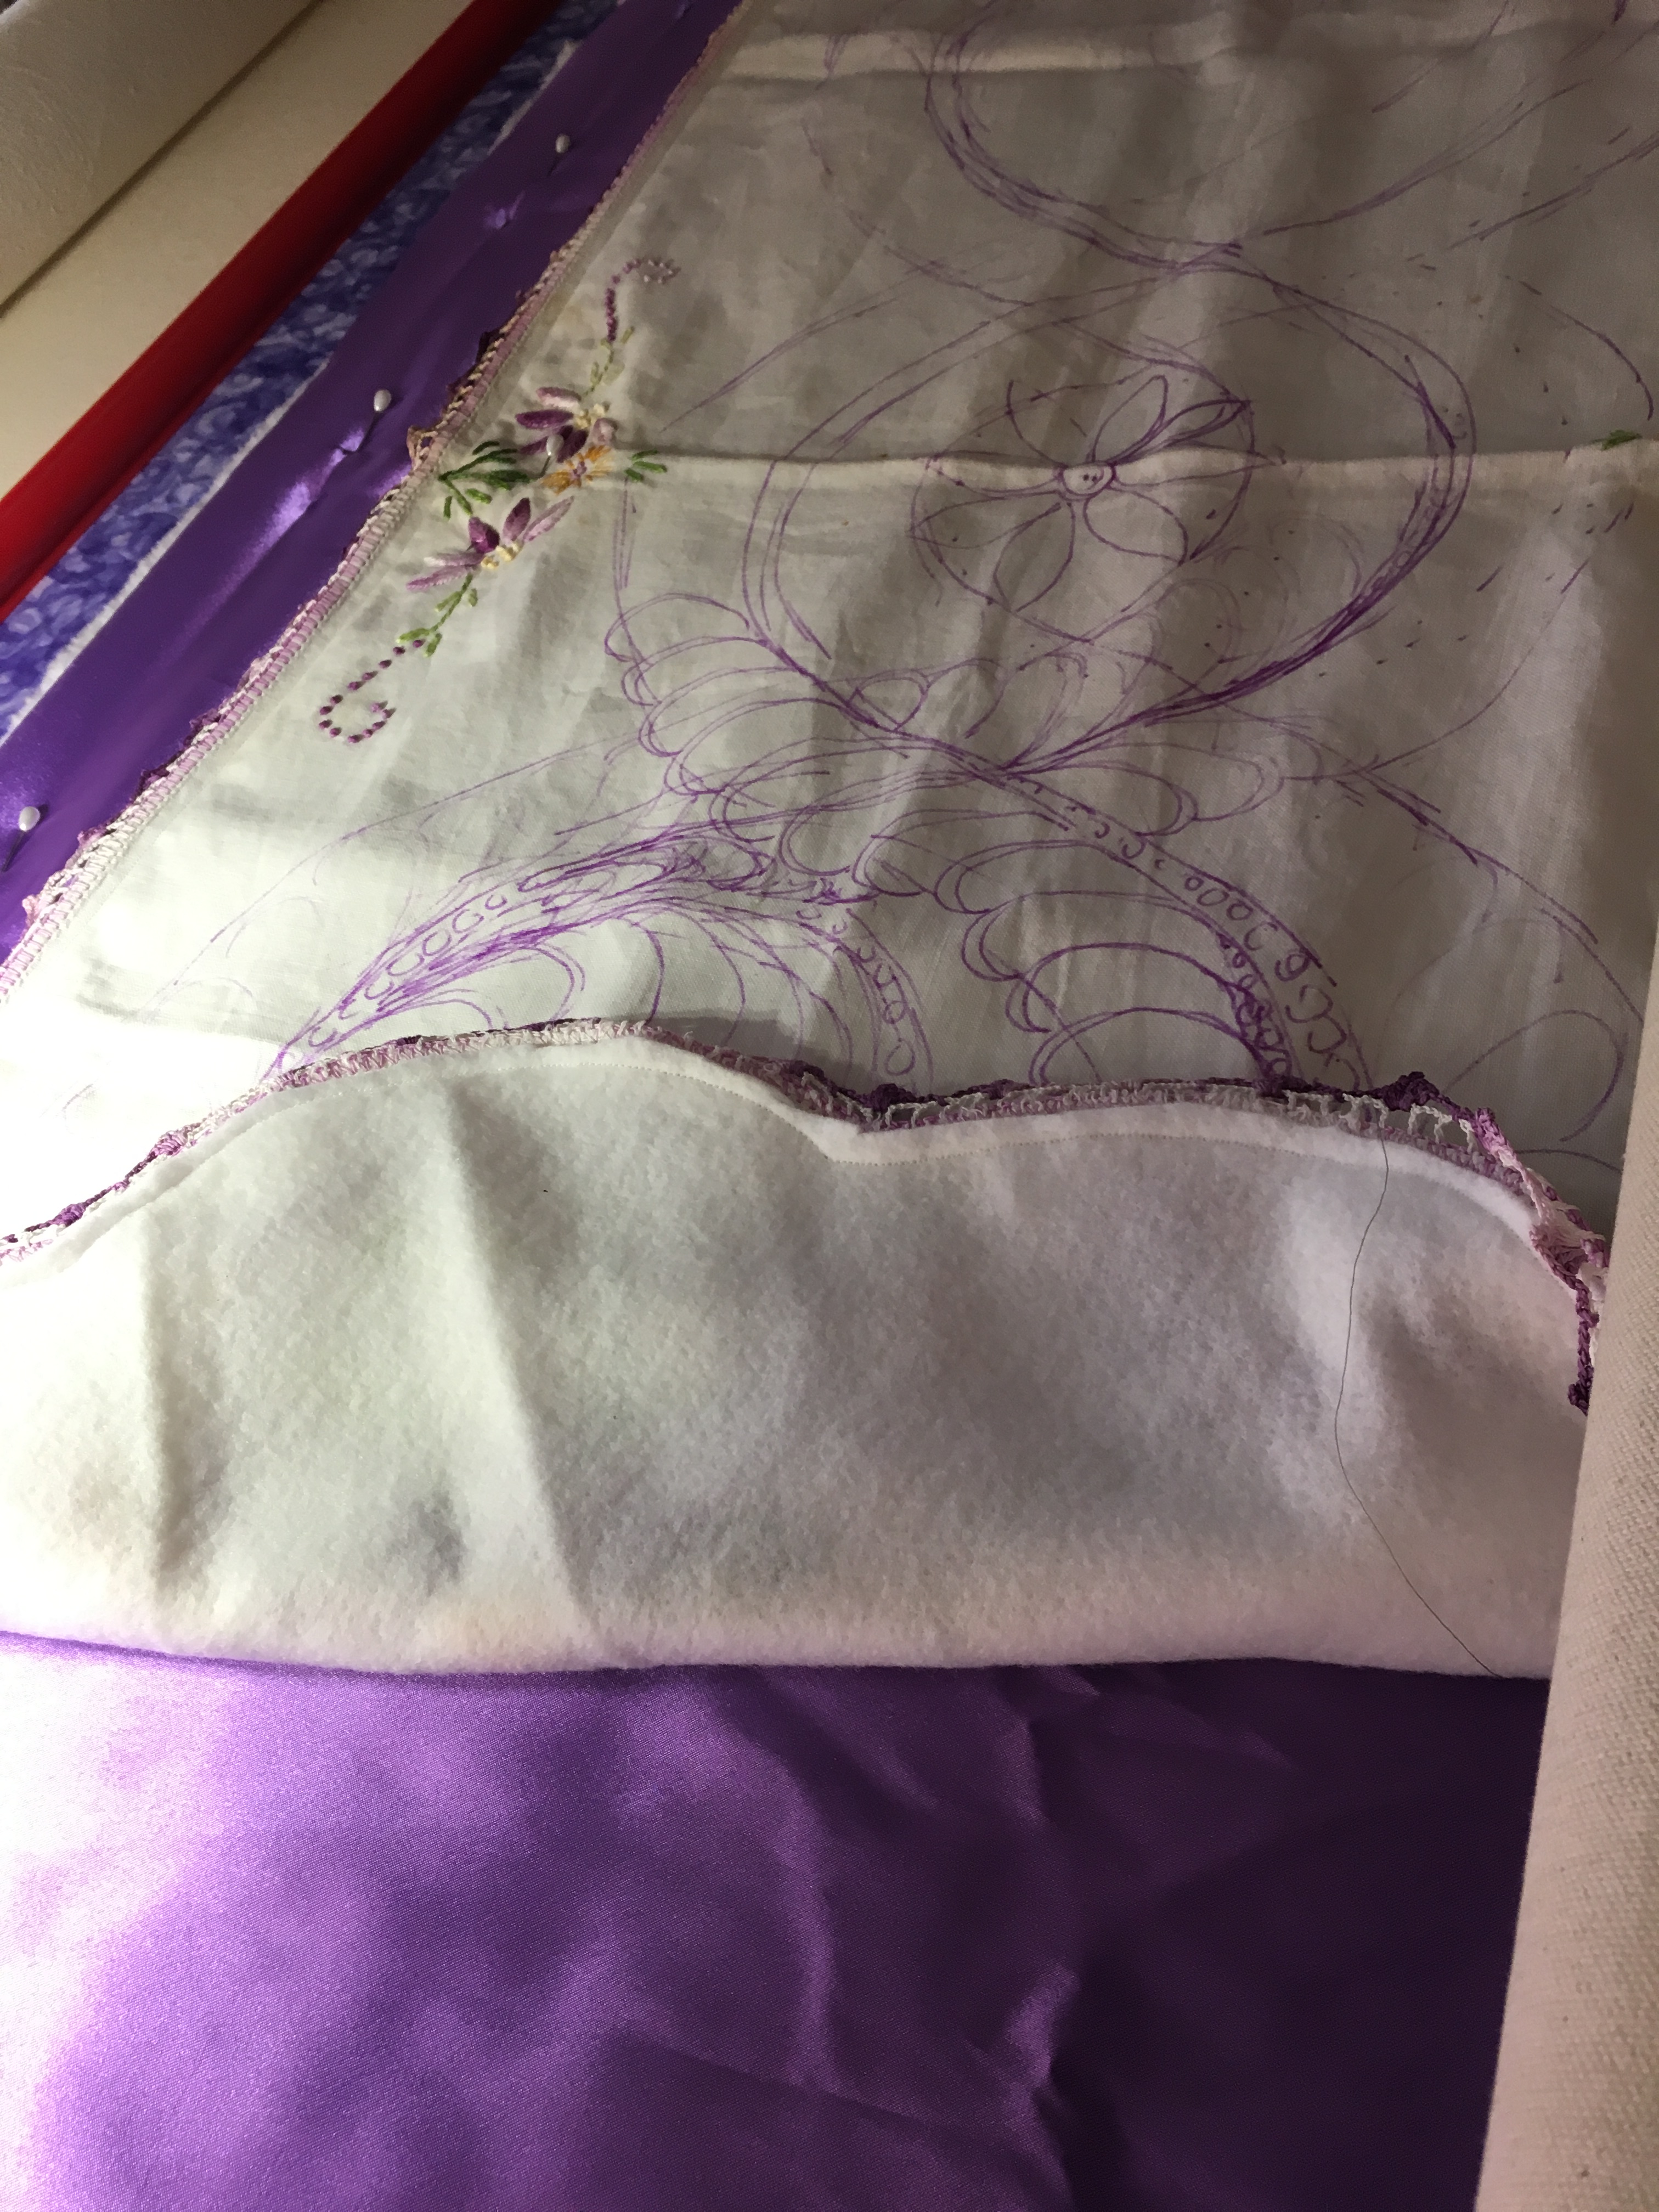
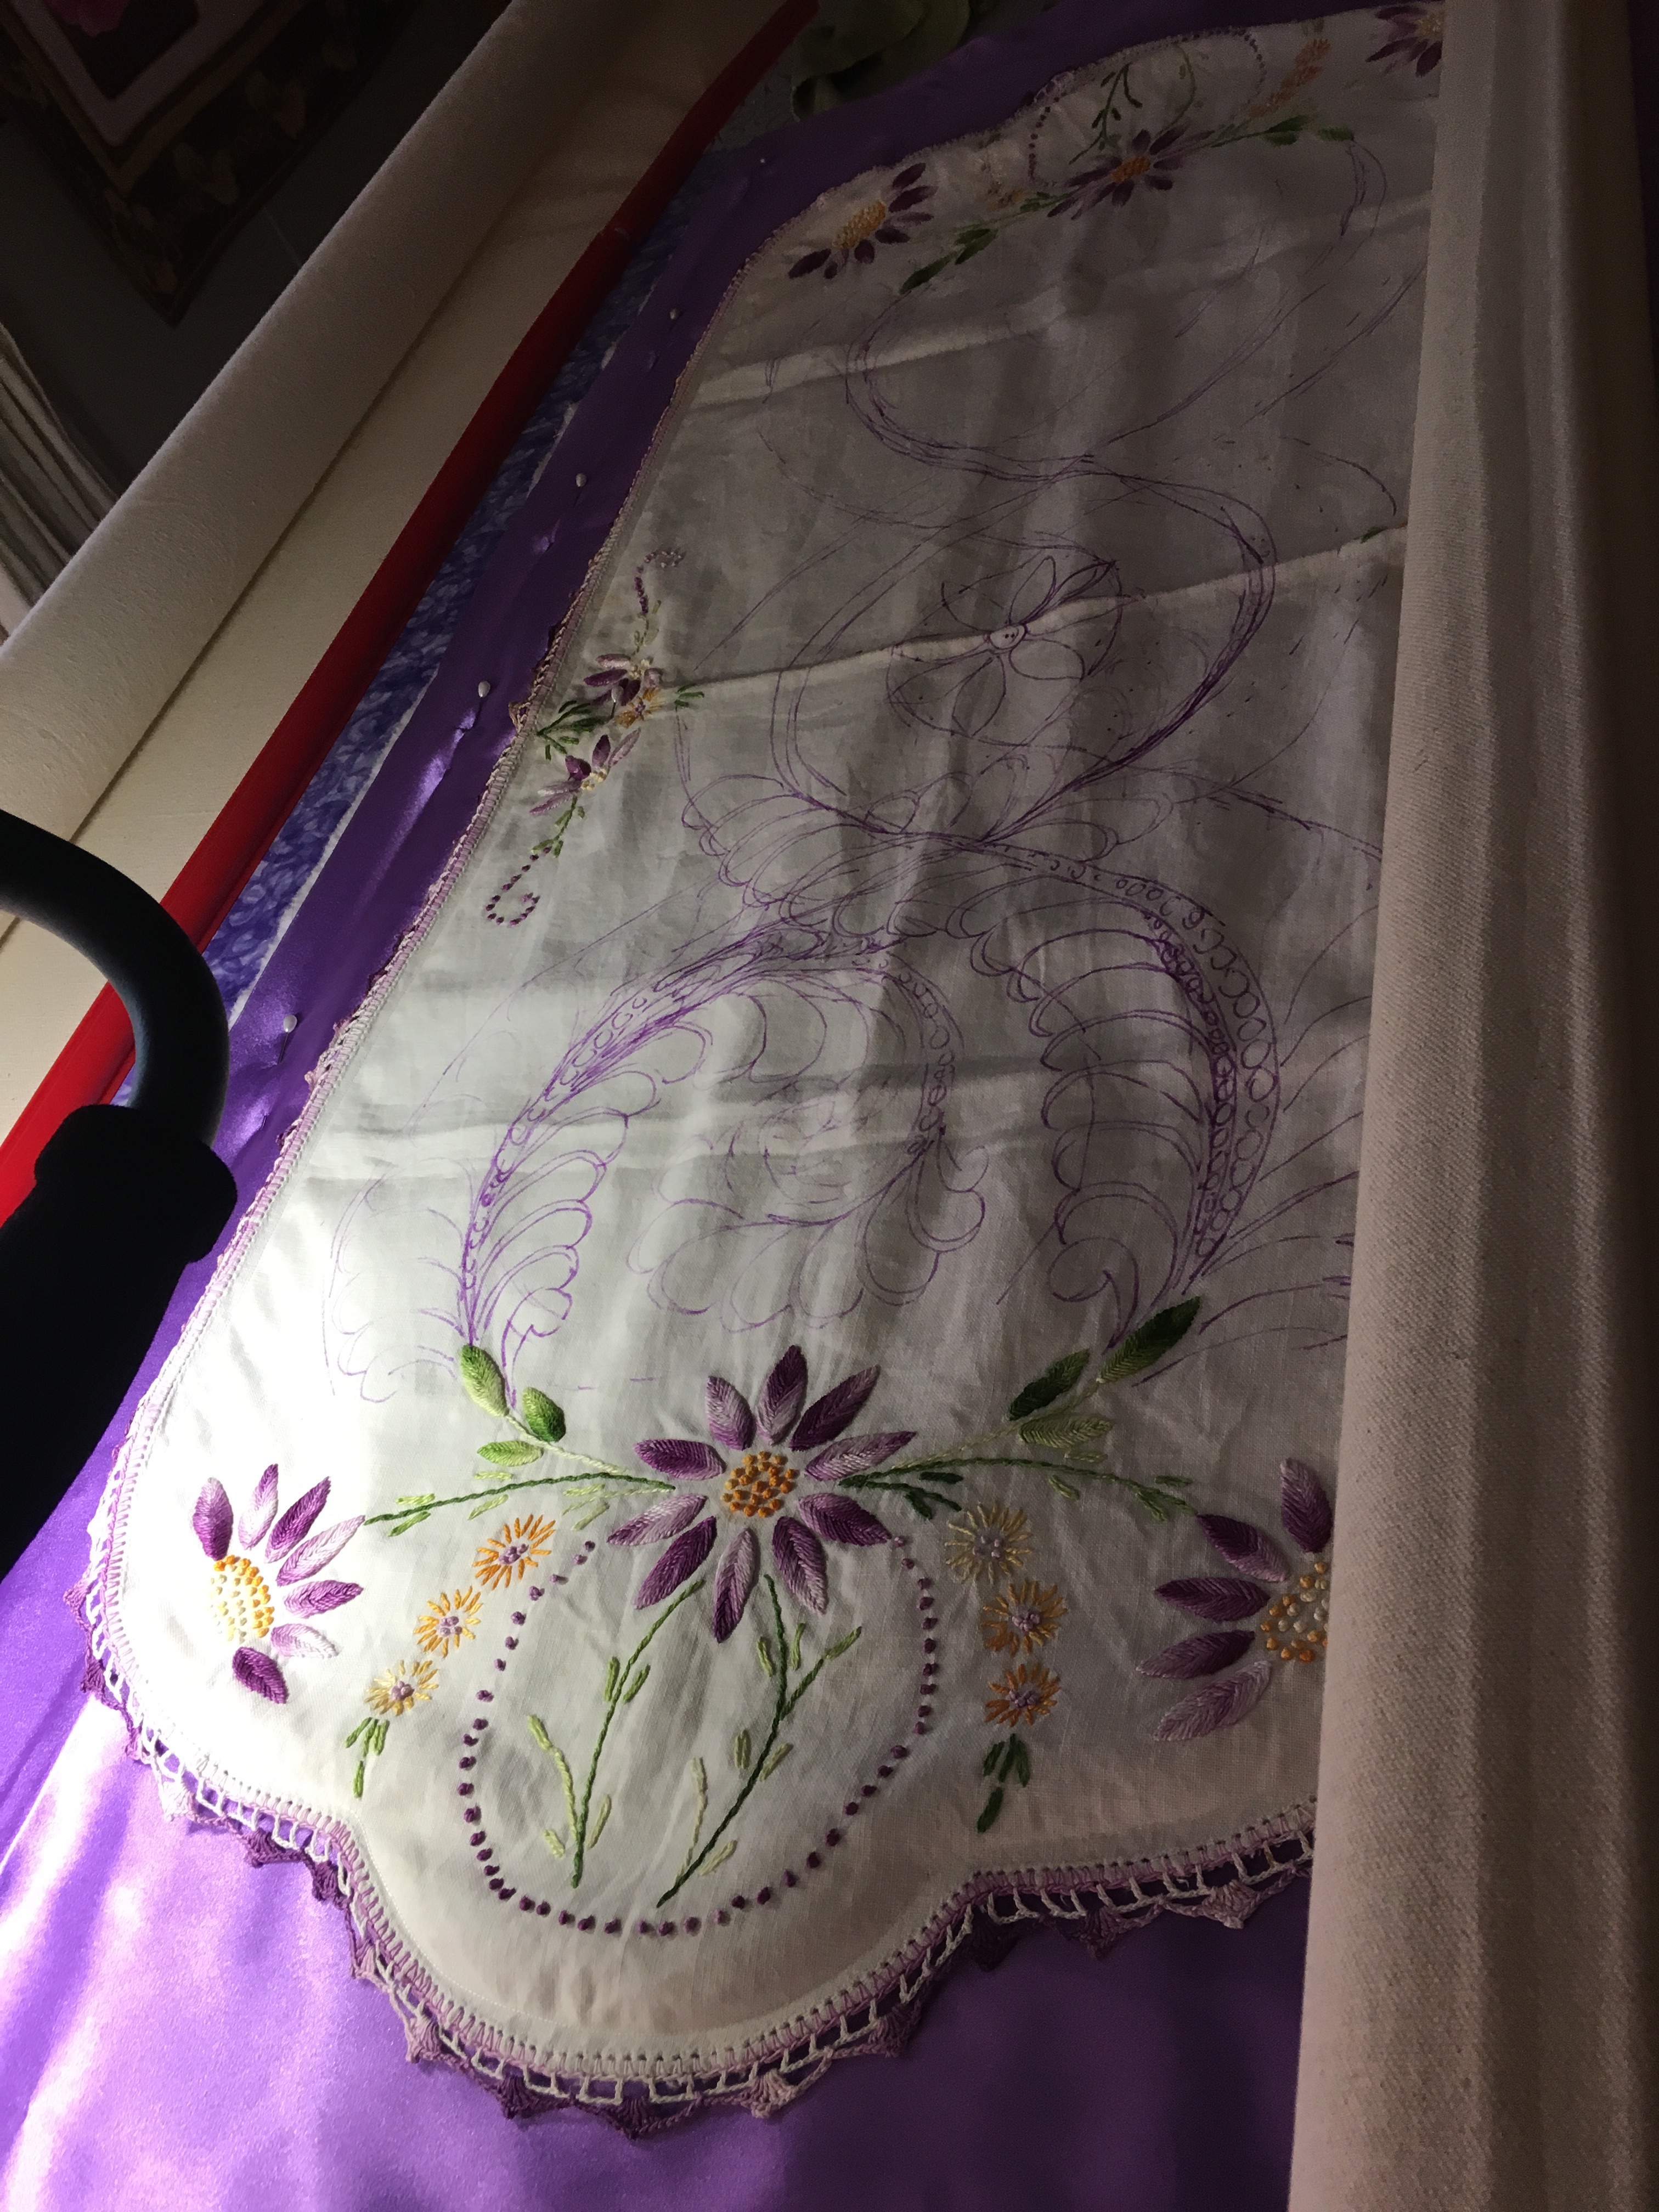
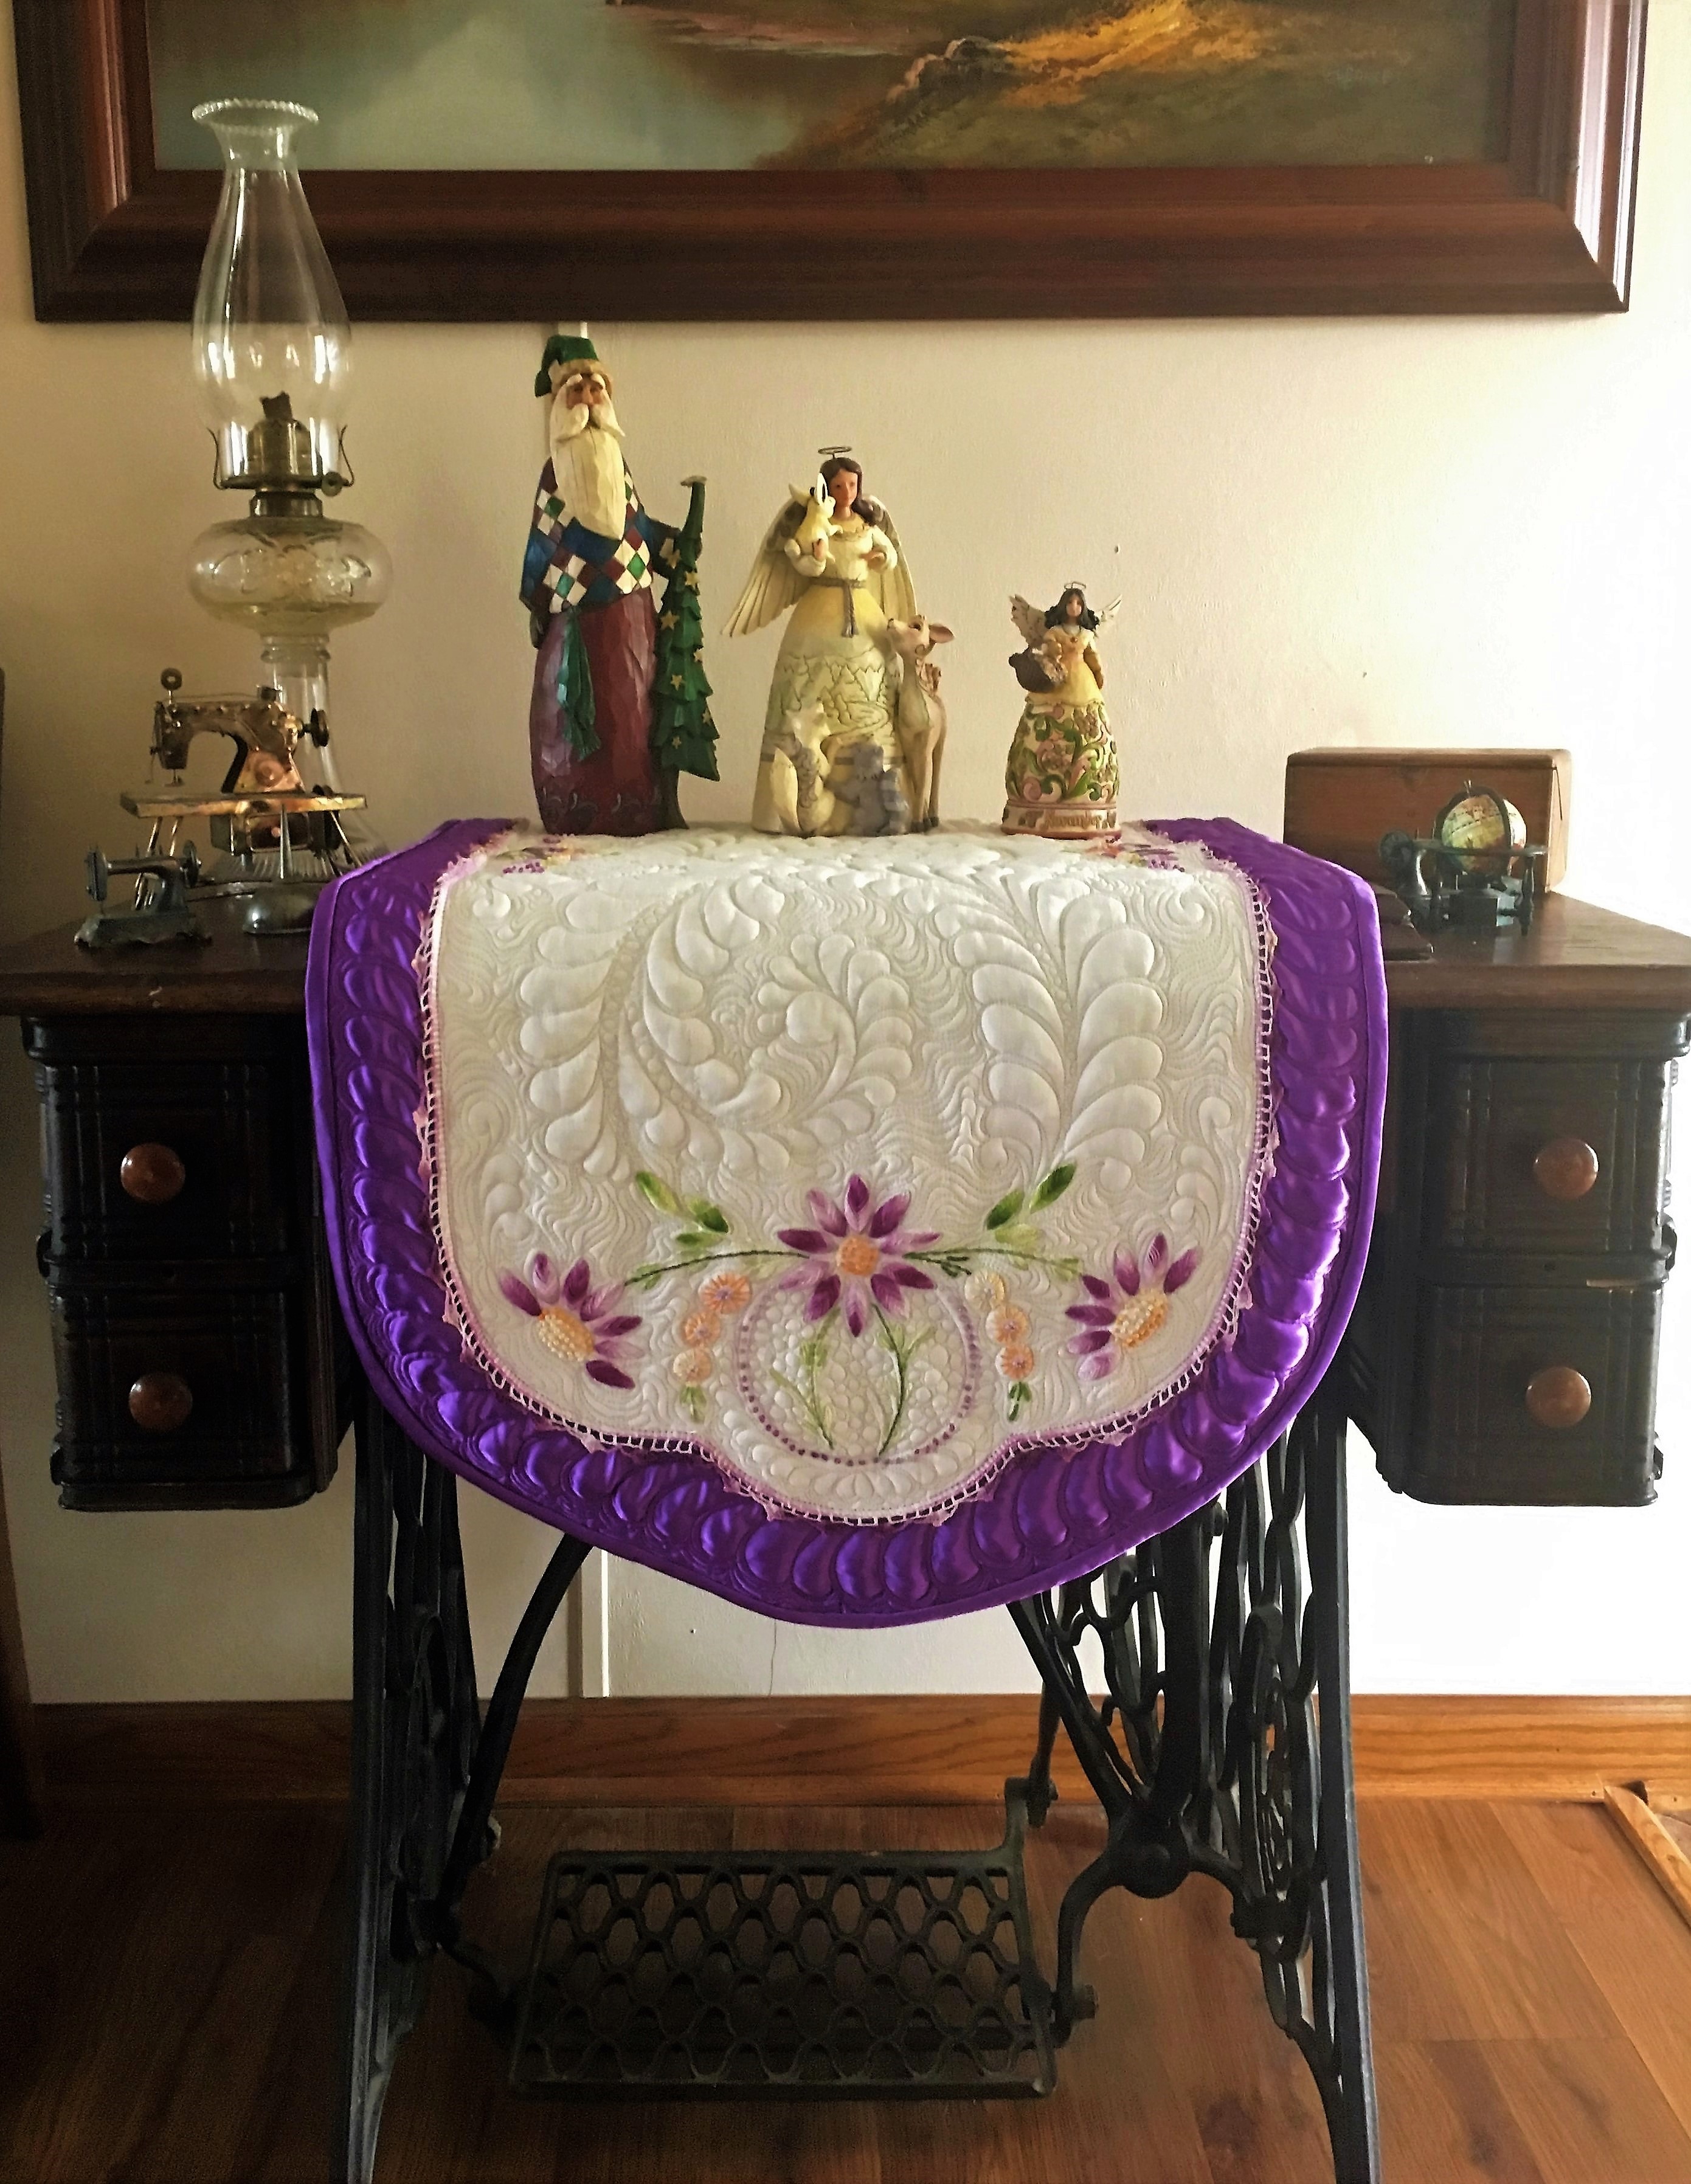
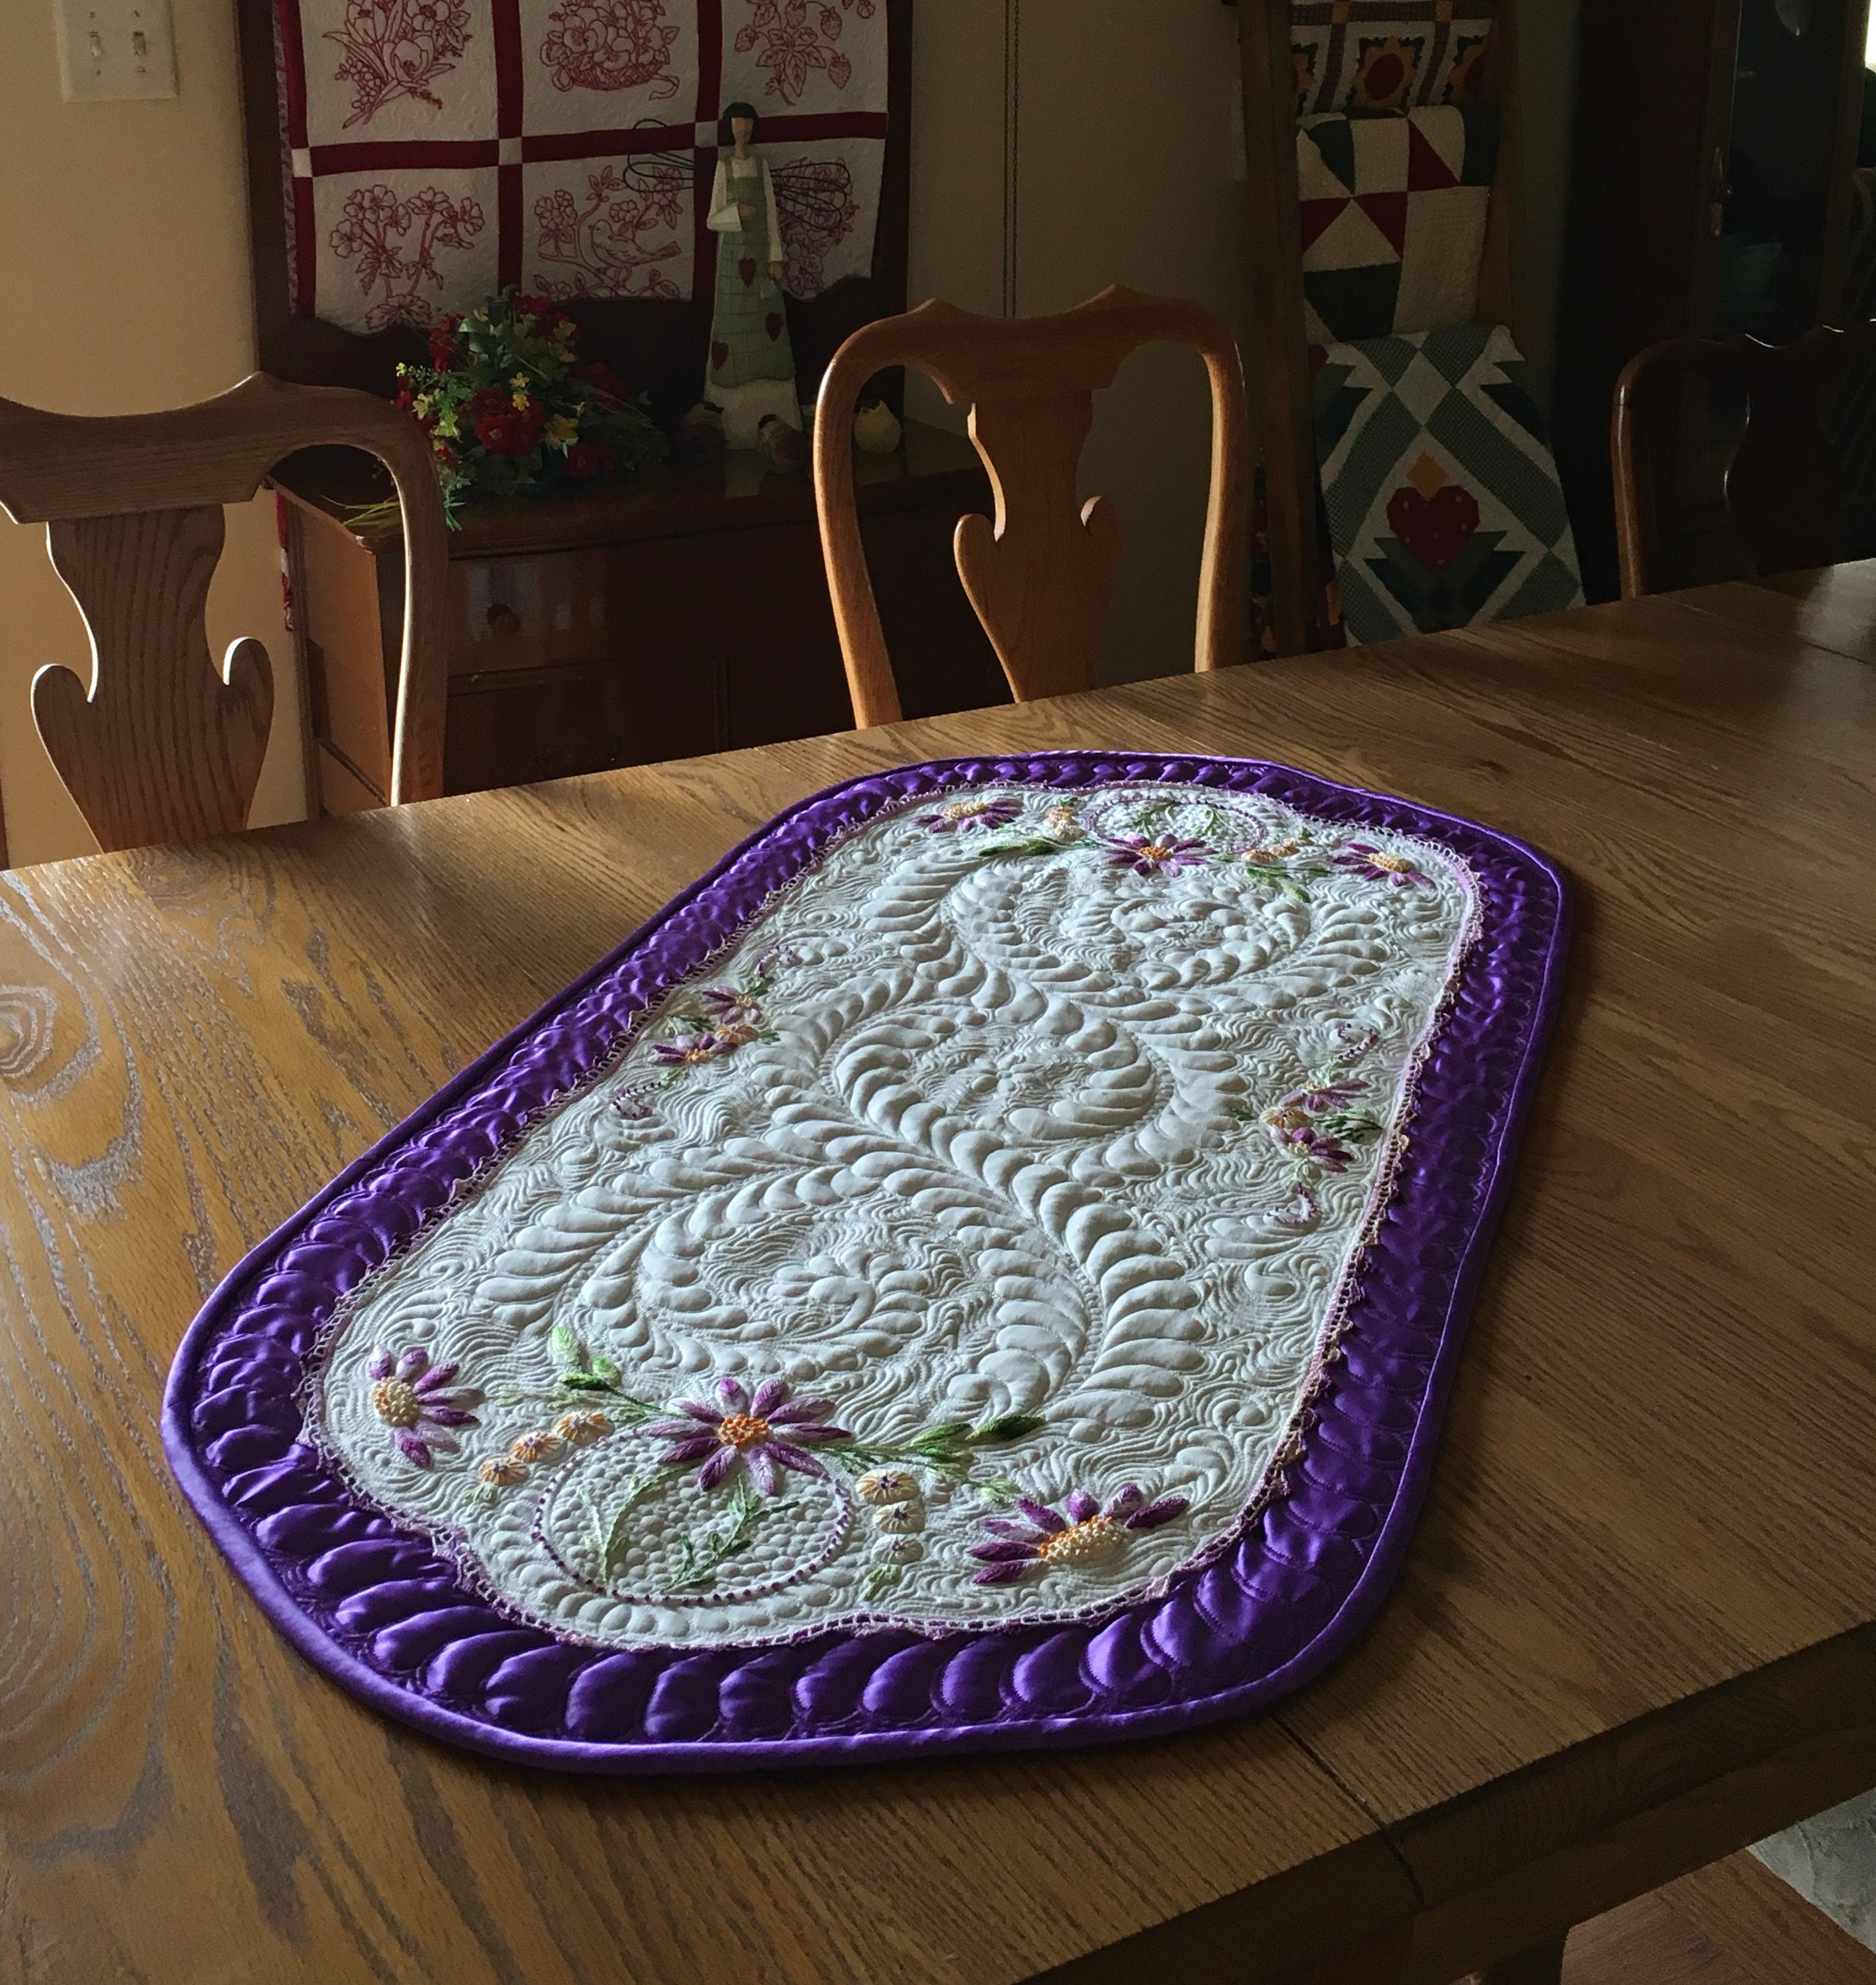
    This made me so happy!  I was even more motivated to do more (and buy more). I did a few small items and gave them away. Then I took time in December to do this last one.  I loaded this one on purple satin and got it done in just a few hours. I call it Purple Passion.

    Before layering the linen on top of the purple fabric, I attached a piece of batting to the linen so that there was no visible shadowing of the purple fabric that could be seen from the top. I pinned the linen to the purple fabric and layered it on top of another piece of batting over the backing fabric. This gave two layers of batting to the linen area and one layer to the purple satin fabric. I marked the feather spine with a purple air erasable marker. I love this one even more than the last one!

    file_000-7file_000-5file_001-1file_000-4afile_000-2a

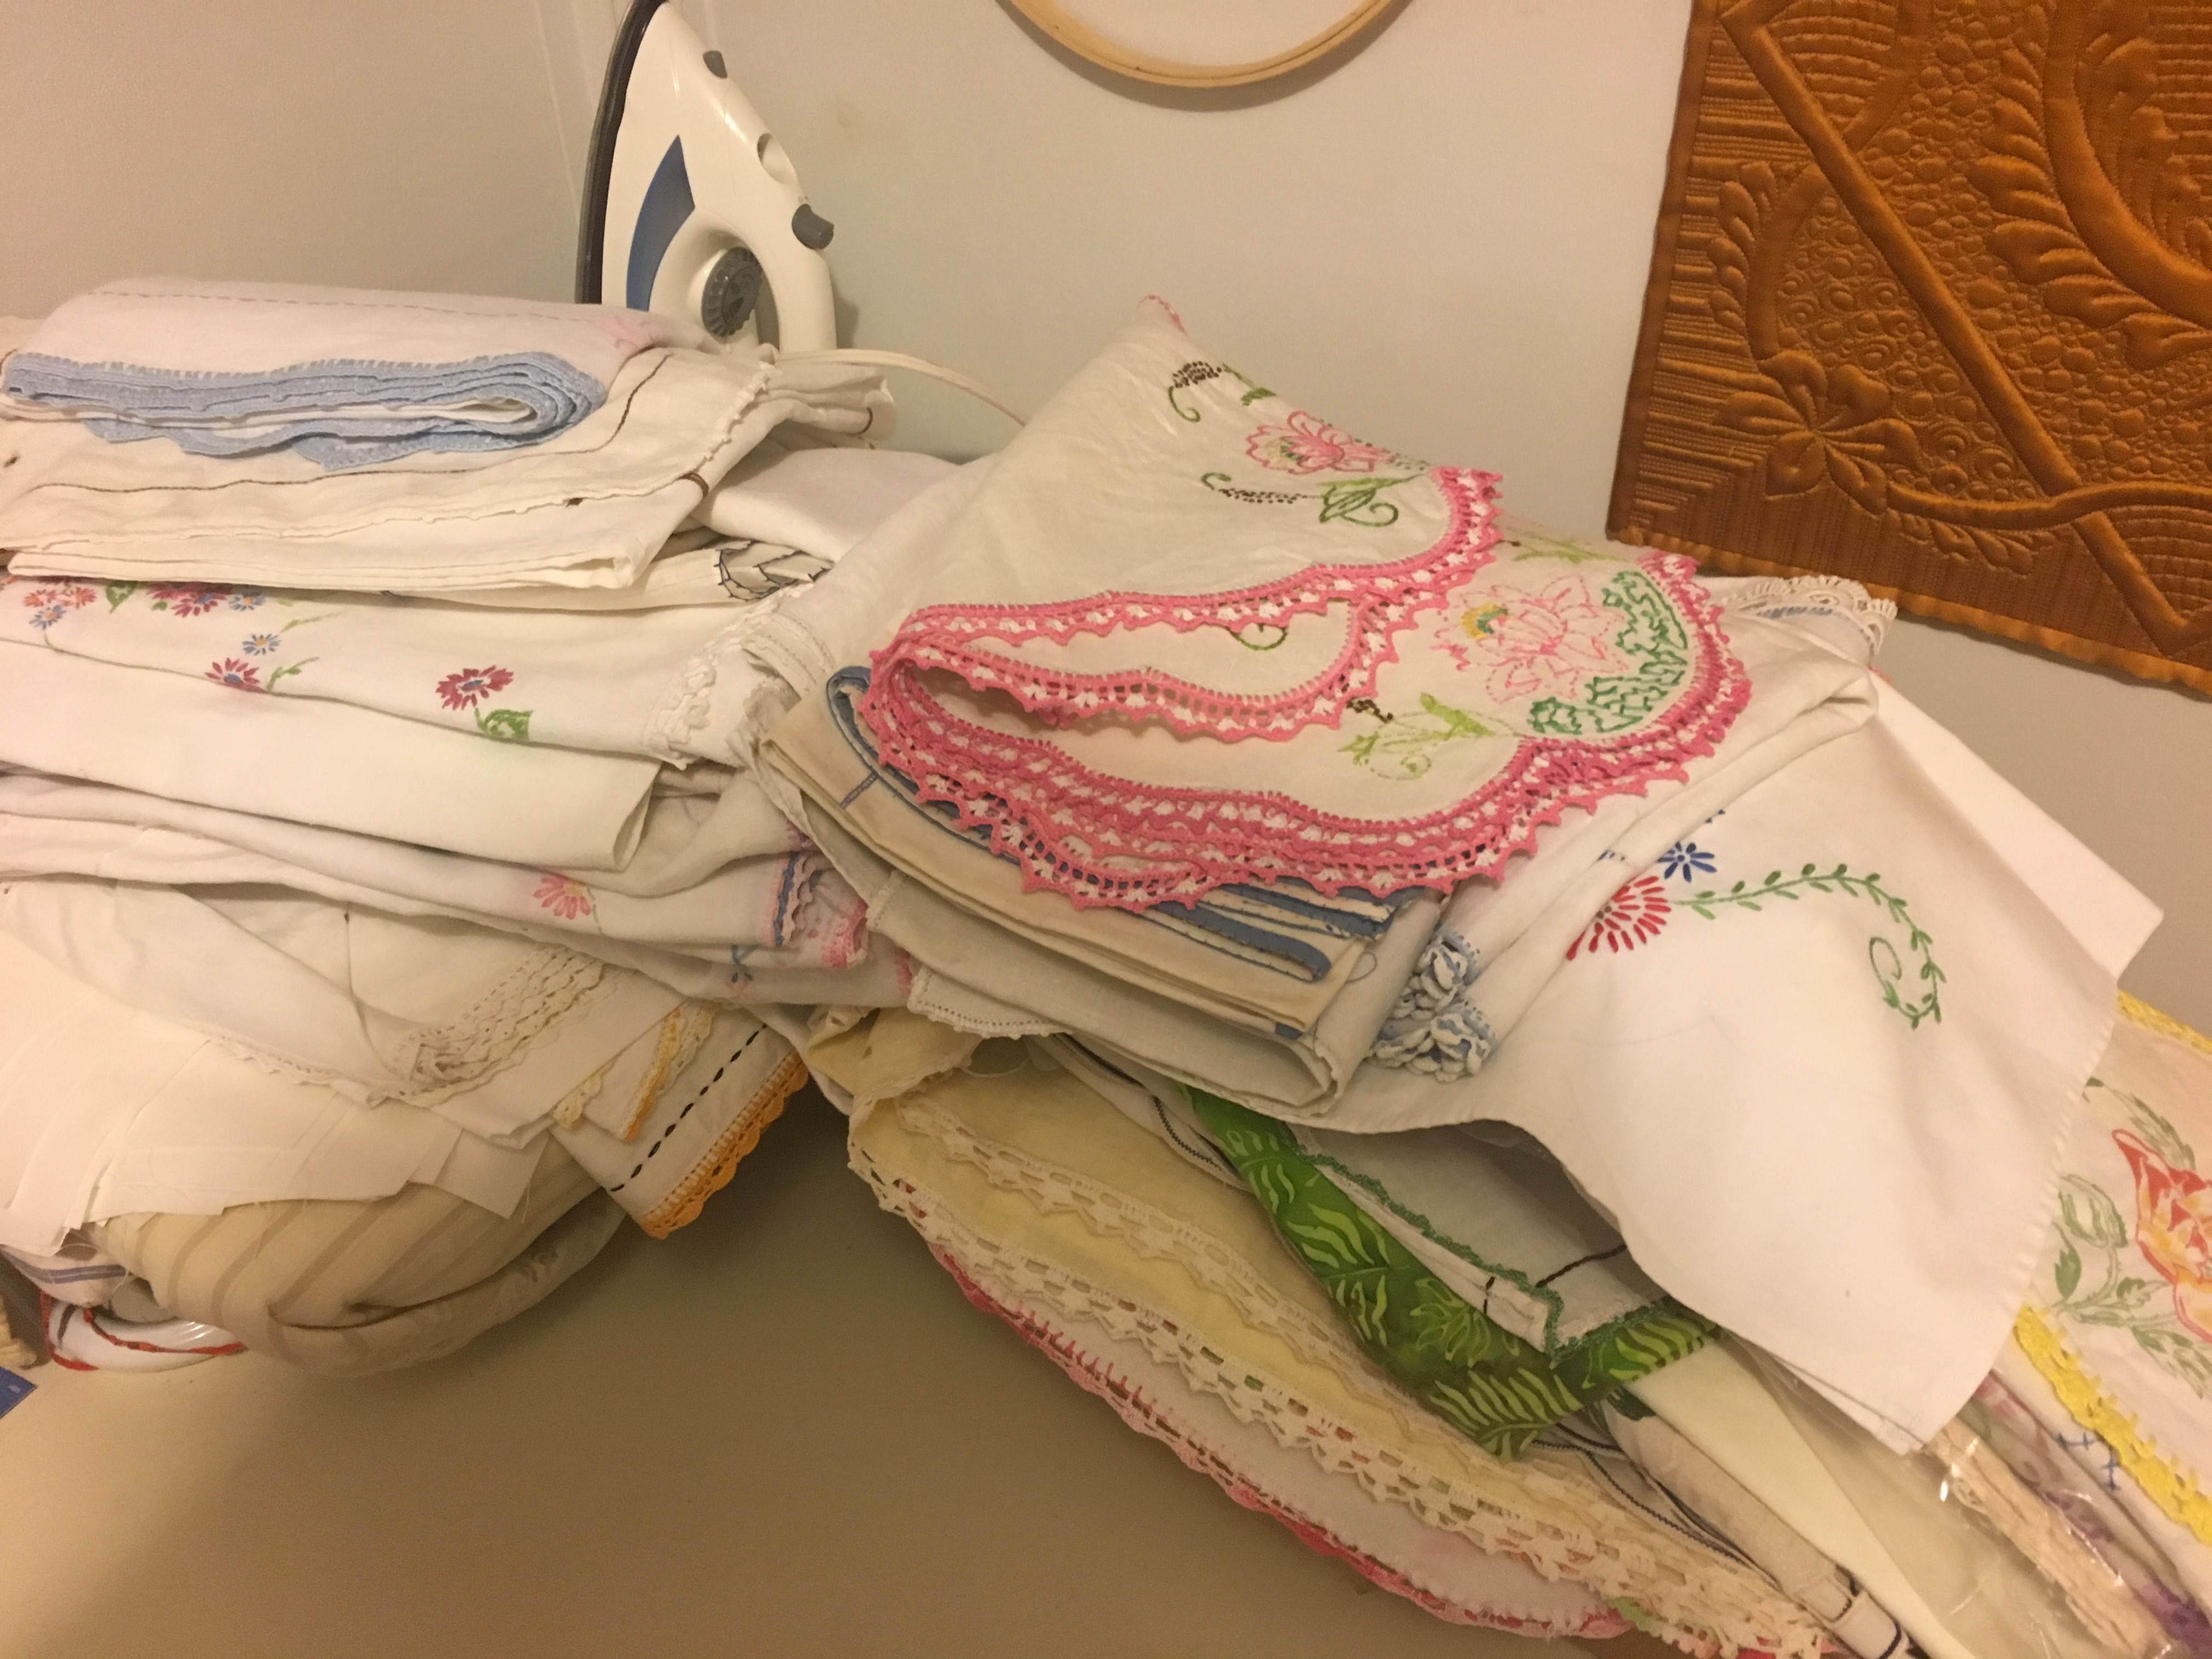
    Here is a pic of some (not all) of my recent additions to my stash of vintage linens. I can’t wait to get time to do another one of these!!

    file_000-8

  • Feature Story in Superior Threads Newsletter

    I’m honored to have been asked to submit an article for Superior Threads newsletter.  If you haven’t subscribed to their newsletter, hop on over and do that today. Below, is the article I submitted.

    Superior Threads Saved My Sanity!

    When I purchased my first longarm quilting machine in March 2010, I started purchasing threads from the cheapest places I could find. I quickly abandoned that practice in favor of good quality threads. I discovered that what I thought was a bargain, turned out to be more expensive in the long run – especially in terms of the amount of time I spent trying to achieve that elusive goal of perfect tension.

    The first cone of Superior thread I purchased was King Tut. I bought a few cones of that and other brands of similar weight thread. (I still have those other brands of thread buried in the bottom of one of my two cabinets full of Superior’s thread.) I soon moved on from King Tut to a thinner thread more suited to the type of dense quilting I was focusing on. Since I had a lot of success with King Tut thread, I tried a combination of So Fine! and Bottom Line threads. That was the beginning of my love affair with Superior Threads. I bought a TOWA gauge and that little gadget combined with Superior Thread’s learning resources SAVED MY SANITY! I had been spending hours trying every conceivable thing I could to get good tension. I watched videos on the “drop test” for bobbins, but no matter what I did, I just could not reliably have good tension each time I changed my bobbin. Armed with my new gadget and Bob’s reference guide for bobbin settings, I spent far less time fixing tension issues and much more time enjoying quilting.

    sun-1

    (Left) Closeup of The Sun, The Moon and The Stars, pieced by the late Lorna Blount while undergoing chemotherapy in 2015 and accepted into Paducah, 2016. 1st Place Custom Our Daily Bed at MQX Midwest, 2016.  — Kimono Silk thread. (Right) Same quilt shown at MQX – Springfield, 2016 with me.

    With the knowledge I gained from reading nearly all of Bob’s education articles on thread and tension (and his Jokes), as well as scouring the internet and reading every resource I could find, I became fearless at switching thread types and thread weights in the middle of quilting a quilt! My rule of thumb is if it’s thinner, it needs to be looser on my machine. That doesn’t always mean loosening the rotary tension dial; it usually means skipping some of the thread guides in the thread path. By skipping some of the holes in the thread guides, you’re able to achieve a looser tension without having to dial back the settings on your rotary tensioner, which could cause some loops in the stitching. By starting with Superior’s recommended bobbin settings, I only have to concentrate on setting the top tension correctly.
    quilts

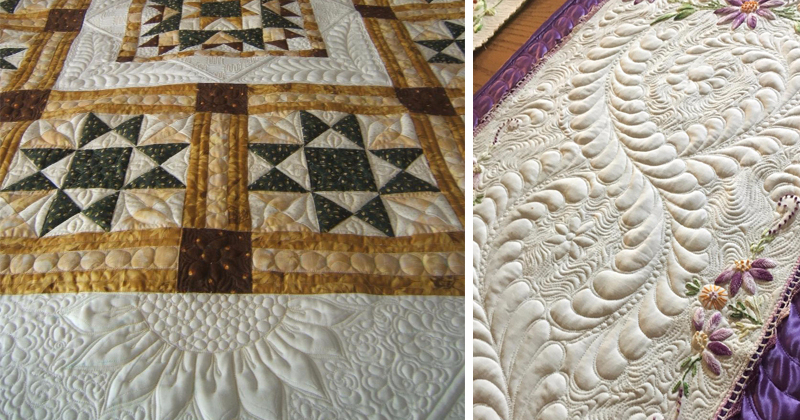
    (Left) Sunflower Stars. Pieced and quilted six months after purchasing my longarm. It was accepted at Paducah 2012. This quilt has won many regional and state ribbons. It also represents my first attempt at trapunto design. So Fine! and Bottom Line threads. (Right) Vintage linen layered on satin. — Superior MicroQuilter and Kimono Silk threads. – 2016

    Today, I do more quilting for others than piecing for myself. I have a couple of original quilts I’m currently working on, but my longarm business keeps me hopping and I have little time to spend on my own projects. To help prevent burnout, I’ve turned my love of collecting vintage textiles into a quick and easy “creative fix” for myself. I can pop one of these linens on the frame in between client quilts and get it done in a few hours. As a reward, I get something pretty I didn’t have to piece and the client benefits from having a happy longarmer!

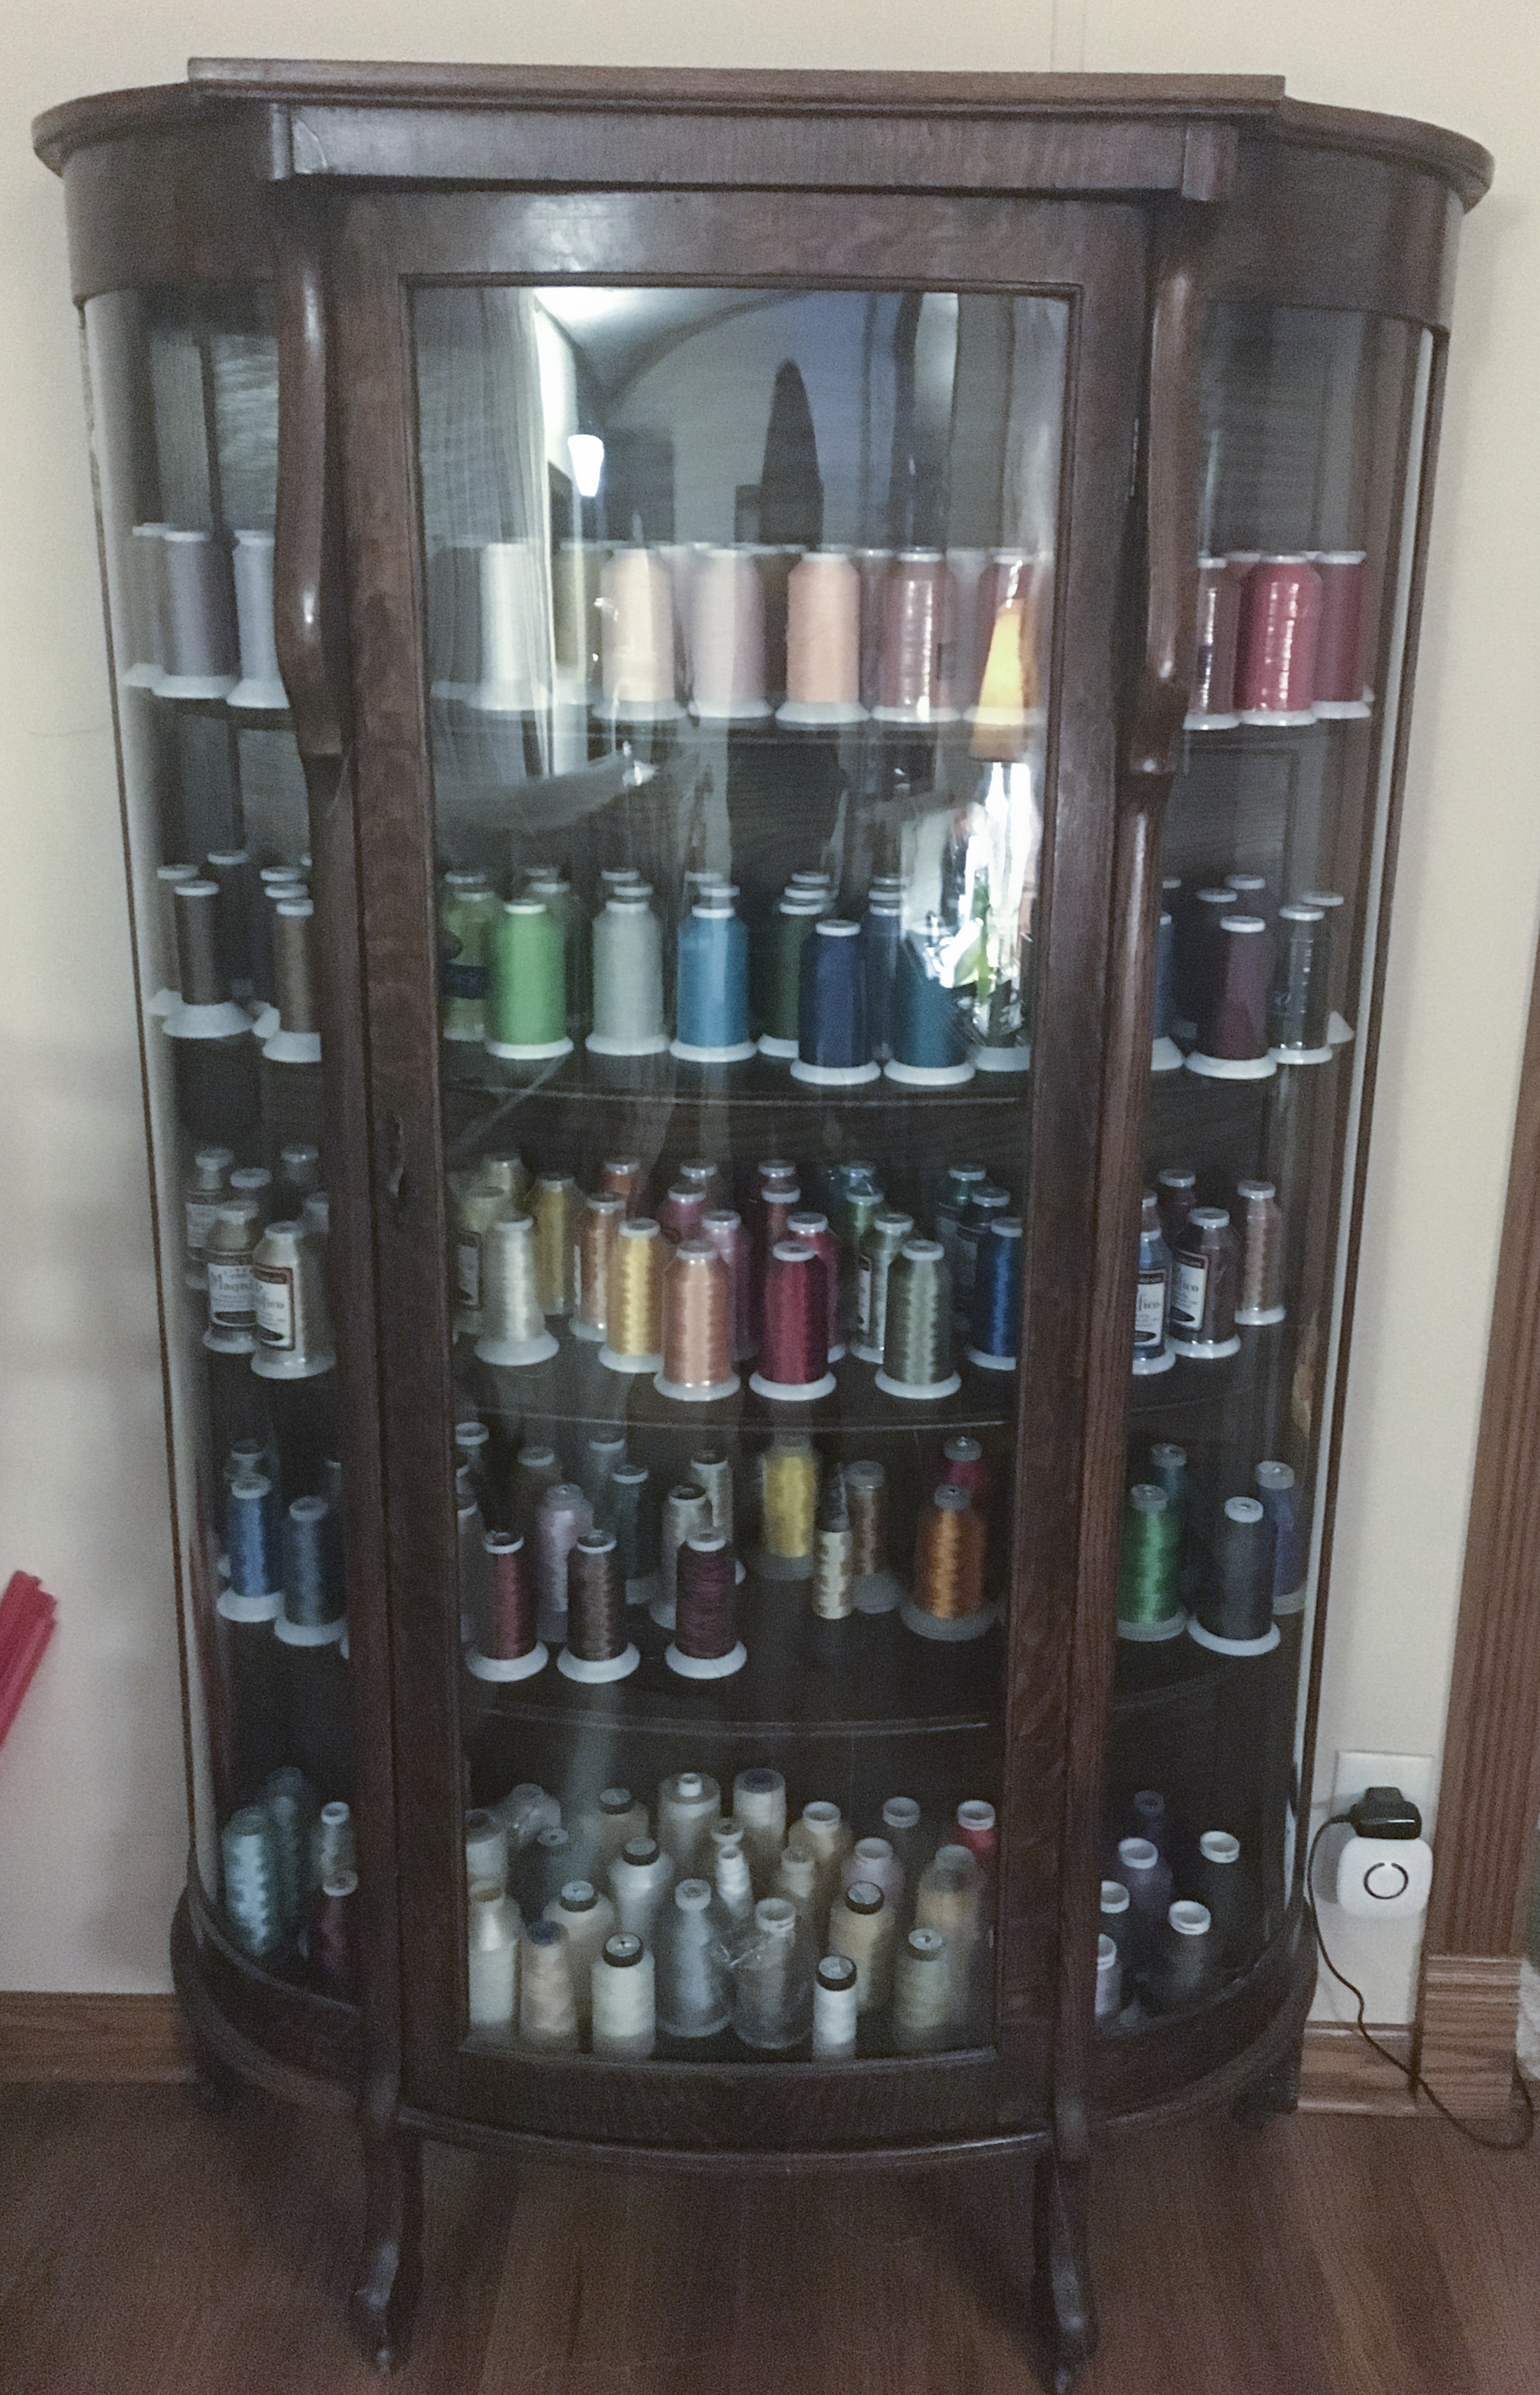
    I became a member of Superior’s Thread of the Month Club a few years ago and I found that it was an easy and affordable way to build my thread stash. If there’s a downside to collecting my favorite threads, it’s that I had to get creative in finding a way to store all of my thread! I purchased two antique curio cabinets (because one was not enough) to store all my thread. If I need a specialty thread or something I don’t have in stock, I simply add it to my next club order and it ships for free.

    Joy Voltenburg

    customquiltsofjoy.com

    Quilts on an A1 Elite Platinum longarm


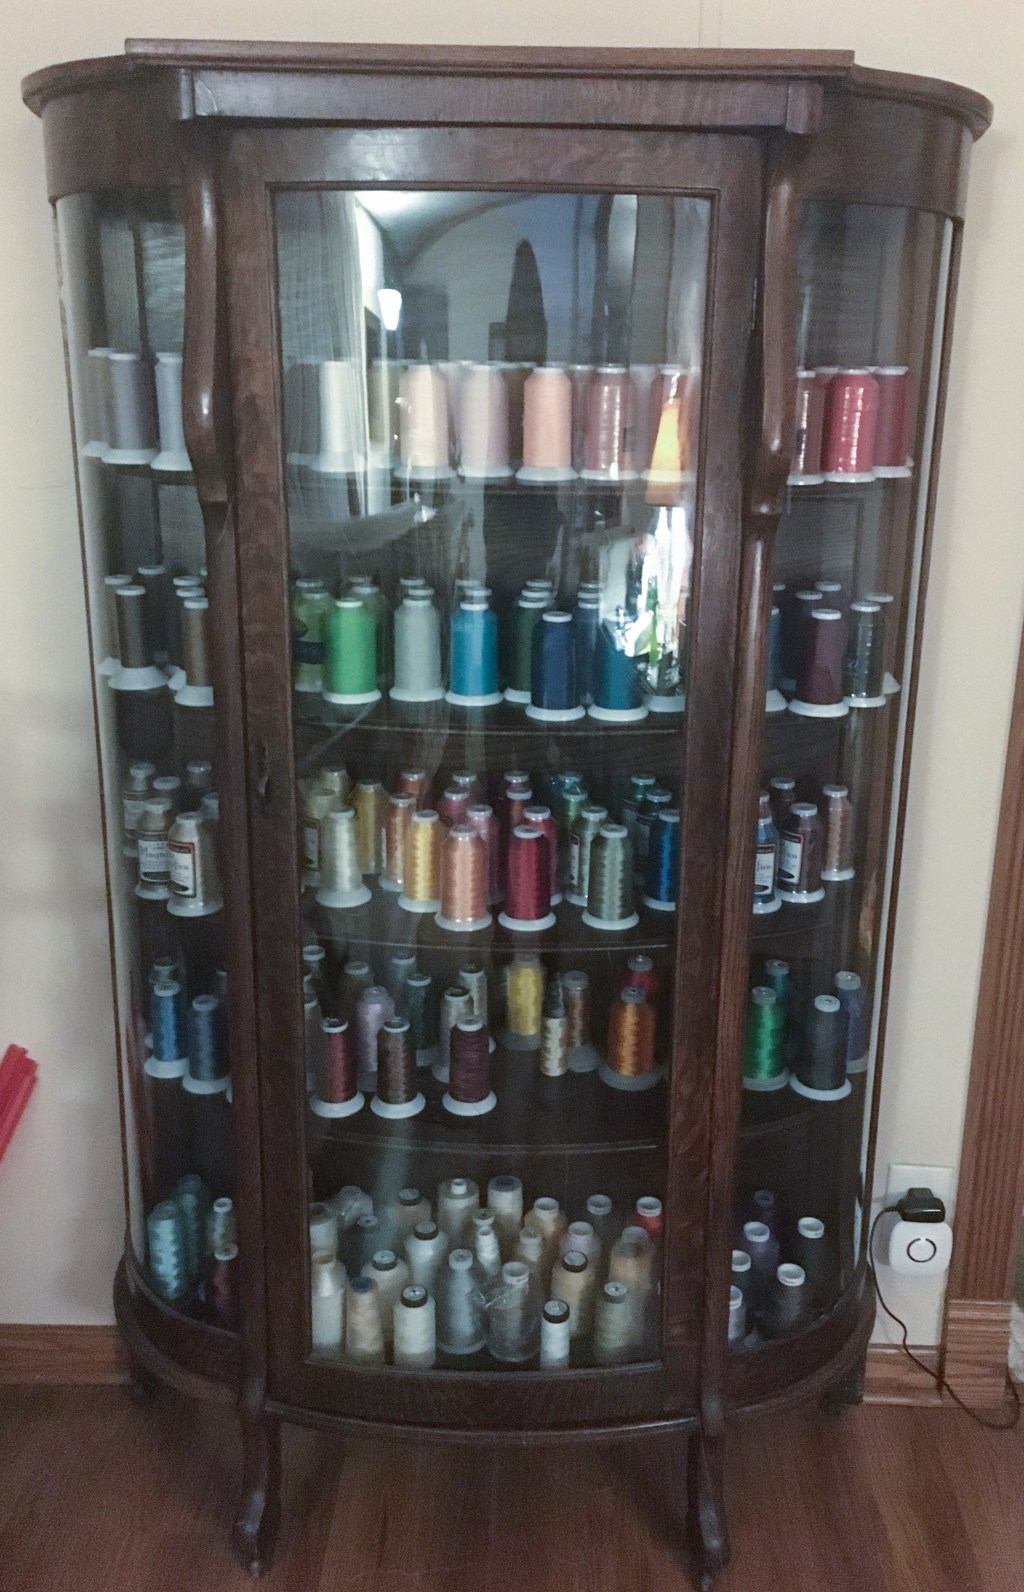
    I mentioned my curio cabinets full of thread in the article above.  Here is a pic of one of them. I think it looks gorgeous and so colorful.
    curio-cabinet