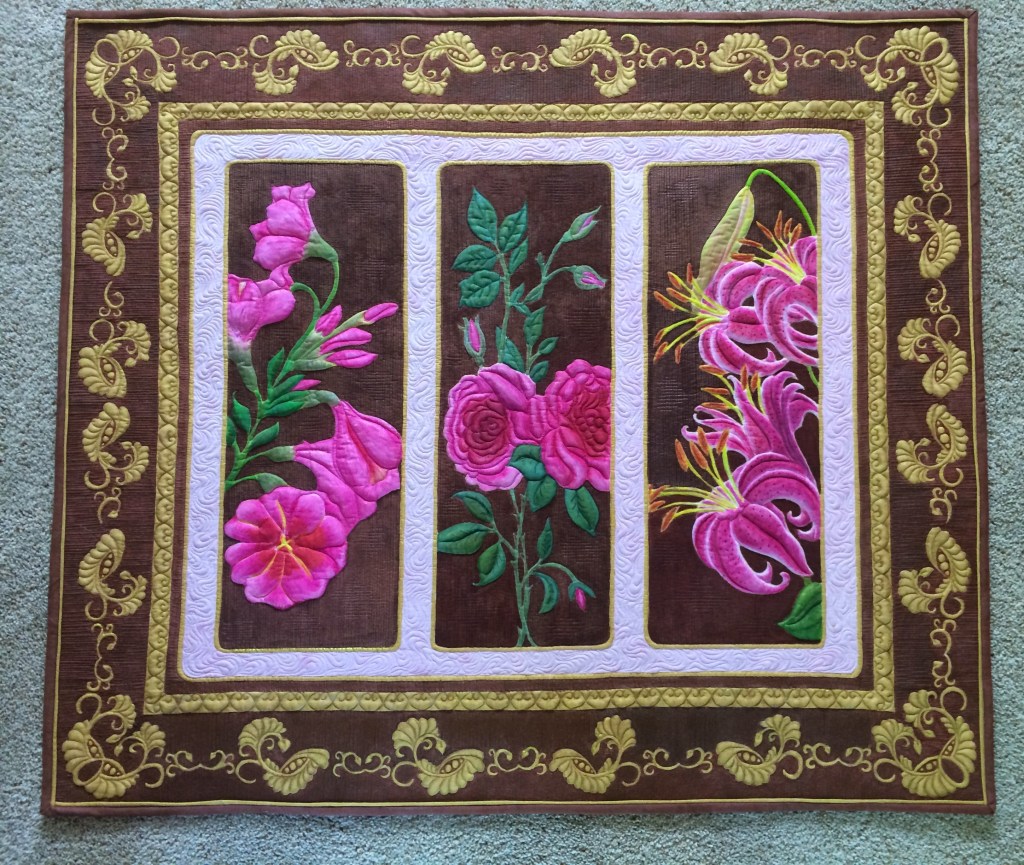
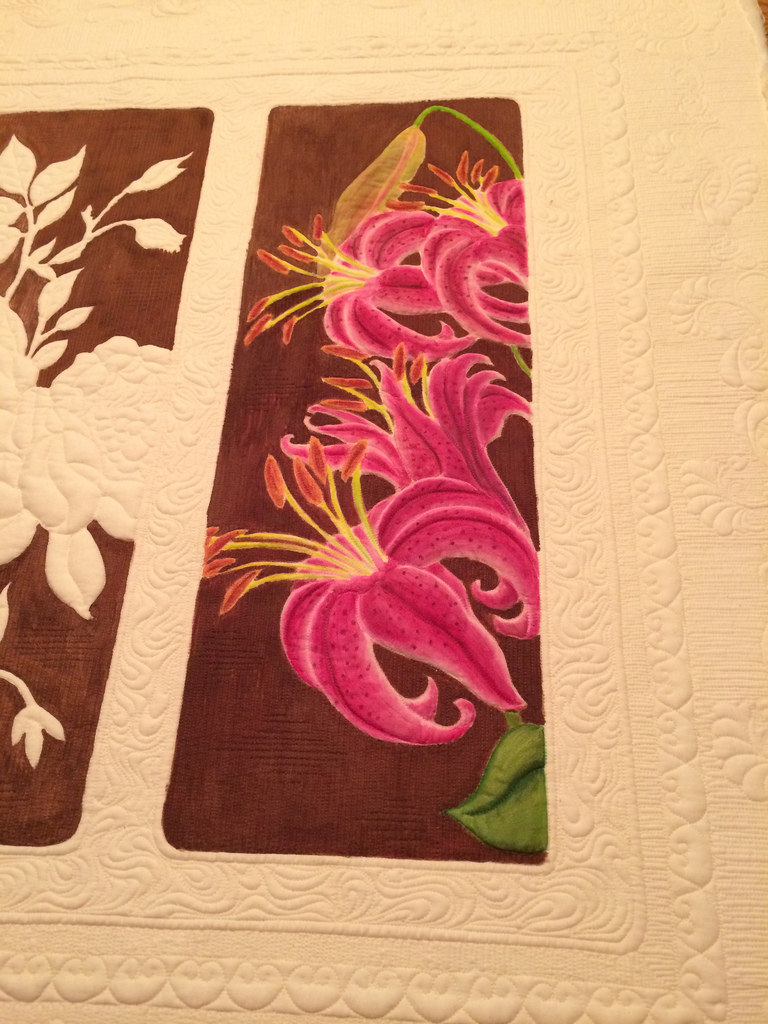
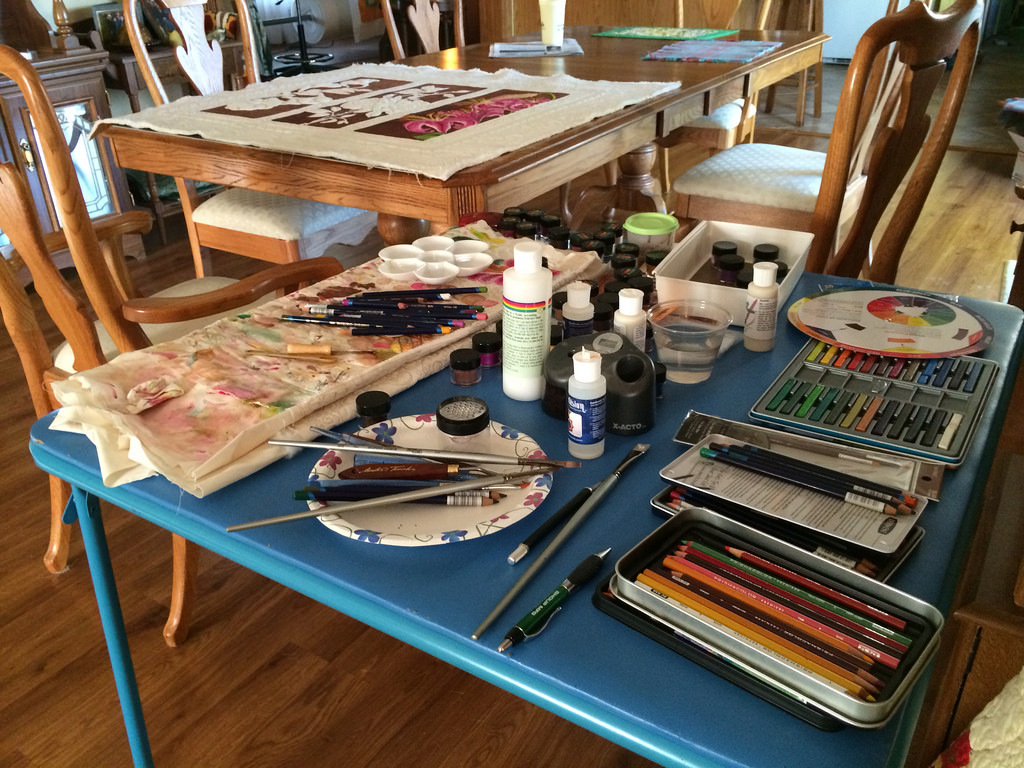
I’m up in the air about what to call this art quilt, but I have a bit of time to decide. It’s coming along. I have two (maybe 3) colors left to figure out and have ordered a few more pigments to help me decide. I’m using polished pigments (available via sewfarsewgood.org or from colourarte.com) and Derwent Inktense pencils. I mix the pigments with textile medium (like Inkfusion or Delta Ceramcoat). The pencils I will either pencil the color on dry and brush the textile medium over it, or I’ll use the brush and grab the color directly from the pencil. I also have Inktense blocks that I grate up and mix with the medium to create my paint.
While I have done some small projects with Prismacolor and Inktense pencils, this is the first project using the polished pigments and the first really “big” painted project. I like using the polished pigments, but you have to be careful when mixing them with the medium. I thought I could lighten the colors by just using more medium, but it doesn’t work well for large areas at all.
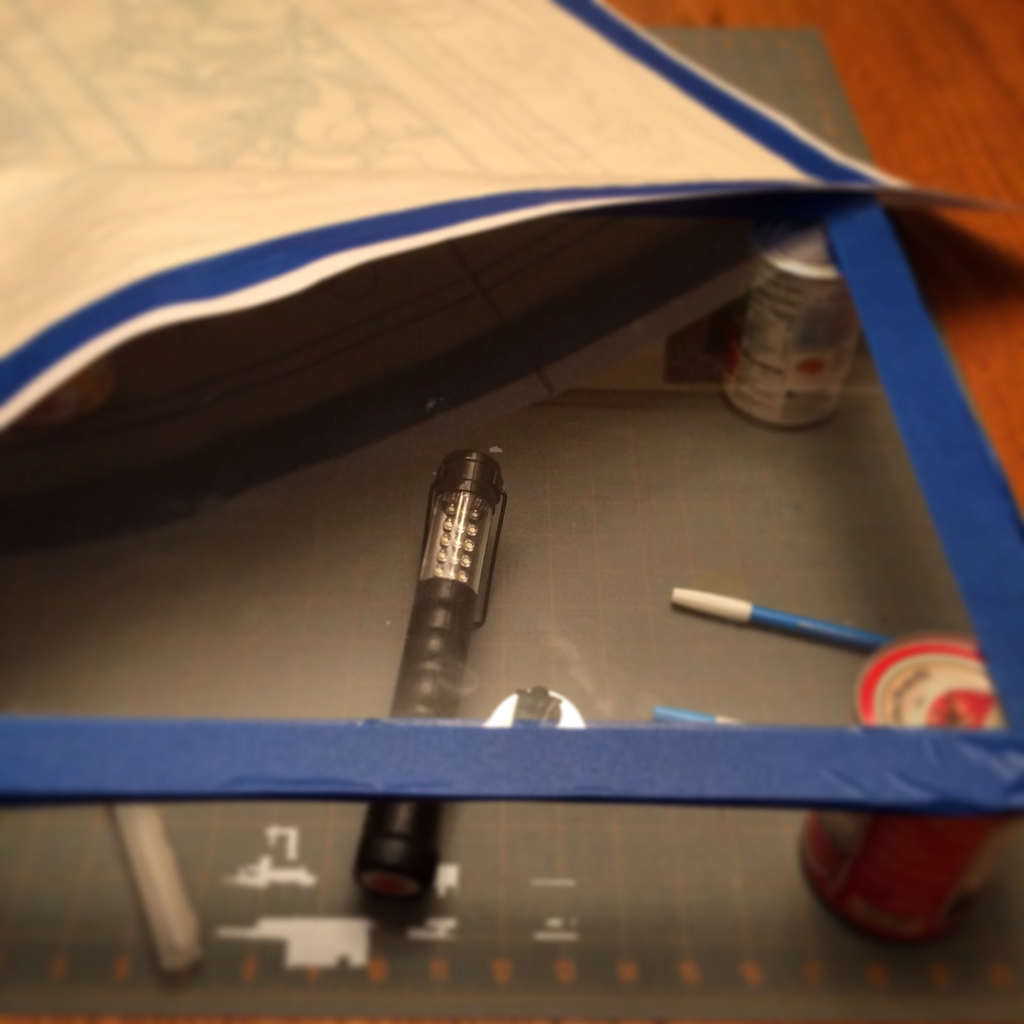
I designed this in Adobe Illustrator and then printed it out onto large sheets of paper which I then taped together into one large piece. It measures about 44 x 39. I then created a light box. Rather than spend the money for a fancy light box, I created it out of a piece of window glass (available at your local hardware store) and some vegetable cans and an LED light. It worked pretty slick for me. I then traced the design onto my PFD (prepared for dying) muslin. I used a blue water erasable pen. If you trace outside the lines, you can go back with a water filled pen or a q-tip dipped in water to erase the stray lines.
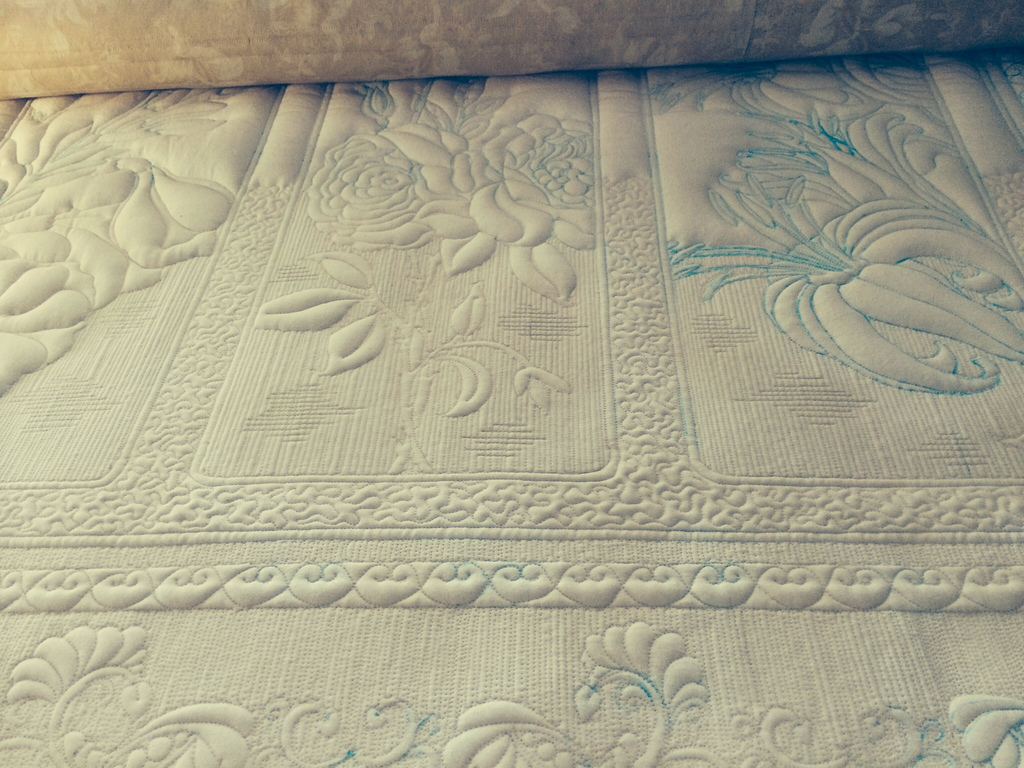
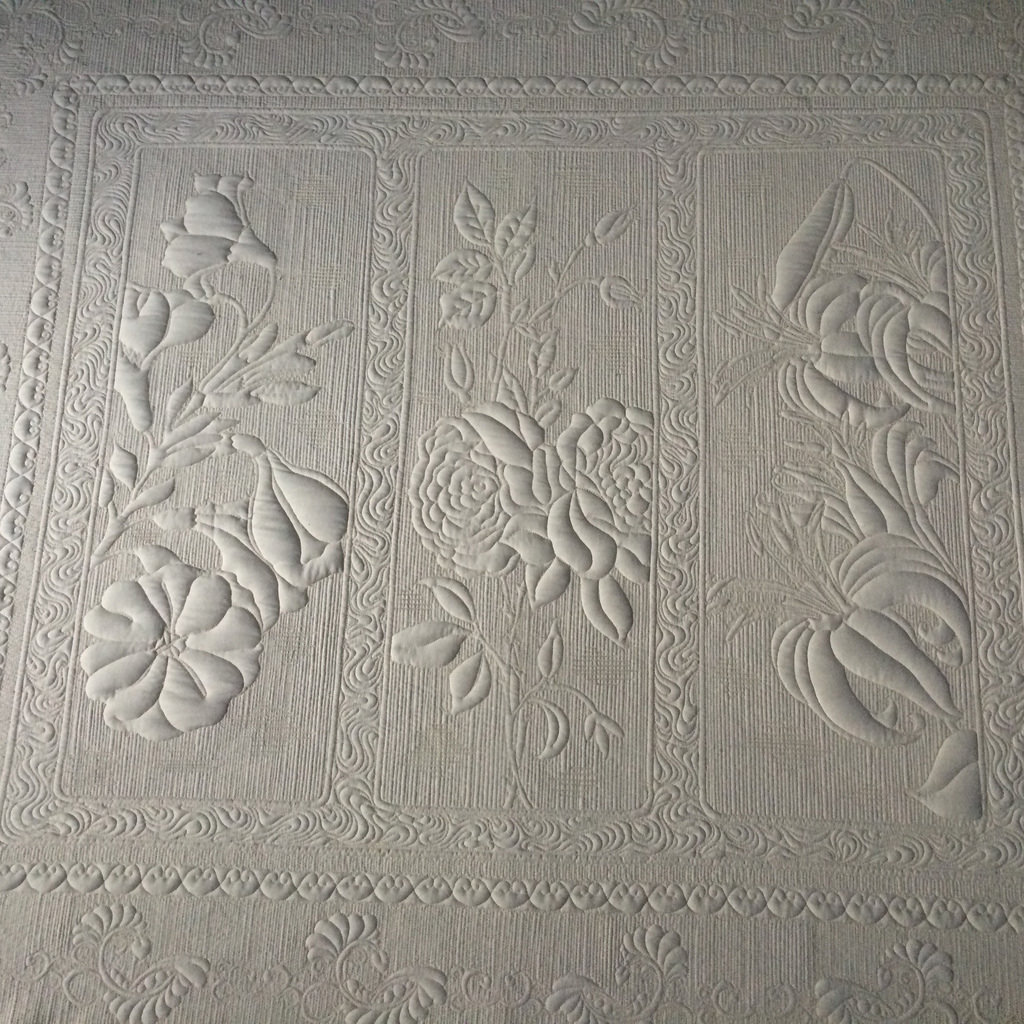
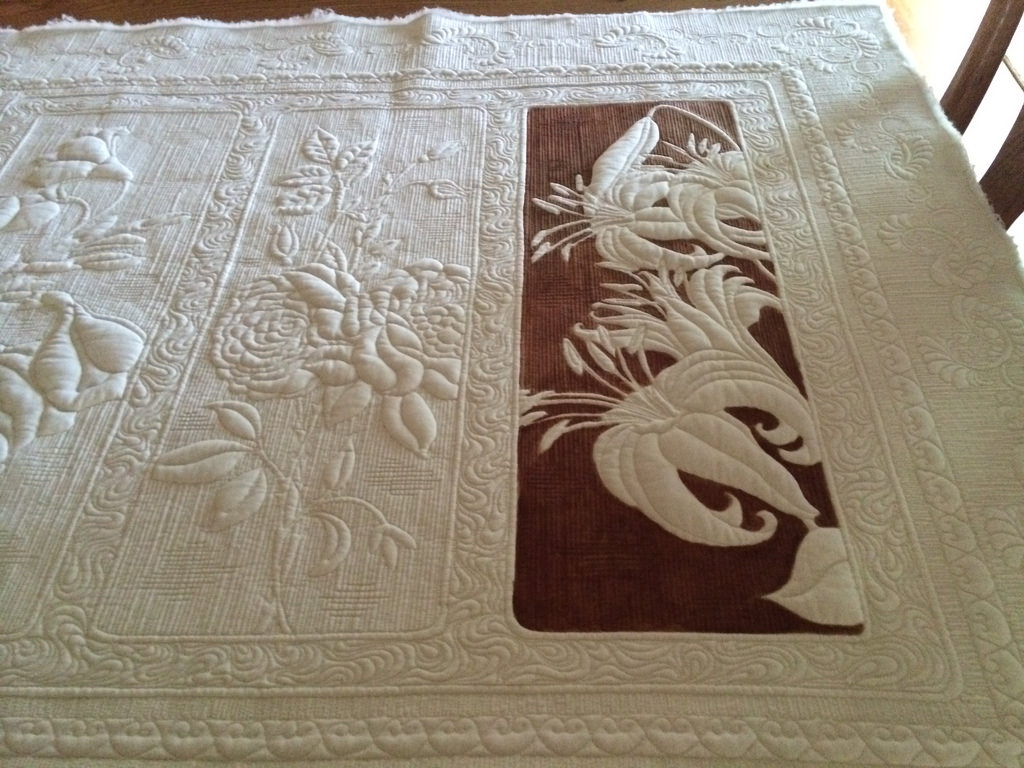
Once I was done tracing, I loaded it on my longarm and quilted the design. I used two layers of batting. One layer of Quilters Dream puff over a layer of 80/20. It really gave it a faux trapunto look. I love how it turned out. I had started quilting the “sashing” with a medium sized meander, but ripped it out after discovering it was full of bad tension. I requilted it with a McTavishing type of fill and am SO glad I redid that part of the quilting.
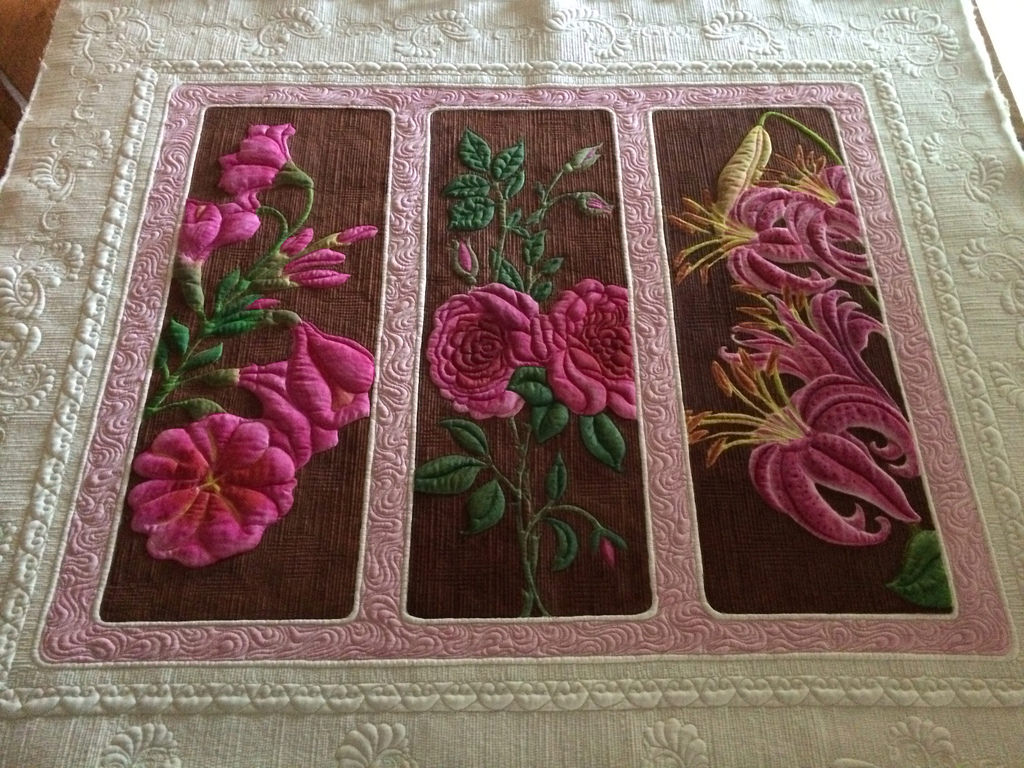
So, here are some of pictures of the progress so far. I plan on trying to enter this into the MQX Midwest show and their deadline is August 1, so I can’t procrastinate or let customer quilts interfere too much.


Update:
Above, is the finished painted wholecloth quilt. Even the binding and piping were painted. I loved this whole process. I learned so much about paints and inks and what to do and what not to do.


Leave a comment